For 1990-2009 cars only
Removal Procedure
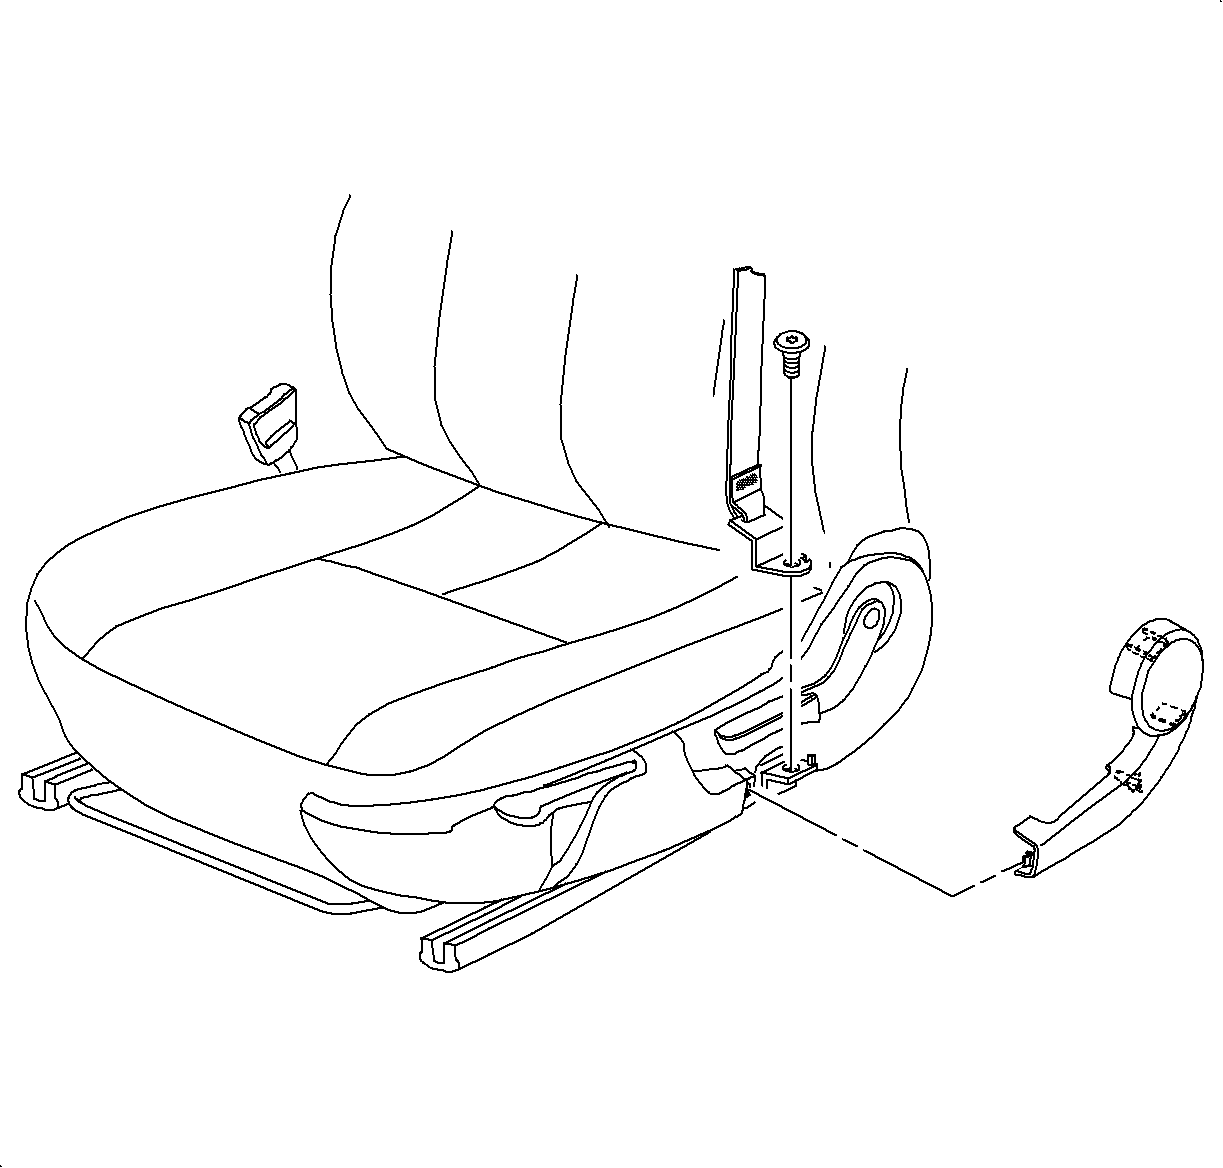
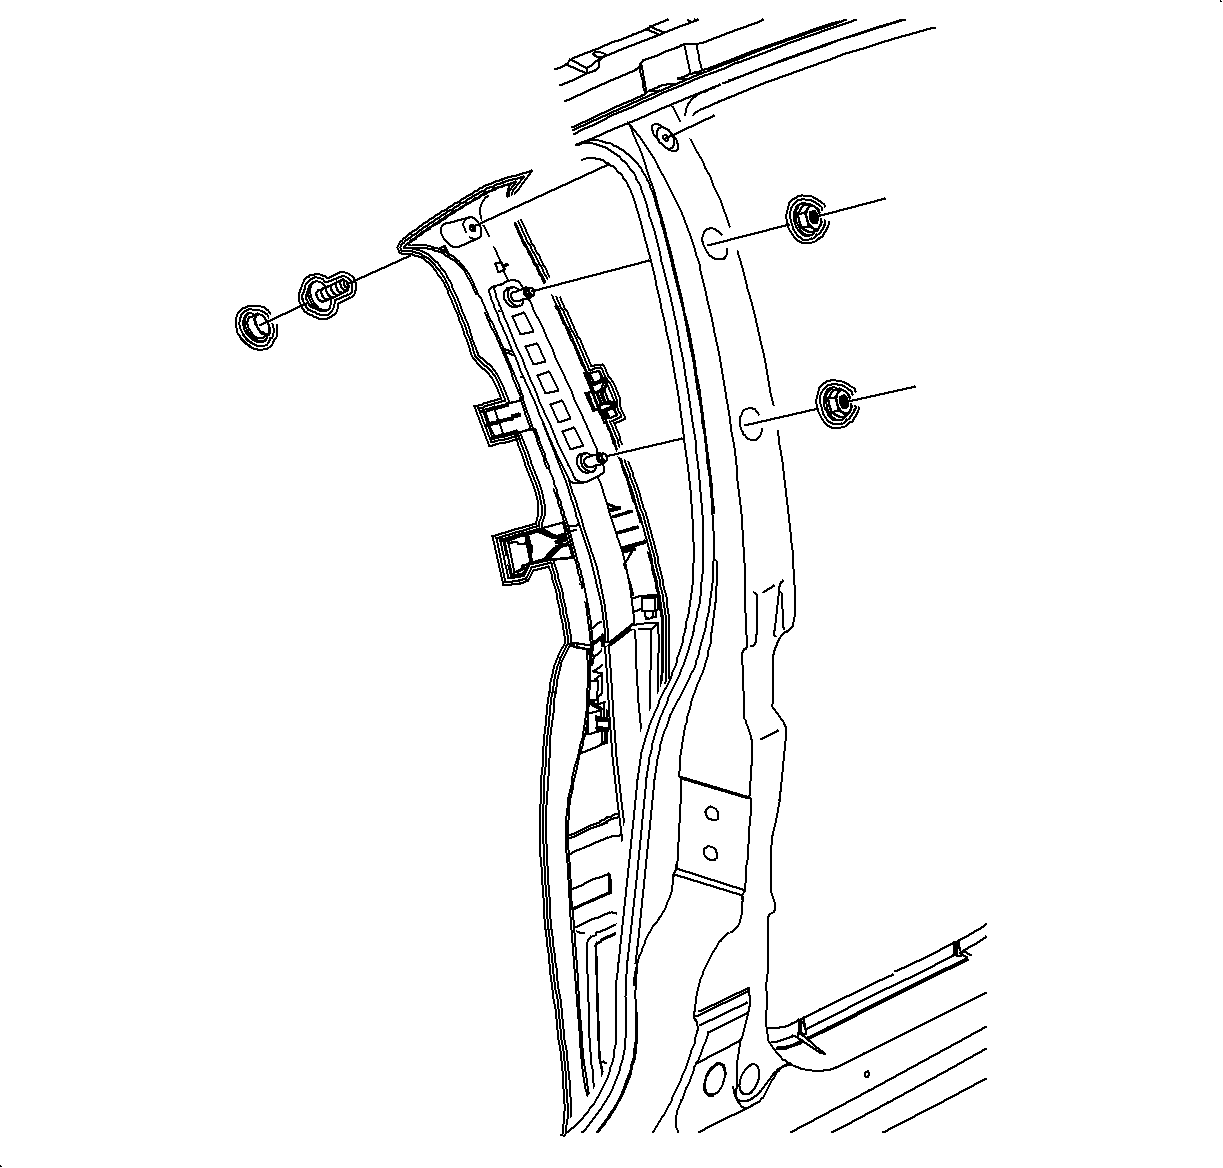
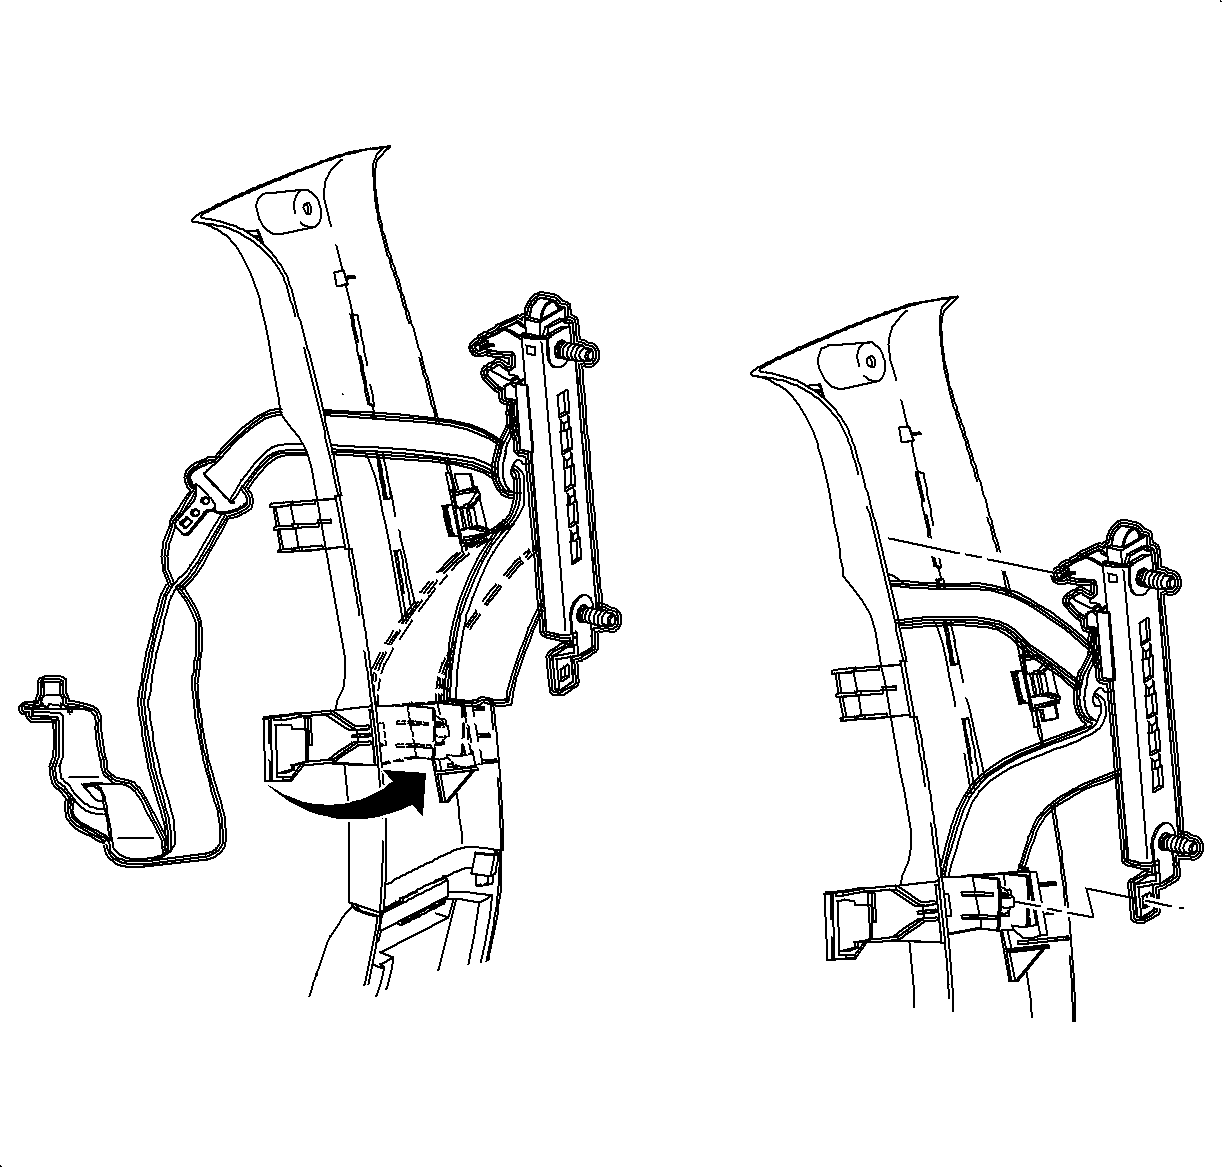
Left Side Shown, Right Side Similar
- Move the front seat to the forward most position.
- Remove the seat side cover by pulling firmly on the cover.
- Remove the shoulder belt fastener and remove the shoulder belt from the seat track.
- Remove the carpet retainer. Refer to Carpet Retainer Replacement in Interior Trim.
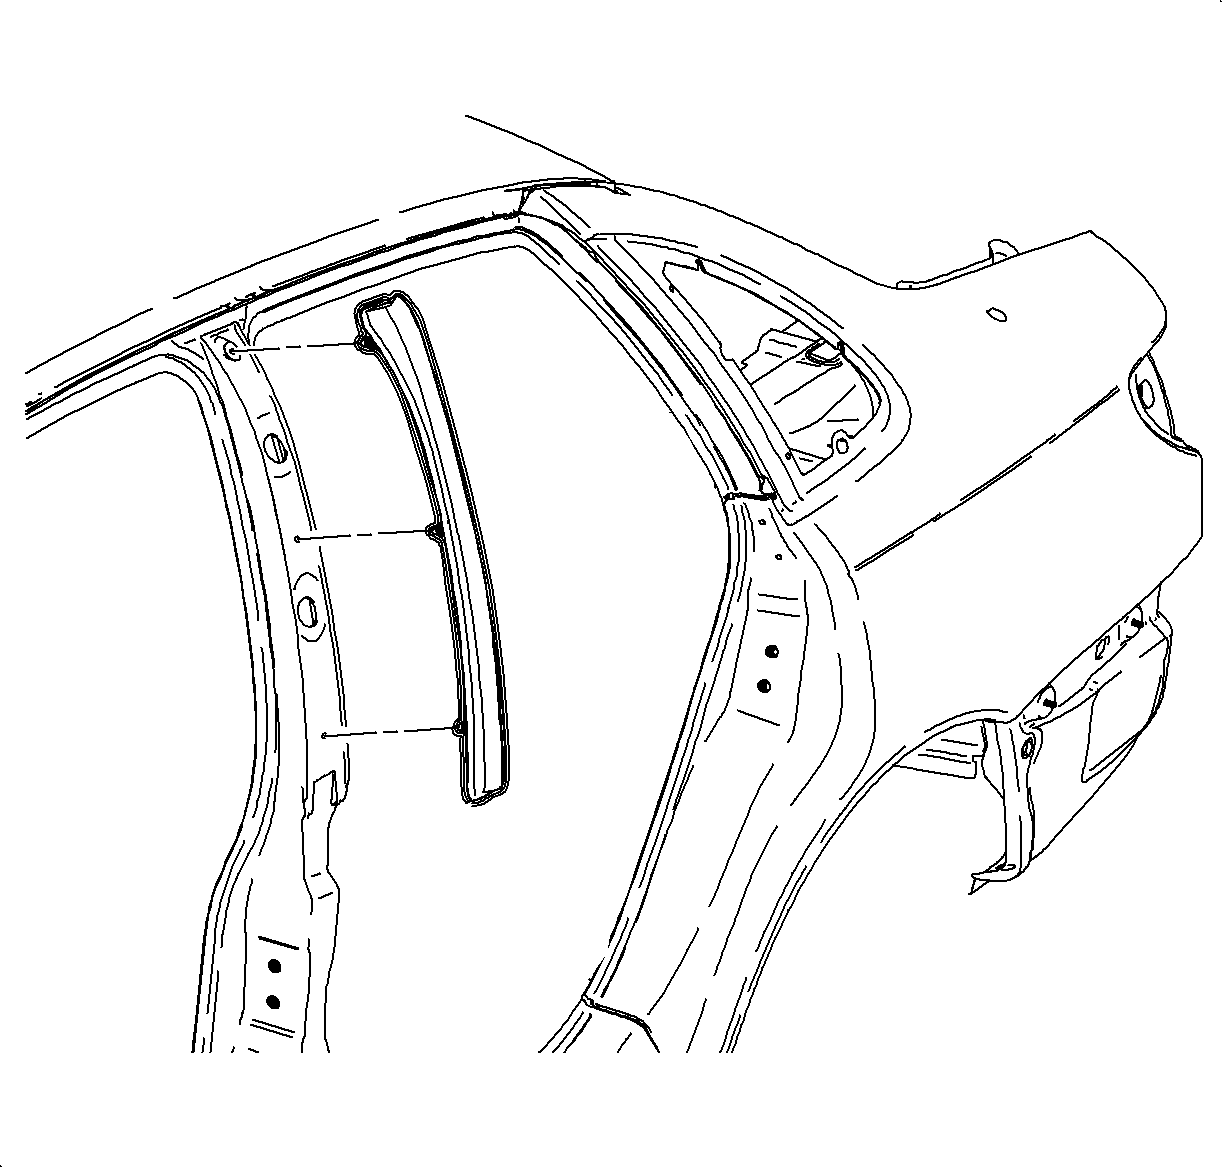
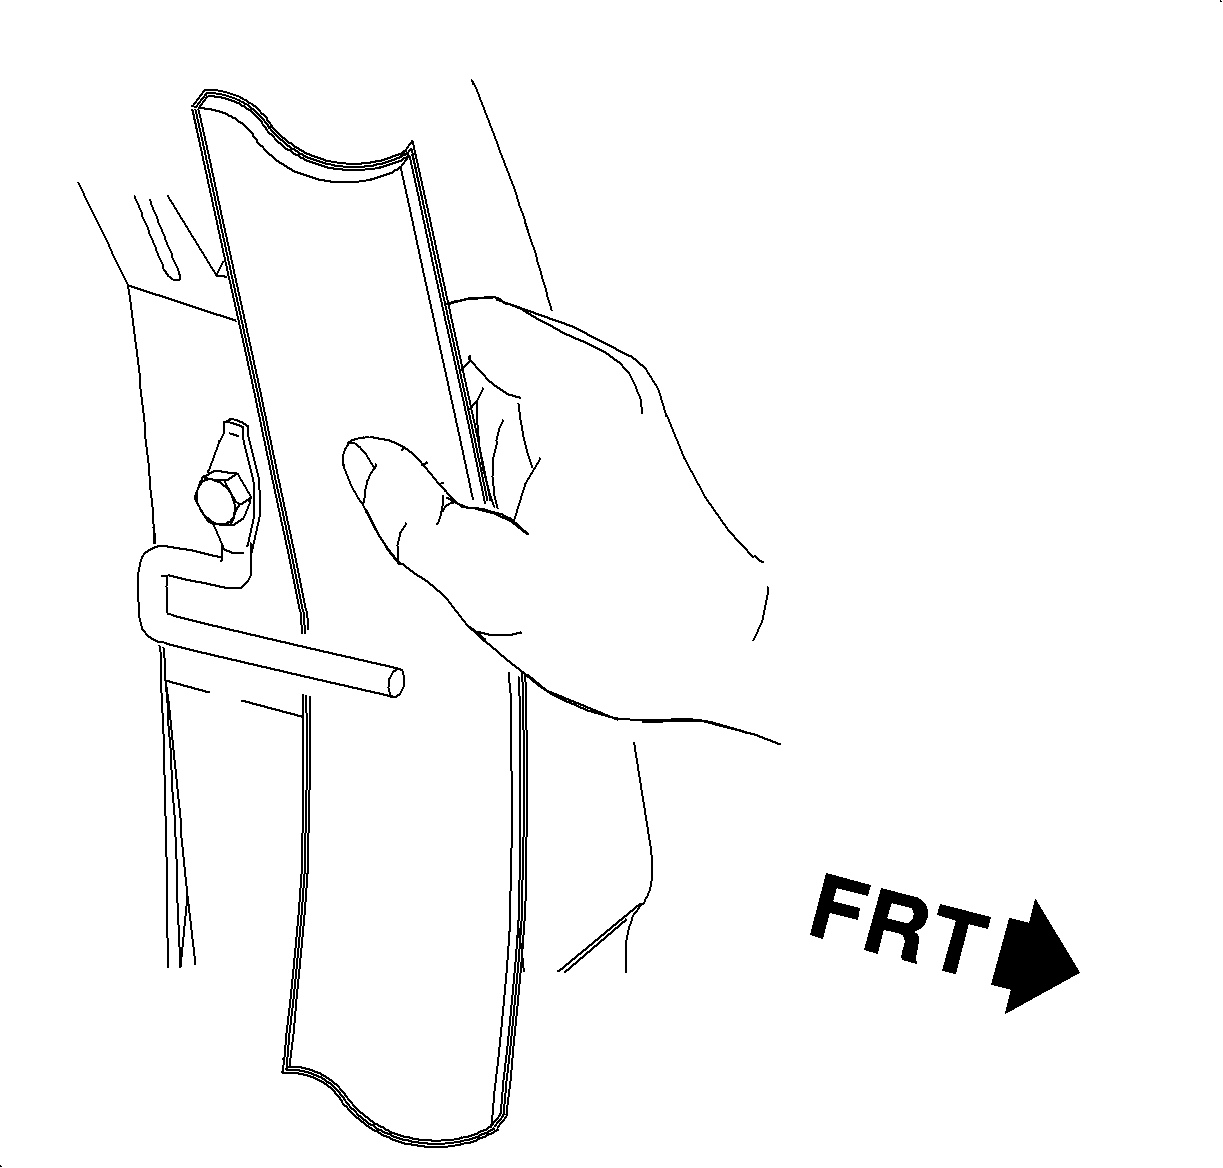
- Using a trim tool, remove the center pillar outside the weatherstrip.
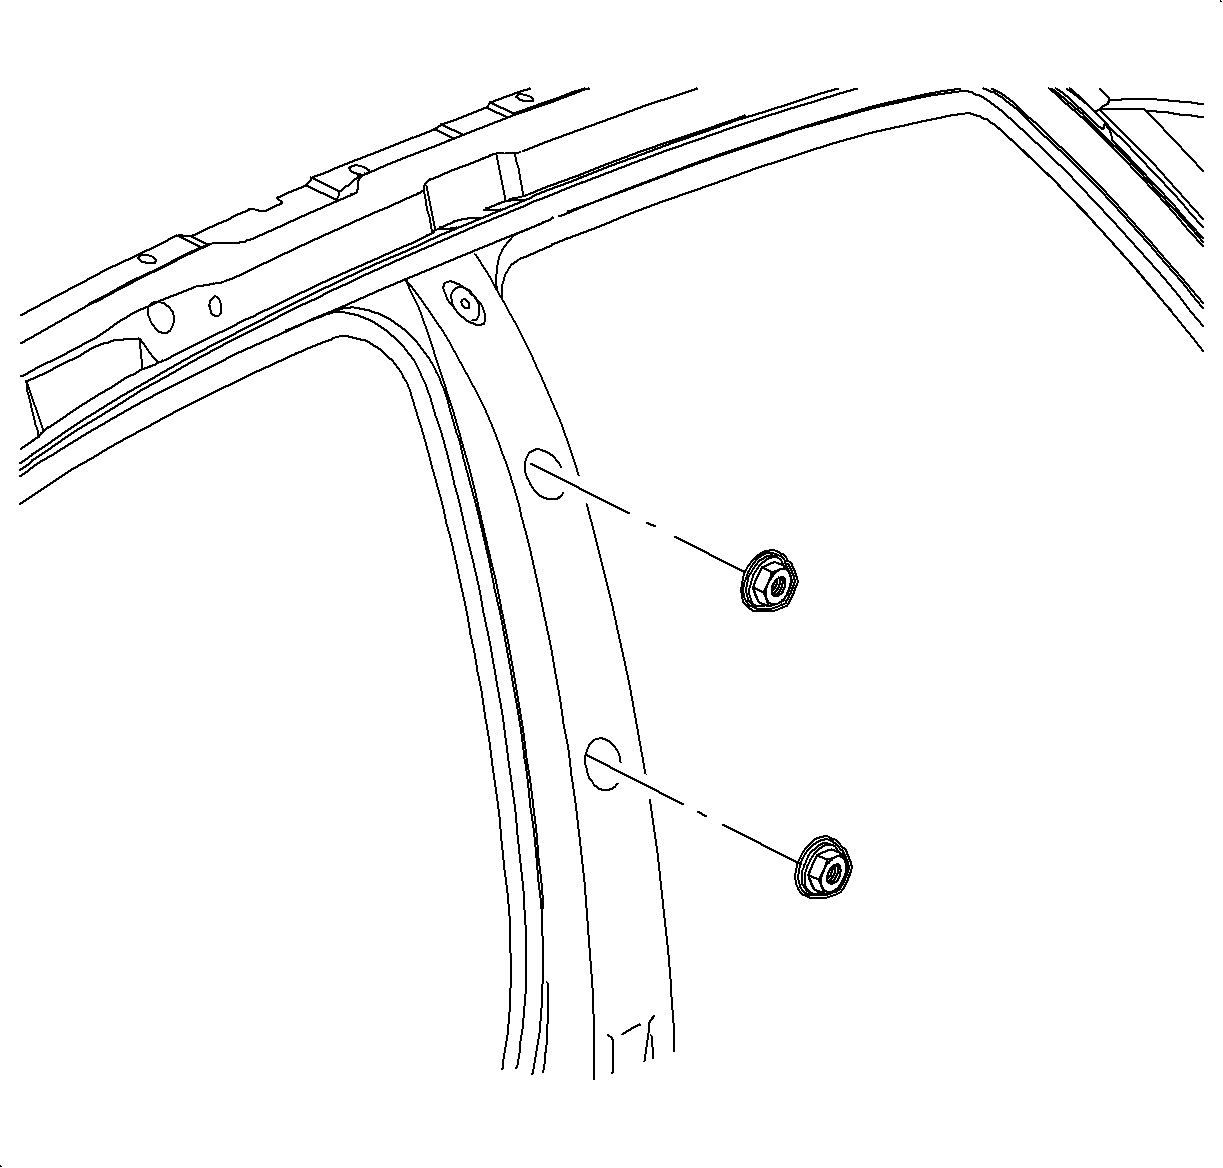
- Remove the shoulder belt height adjuster fasteners.
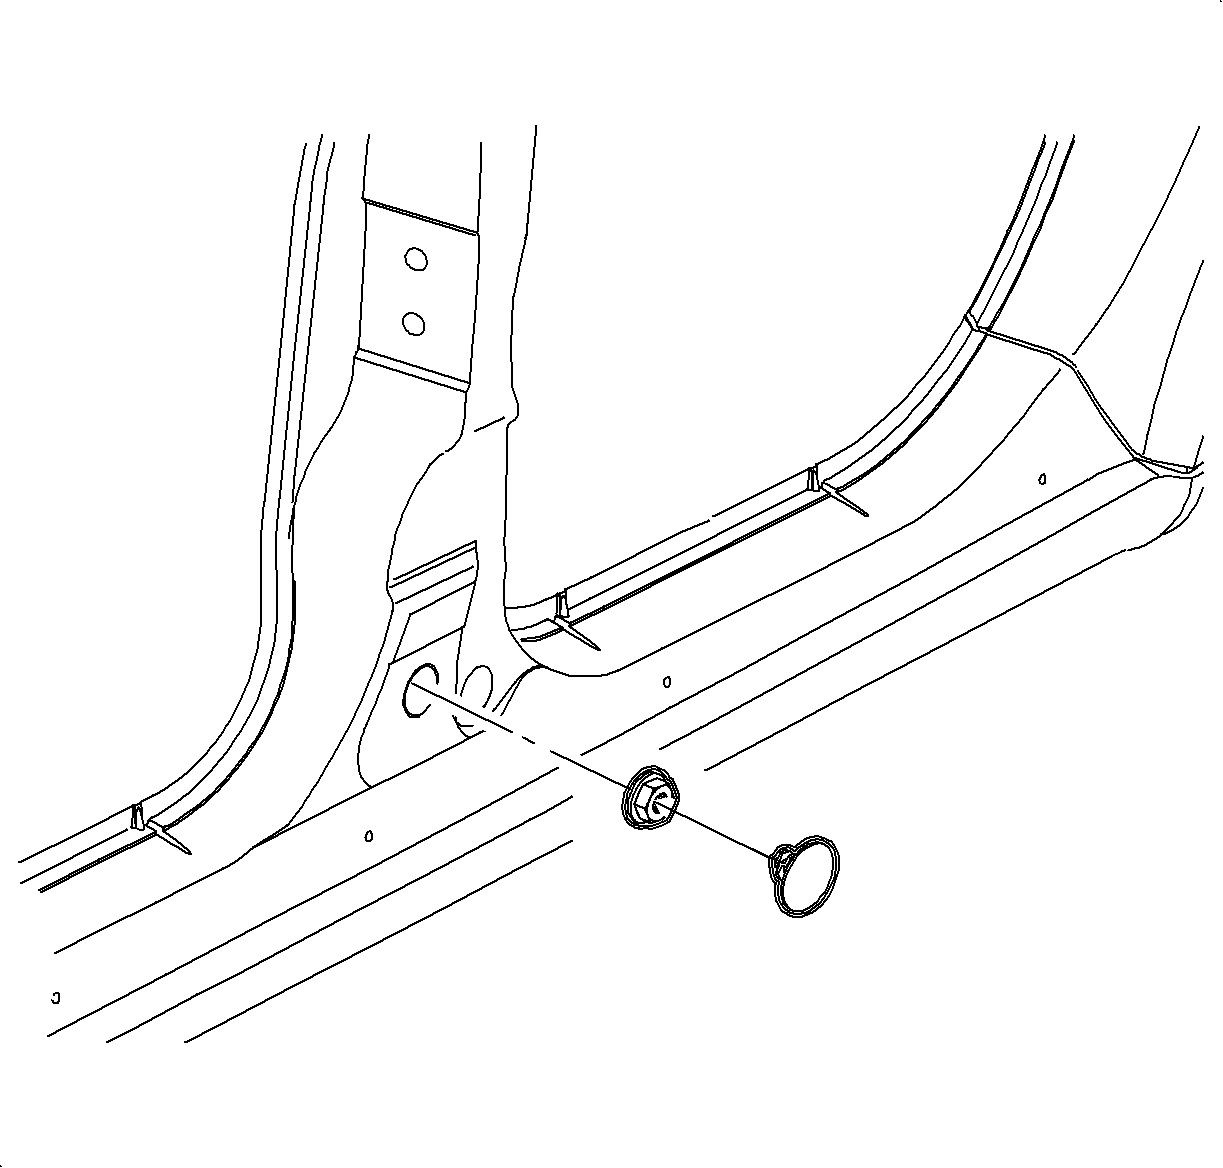
- Remove the shoulder belt retractor fastener access plug.
- Remove the center pillar molding plug and bolt.
- Starting at the top, gently pull on the upper molding to disengage the attaching clips.
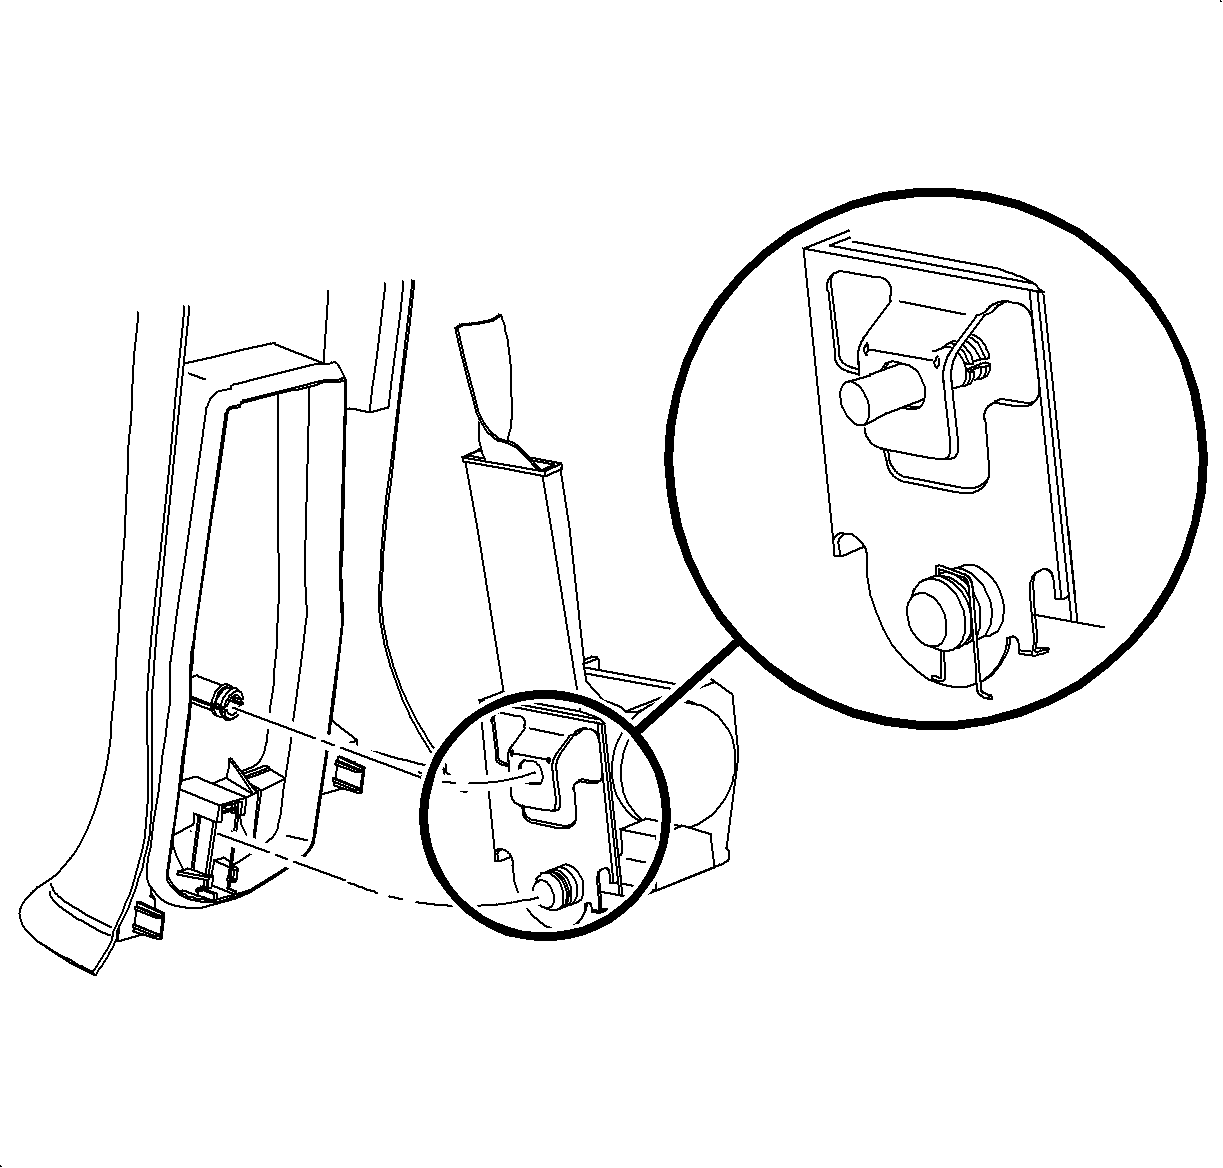
- Pull on the lower molding to disengage the attaching clips.
- Remove the shoulder belt from the shoulder belt guide.
- Move the height adjuster to the lowest position.
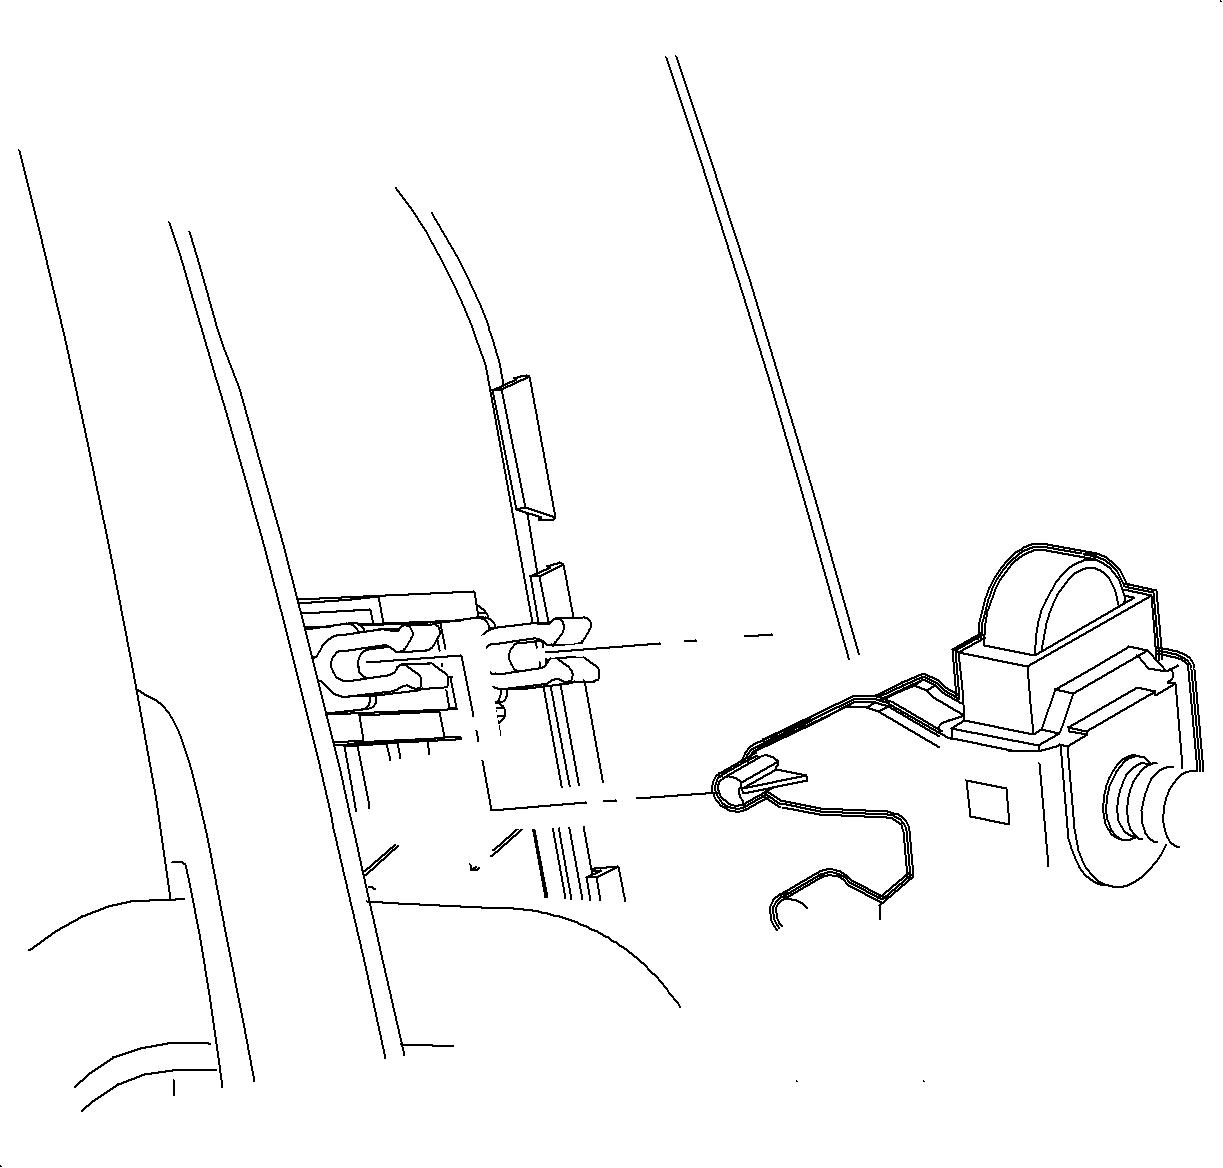
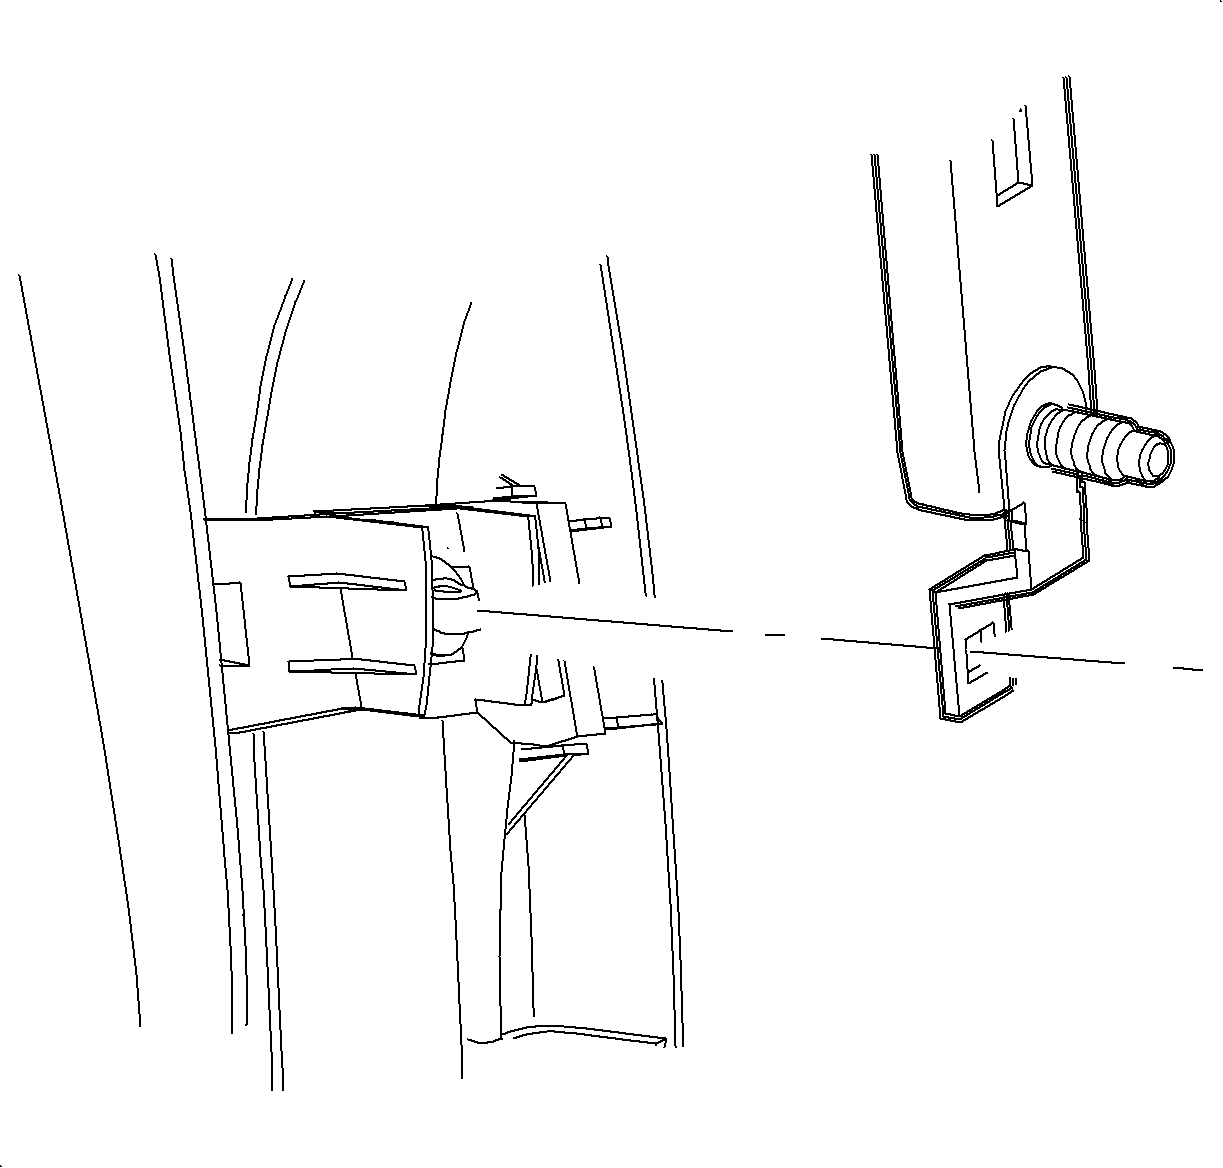
- While holding the center pillar upper molding, pull on the shoulder belt height adjuster to disengage the attaching clip.
- Pull on the height adjuster to disengage the adjuster pin.
- Route the shoulder belt through the opening in the center pillar upper molding, and remove the shoulder belt from the molding.
- While holding the height adjuster, remove the shoulder belt fastener from the height adjuster. Remove the height adjuster.
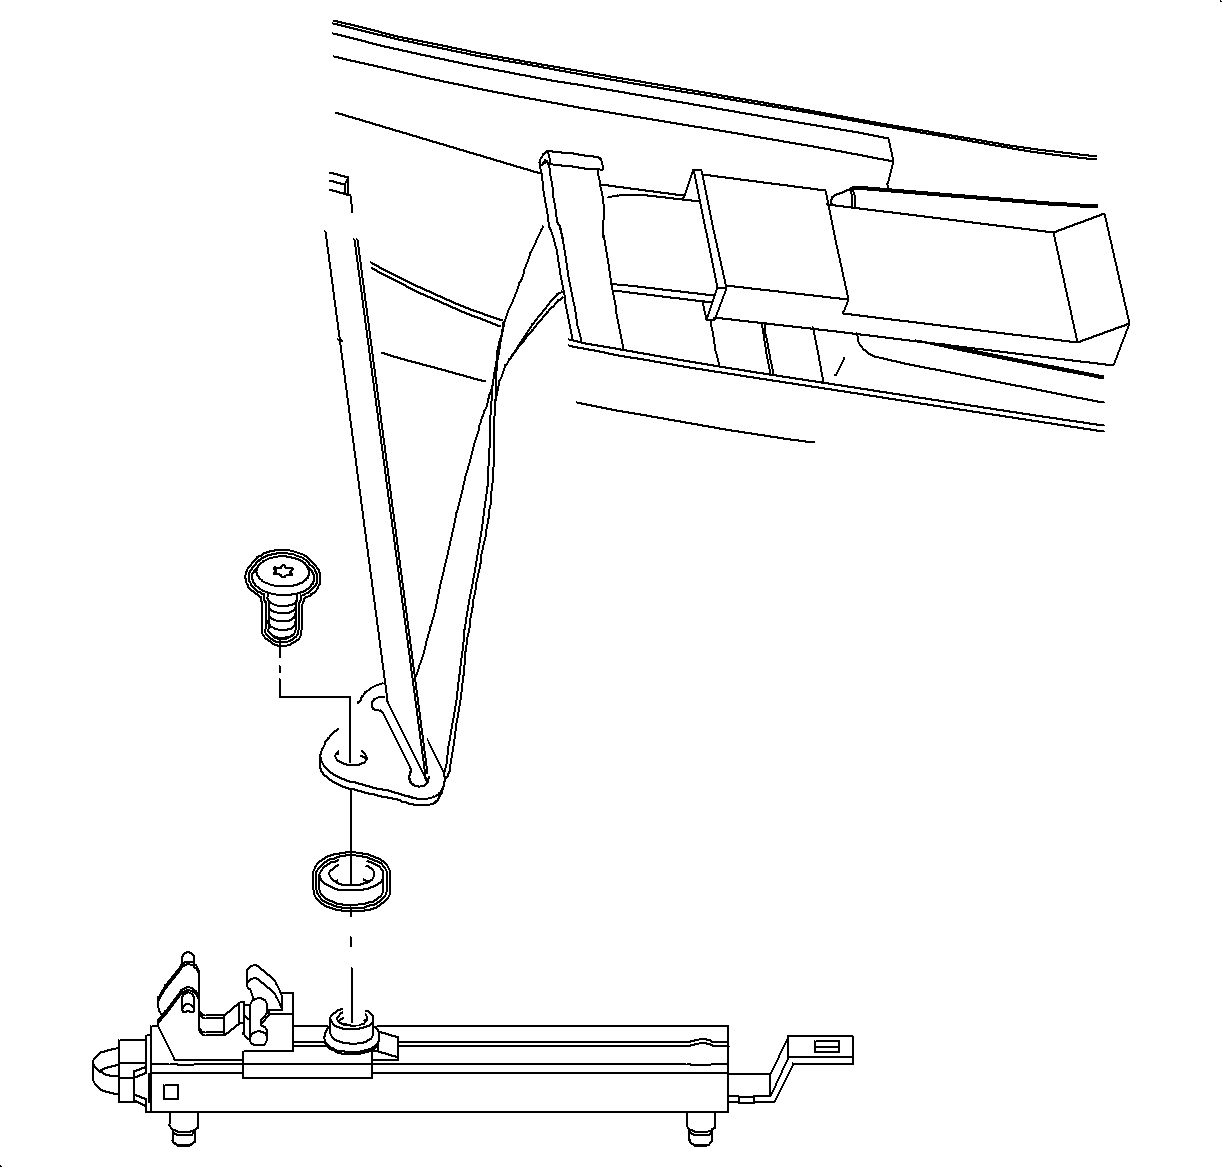
Notice: If the height adjuster is placed in a holding fixture, care must be taken not to damage the height adjuster.
Installation Procedure
- Install the shoulder belt washer between the height adjuster and shoulder belt D-ring.
- Position the D-ring onto the height adjuster shaft and install the bolt.
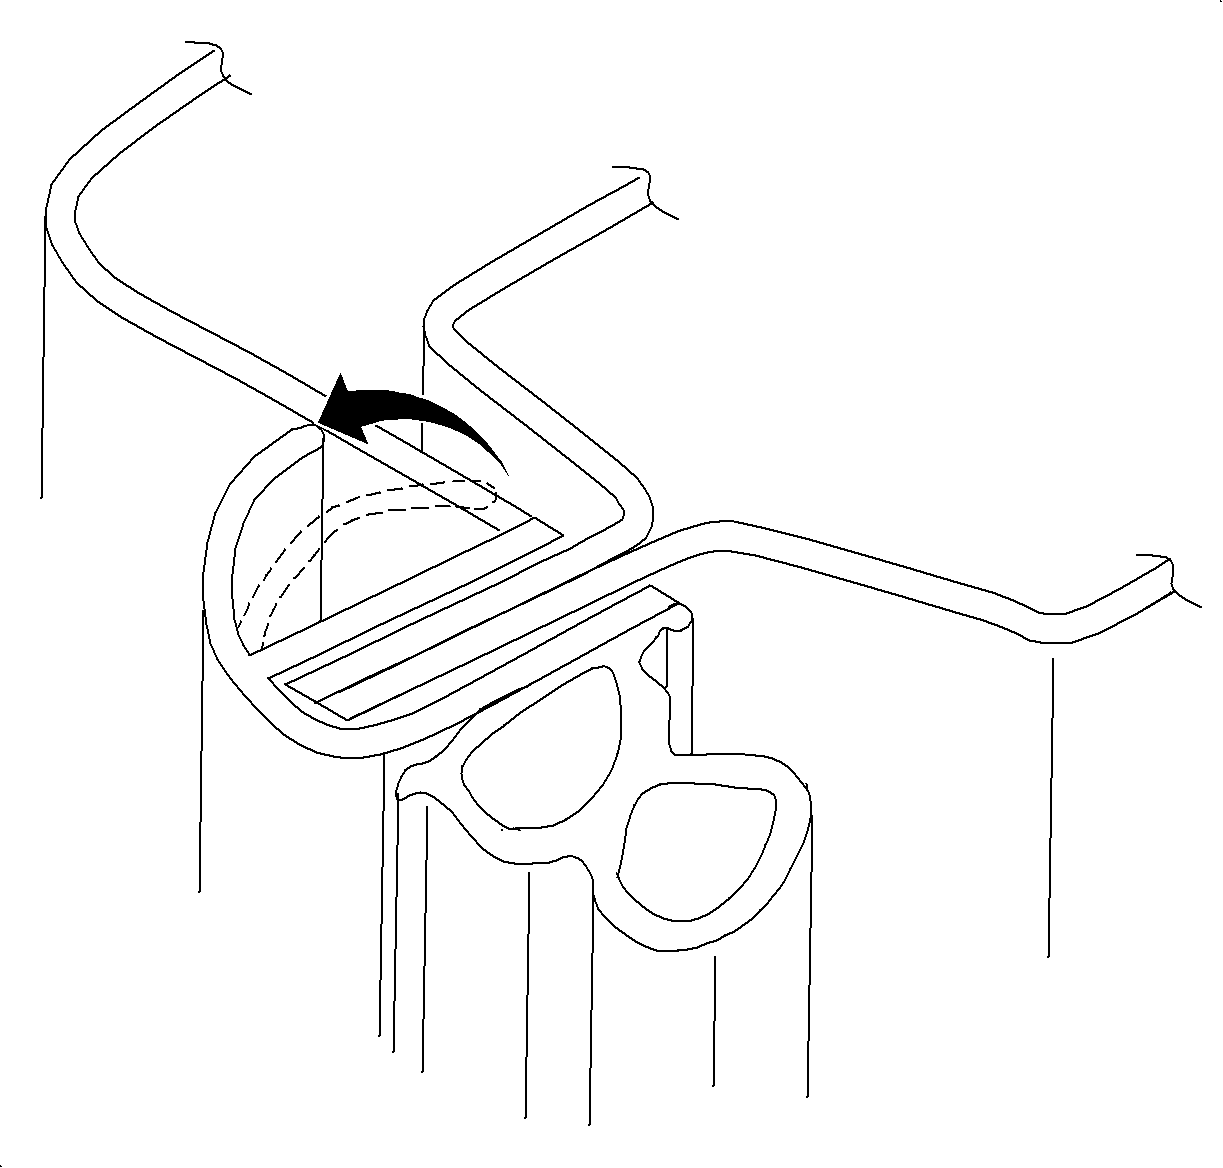
- Route the shoulder belt through the opening in the center pillar upper molding, ensuring that the latch plate has been routed through the opening.
- Position the shoulder belt behind the center pillar hinged retainer. Snap the retainer closed.
- Align the height adjuster upper retainer pins to the slider assembly and snap into place.
- Align the lower hole to the hinged retainer clip and snap the adjuster into place.
- Attach the lower molding to the upper molding.
- Snap the retractor into the lower molding retainer.
- Position the upper and lower molding to the center pillar, aligning the shoulder belt retractor stud at the structure hole.
- Position the shoulder belt behind the shoulder belt guide.
- Attach the upper and lower molding to the vehicle by firmly pushing at the clip locations.
- Install the retractor fastener.
- Install the center pillar molding fastener.
- Install the center pillar fastener plug.
- Install the height adjuster fasteners.
- Install the center pillar outside weatherstrip.
- Install the carpet retainer. Refer to Carpet Retainer Replacement in Interior Trim.
- Position the weatherstrip over the center pillar moldings and the carpet retainer.
- Install the shoulder belt to the seat track with the fastener.
- Install the seat belt outer trim cover.
- Test the shoulder belt and the height adjuster to ensure proper operation.
- Put the seat back in the original position.

Notice: Refer to Fastener Notice in the Preface section.
Tighten
Tighten the bolt to 29 N·m (21 lb ft).




Tighten
Tighten the fastener to 35 N·m (26 lb ft).
Tighten
Tighten the fastener to 10 N·m (89 lb in).
Install the retractor fastener plug.

Tighten
Tighten the fasteners to 35 N·m (26 lb ft).


Tighten
Tighten the fastener 20 N·m (15 lb ft),
