Tools Required

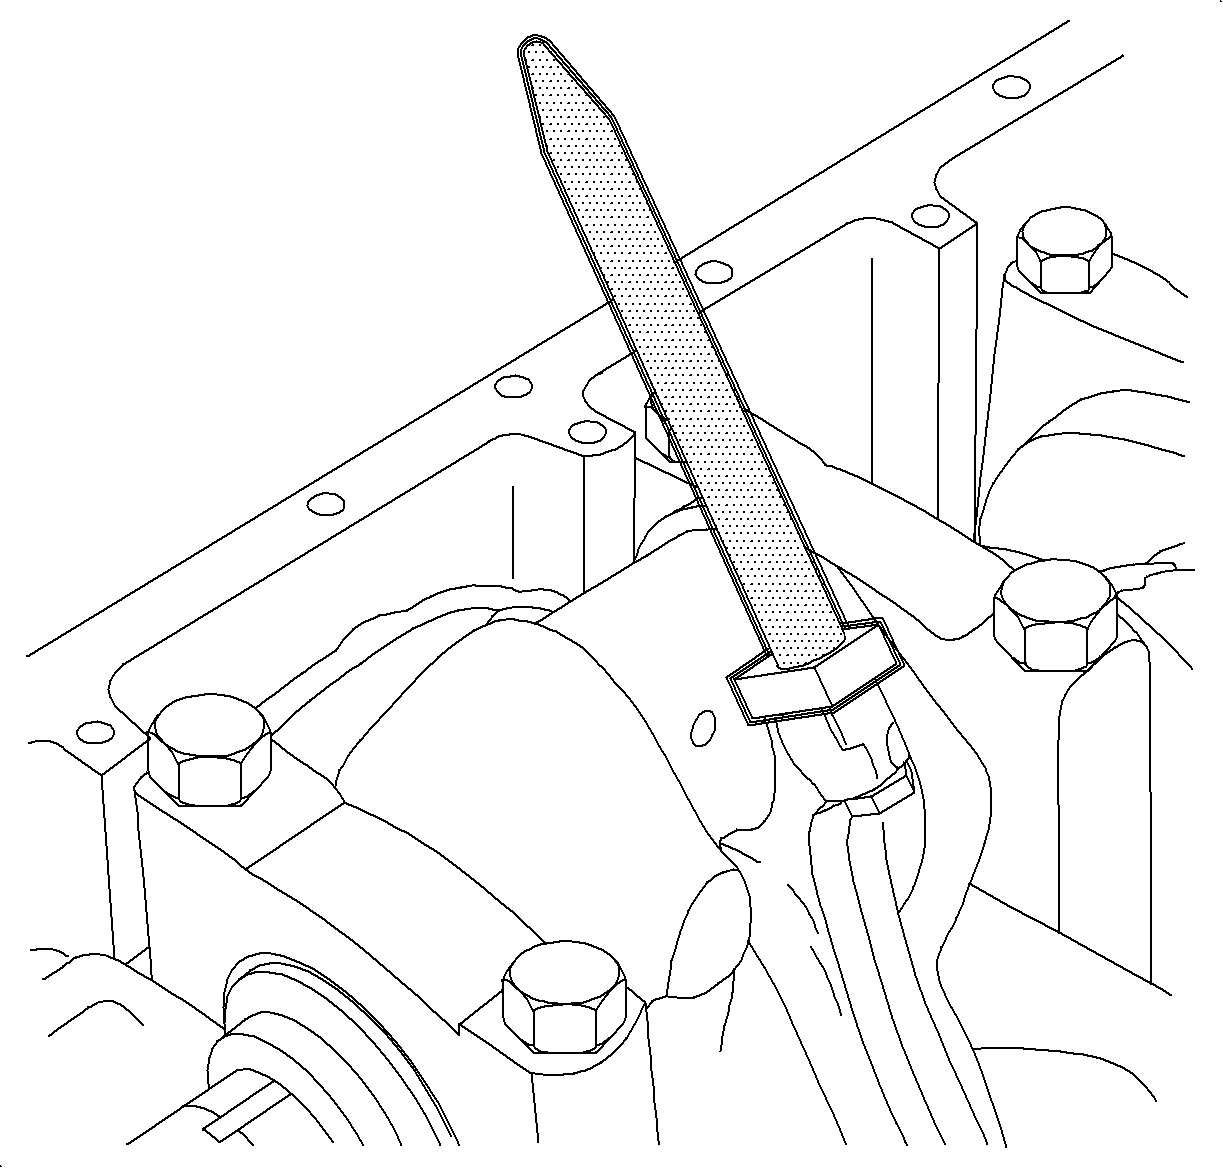
- Install the J 41742
onto the connecting rod hole which will
allow the guide pin to clear the crankshaft bearing bridge. Only 1 J 41742
is required to properly align the connecting
rod with the crankshaft.
- Install the upper rod bearing to the rod.
- Coat the following components with clean engine oil:

- Perform the following
steps to install the piston:
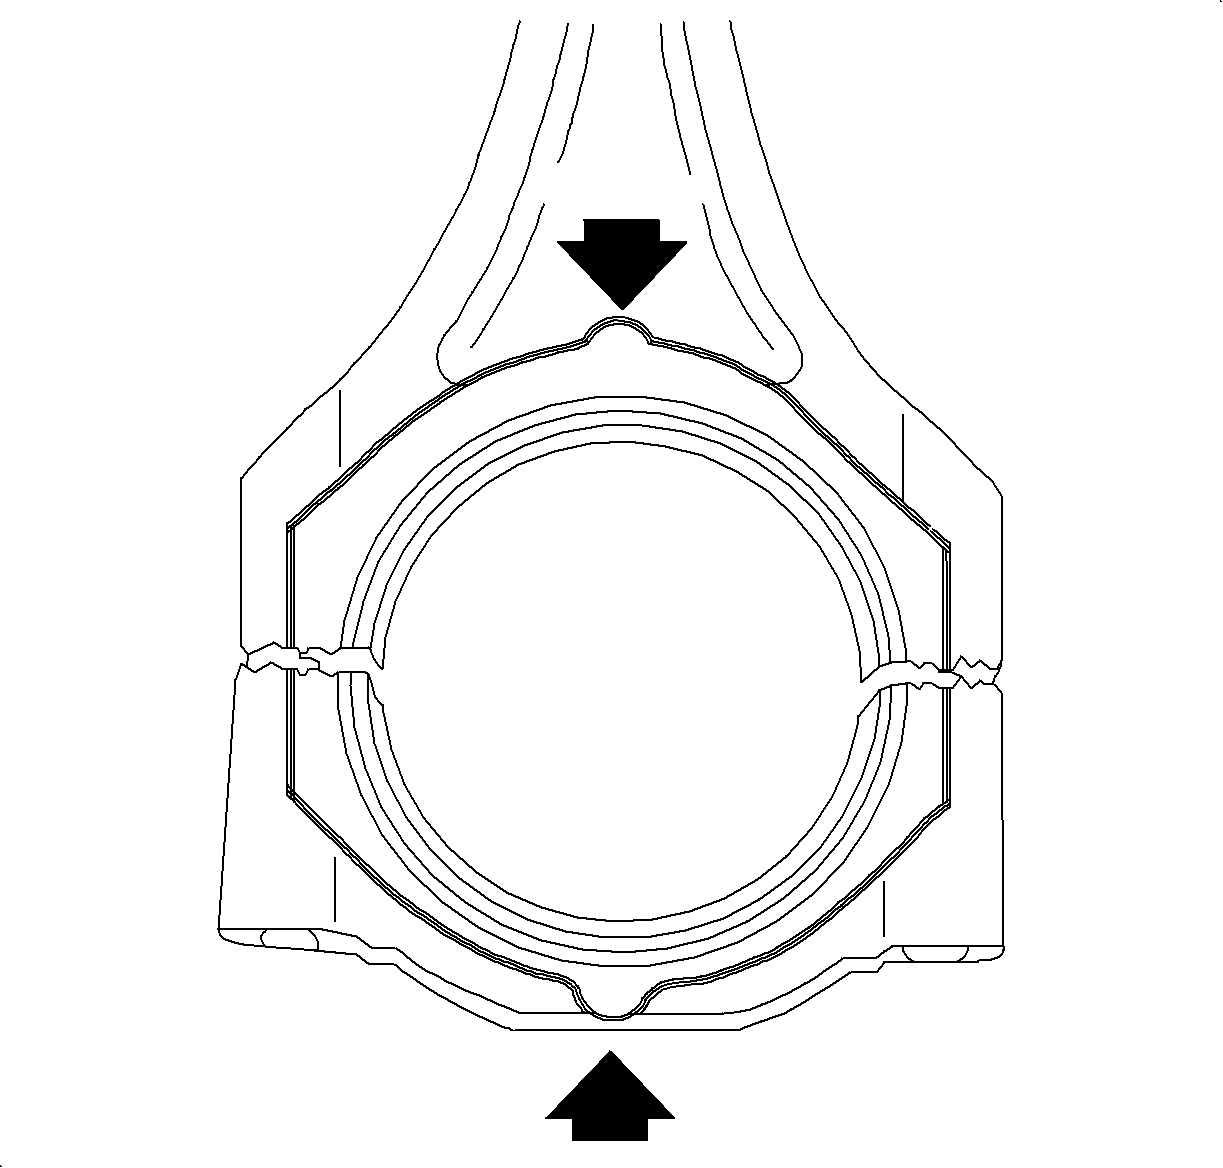
| | Important: The bump on the connecting rod and the cap must face the rear of the
block.
|
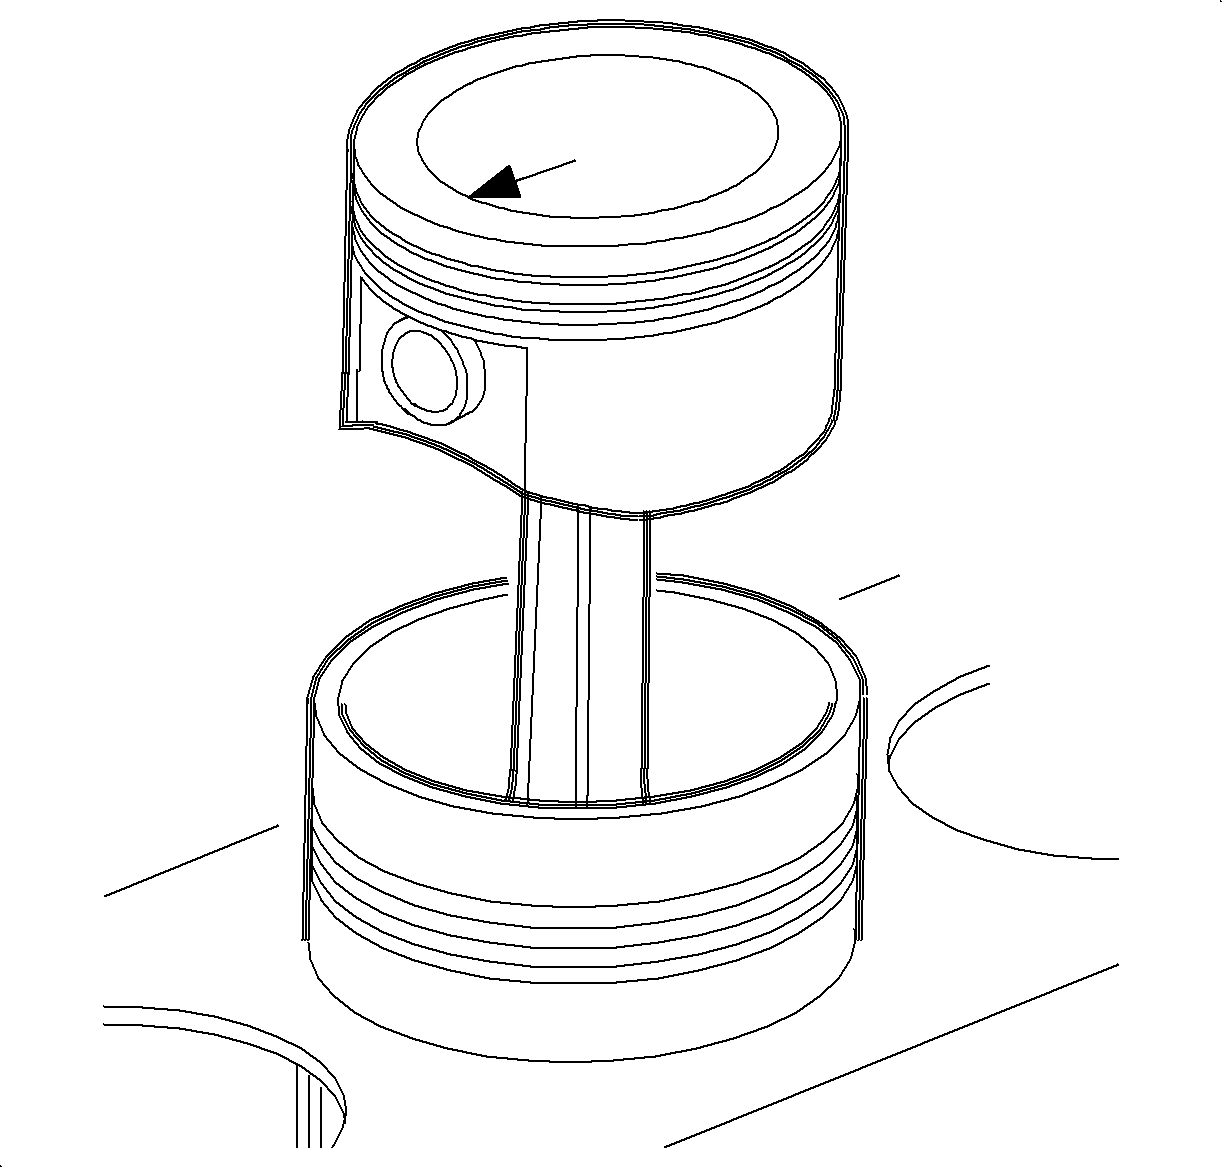
| 4.1. | Position the piston with the arrow on the piston head facing toward
the front of the engine. |
| 4.2. | Use the J 43953
to
compress the piston rings. |
| 4.3. | Place the piston in the cylinder. |
| 4.4. | Lightly tap the piston into the cylinder bore while an assistant
guides the connecting rod onto the crankshaft. |
- Remove the J 41742
.

- Perform the following
steps to install the connecting rod caps with the bearings to the connecting
rod:
| 6.1. | Install with the bumps on the connecting rod and the cap facing
toward the rear of the engine. |
| 6.2. | Coat the bearing surface with clean engine oil. |
Notice: Refer to Fastener Notice in the Preface section.
Important: Use new connecting rod cap bolts.
- Install the connecting rod cap bolts.
Tighten
- First Pass:
Tighten the connecting rod cap bolts to
35 N·m (26 lb ft).
- Second Pass:
Plus 45 degrees
- Final Pass:
Plus 15 degrees
- Repeat the steps for the remaining pistons.


