Tools Required
| • | SA9105E Engine Support Fixture (3 Bar) |
| • | J 43405 Engine Support Fixture Adapter |
Removal Procedure
- Disconnect the negative battery cable.
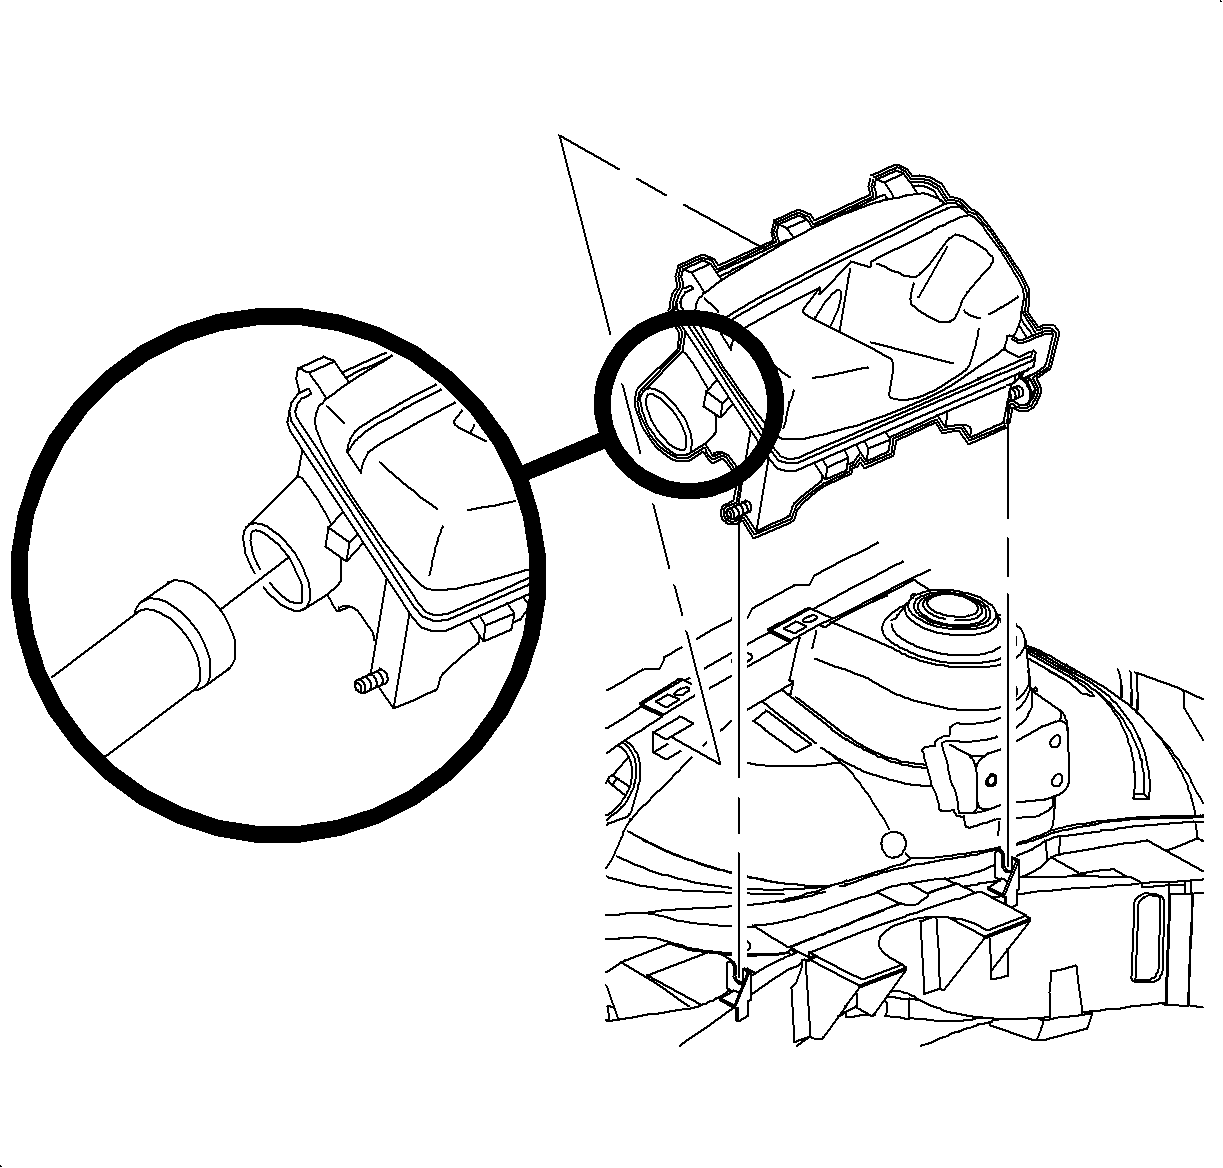
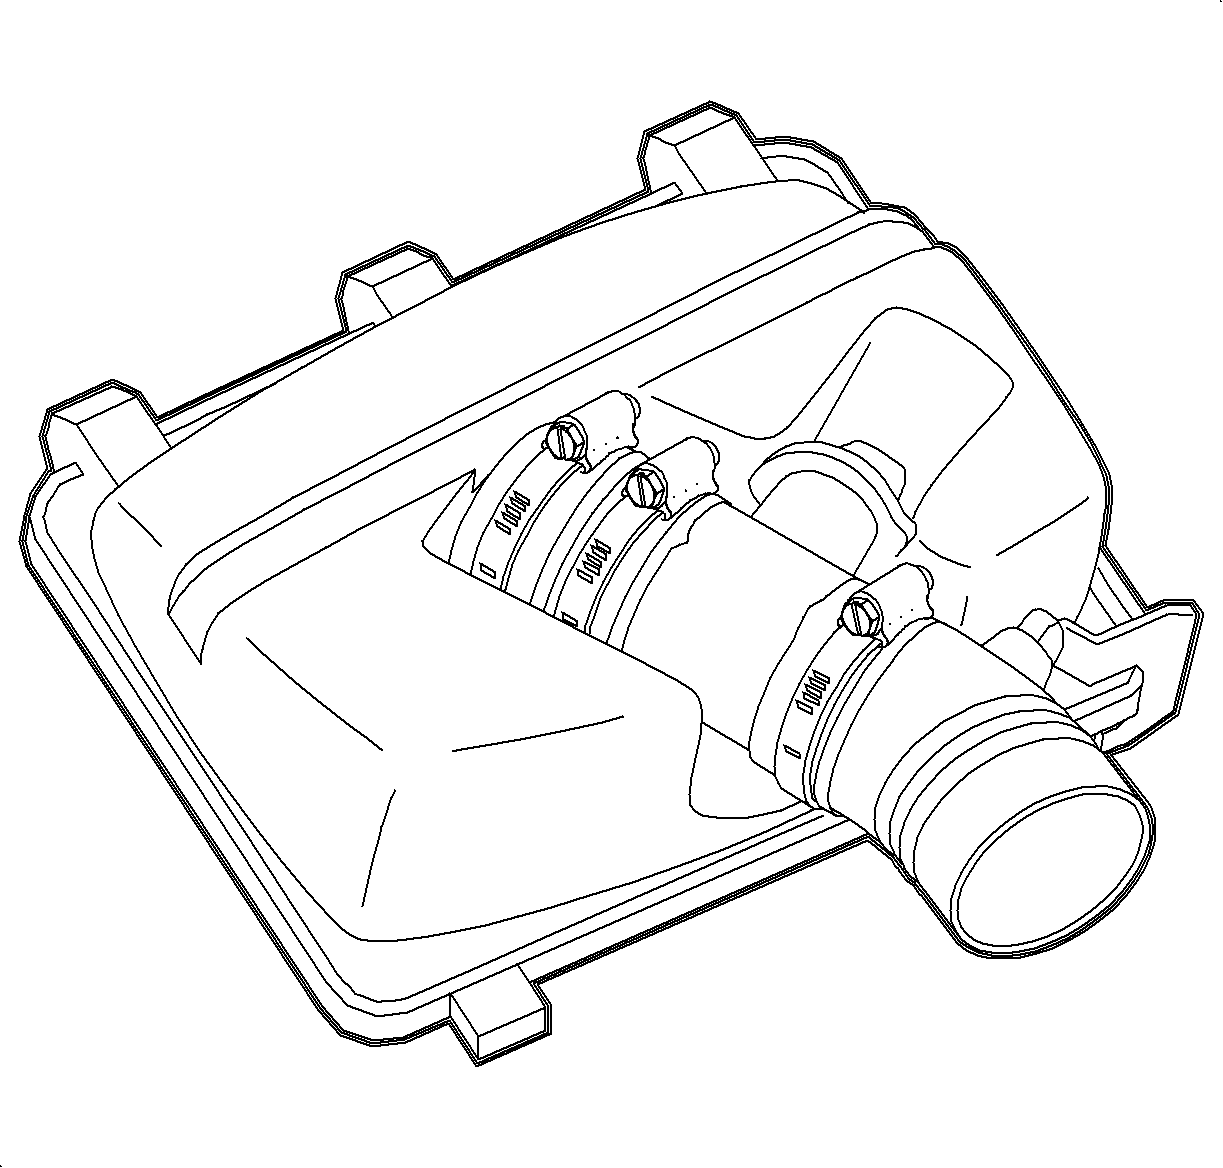
- Remove the air cleaner assembly.
- Raise and support the vehicle.
- Remove the right front wheel.
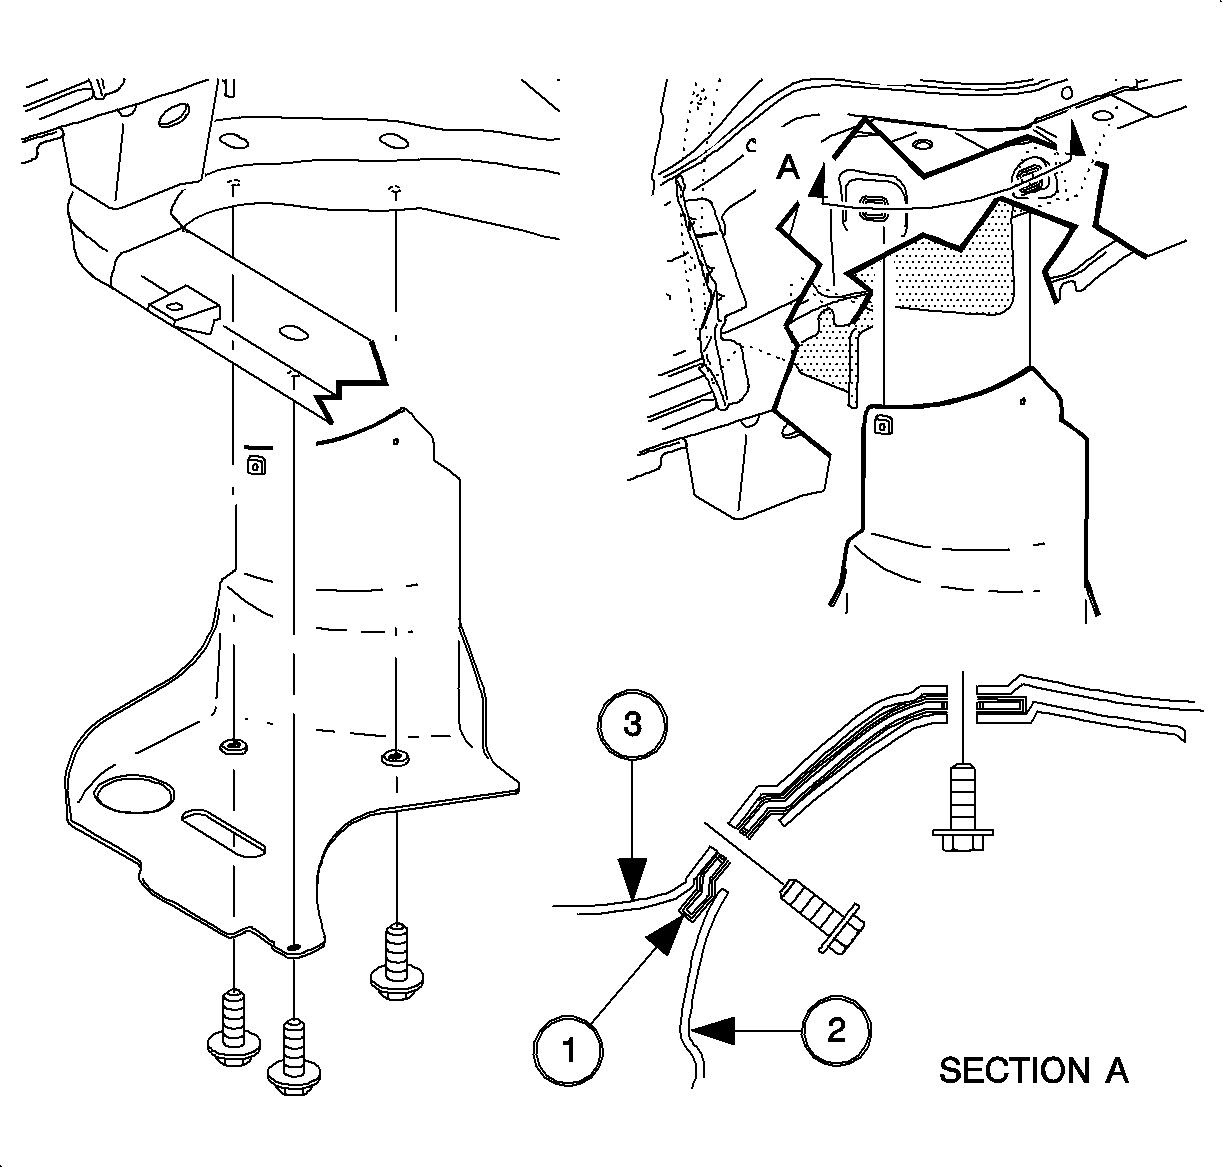
- Remove the splash shield bolts.
- Remove the splash shield.
- Lower the vehicle.
- Loosen the water pump pulley bolts. The accessory drive belt tension provides resistance to enable loosening of the bolts. Do not remove the fastening bolts at this time.
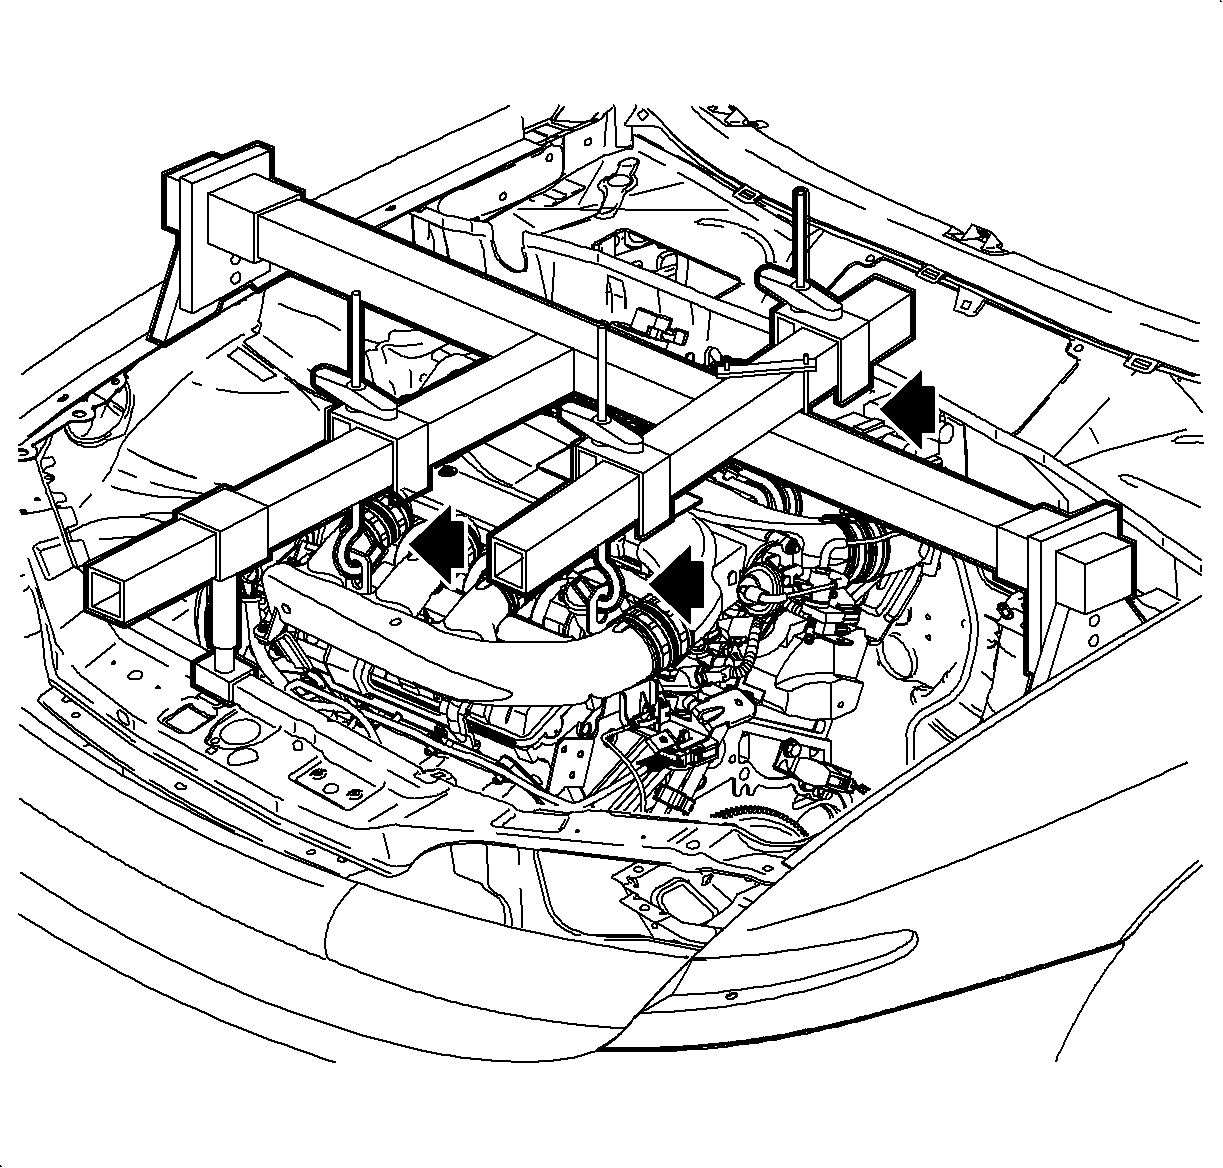
- Install the engine support fixture and adapters, the SA9105E , and the J 43405 .
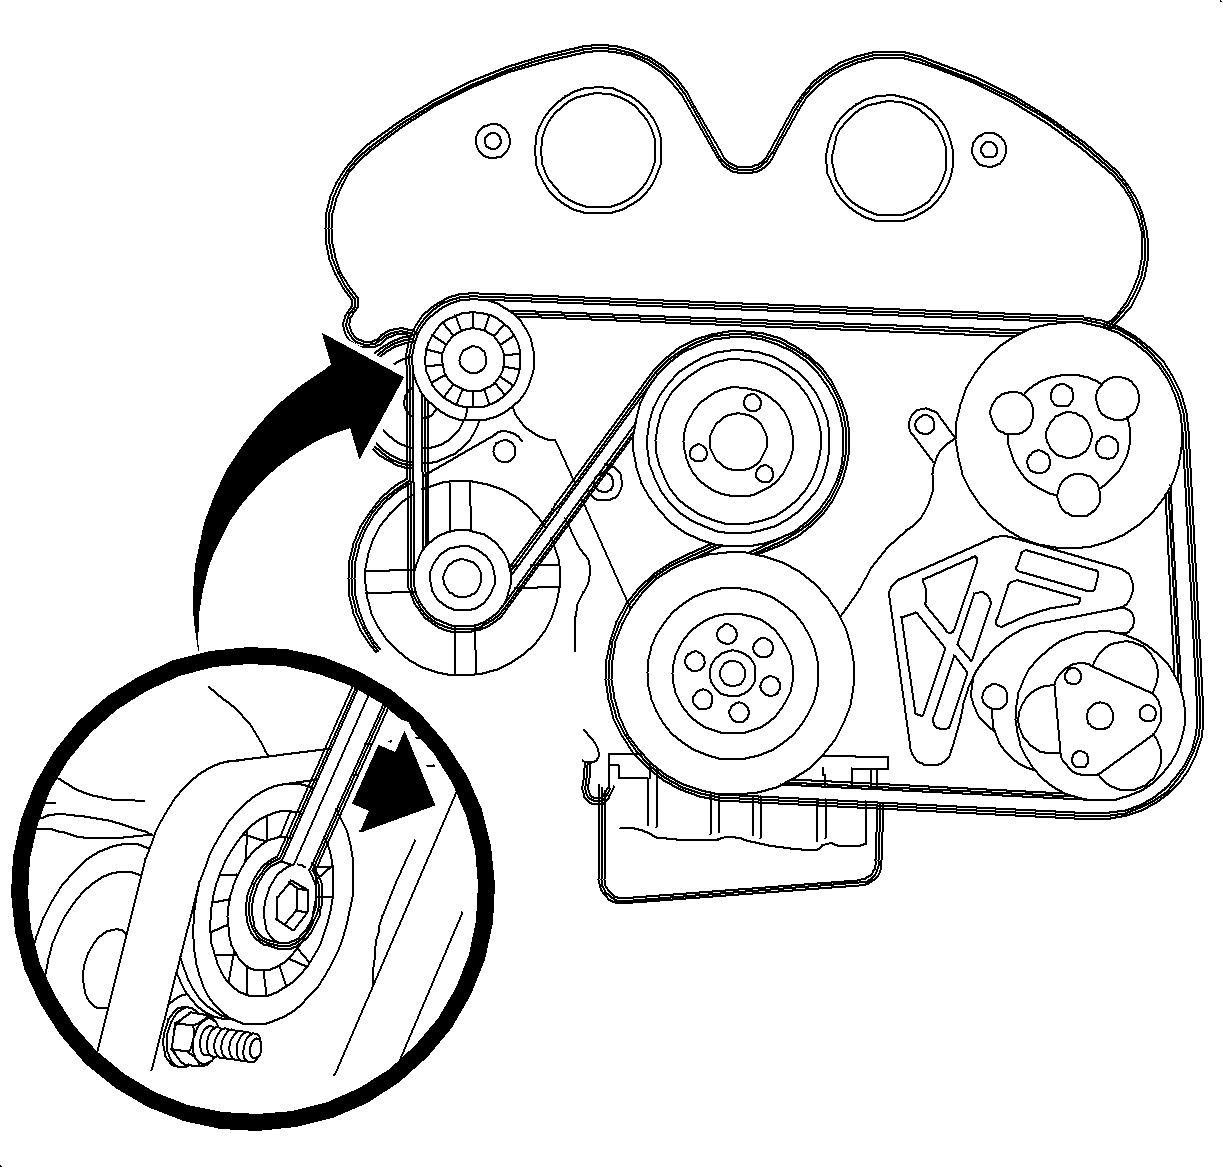
- Remove the accessory drive belt using a 15 mm wrench to compress the tensioner.
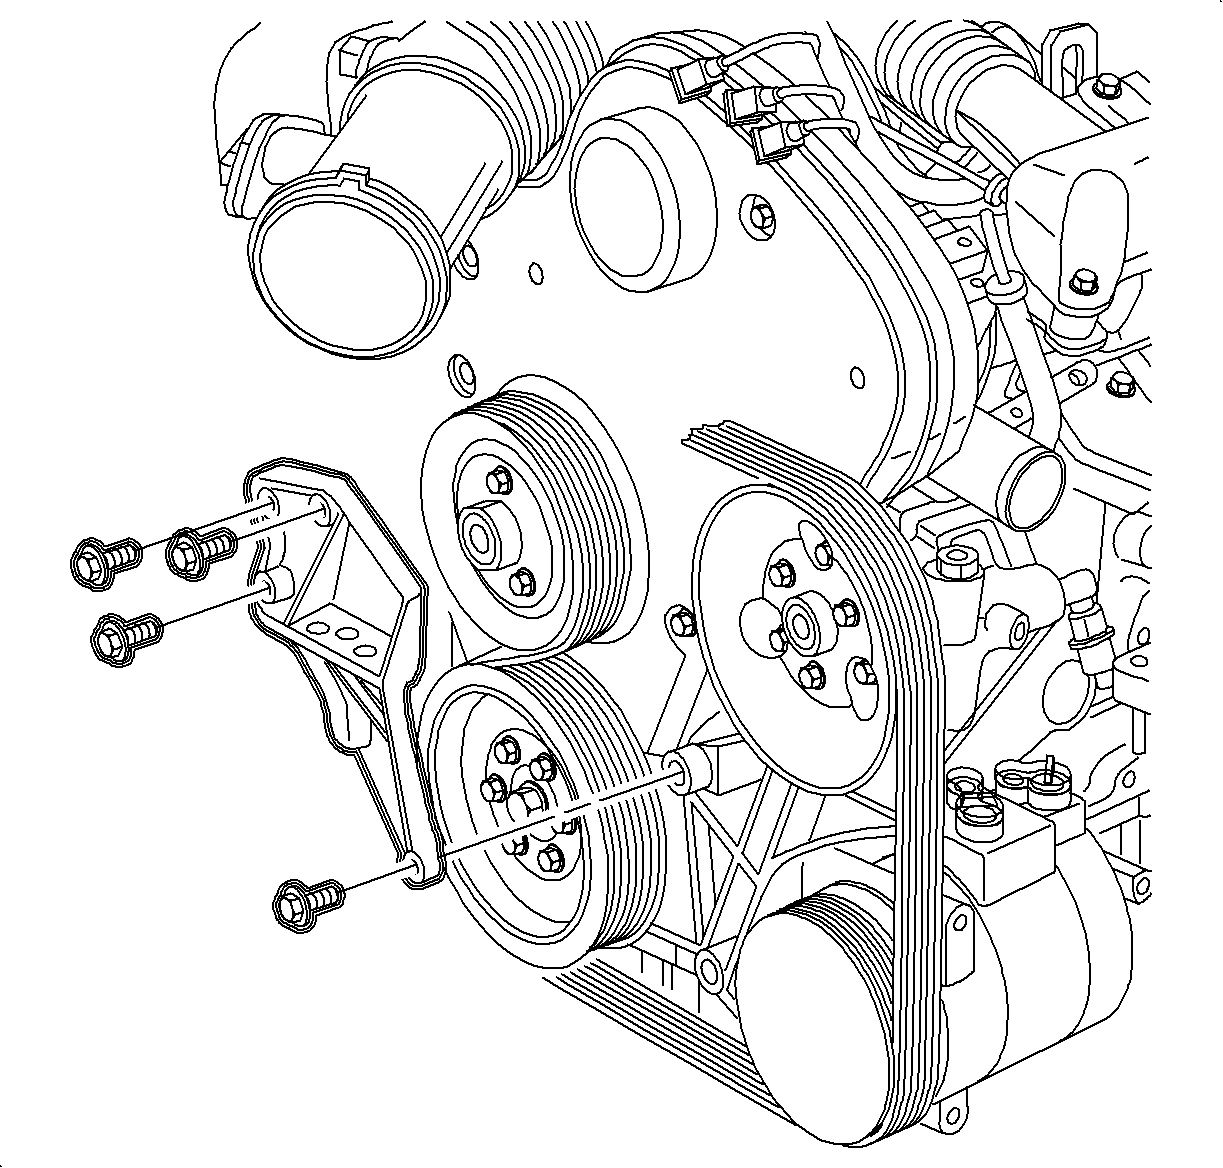
- Remove the right engine-to-body mount fasteners.
- Remove the engine mount bracket from the engine.
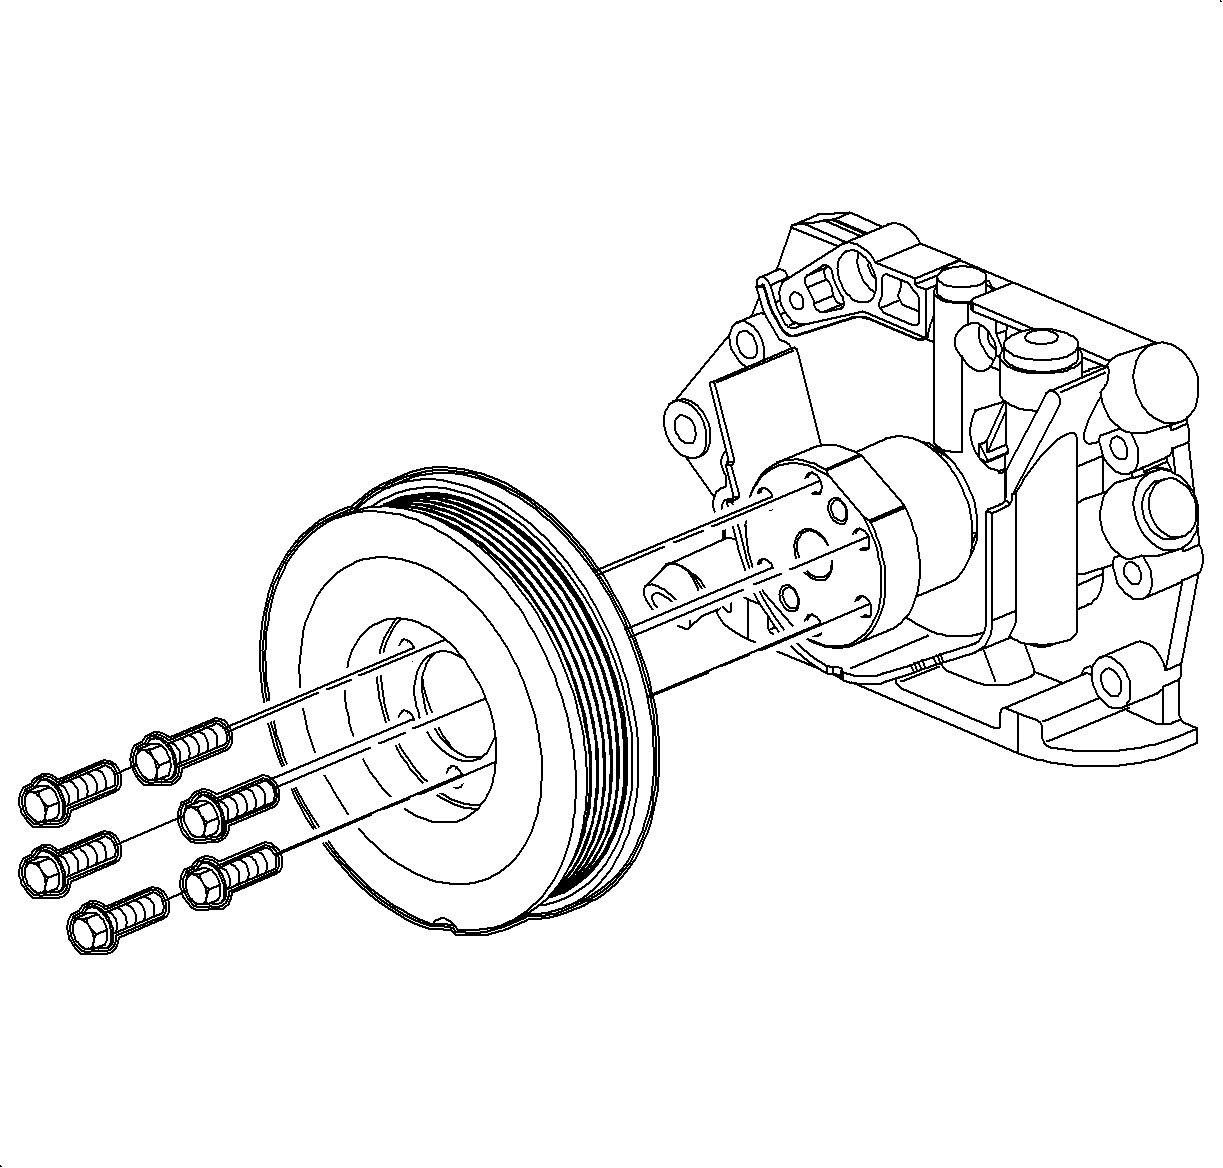
- Remove the water pump pulley bolts.
- Remove the water pump pulley.
- Remove the power steering pump pulley bolts.
- Remove the power steering pump pulley.
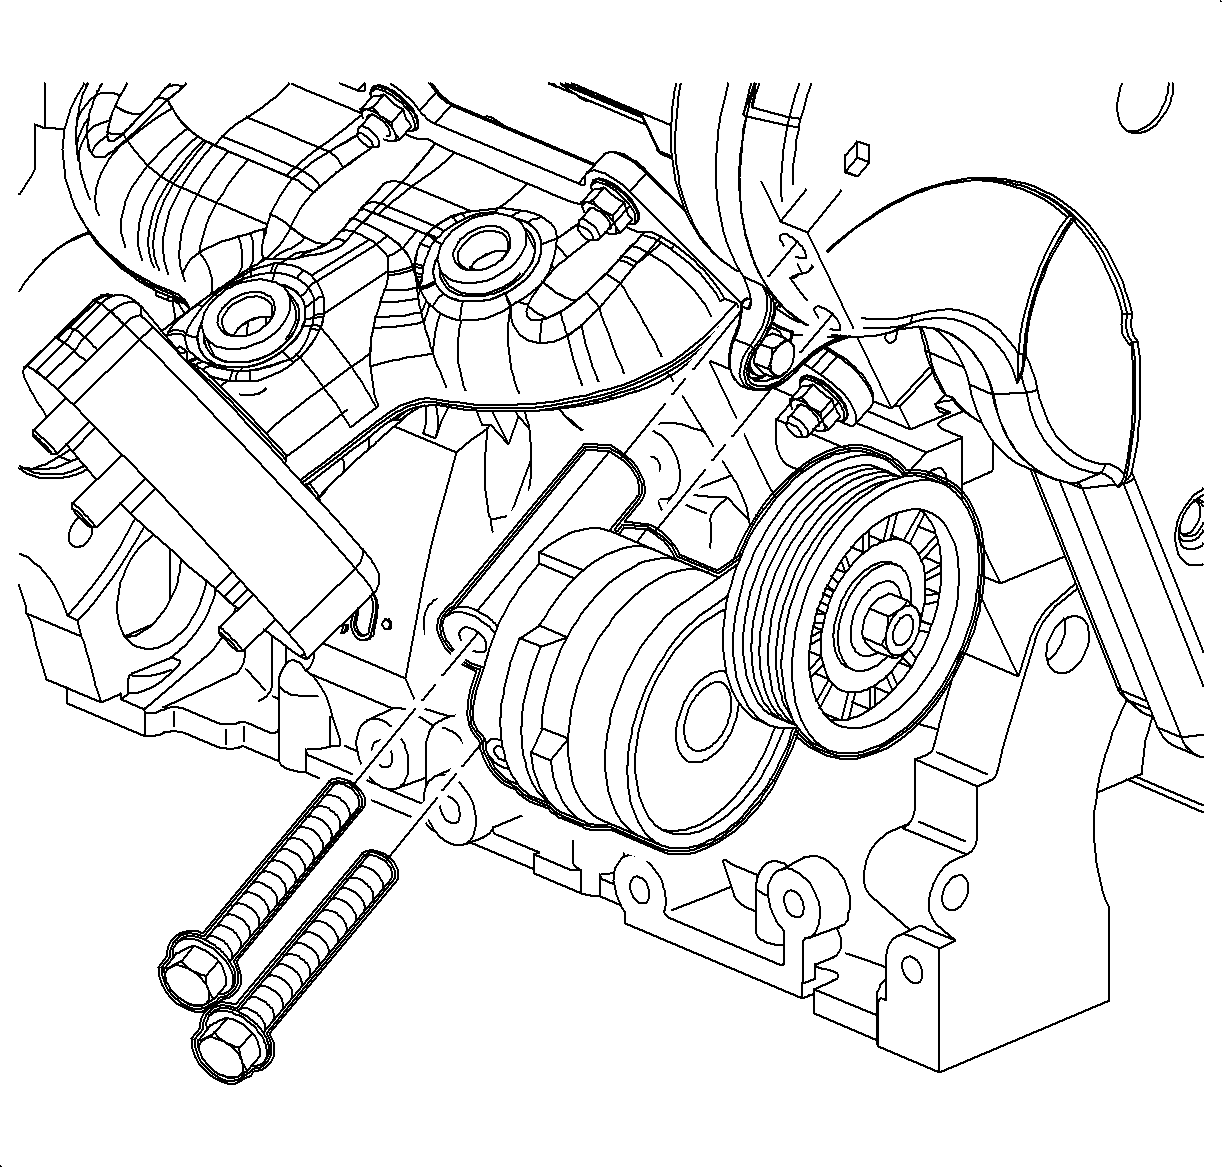
- Remove the accessory drive belt tensioner bolts.
- Remove the accessory drive belt tensioner.
- Remove the crankshaft balancer.
- Remove the wiring harness channel from the cover and secure away from the front of the engine.
- Remove the front timing belt cover bolts.
- Remove the front timing belt cover.
- Remove the transfer wiring harness channel.
- Inspect the sealing strip on the outer edge of the front of the timing belt cover for cracks and/or tears. Replace if necessary.
Caution: Refer to Vehicle Lifting Caution in the Preface section.
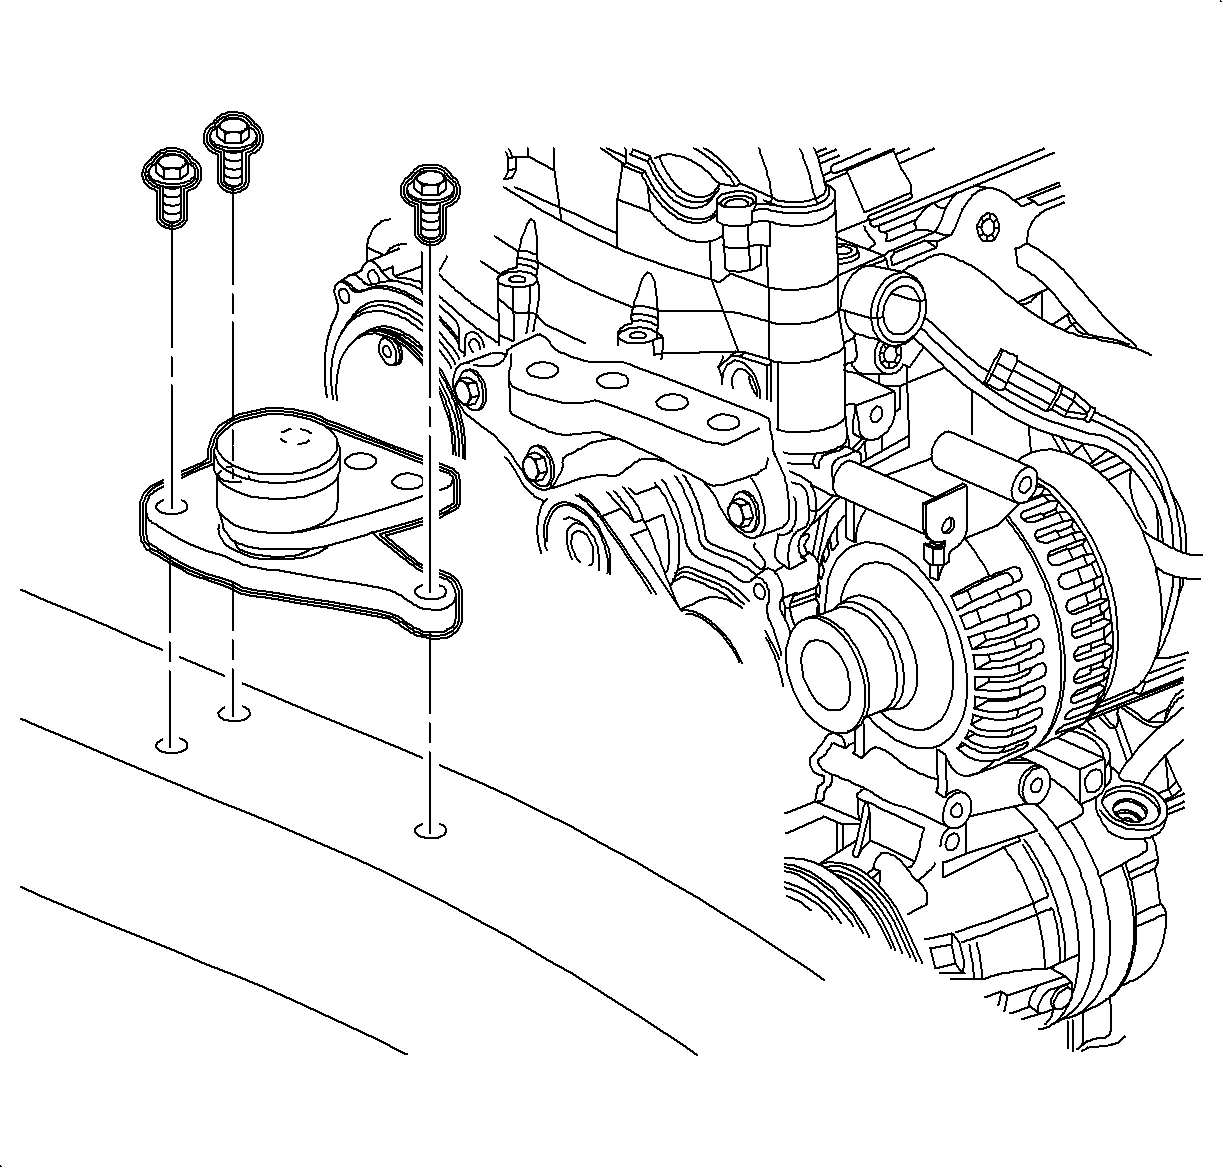
Important: Removal of the accessory drive belt requires the removal of the right front engine mount.

Important: Disconnecting the A/C pressure connector will allow additional slack so that the harness may be secured to the top of the engine.
Installation Procedure
- Install the front timing belt .
- Install the front timing belt cover bolts.
- Install the crankshaft balancer.
- Install the accessory drive belt tensioner.
- Install the accessory drive belt tensioner bolts.
- Install the power steering pump pulley.
- Install the power steering pump pulley bolts.
- Snug the power steering pump pulley bolts. The bolts will be tightened to the proper specification when the serpentine drive belt is installed.
- Install the water pump pulley.
- Install the water pump pulley bolts.
- Snug the water pump pulley bolts. The bolts will be tightened to the proper specification when the accessory drive belt is installed.
- Install the water pump pulley screws.
- Route the wiring harness into the wiring harness channel.
- Install the wiring harness channel cover.
- Install the wiring harness channel extension to the right lower side of the wiring harness channel.
- Install the accessory drive belt.
- Tighten the water pump pulley and power steering pulley bolts.
- Install the engine mount bracket and tighten the fasteners.
- Install the engine mount to the frame rail and engine mount bracket.
- Remove the engine support fixture.
- Raise the vehicle.
- Install the splash shield.
- Install the splash shield bolts. Tighten the splash shield bolts until fully seated. Do not strip the bolts.
- Install the right front wheel.
- Lower the vehicle.
- Install the air cleaner assembly.
- Reconnect the negative battery cable.
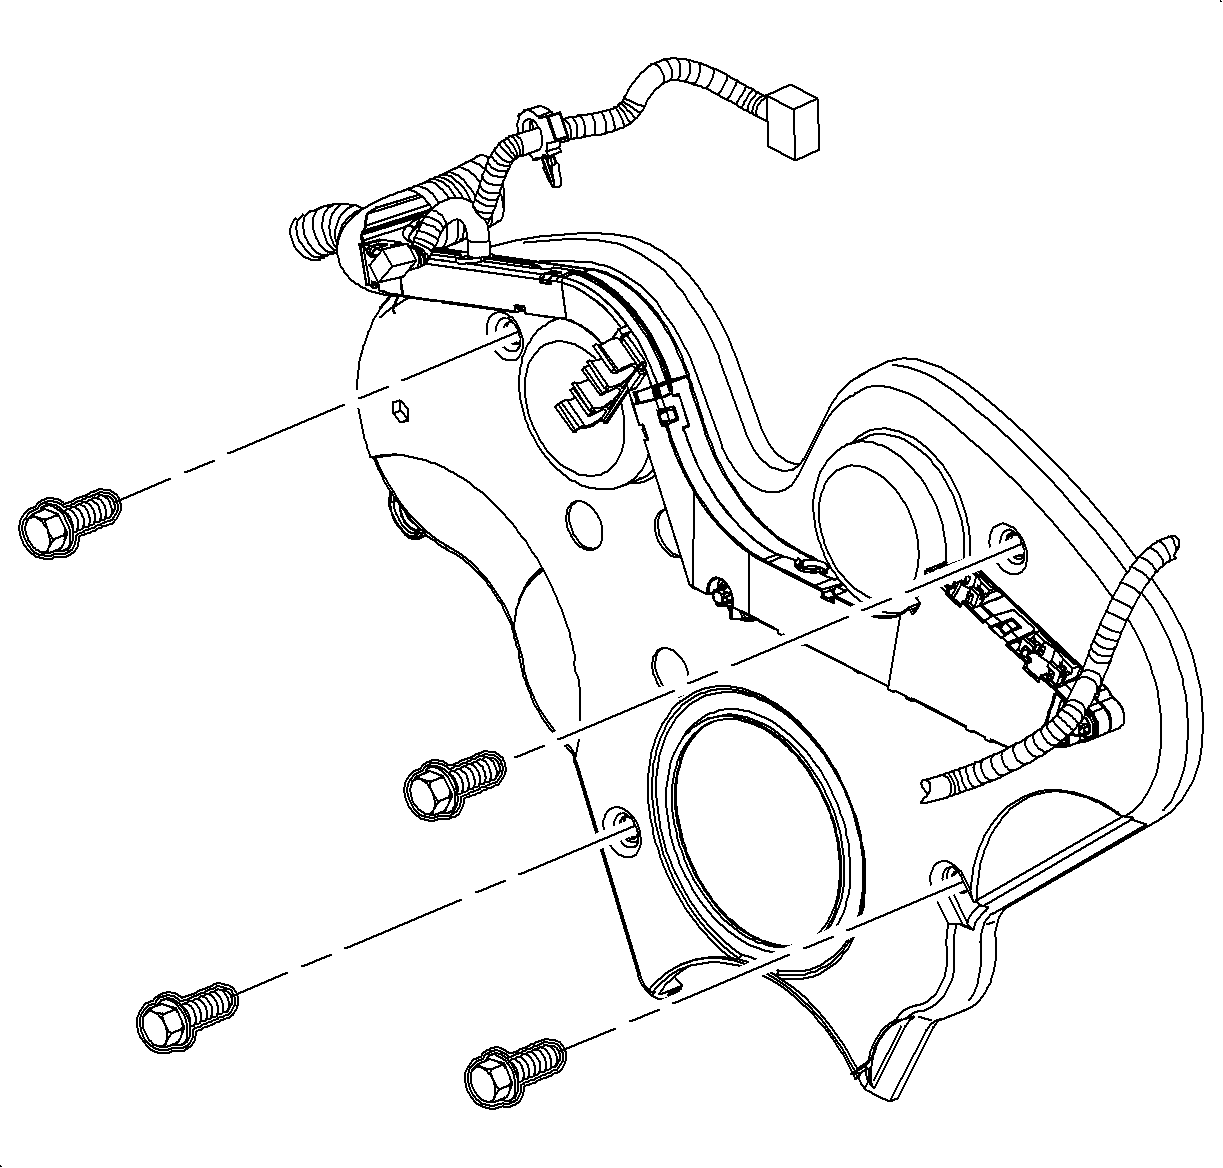
Notice: Refer to Fastener Notice in the Preface section.
Tighten
Tighten the front timing belt cover bolt to 8 N·m
(71 lb in).

Tighten
Tighten the crankshaft balancer bolt to 20 N·m
(15 lb ft).

Tighten
Tighten the belt tensioner bolts to 40 N·m
(30 lb ft).

Tighten
| • | Tighten the water pump pulley bolt to 8 N·m (71 lb in). |
| • | Tighten the power steering pump pulley bolt to 20 N·m (15 lb in). |

Tighten
Tighten the engine mount bracket bolt to 55 N·m
(41 lb ft).
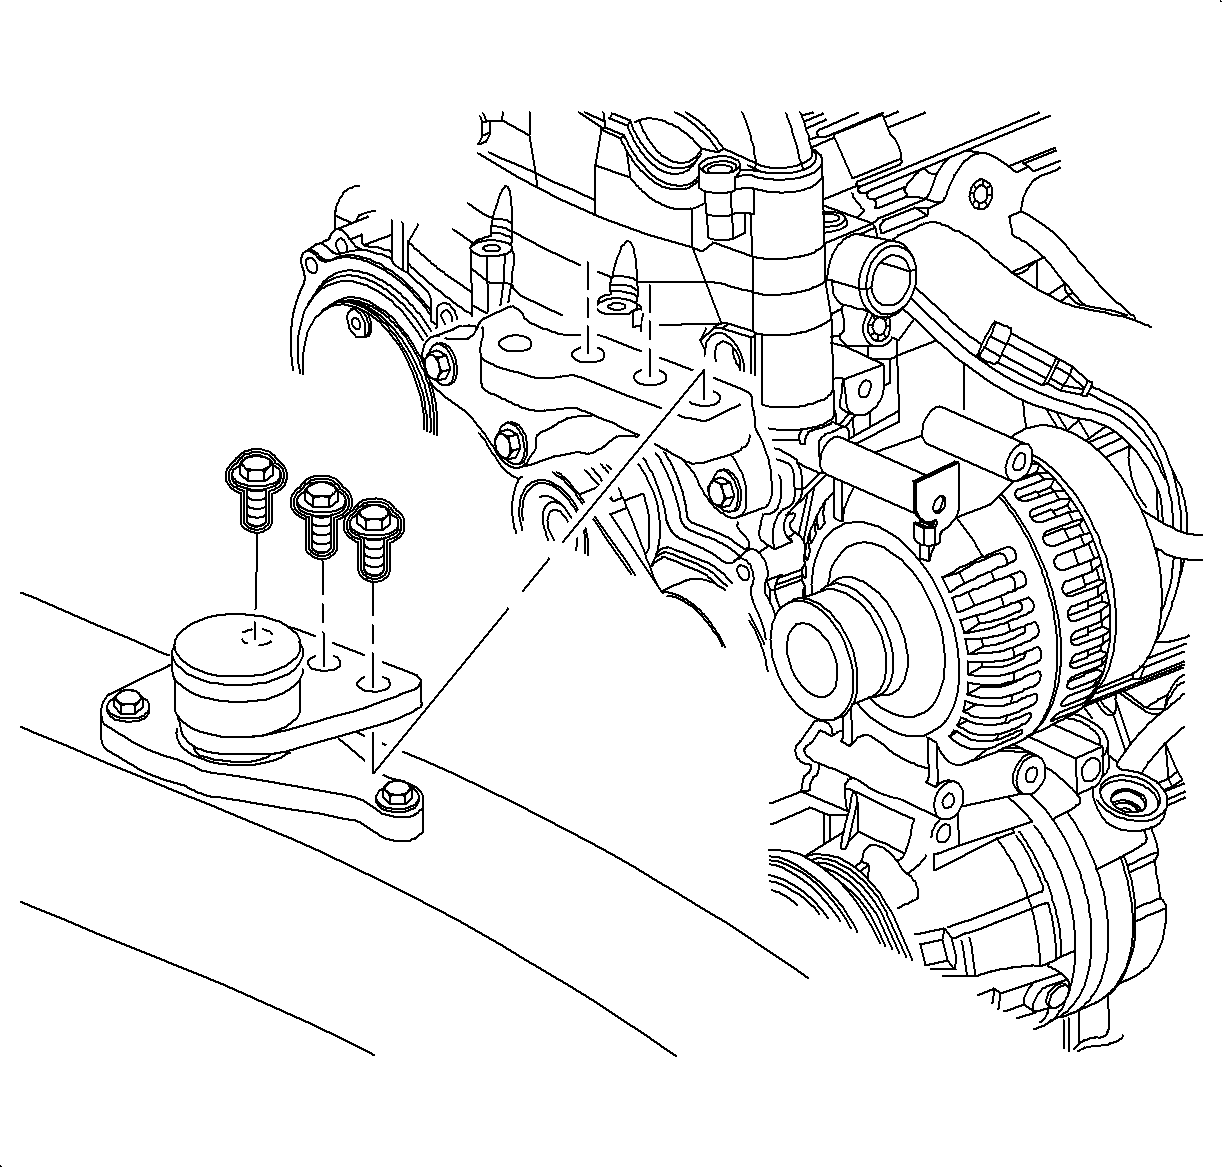
Tighten
Tighten the engine mount-to-bracket bolt to 55 N·m
(41 lb ft).
Caution: Refer to Vehicle Lifting Caution in the Preface section.

Tighten
Tighten the wheel bolts to 125 N·m
(92 lb ft).
Tighten
Tighten the battery terminal bolt to 17 N·m
(13 lb ft).
