For 1990-2009 cars only
Removal Procedure
- Disconnect the negative battery cable. Refer to Battery Negative Cable Disconnection and Connection in Engine Electrical.
- Disable the passenger SIR system. Refer to SIR Disabling and Enabling in SIR.
- Remove the center console. Refer to Console Replacement .
- Remove the radio. Refer to Radio Replacement in Entertainment.
- Remove the HVAC control. Refer to Heater and Air Conditioning Control Replacement in HVAC - Manual.
- Remove the left air outlet louver. Refer to Instrument Panel Outer Air Outlet Deflector Replacement - Left Side in Heating, Ventilation and Air Conditioning.
- Remove the right air outlet louver. Refer to Instrument Panel Outer Air Outlet Deflector Replacement - Right Side in Heating, Ventilation and Air Conditioning .
- Remove the defroster grille. Refer to Defroster Grille Replacement .
- Remove the I/P cluster. Refer to Instrument Cluster Replacement .
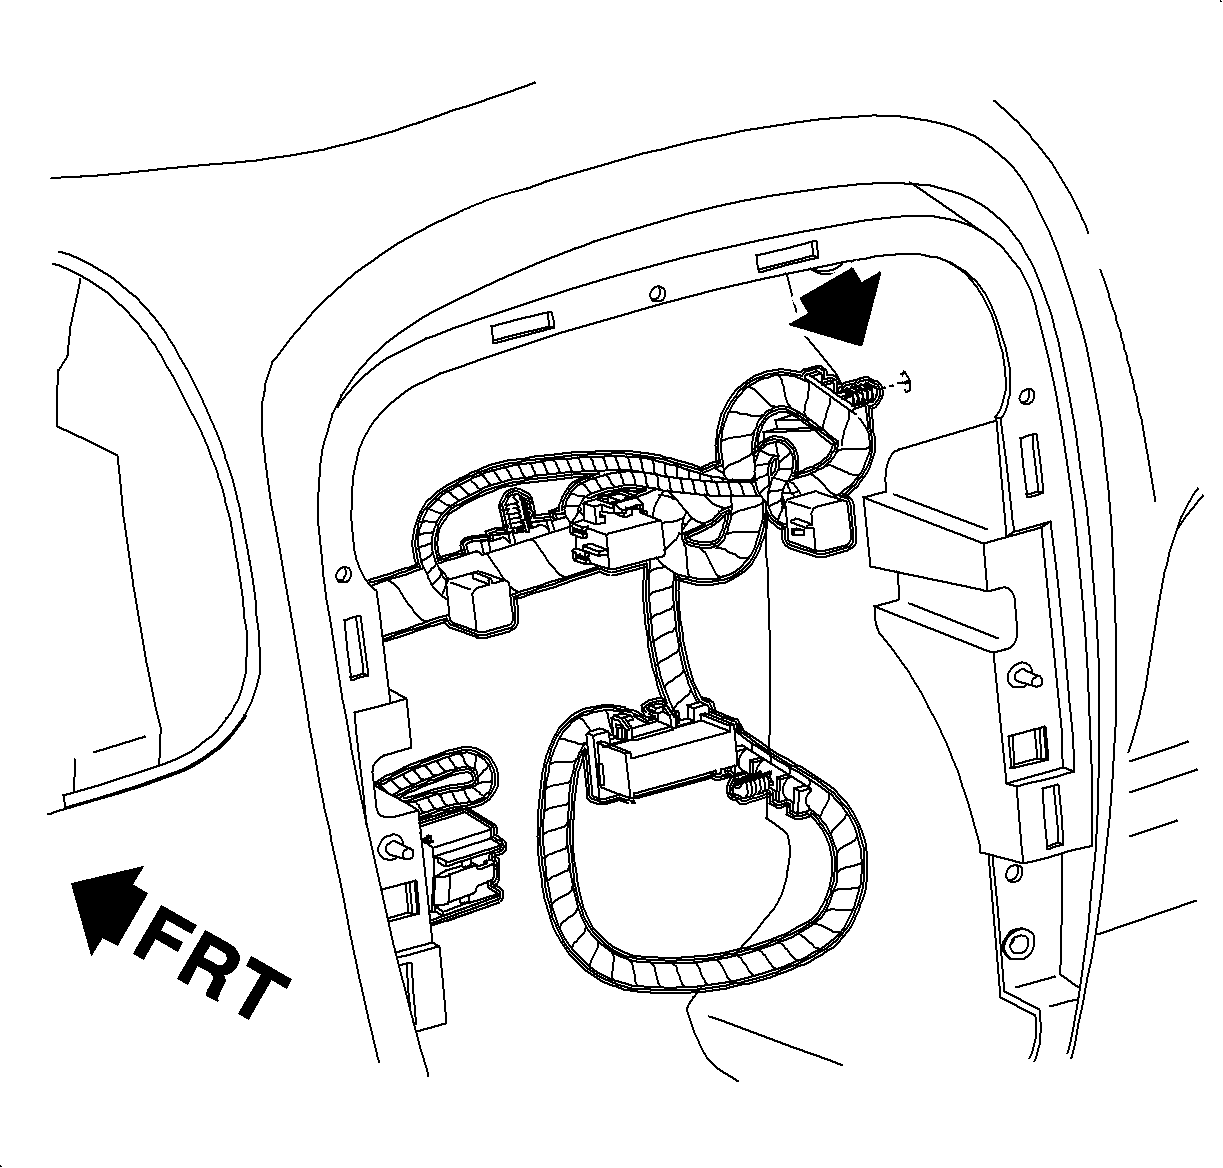
- Remove the harness clips from the I/P.
- Remove the steering column. Refer to Steering Column Replacement in Steering Wheel and Column.
- Remove the I/P compartment. Refer to Instrument Panel Compartment Replacement .
- Remove the hood release handle. Refer to Hood Primary Latch Release Cable Replacement in Body Front End.
- Remove the data link connector (DLC) from the I/P.
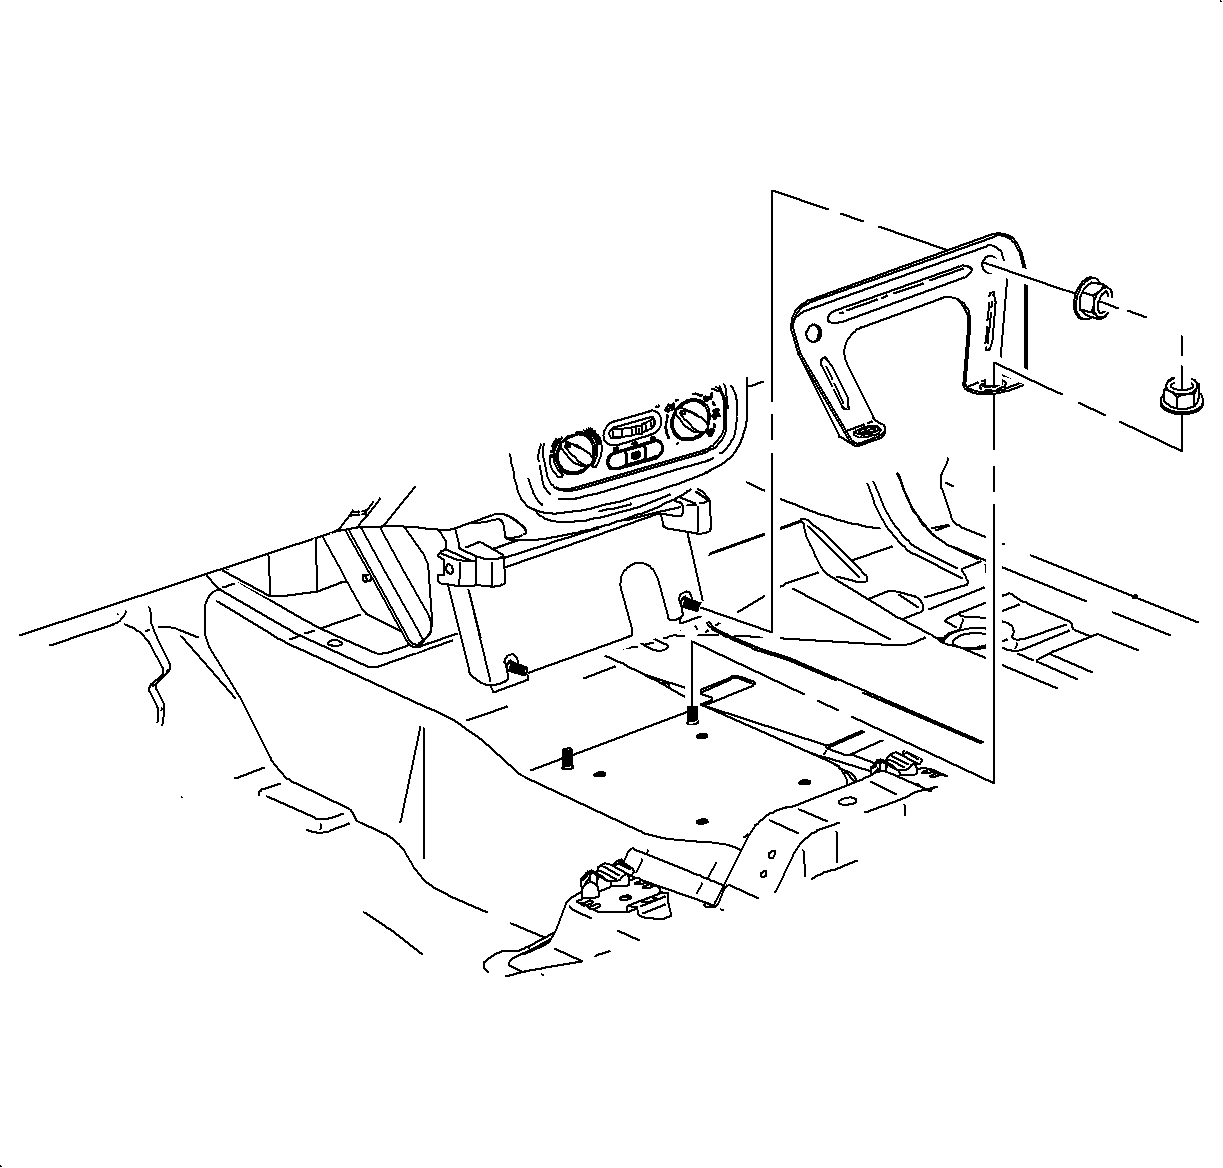
- Remove the I/P to floor bracket fasteners.
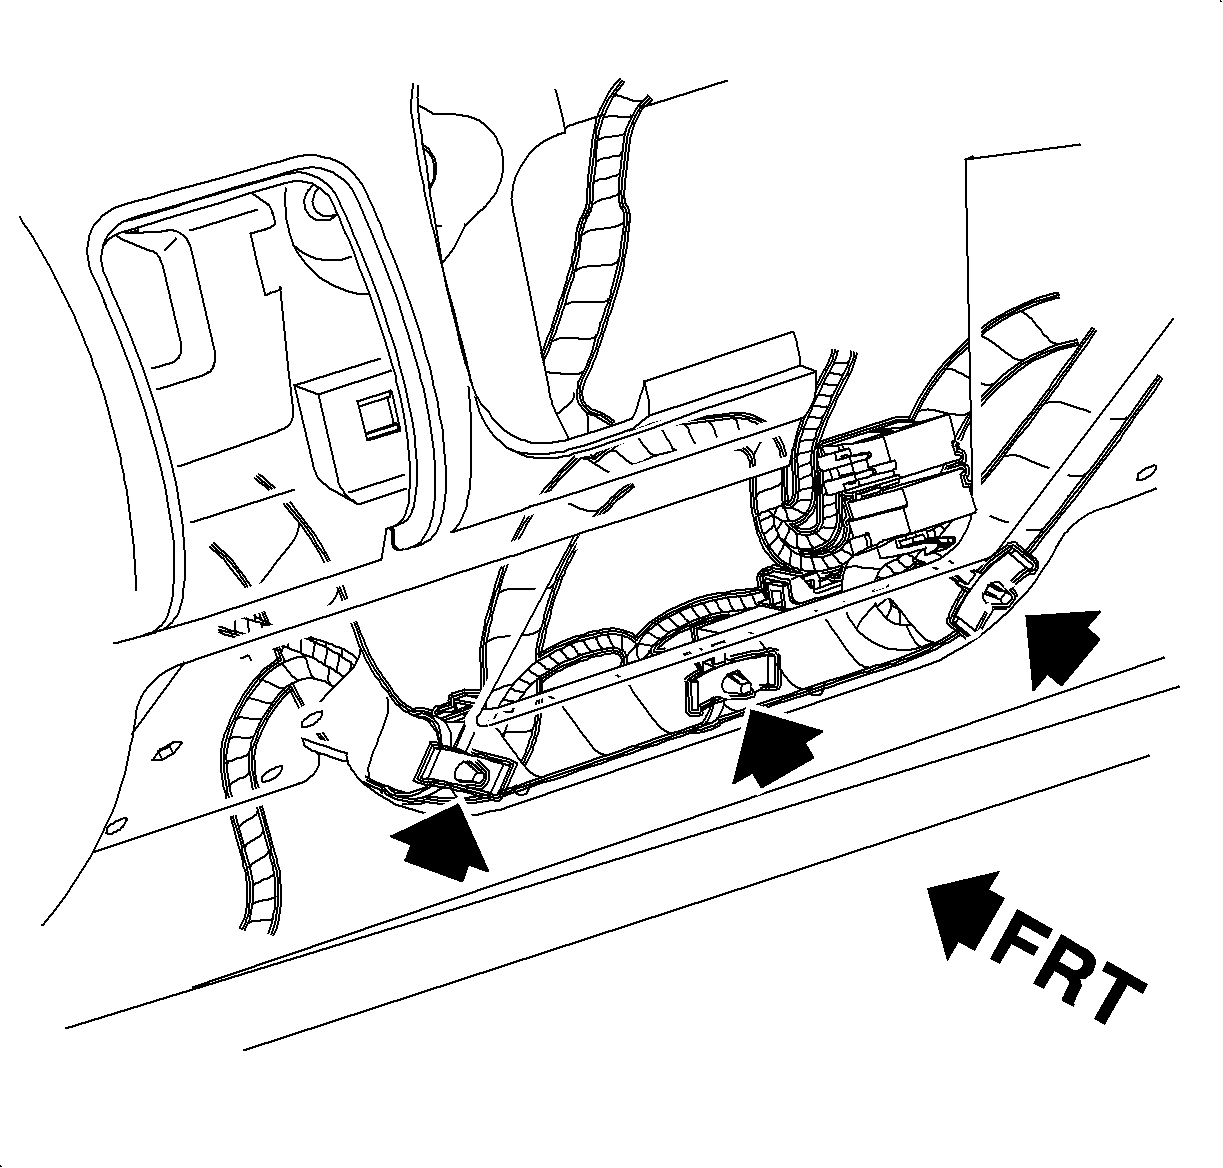
- Remove all harness clips from the I/P.
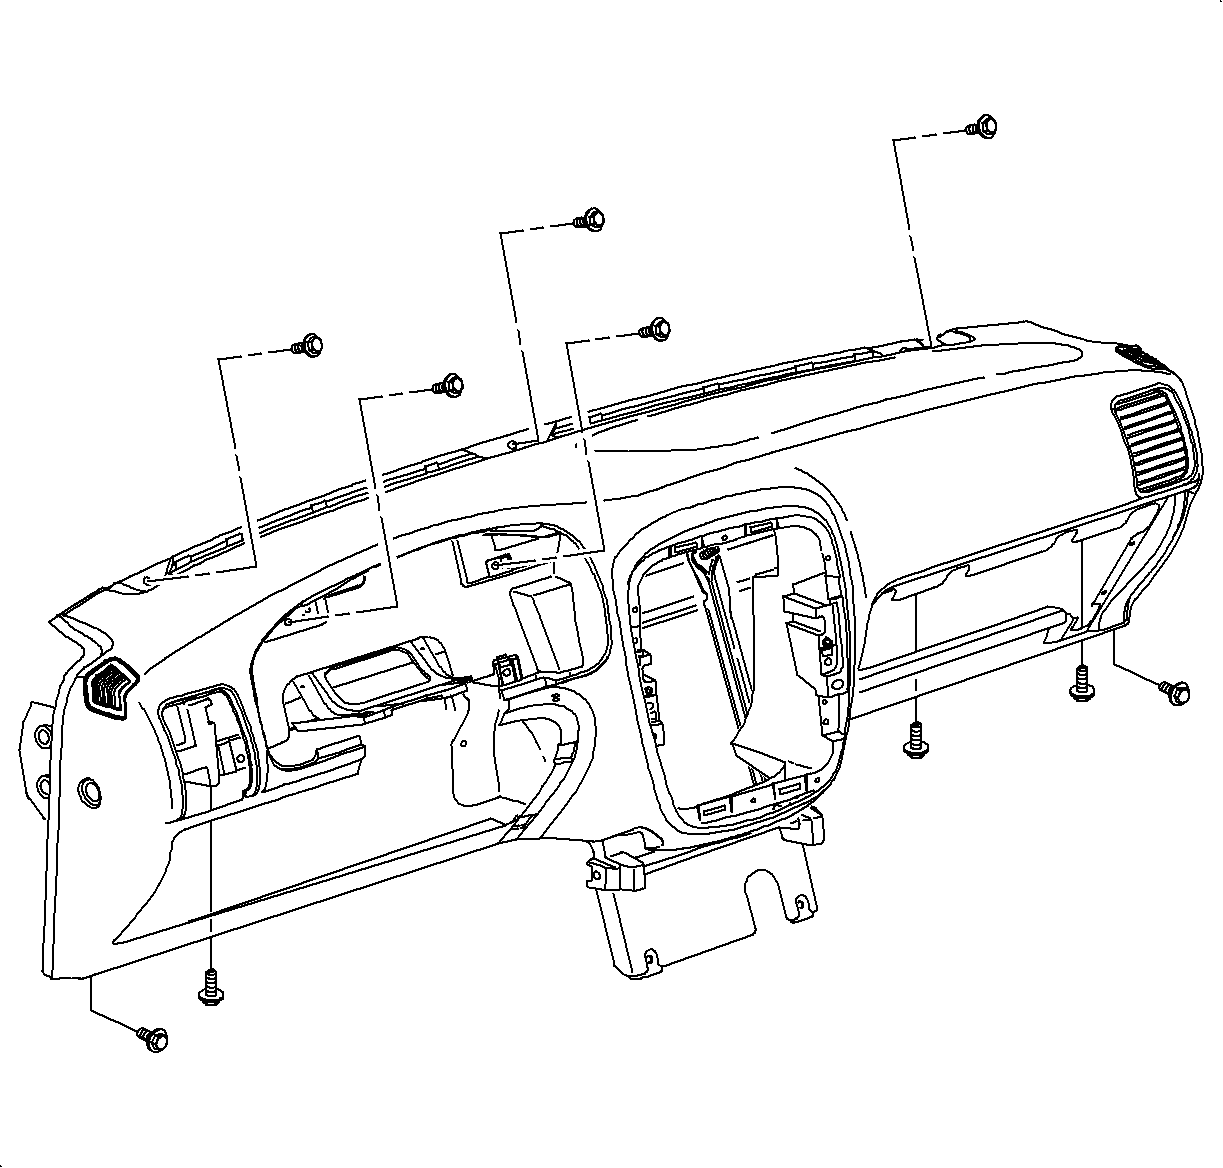
- Remove the I/P fasteners.
- Remove the I/P from the vehicle.
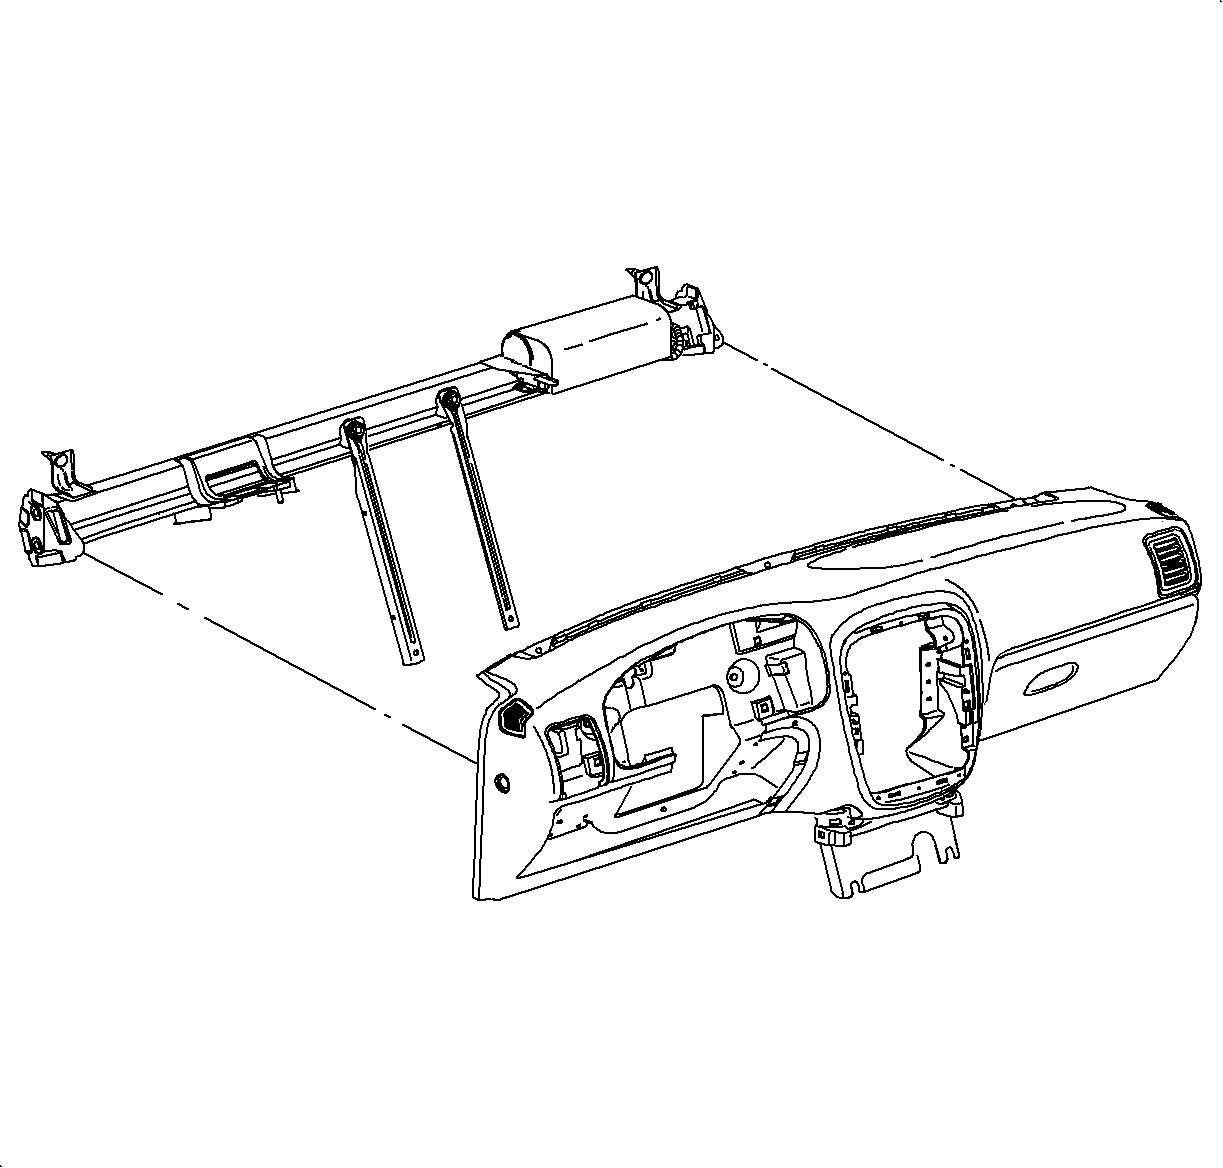
Installation Procedure
- Install the I/P to the vehicle.
- Install the I/P fasteners.
- Install all harness clips to the I/P.
- Install the I/P to floor bracket fasteners.
- Install the DLC to the I/P.
- Install the hood release handle. Refer to Hood Primary Latch Release Cable Replacement in Body Front End.
- Install the I/P compartment. Refer to Instrument Panel Compartment Replacement .
- Install the steering wheel. Refer to Steering Column Replacement in Steering Wheel and Column.
- Install the harness clips to the I/P.
- Install the I/P cluster. Refer to Instrument Cluster Replacement .
- Install the right air outlet louver. Refer to Instrument Panel Outer Air Outlet Deflector Replacement - Right Side in Heating, Ventilation and Air Conditioning .
- Install the left air outlet louver. Refer to Instrument Panel Outer Air Outlet Deflector Replacement - Left Side in Heating, Ventilation and Air Conditioning .
- Install the defroster grille. Refer to Defroster Grille Replacement .
- Remove the HVAC control. Refer to Heater and Air Conditioning Control Replacement in HVAC - Manual.
- Install the radio. Refer to Radio Replacement in Entertainment.
- Install the center console. Refer to Console Replacement .
- Enable the passenger SIR system. Refer to SIR Disabling and Enabling in SIR.
- Connect the negative battery cable. Refer to Battery Negative Cable Disconnection and Connection in Engine Electrical.
- Verify the operation of all components in the I/P.

Notice: Refer to Fastener Notice in the Preface section.

Tighten
Tighten the bolts to 20 N·m (15 lb ft).


Tighten
Tighten the bolts to 20 N·m (15 lb ft).

