For 1990-2009 cars only
Removal Procedure
- Open and support the hood.
- Remove the grille. Refer to Front Bumper Upper Fascia Grille Replacement in Bumpers.
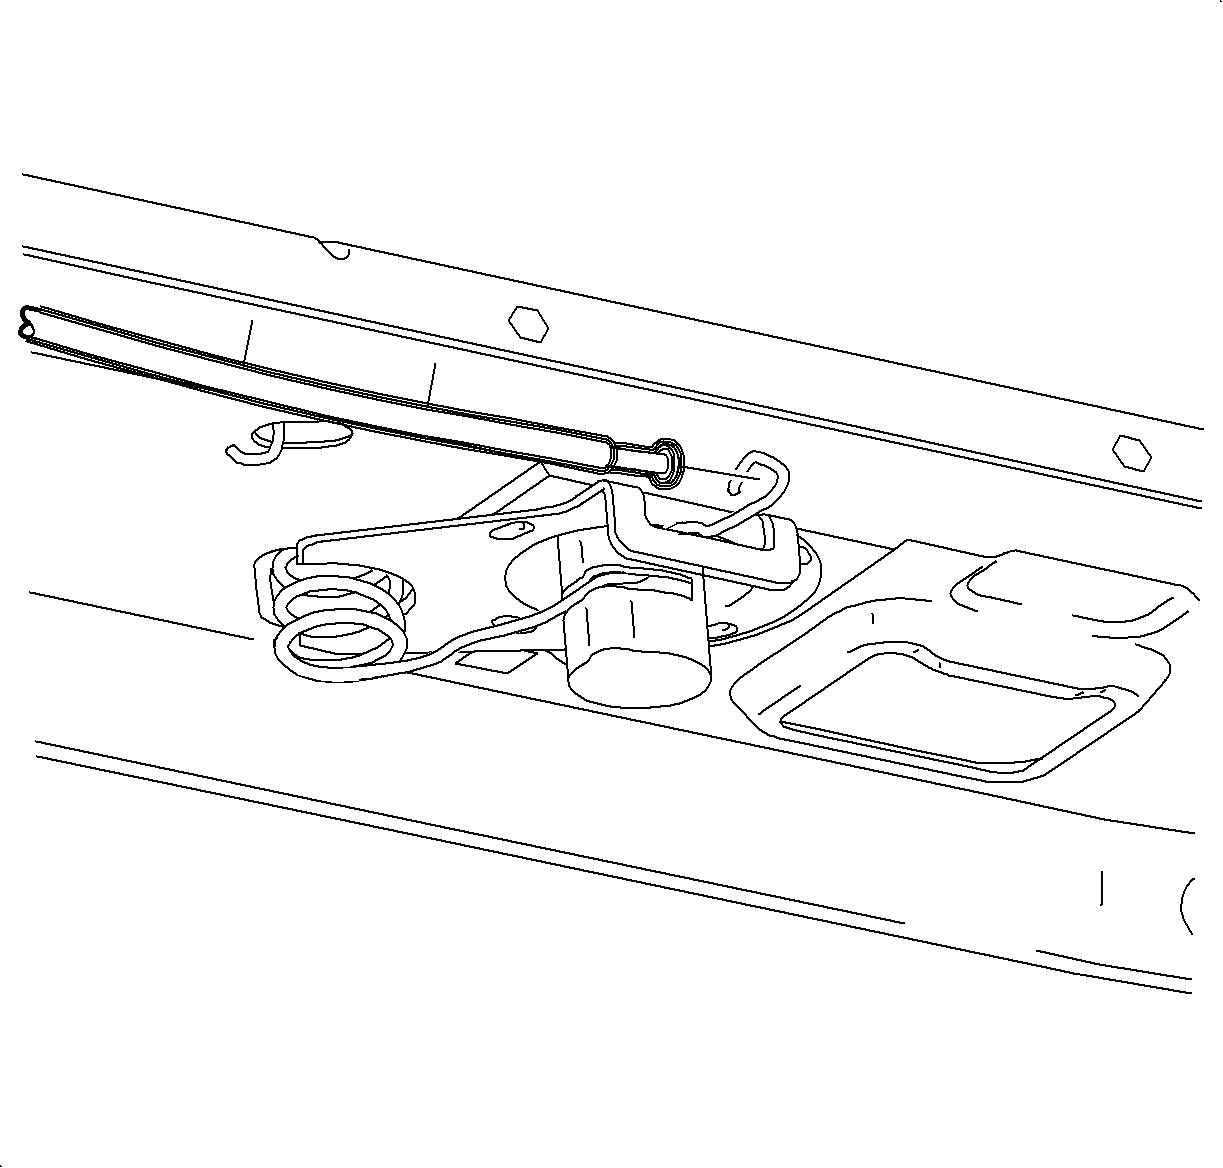
- Turn and partially remove the spring to provide slack in the cable to disconnect the cable from the hook in the spring.
- Remove the latch spring from the core support.
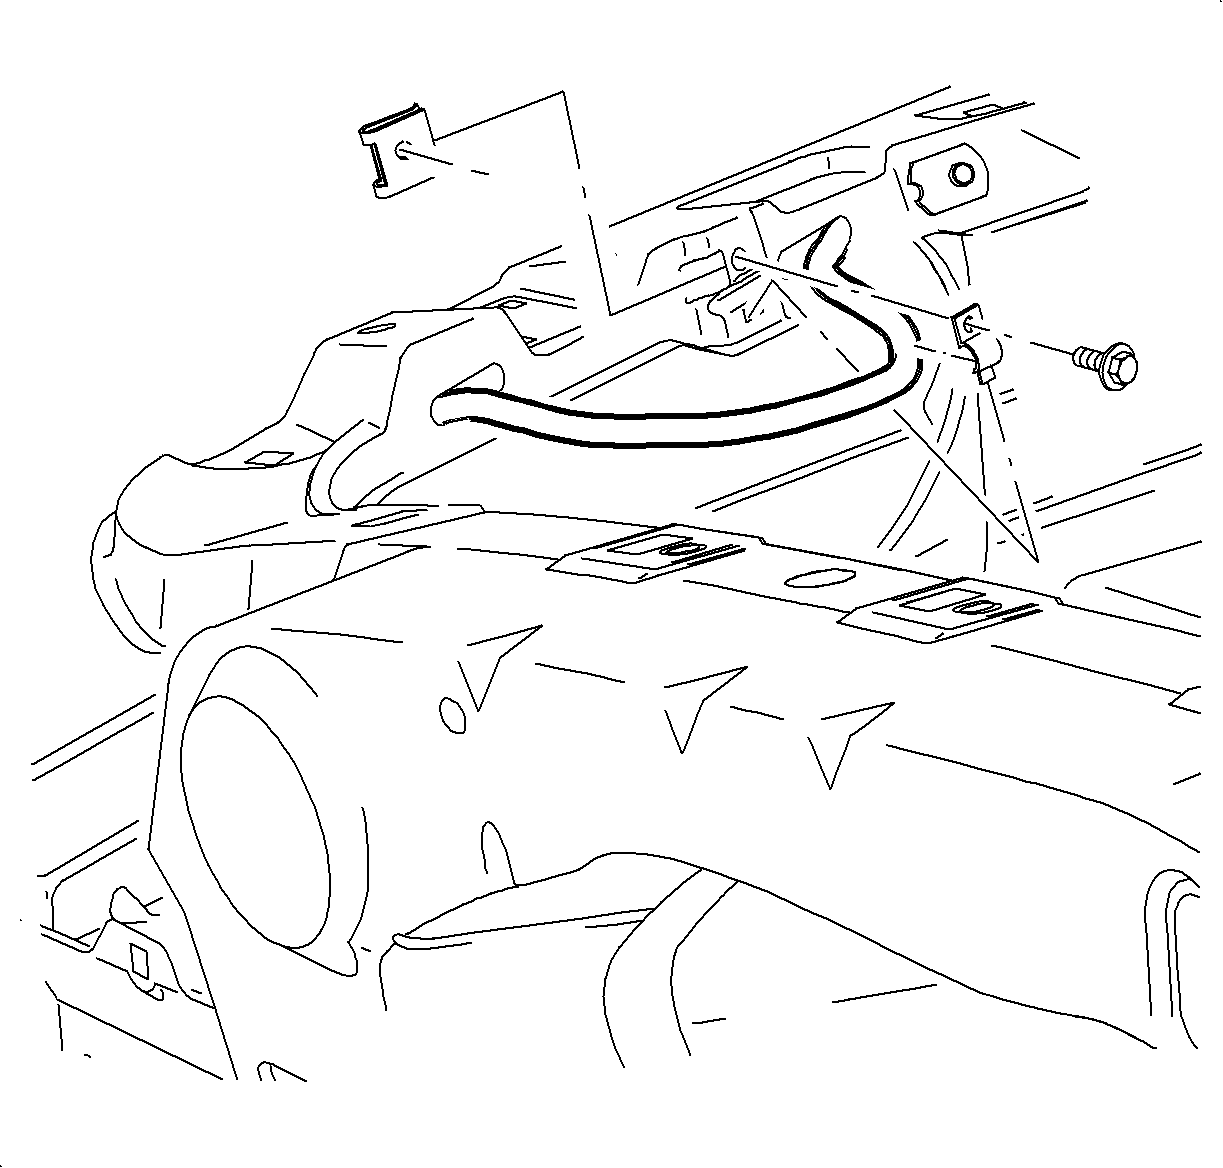
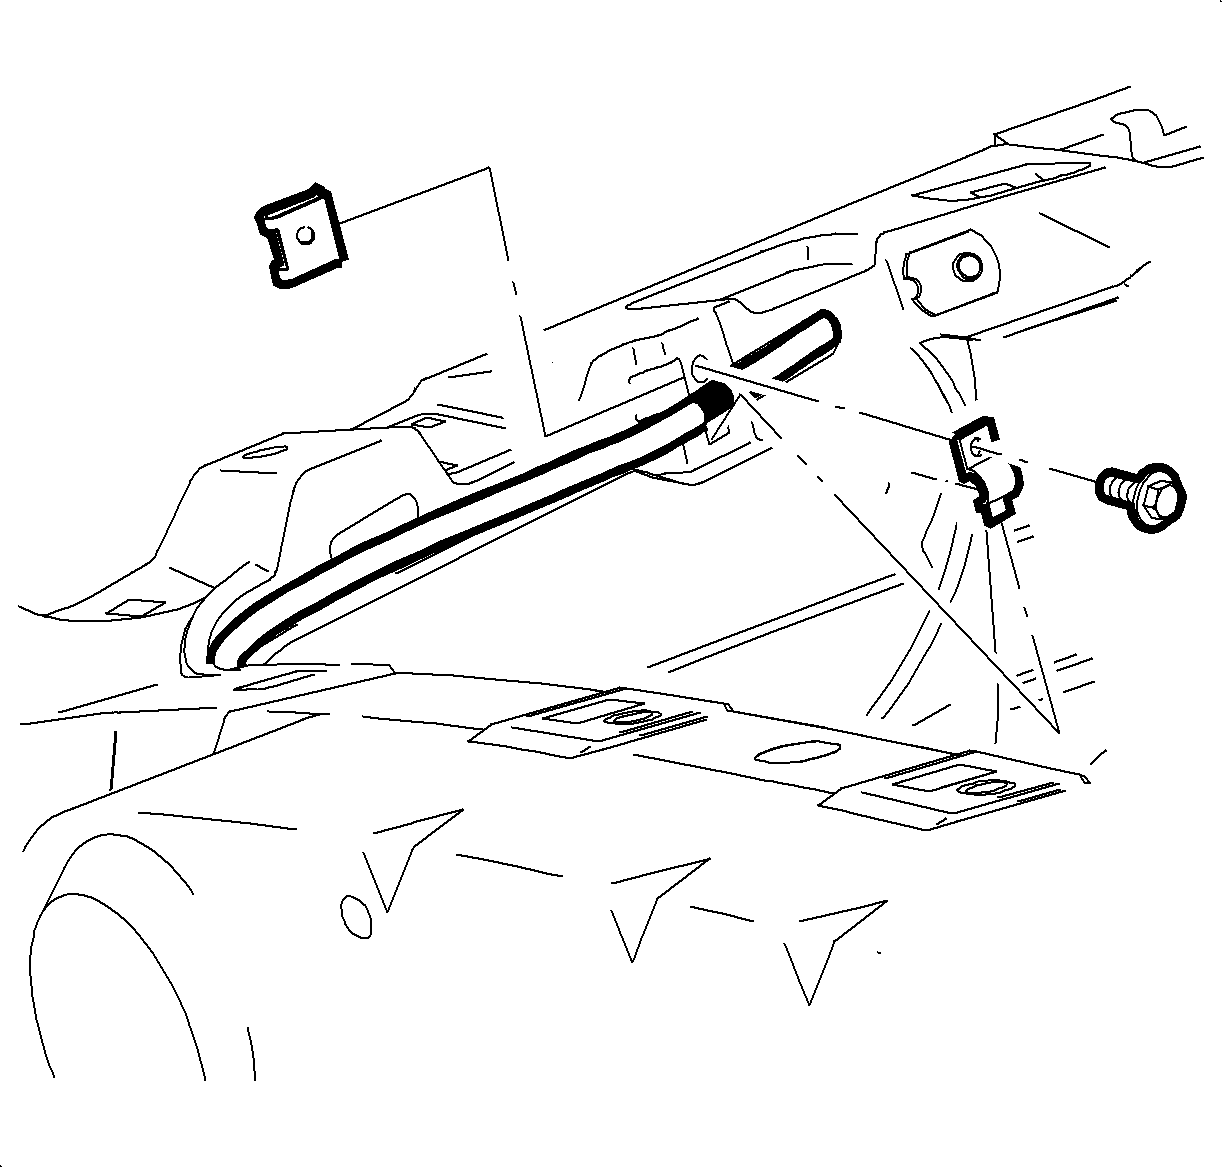
- Remove the cable retaining clip from the core support.
- Remove the cable from the core support.
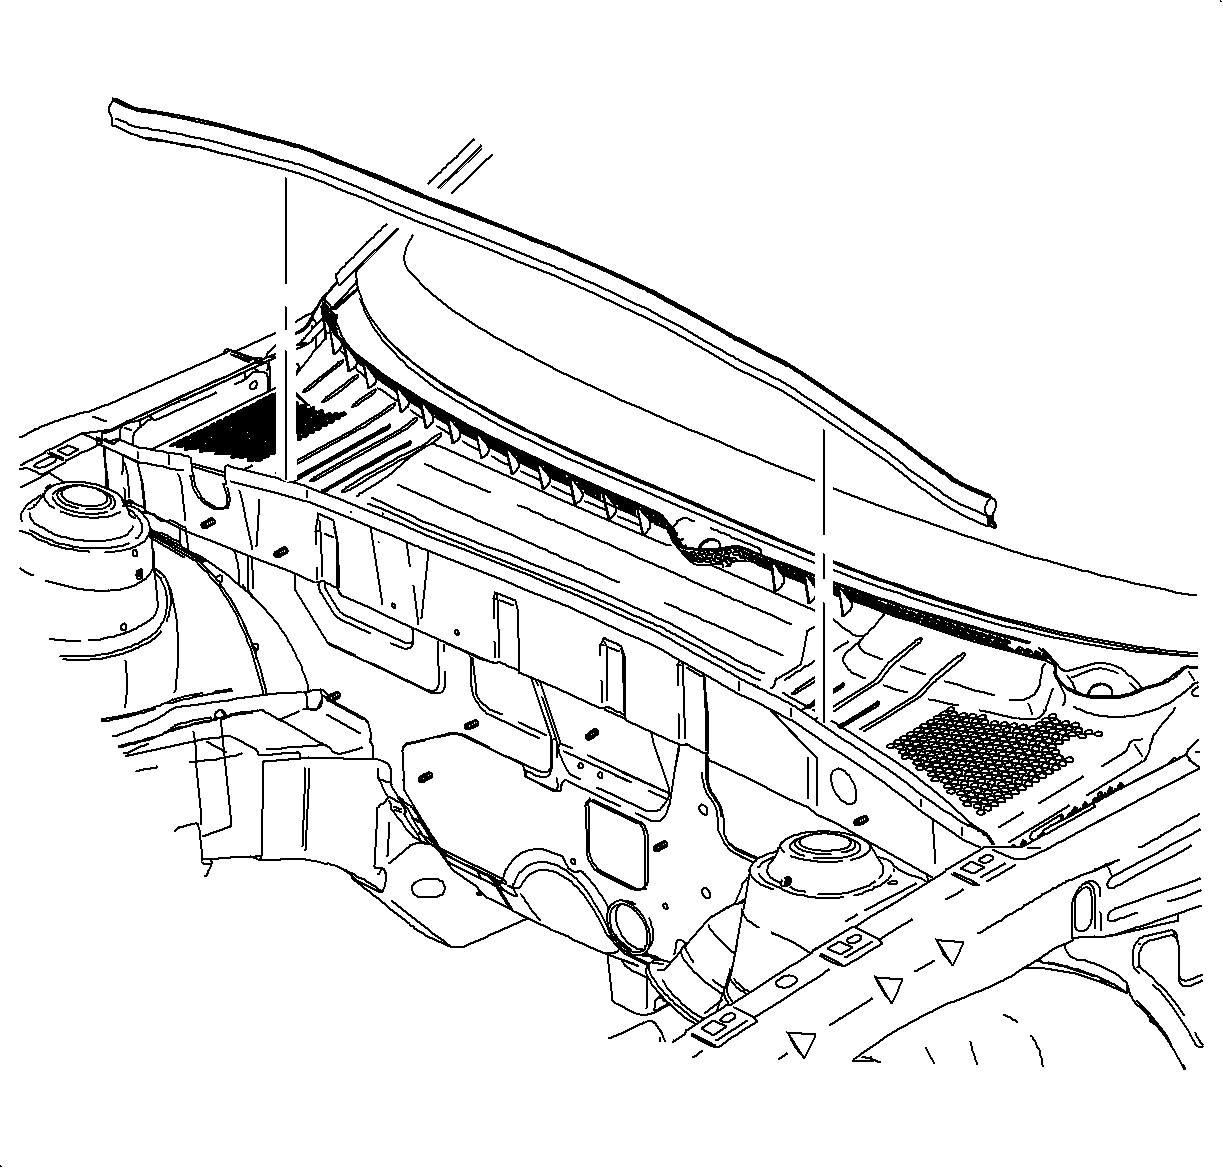
- Remove the rear hood seal. Refer to Hood Rear Seal Replacement .
- Remove the air inlet grille.
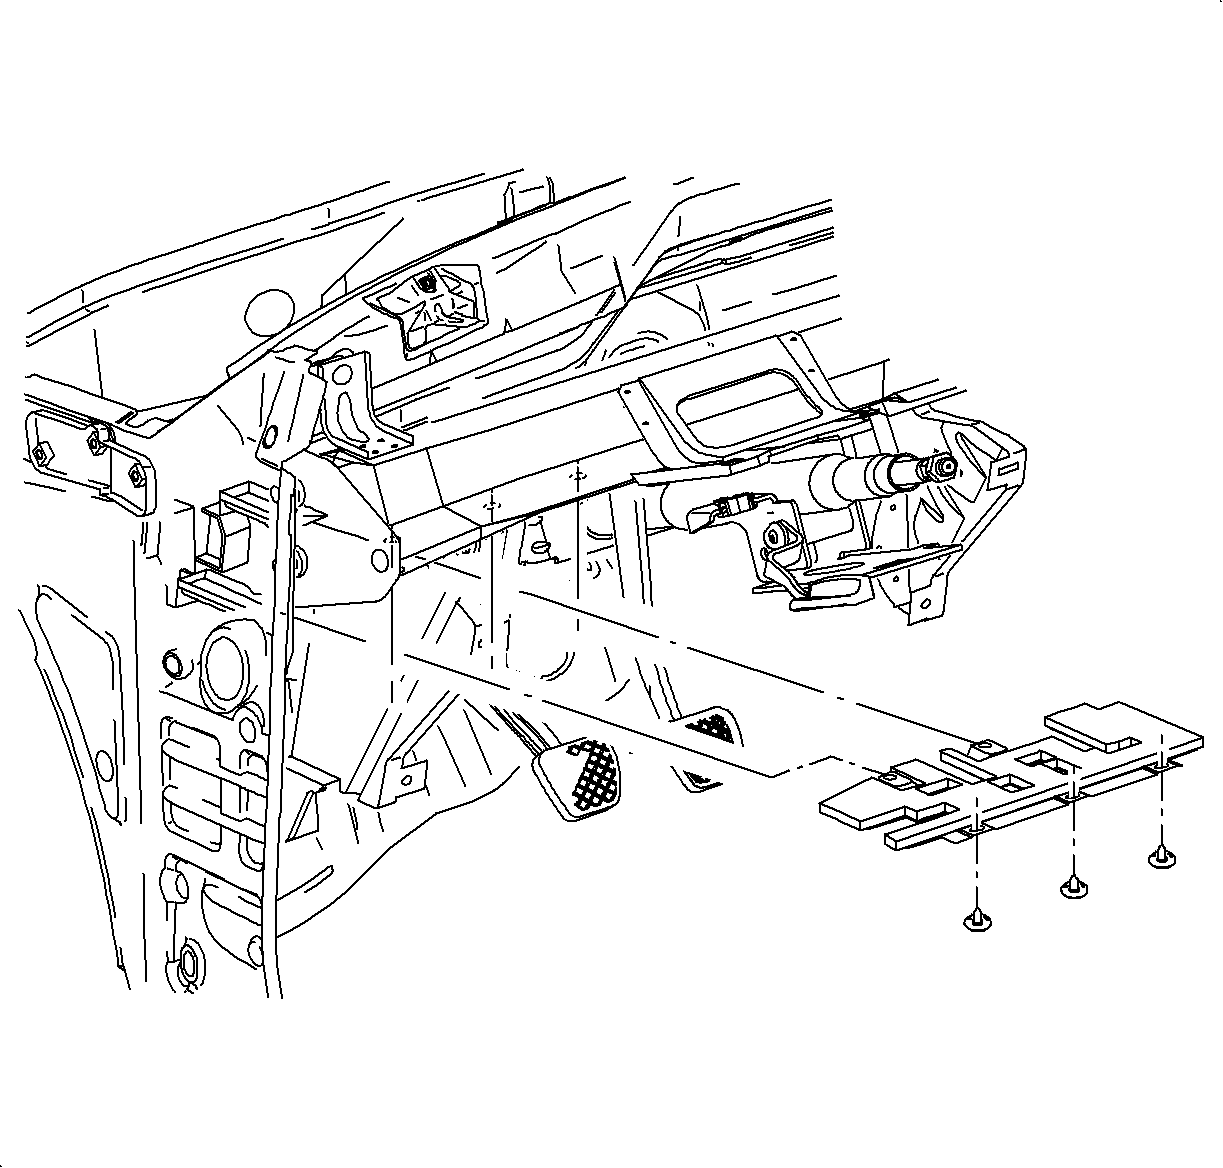
- Remove the left closeout/insulator panel by removing the push-in retainers.
- Remove or position aside the lower heating duct.
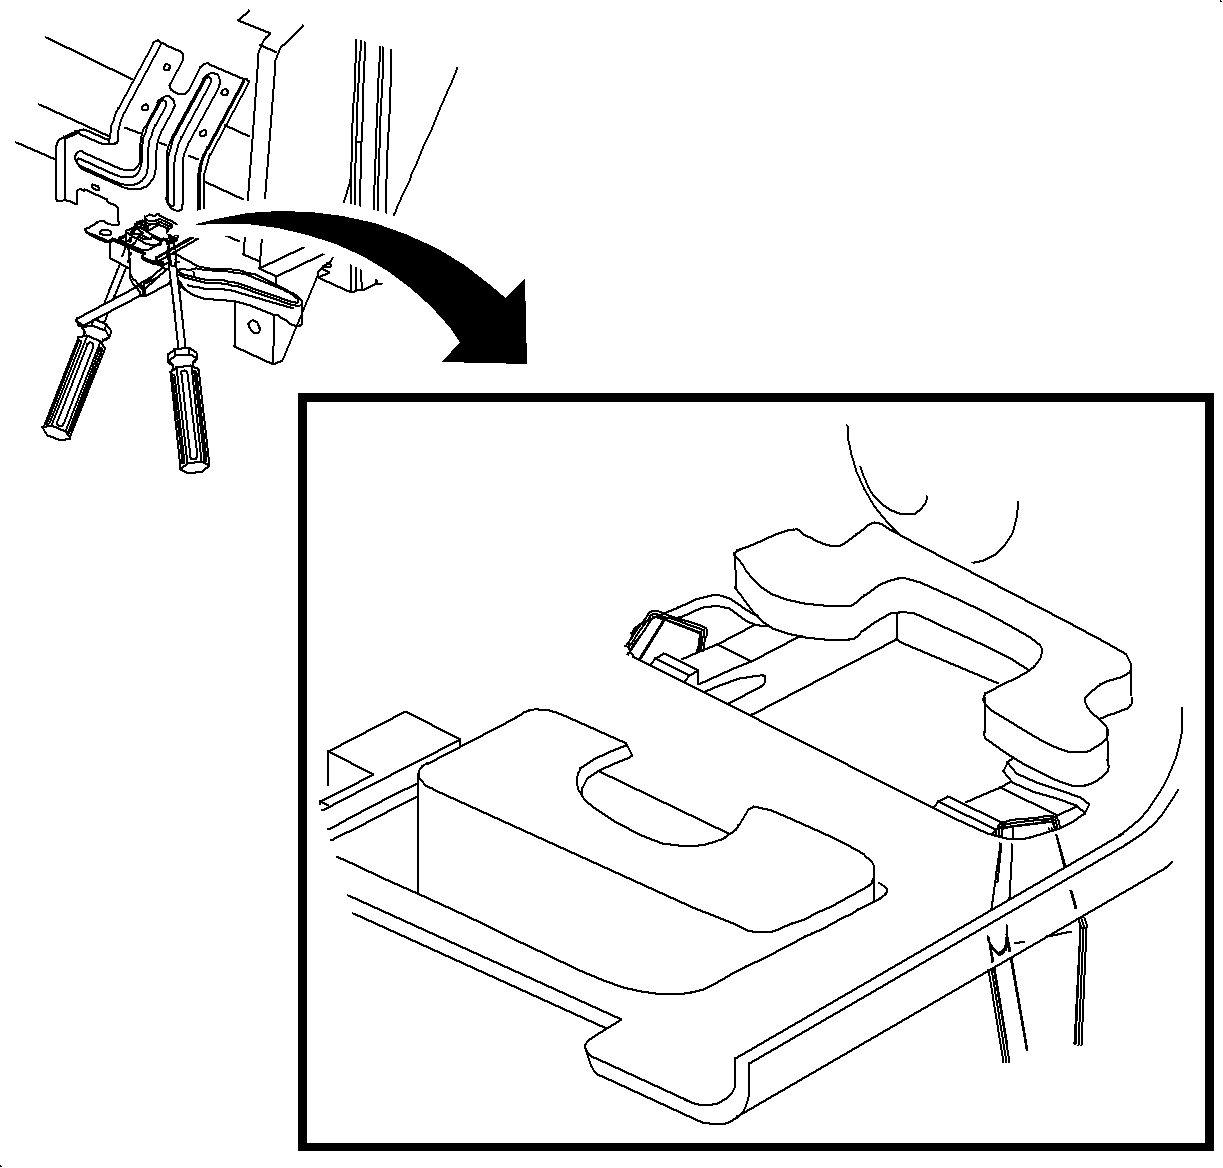
- Remove the hood release handle from the instrument panel bracket by using 2 small flat-bladed tools to disengage the retainer clip on both sides.
- Slide the hood release handle forward and down.
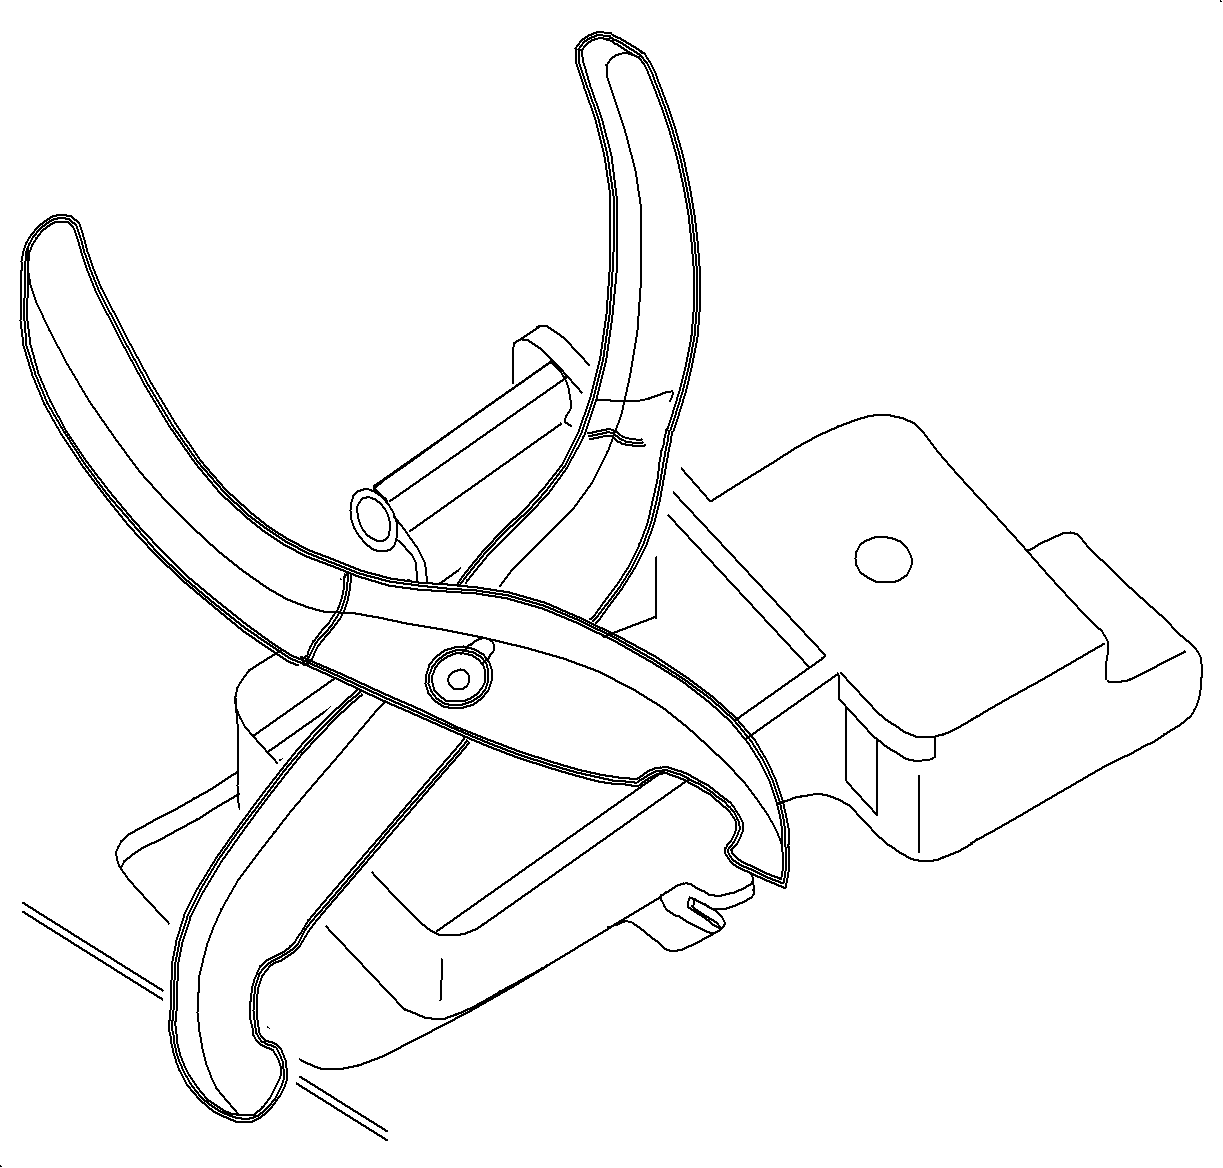
- If you are unable to slide the hood release handle forward, use pliers. Place one end of the pliers on the tab of the hood release lever base near the bracket, and the other end of the pliers on the forward edge of the instrument panel bracket. Squeeze the pliers and possibly use a screw driver in the slot as in the previous step.
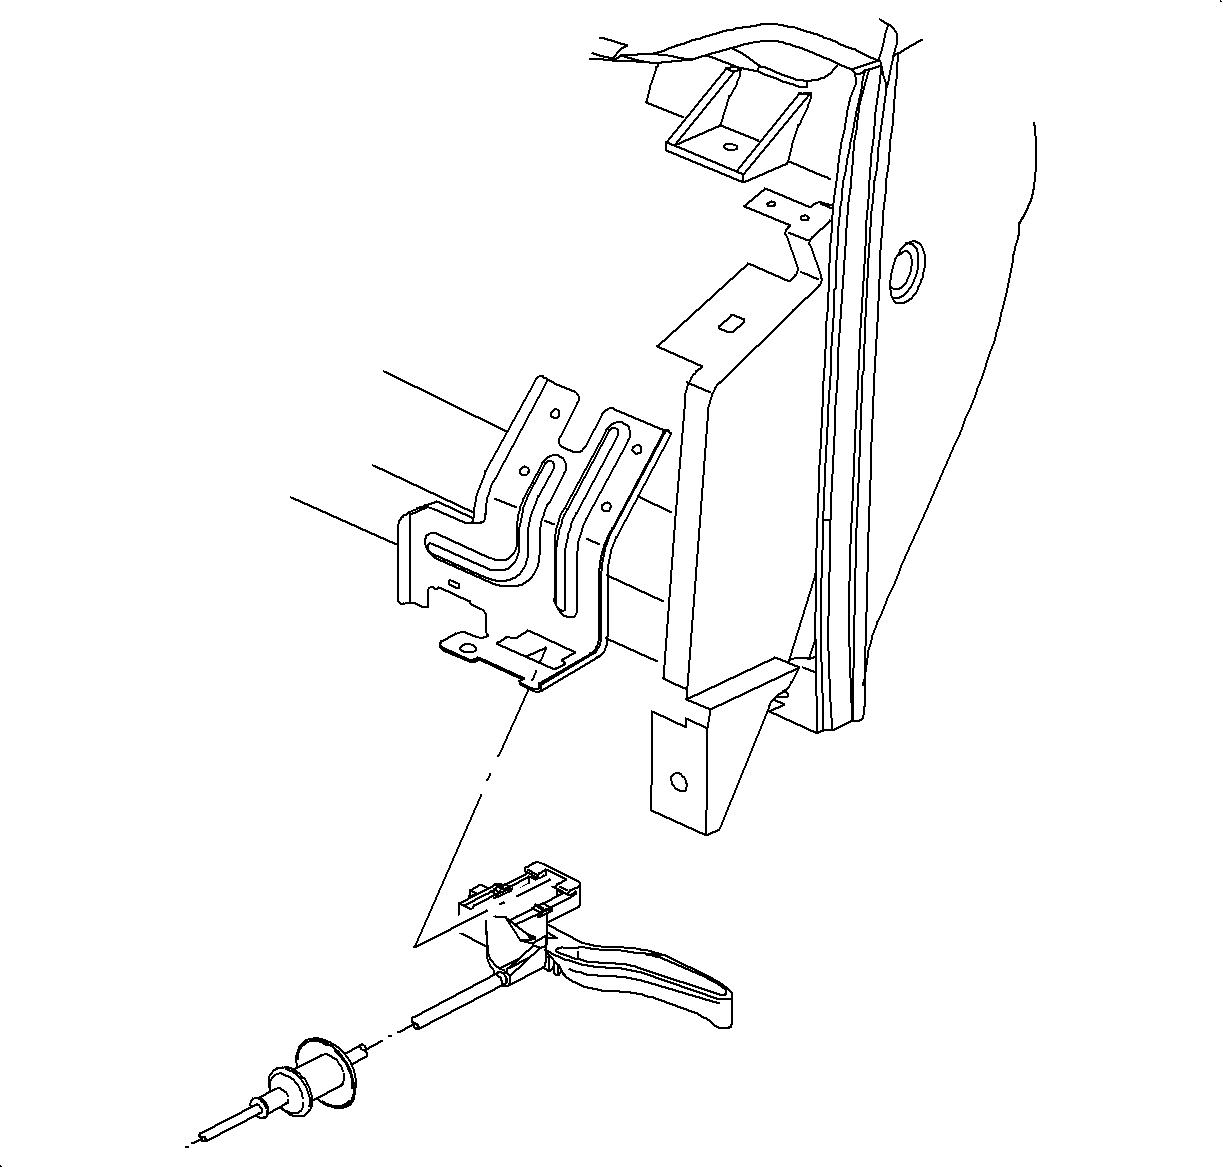
- Push the grommet through the front of the cowl using a flat-bladed tool.
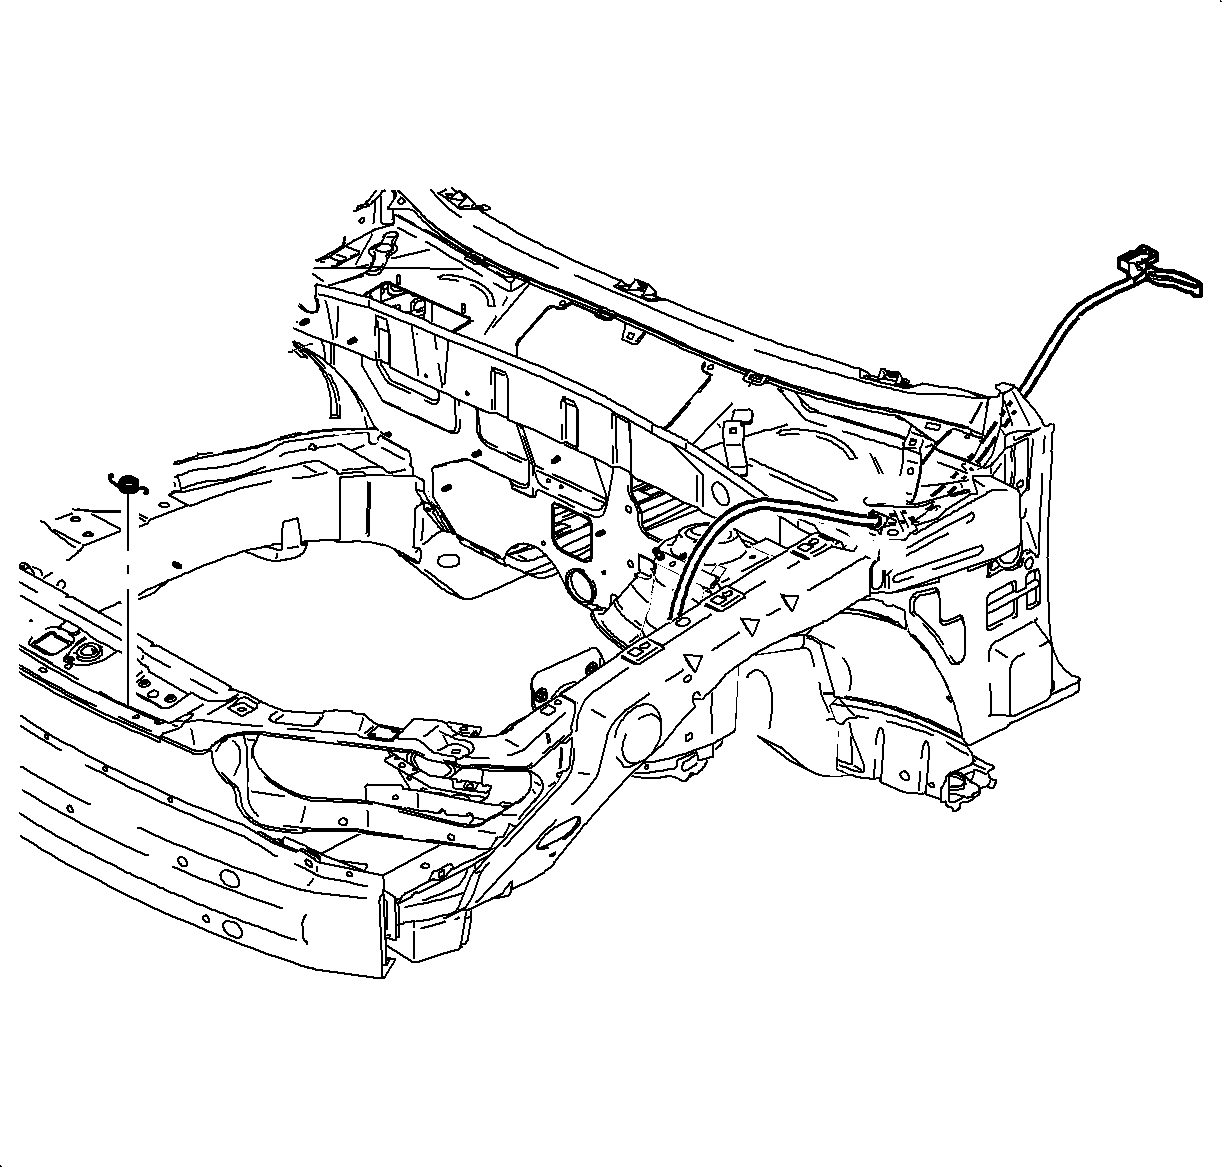
- Remove the hood release cable from the vehicle.

Installation Procedure
- Partially install the hood release cable through the front of the cowl.
- Pull the cable until the grommet is accessible through the front of the cowl.
- Grasp the top of the grommet and pull until the grommet is fully seated.
- Apply Kent Industries High Tech Clear Seam Sealer P/N 10200 or equivalent, to the sealer around the grommet.
- Route the hood release cable behind the coolant reservoir.
- Insert the hood release cable through the oval core support pass-thru closet to the attaching clip mounting location only.
- Center the tape band on the cable at the core support attaching clip mounting location and install the clip.
- Connect the cable to the hood latch spring.
- Install the spring in the latch mechanism by turning and placing in position.
- Engage the spring in the core support.
- Install the air inlet grille.
- Install the rear hood seal. Refer to Hood Rear Seal Replacement .
- Install the grille. Refer to Front Bumper Upper Fascia Grille Replacement in Bumpers.
- Install the hood release handle to the instrument panel.
- Install the left I/P closeout/insulator panel and the push-in retainers.
- Inspect the operation of the hood release cable before closing the hood.

