For 1990-2009 cars only
Removal Procedure
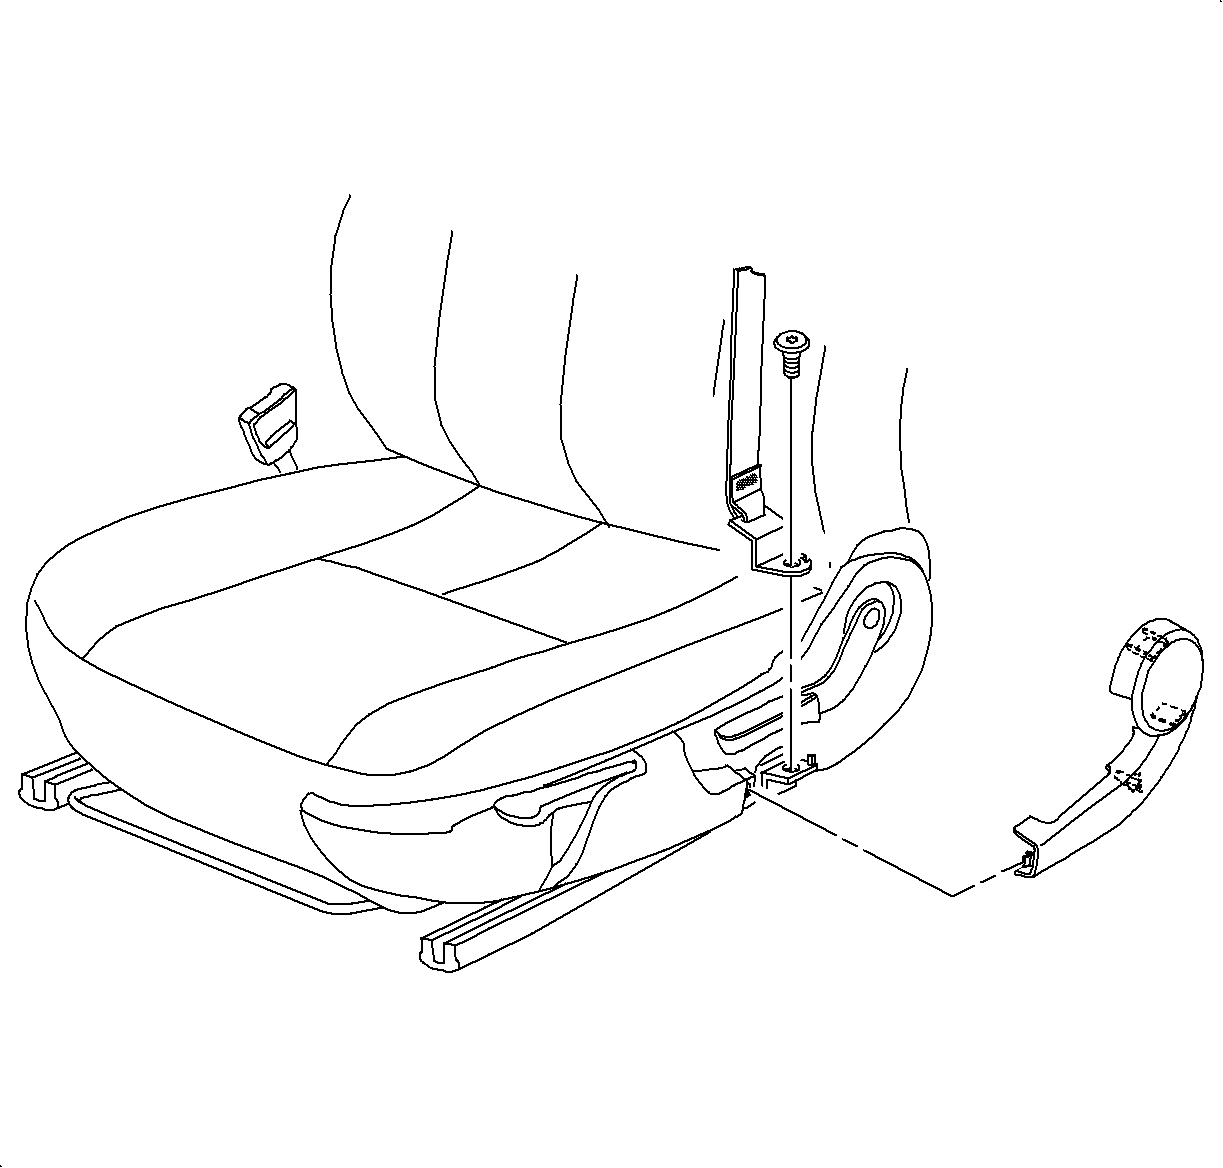
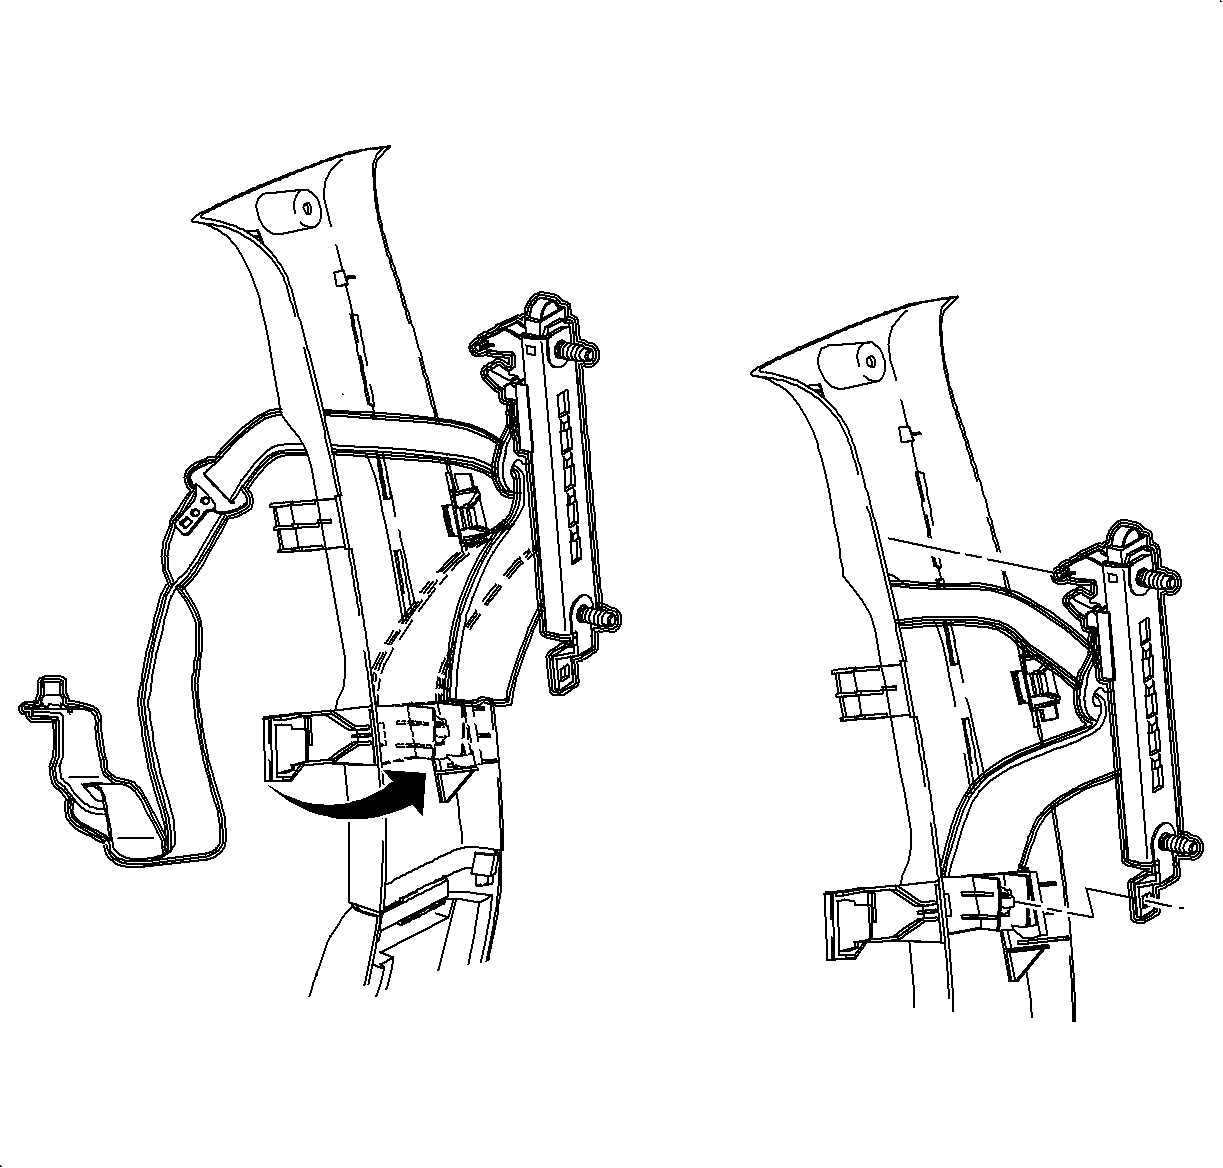
- Remove the front seat shoulder belt outer trim cover exposing the seat belt fastener.
- Remove the seat belt fastener and remove the seat belt from the seat frame.
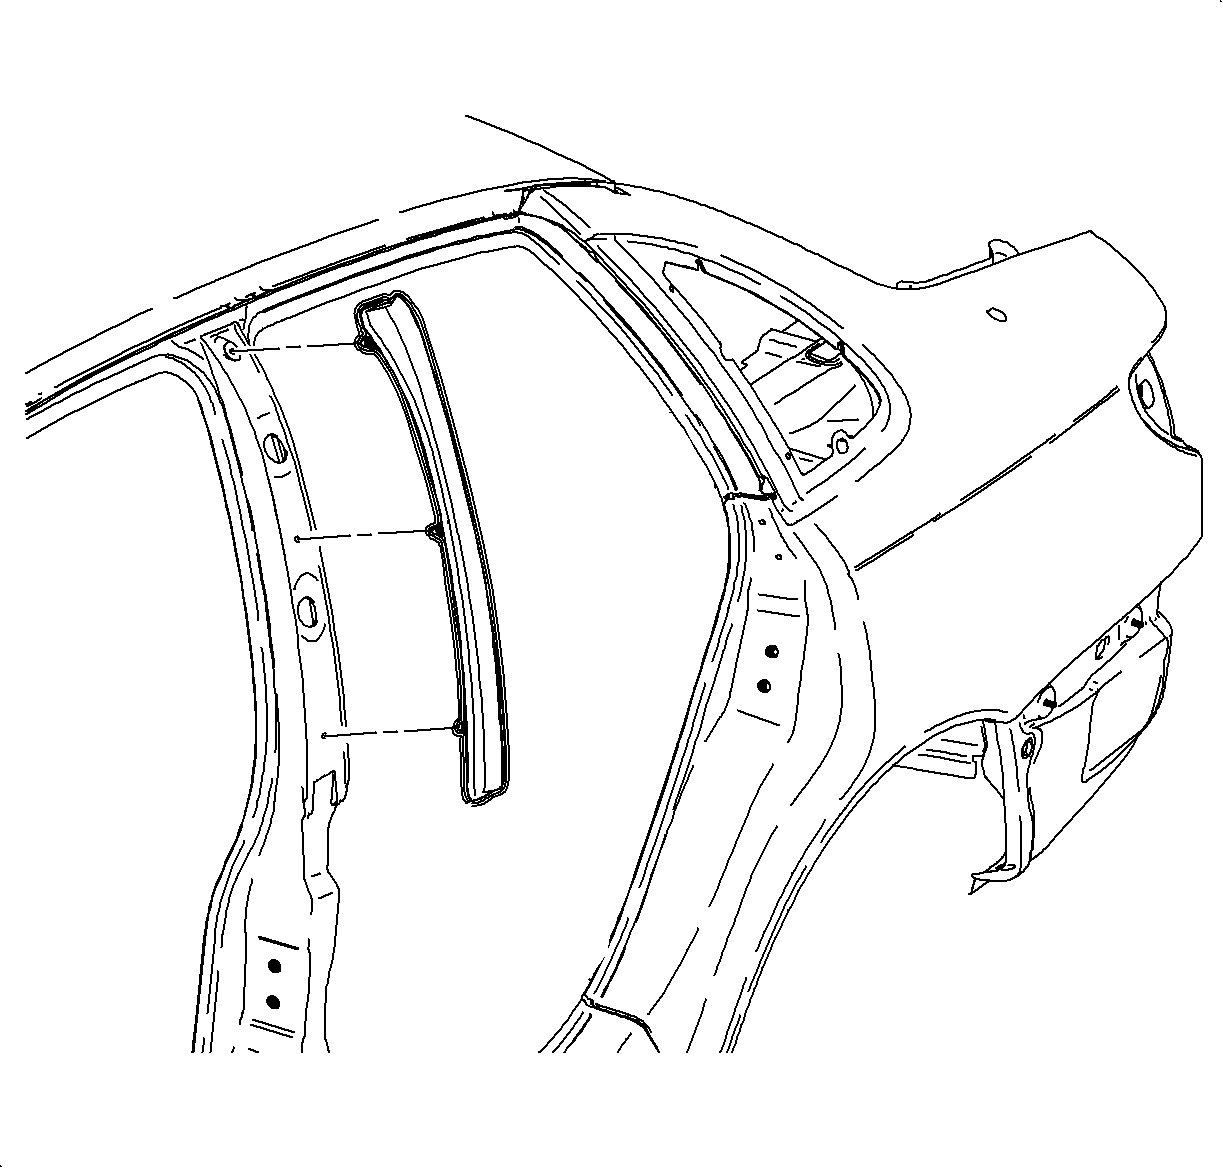
- Using a trim tool, remove the outside center pillar weatherstrip.
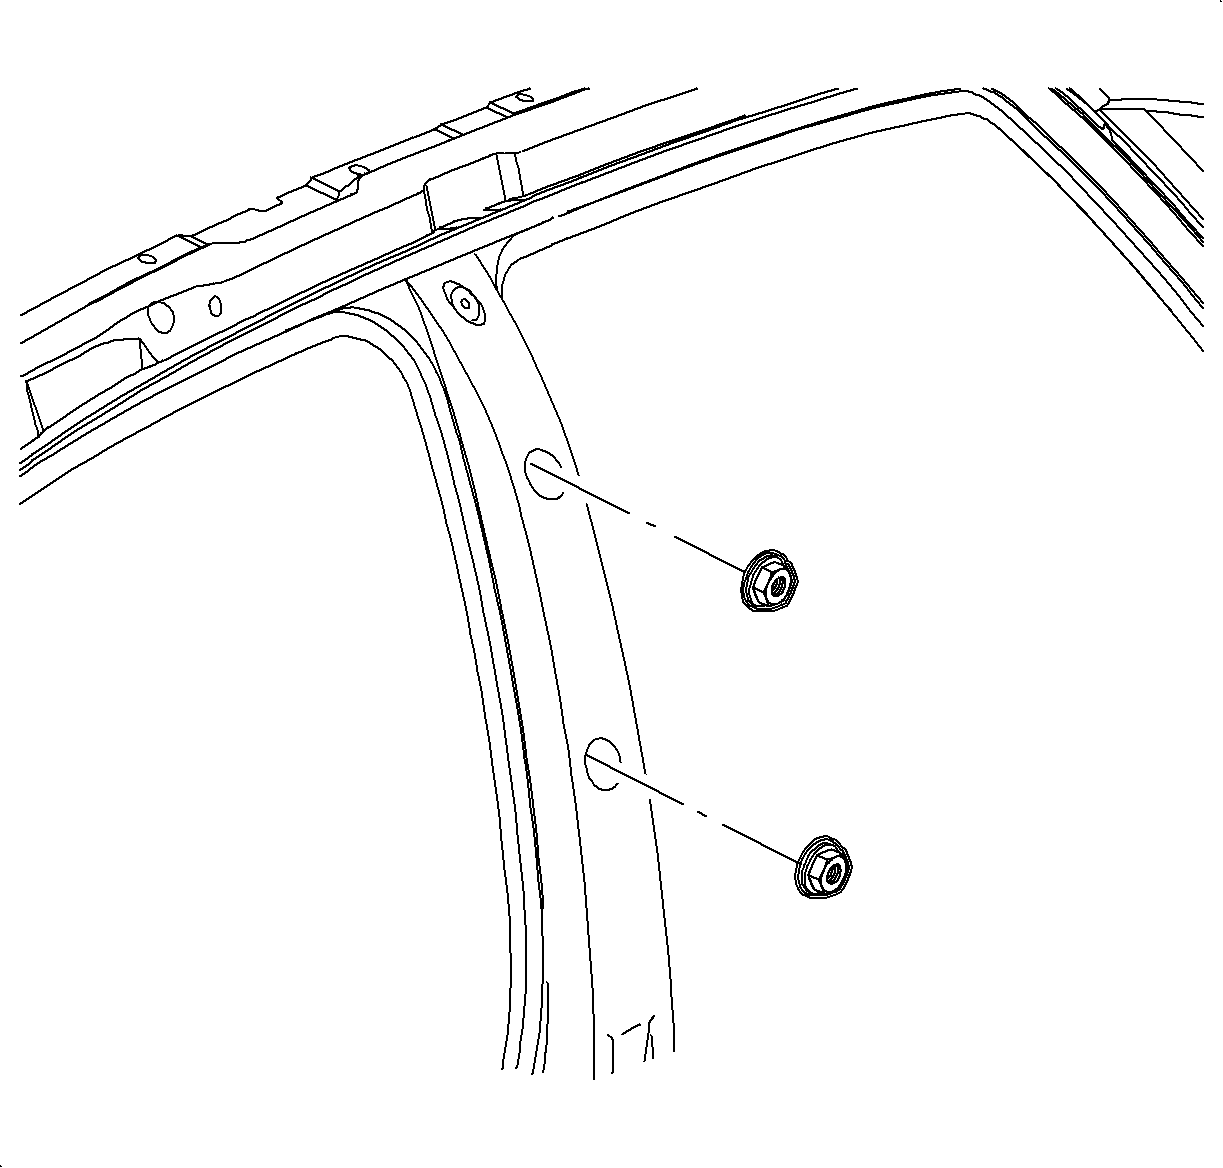
- Remove the shoulder belt upper fasteners.
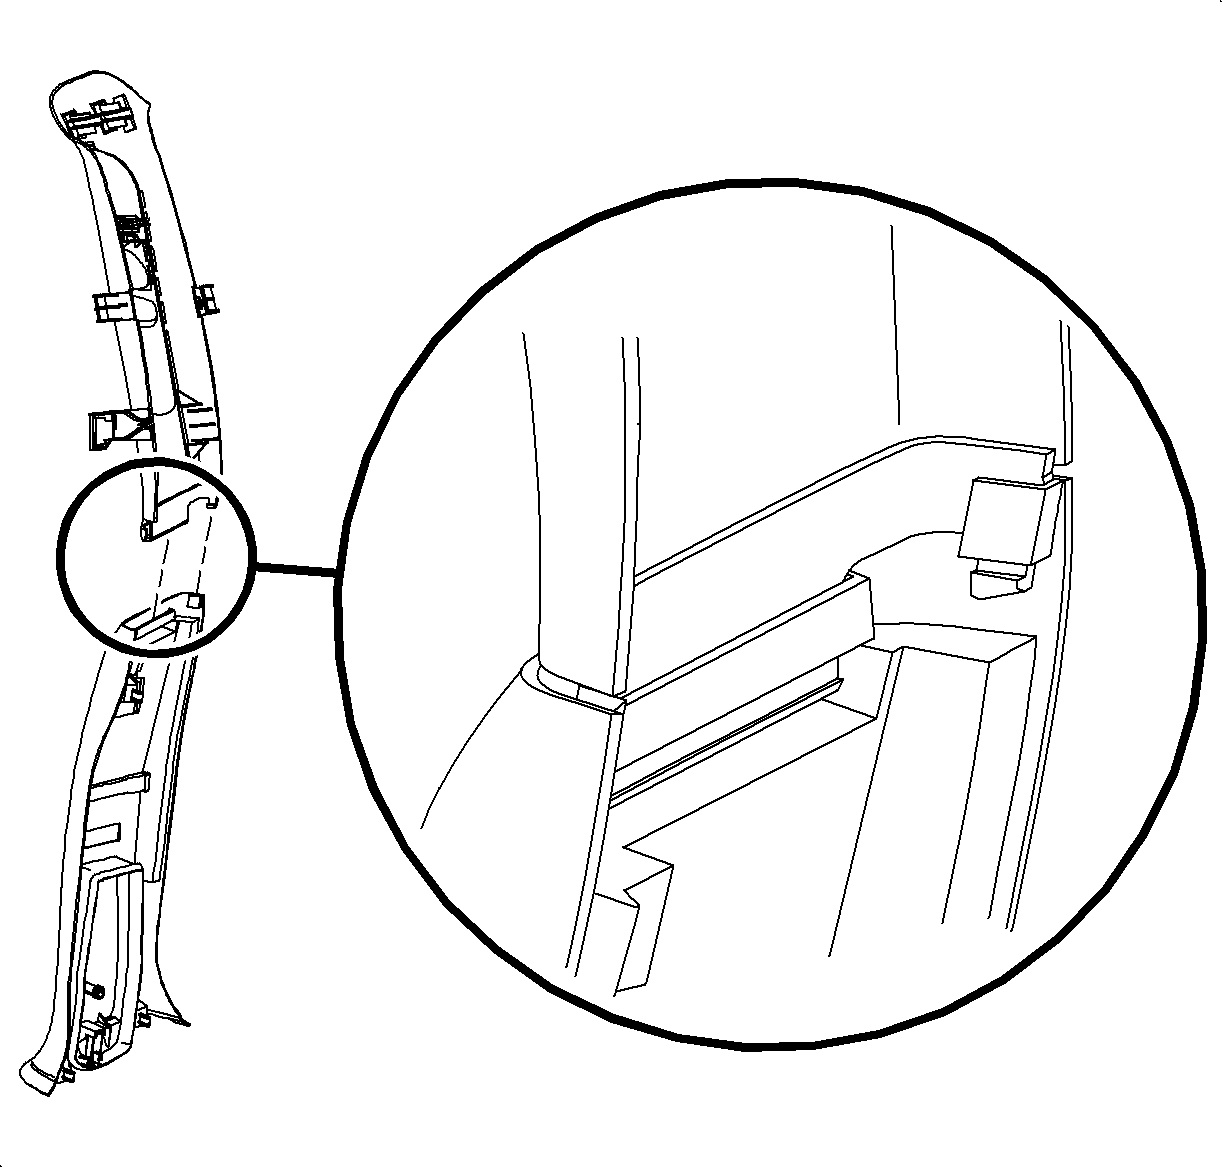
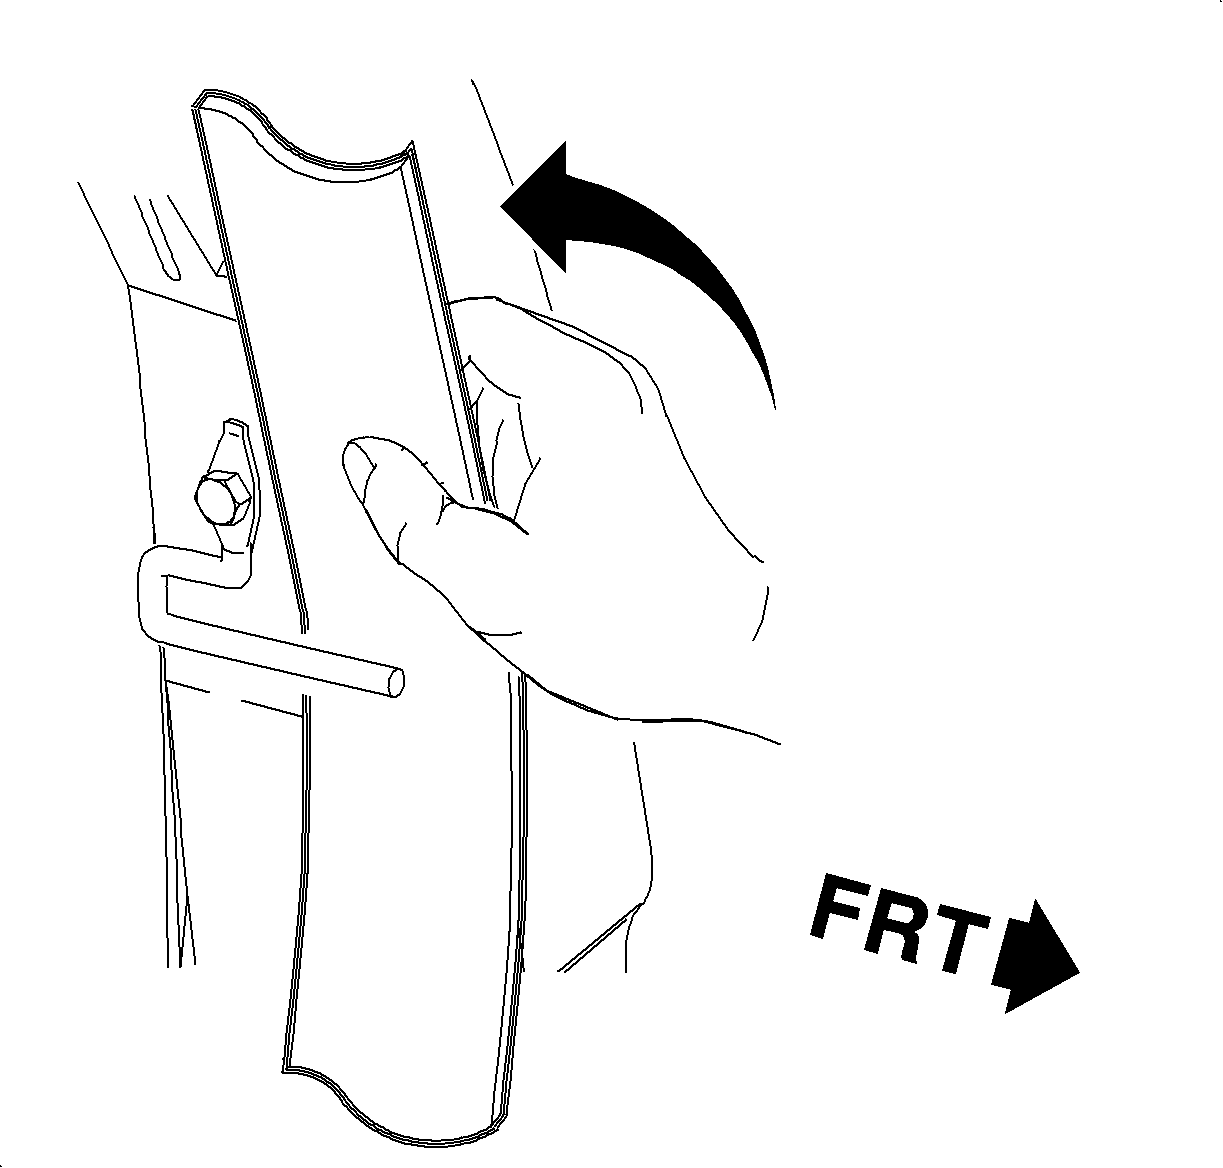
- Starting at the top, pull gently on the center pillar upper molding to disengage the attaching clips. Continue until the upper molding is removed and the upper portion on the center pillar lower molding is detached from the vehicle.
- Using a small flat-blade tool to bend the tabs and unhook the upper molding from the lower molding.
- Move the height adjuster to the lowest position.
- While holding the center pillar upper molding, pull on the shoulder belt adjuster to disengage the attaching clip and slider tab.
- Using a small flat-blade tool, unsnap the center pillar hinge.
- Route the shoulder belt through the center pillar upper molding opening.
- Remove the center pillar upper molding.
Important: Upper and lower moldings should remain attached to each other and the shoulder belt height adjuster should remain attached to the upper molding.
Installation Procedure
- Position the shoulder belt into the center pillar upper molding and snap the hinge closed.
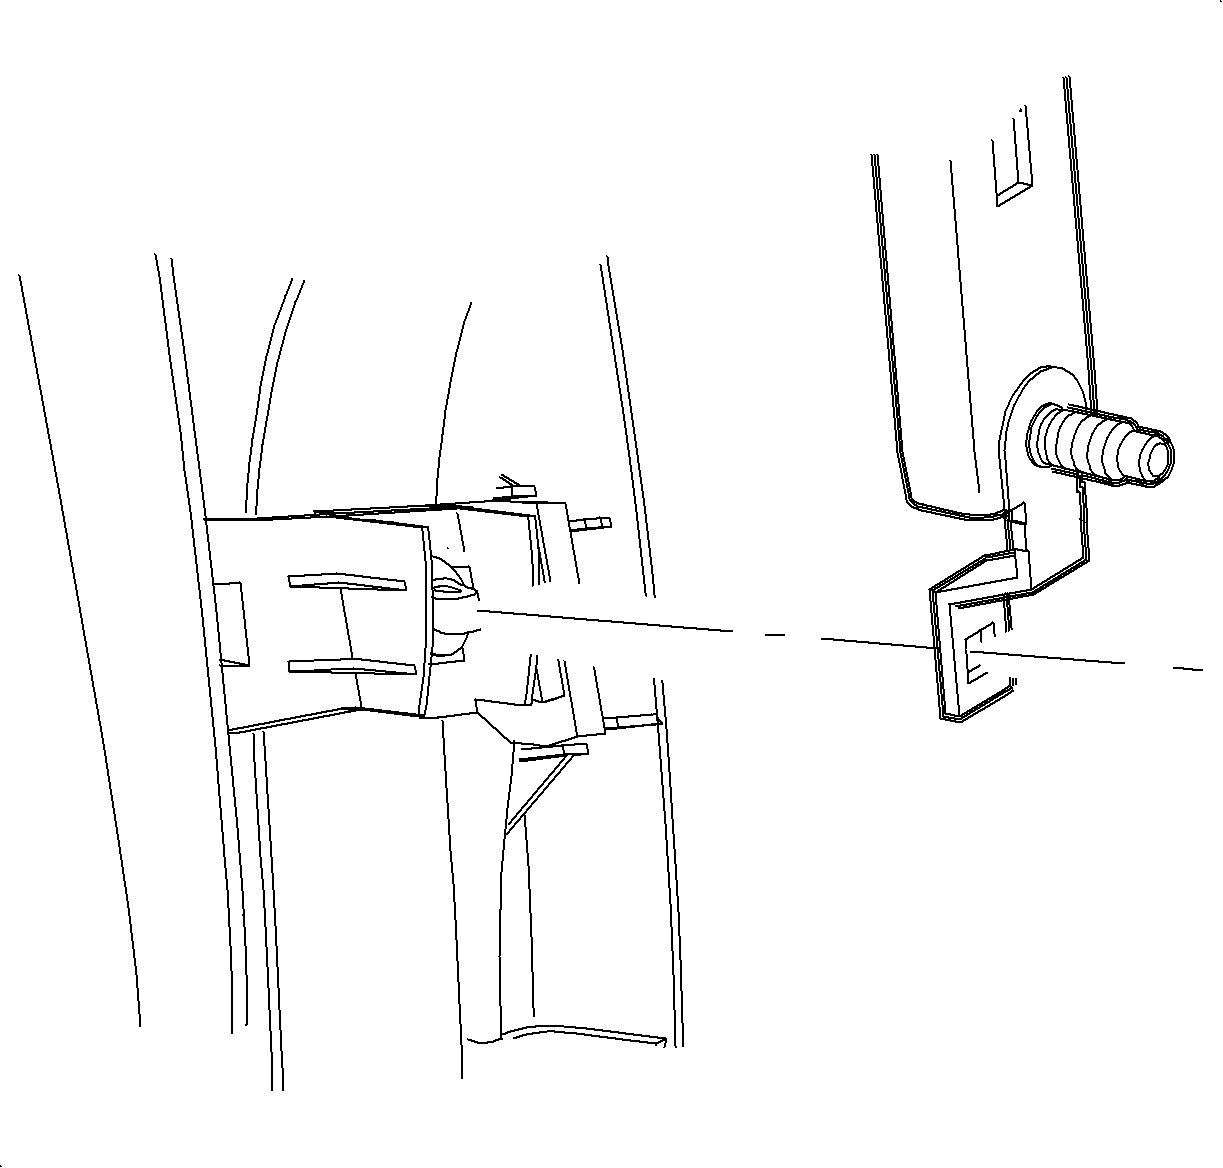
- Route the shoulder belt through the center pillar upper molding opening until the latch plate has been routed through the opening.
- Snap the shoulder belt adjuster into the center pillar hinge clip.
- Align the trim height adjuster clip to the shoulder belt adjuster pins and snap in place securing the height adjuster to the center pillar molding.
- Test the height adjuster function.
- Attach the center pillar upper molding to the center pillar lower molding.
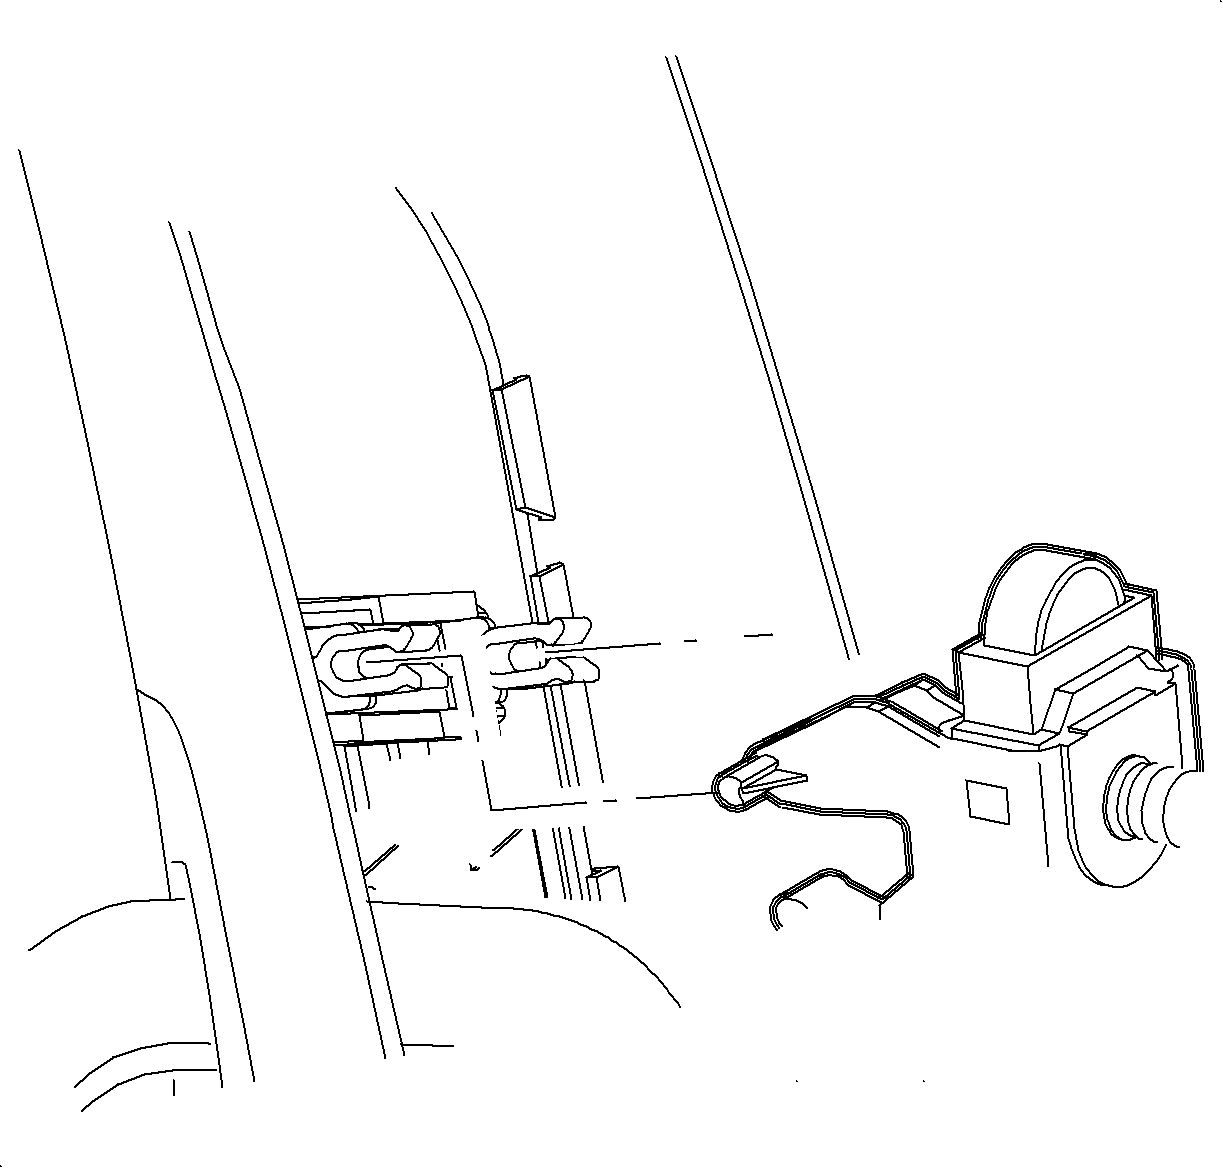
- Route the shoulder belt behind the shoulder belt retainer.
- Snap the center pillar assemblies in to the center pillar making sure that the height adjuster studs are installed through the center pillar holes.
- Install the height adjuster fasteners on the shoulder belt.
- Install the upper molding fastener and plug
- Install the center pillar outside the weatherstrip.
- Install the shoulder belt to the seat frame.
- Install the front seat belt outer trim cover.
- Ensure the proper operation of the shoulder belt and the height adjuster.
Notice: Refer to Fastener Notice in the Preface section.
Tighten
Tighten the fasteners to 35 N·m (26 lb ft).
Tighten
Tighten the fastener to 5 N·m (44 lb in).
Tighten
Tighten the bolt to 35 N·m (26 lb ft).
