For 1990-2009 cars only
Front Seat Front Finish Panel Replacement Inner
Removal Procedure
- Remove the front seat. Refer to Front Seat Replacement - Bucket .
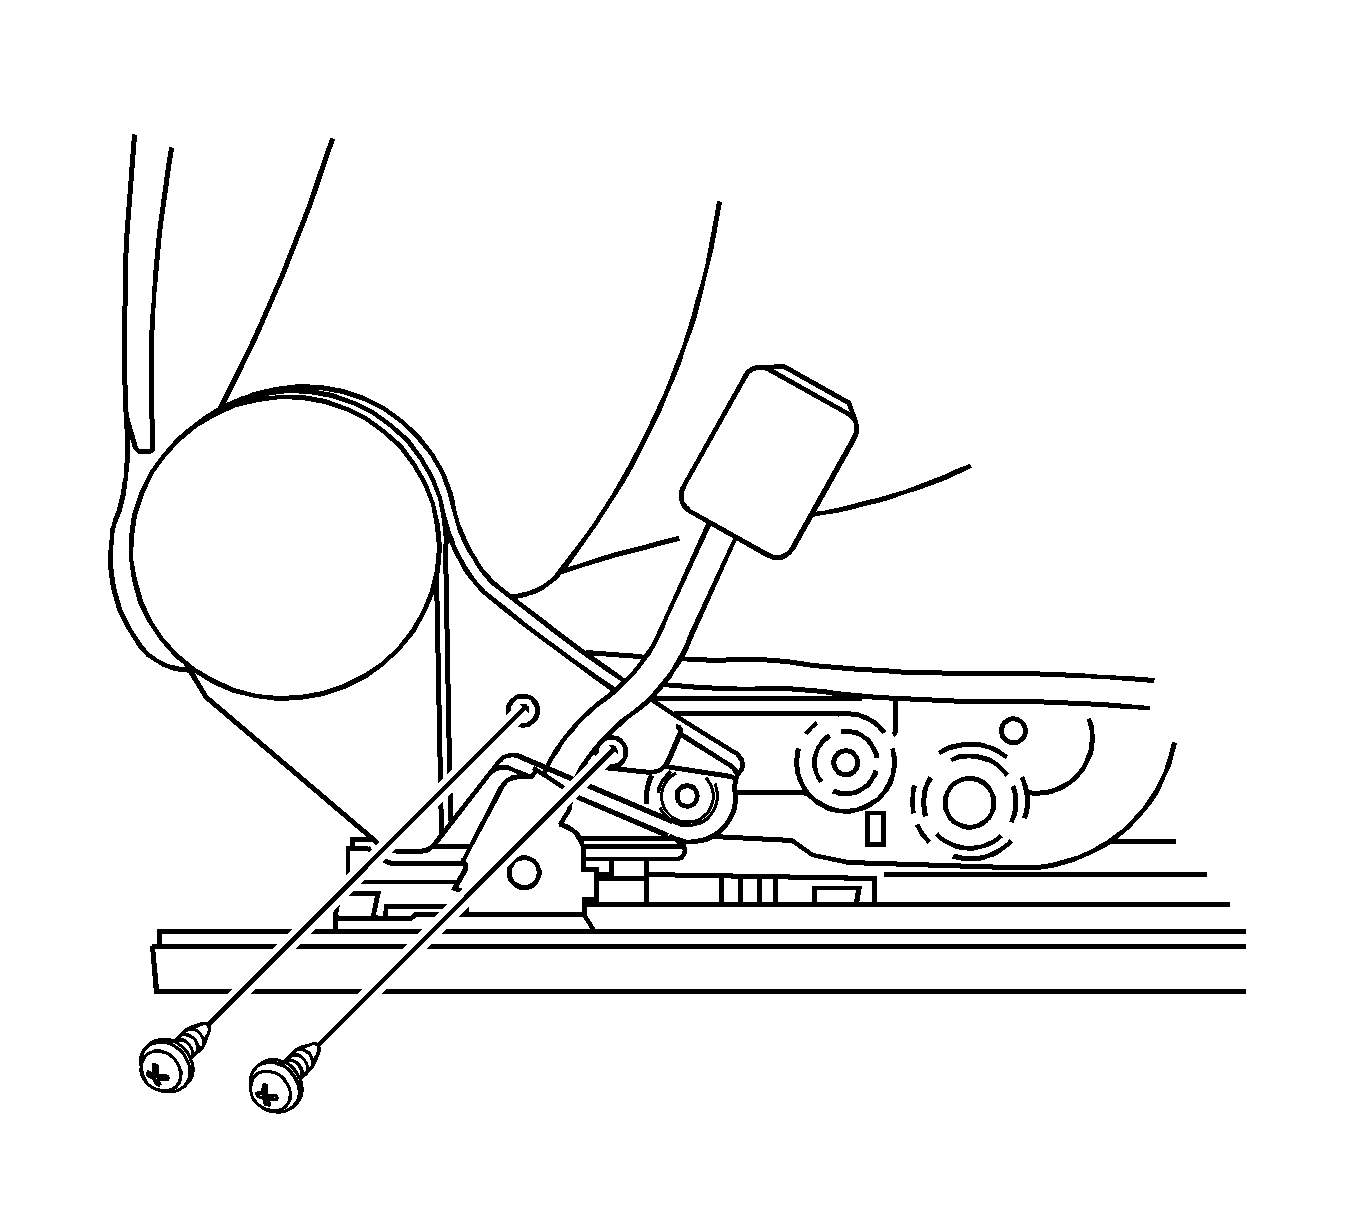
- Remove the screws from the inner recliner finish panel.
- Remove the inner recliner finish panel.


Installation Procedure
- Install the inner recliner finish panel.
- Install the screws to the inner recliner finish panel.
- Install the front seat. Refer to Front Seat Replacement - Bucket .
Notice: Refer to Fastener Notice in the Preface section.

Tighten
Tighten the screws to 2.5 N·m (22 lb in).
Front Seat Front Finish Panel Replacement Outer
Removal Procedure
- Remove the front seat. Refer to Front Seat Replacement - Bucket .
- In the case of manual seats, remove the recliner handle. Refer to Driver Seat and Passenger Seat Recliner Handle Replacement .
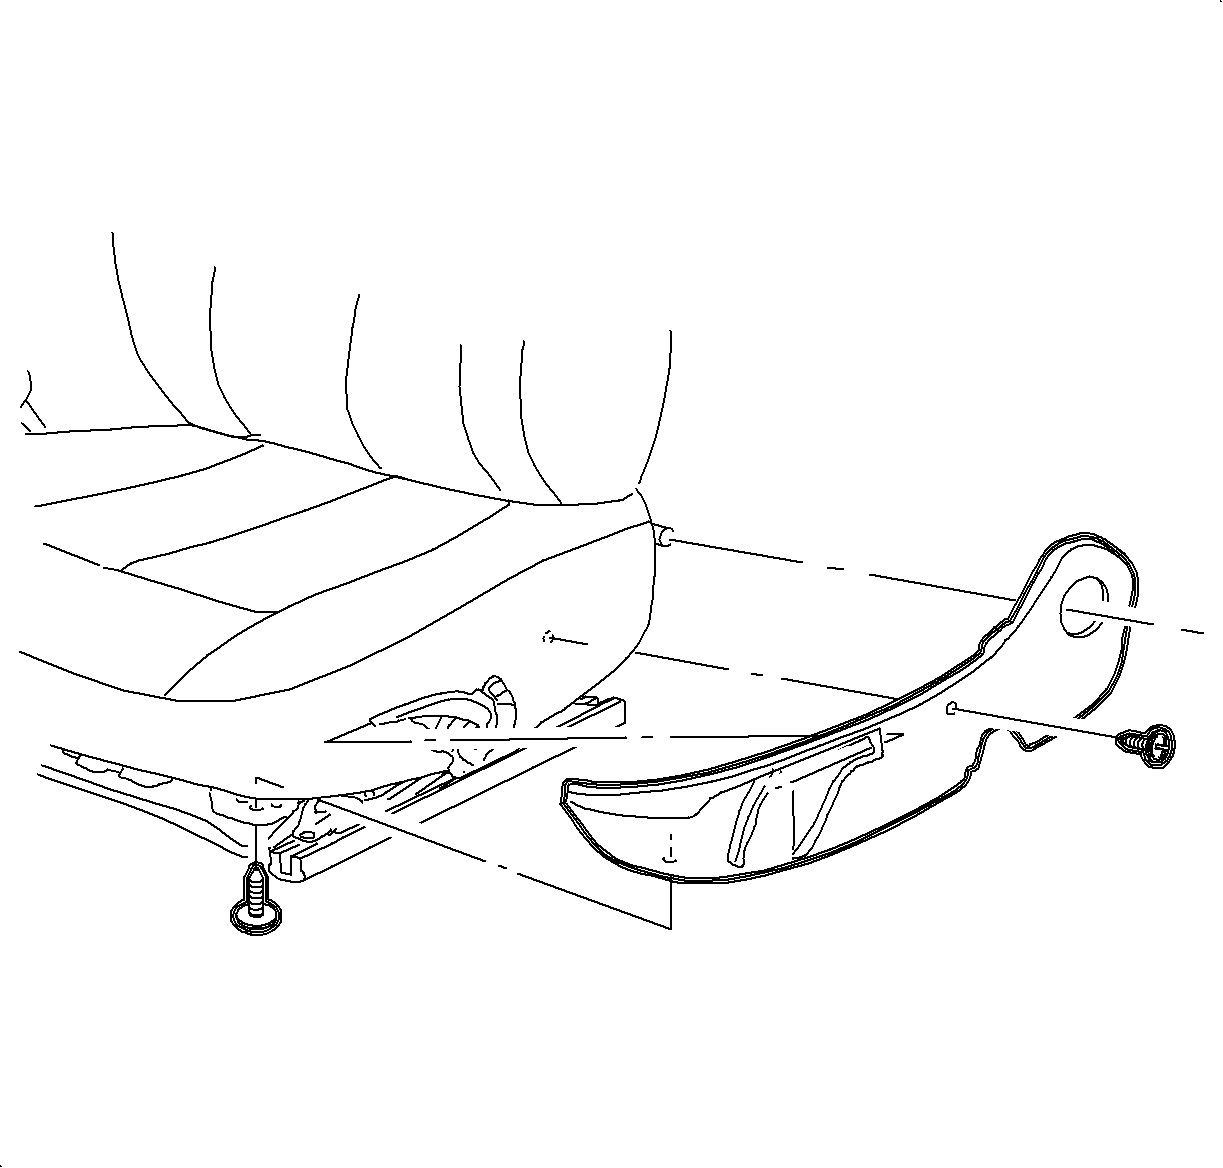
- Remove the screws from the front seat finish panel.
- Remove the front seat finish panel from the seat, starting at the recliner end of the panel.
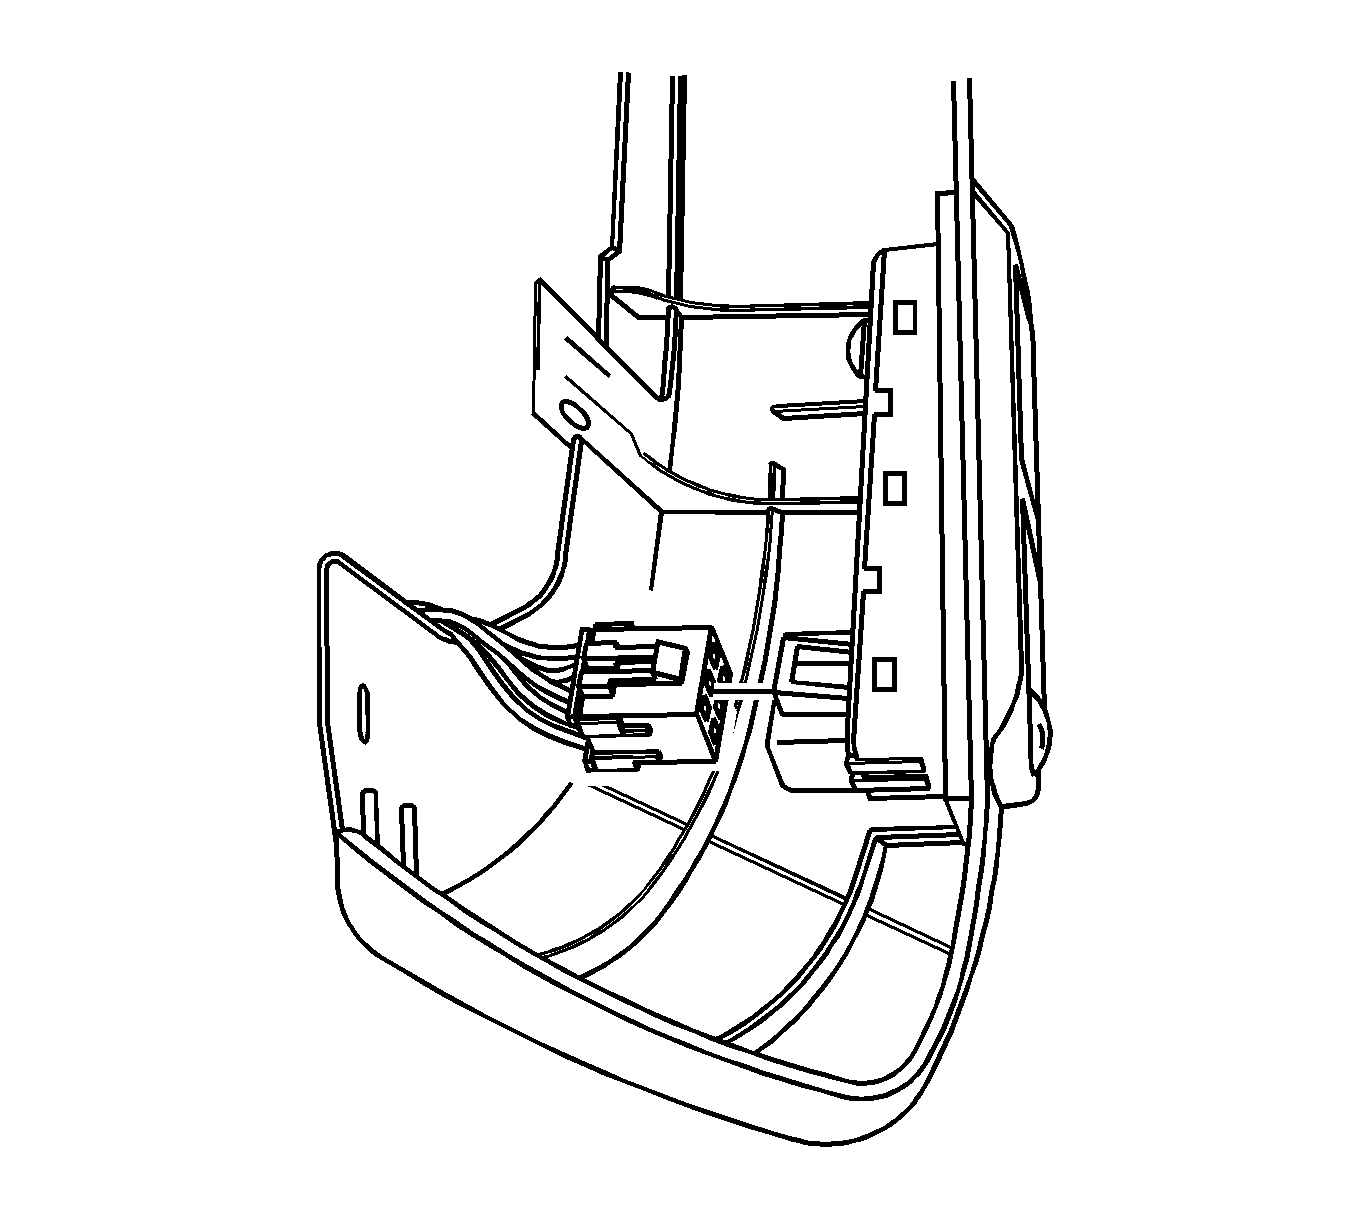
- In the case of power seats, disconnect the electrical connector from the switch.


Installation Procedure
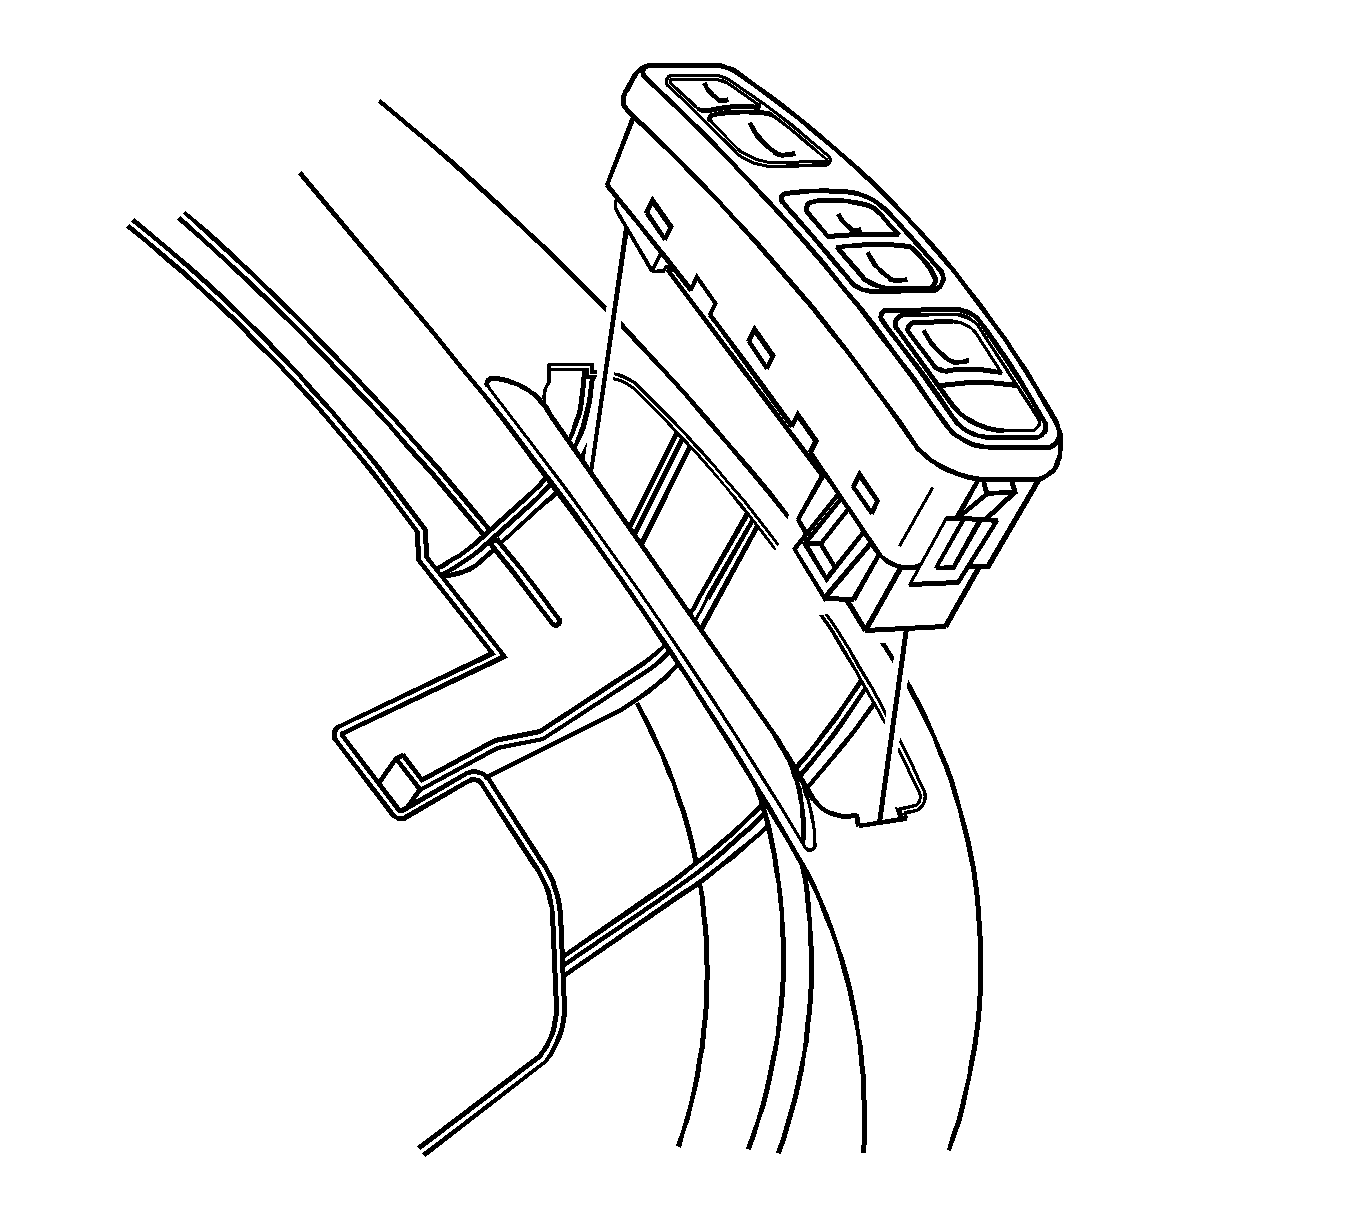
- If you are installing a new finish panel, transfer the power seat switch to the new panel.
- Install the front seat finish panel, starting at the front of the panel.
- Install the screws to the finish panel.
- In the case of manual seats, install the recliner handle. Refer to Driver Seat and Passenger Seat Recliner Handle Replacement .
- Install the front seat. Refer to Front Seat Replacement - Bucket .

Notice: Refer to Fastener Notice in the Preface section.

Tighten
Tighten the screws to 2.5 N·m (22 lb in).
