Removal Procedure
- Raise the vehicle on a hoist. Refer to Lifting and Jacking the Vehicle in General Information.
- Remove the rear wheel and the tire assembly. Refer to Tire and Wheel Removal and Installation in Tires and Wheels.
- Remove the rear brake pads. Refer to Rear Disc Brake Pads Replacement .
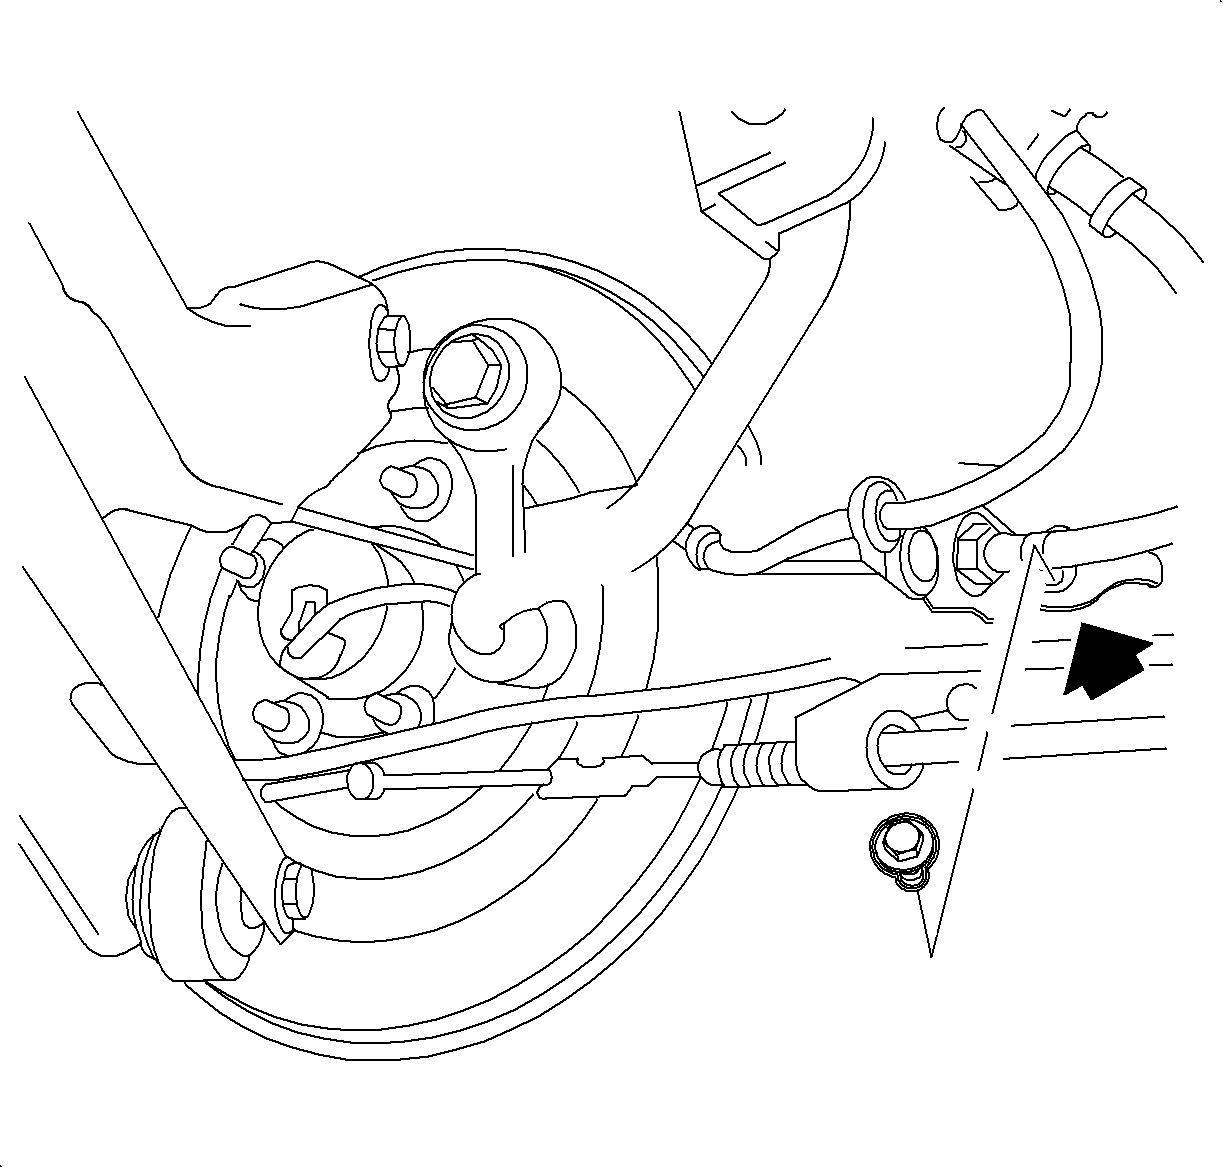
- Remove the brake pipe to the rear axle control arm bracket.
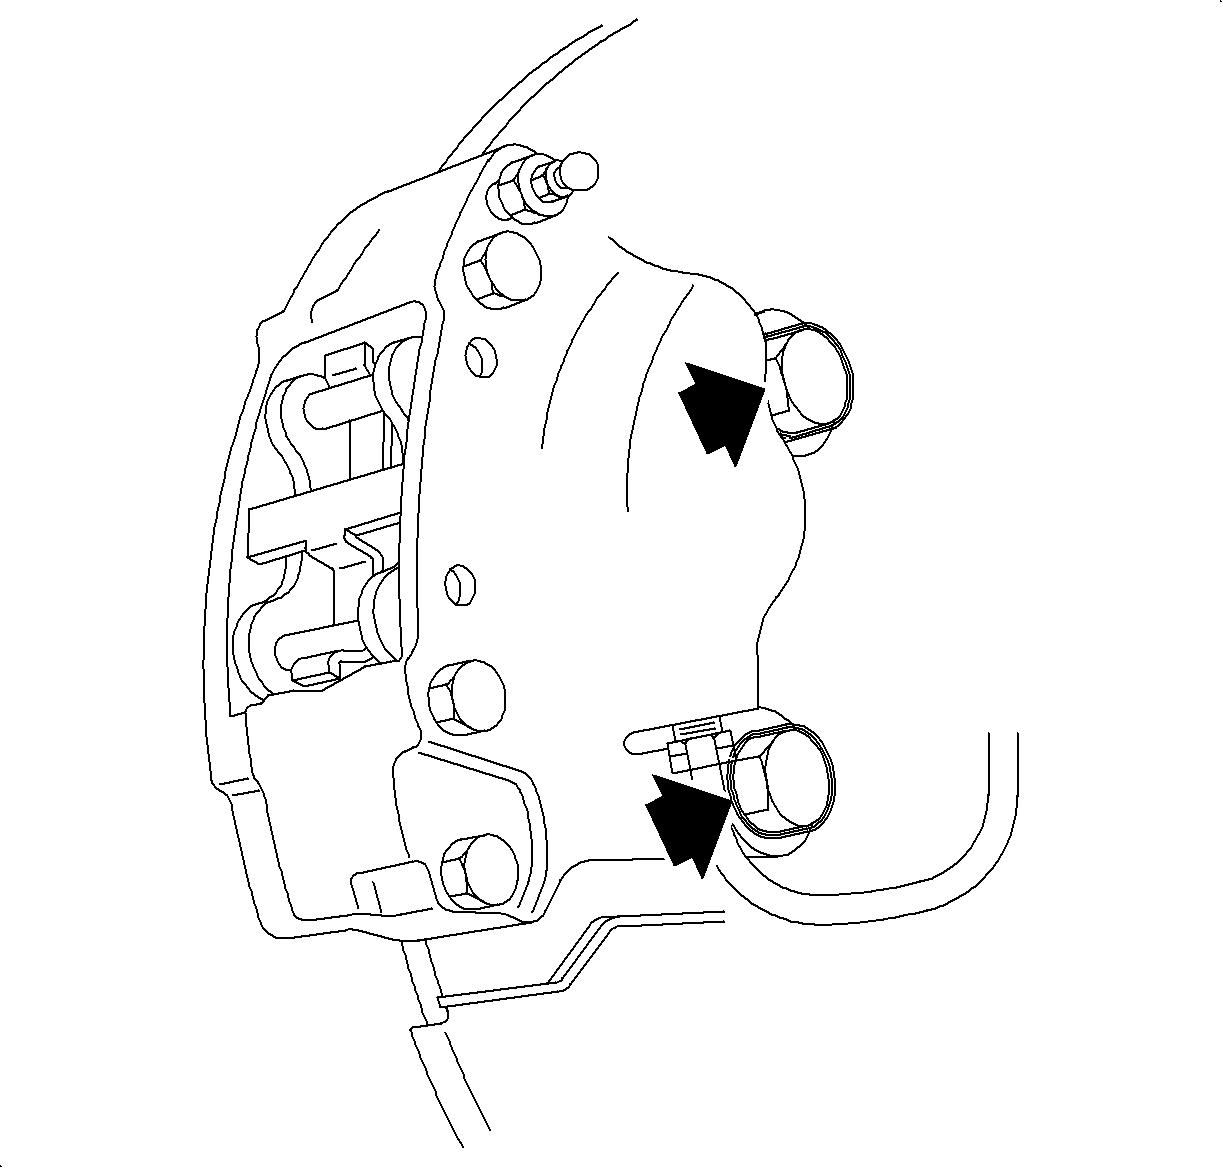
- Remove the brake caliper-to-rear axle control arm bolts.
- Carefully remove the brake caliper bending at the flexible brake hose only.
- Using mechanics wire, attach the caliper to the rear spring.
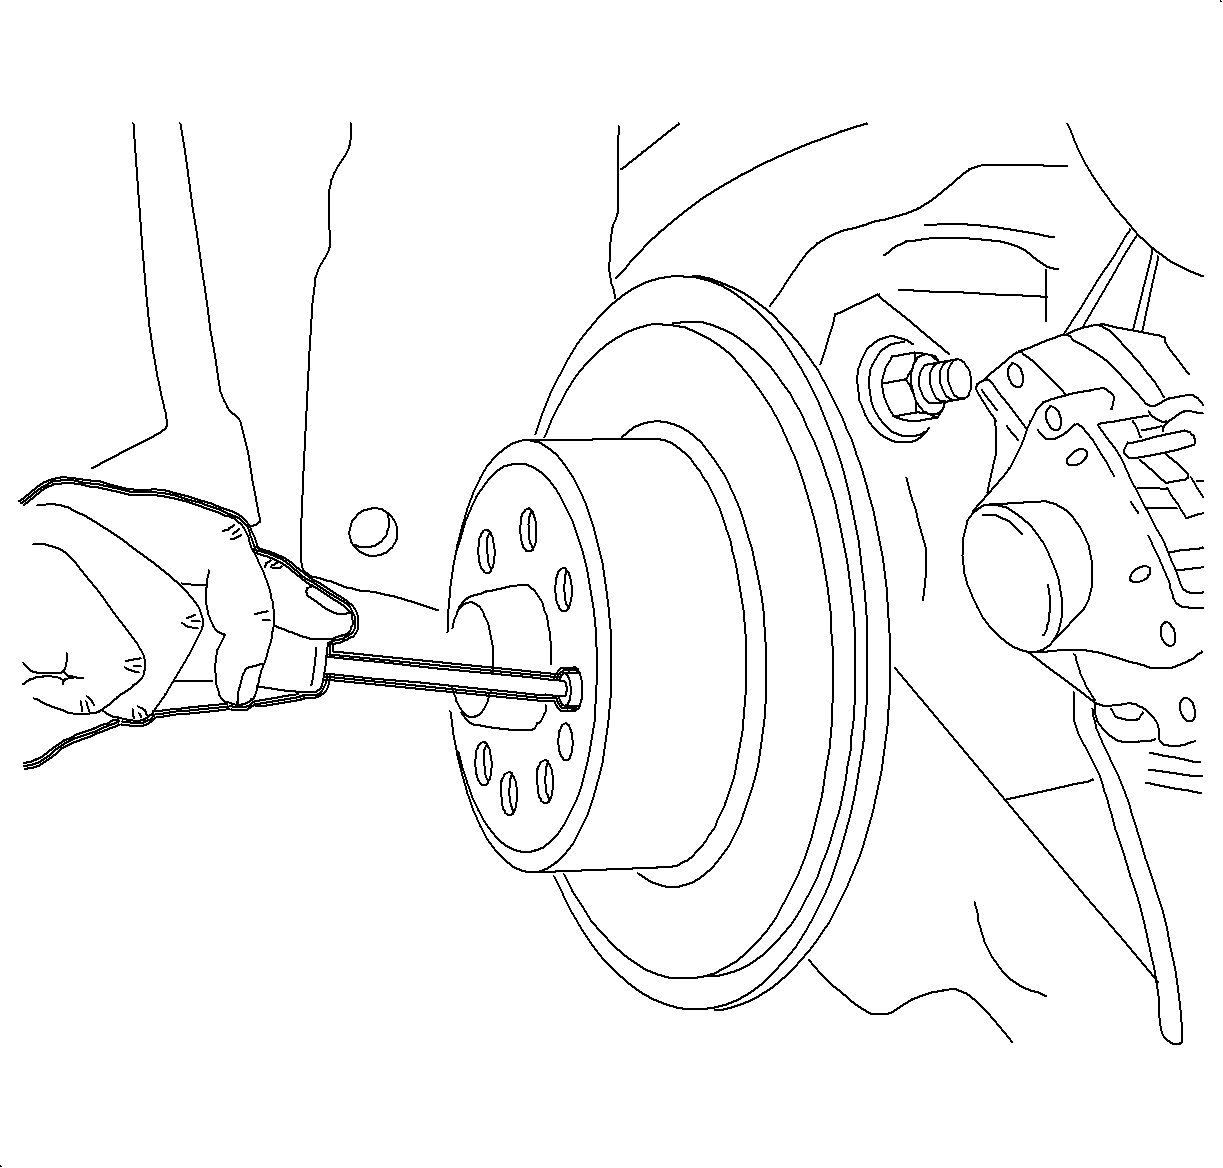
- Remove the rotor retaining screw.
- Remove the rotor from the vehicle.
Caution: Refer to Brake Dust Caution in the Preface section.
Caution: Refer to Vehicle Lifting Caution in the Preface section.


Notice: Support the brake caliper with heavy mechanic wire, or equivalent, whenever it is separated from its mount and the hydraulic flexible brake hose is still connected. Failure to support the caliper in this manner will cause the flexible brake hose to bear the weight of the caliper, which may cause damage to the brake hose and in turn may cause a brake fluid leak.
Installation Procedure
- Position the rotor onto the hub.
- Install the rotor retaining screw.
- Clean the caliper support bracket fasteners thoroughly with brake and choke cleaner P/N 21007432 or equivalent.
- Apply LOCTITE 272® Threadlocker or equivalent to the caliper support bracket fasteners.
- Install the caliper onto the rear axle control arm and tighten the fasteners.
- Install the brake pipe bracket to the rear axle control arm.
- Install the brake pads. Refer to Rear Disc Brake Pads Replacement .
- Bleed the brakes. Refer to Hydraulic Brake System Bleeding .
- Install the tire and wheel assembly. Refer to Tire and Wheel Removal and Installation in Tires and Wheels.
- Lower the vehicle from the hoist.

Notice: Refer to Fastener Notice in the Preface section.
Tighten
Tighten the brake rotor retaining fastener to 4 N·m (35 lb in).
Important: If LOCTITE 272® Threadlocker or equivalent is not available, new caliper support bracket fasteners must be used.

Tighten
Tighten the rear caliper-to-rear axle control arm to 80 N·m (59 lb ft).

Tighten
Tighten the brake pipe bracket-to-rear axle control arm to 8 N·m
(71 lb in).
