Front Doors Re-Lock After Being Unlocked with Key

| Subject: | Front Doors Re-Lock After Being Unlocked With Key (Replace Door Latch-to-Lock Cylinder Actuator Rods) |
| Models: | 2000 Saturn L-Series Sedans and Wagons built before and including VIN YY601594 |
Condition
Some customers may comment that after unlocking either the driver or passenger front door with the key, the door lock indicator returns to the locked position when the outside door handle is pulled.
Cause
This condition may occur on a small number of vehicles and is caused by a latch-to-lock cylinder odd length that does not comprehend all built variations. The associated loss of motion in the door lock key cylinder, prevents the door latch from fully actuating to open the vehicle door.
Correction
Install new latch-to-lock cylinder rods (P/N 24407368 - Red Marking) for driver side and (P/N 24407369 - Green Marking) for the passenger side.
On vehicle built after VIN YY601594, the new rods are installed at the plant during production and the procedure in this bulletin is not required.
Refer to the procedure in this bulletin for door latch-to-lock cylinder actuator rod replacement.
Procedure
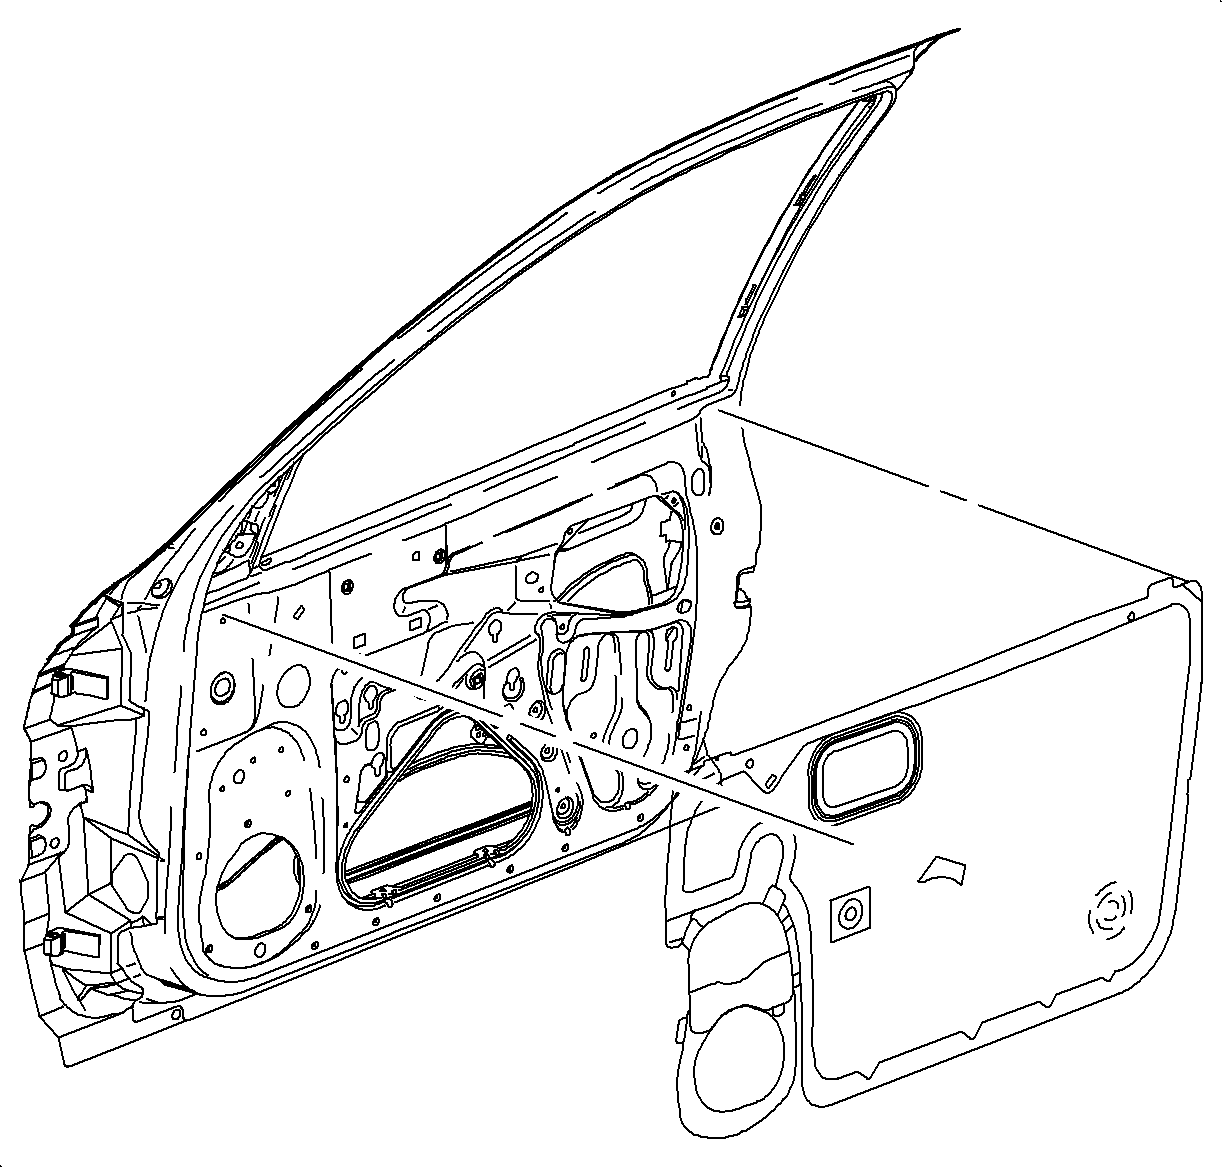
Removal
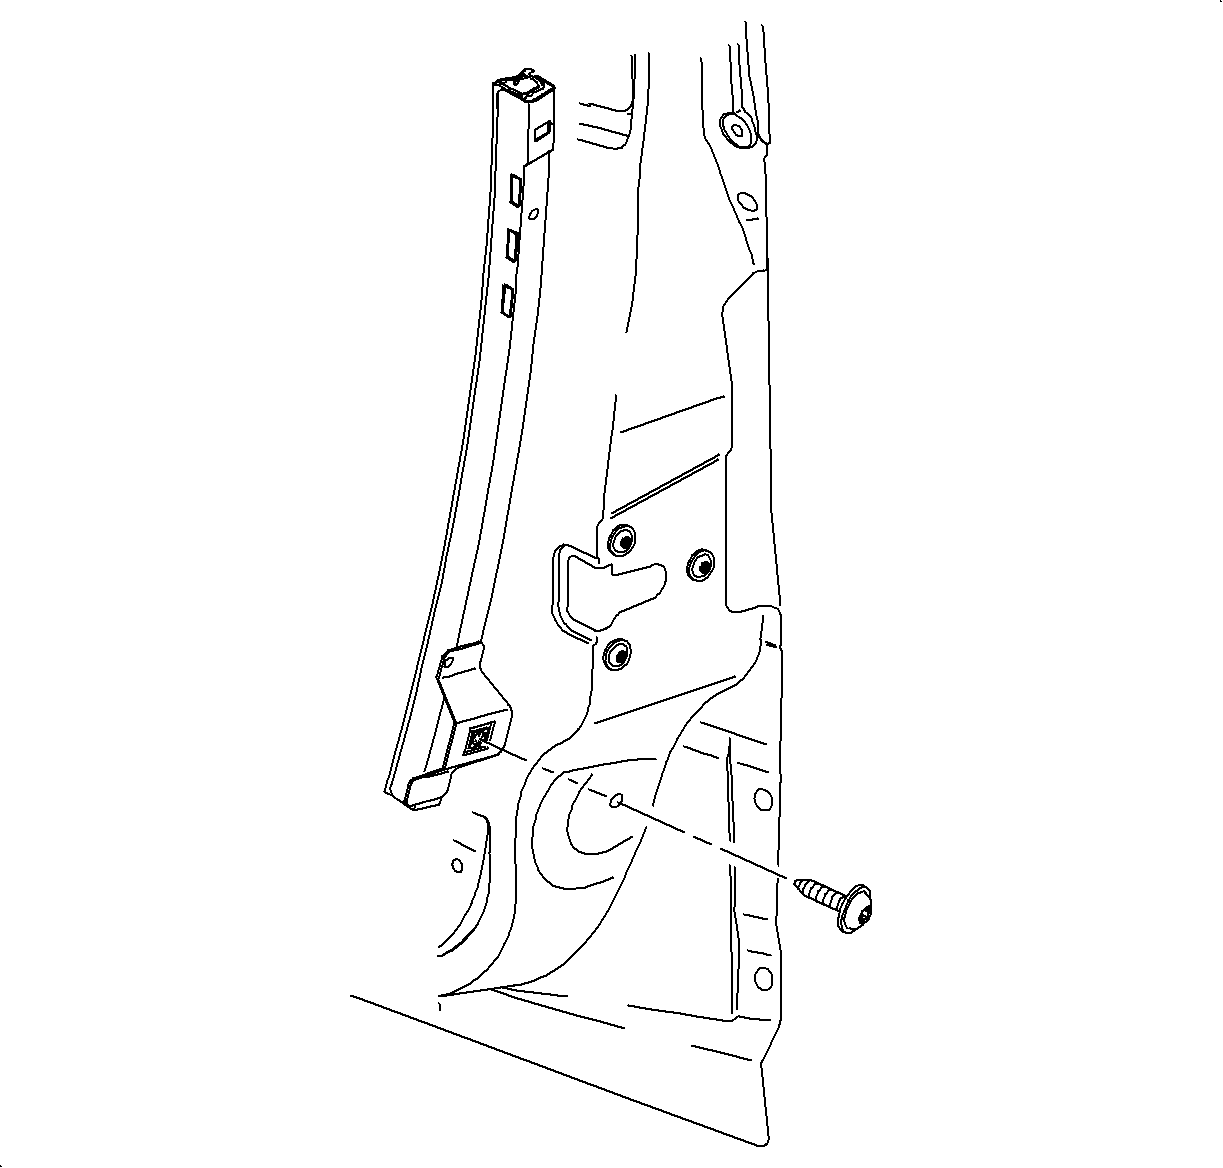
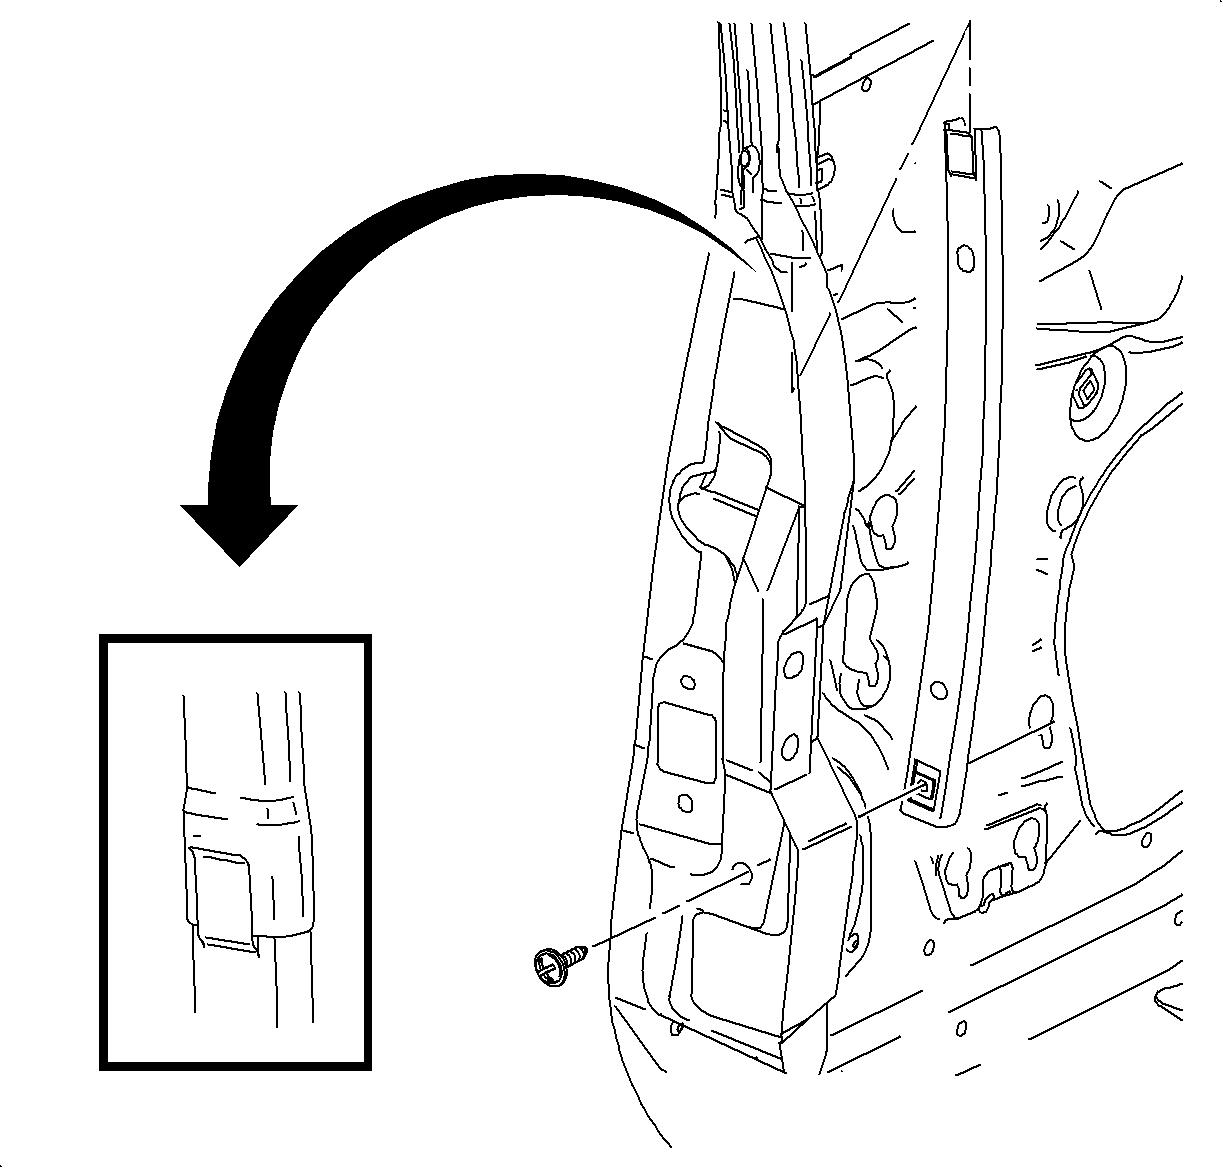
- Lower window.
- Using a small flat blade tool, start at top and pull on door handle grip to disengage grip from handle to expose door inner pull handle fastener.
- Using a small flat blade tool, disengage power door lock switch (or cover on non-power door lock equipped vehicles) to expose door inner pull handle fastener.
- On power door lock equipped vehicles, disconnect power door lock switch connector and remove switch connector and remove switch.
- On driver's side, using a small flat blade tool, disengage power mirror switch (or cover on non-power mirror equipped vehicles)>
- On driver's side, using a small flat blade tool, disengage power mirror switch (or cover on non-power mirror equipped vehicles).
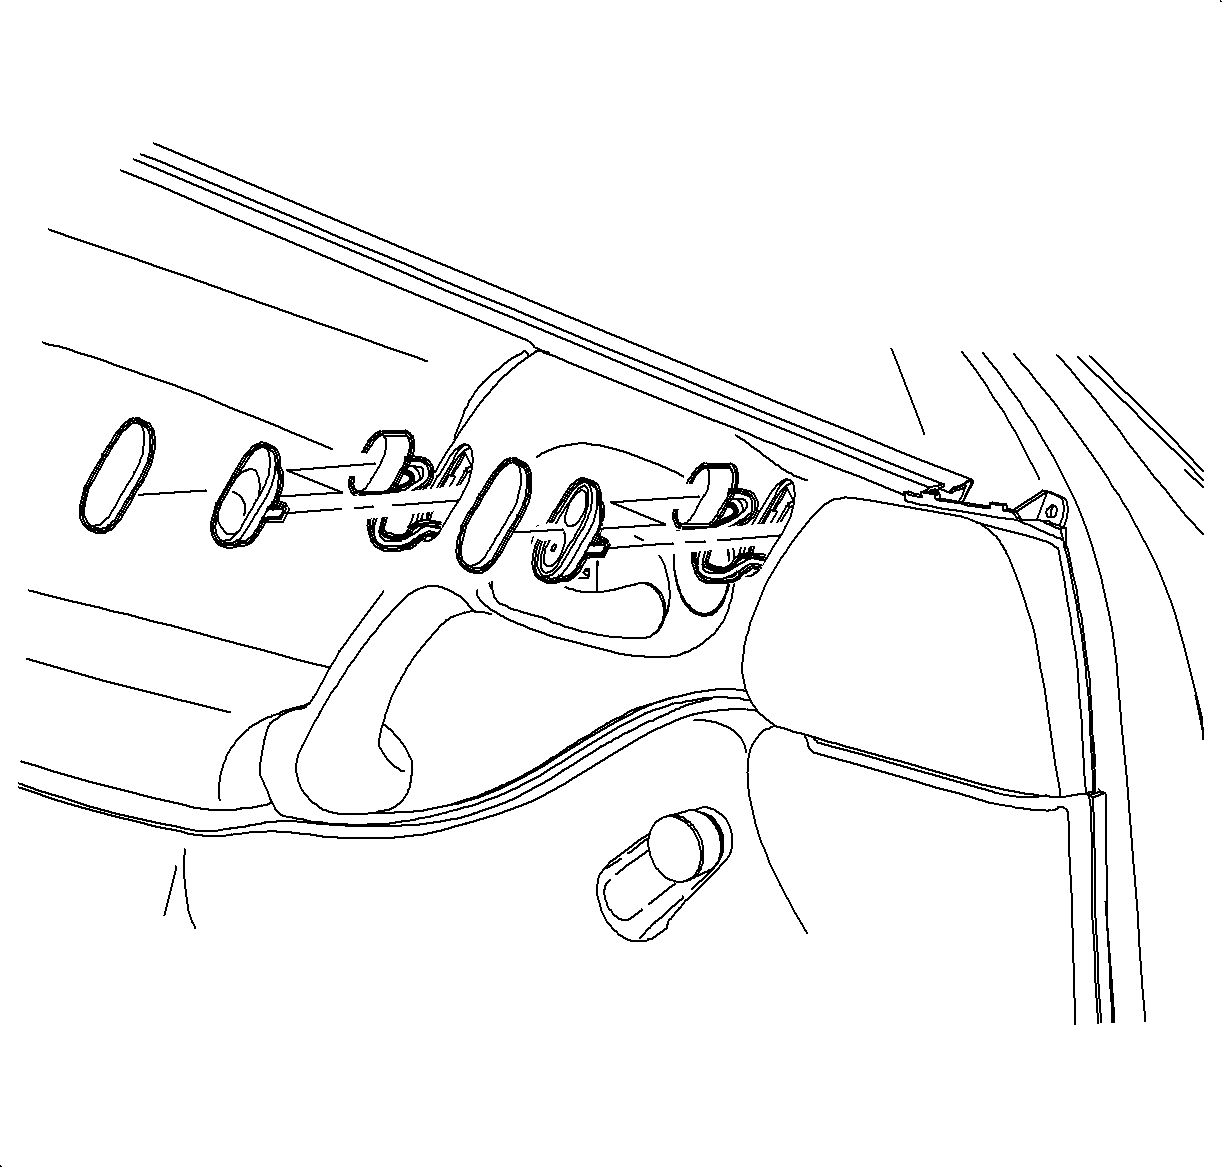
- Using a small flat blade tool, gently pry on tweeter speaker cover and remove to expose door inner pull handle fastener.
- Pull gently on mirror patch to remove and expose door inner pull handle fastener.
- Remove all door inner pull handle fasteners.
- Pull door inner pull handle away from door trim panel, disconnect tweeter speaker connector.
- Remove lower door trim panel fasteners.
- On non-power window equipped vehicles, remove window crank handle.
- Disengage door trim panel side retainers by grasping door panel along bottom and gently pulling out.
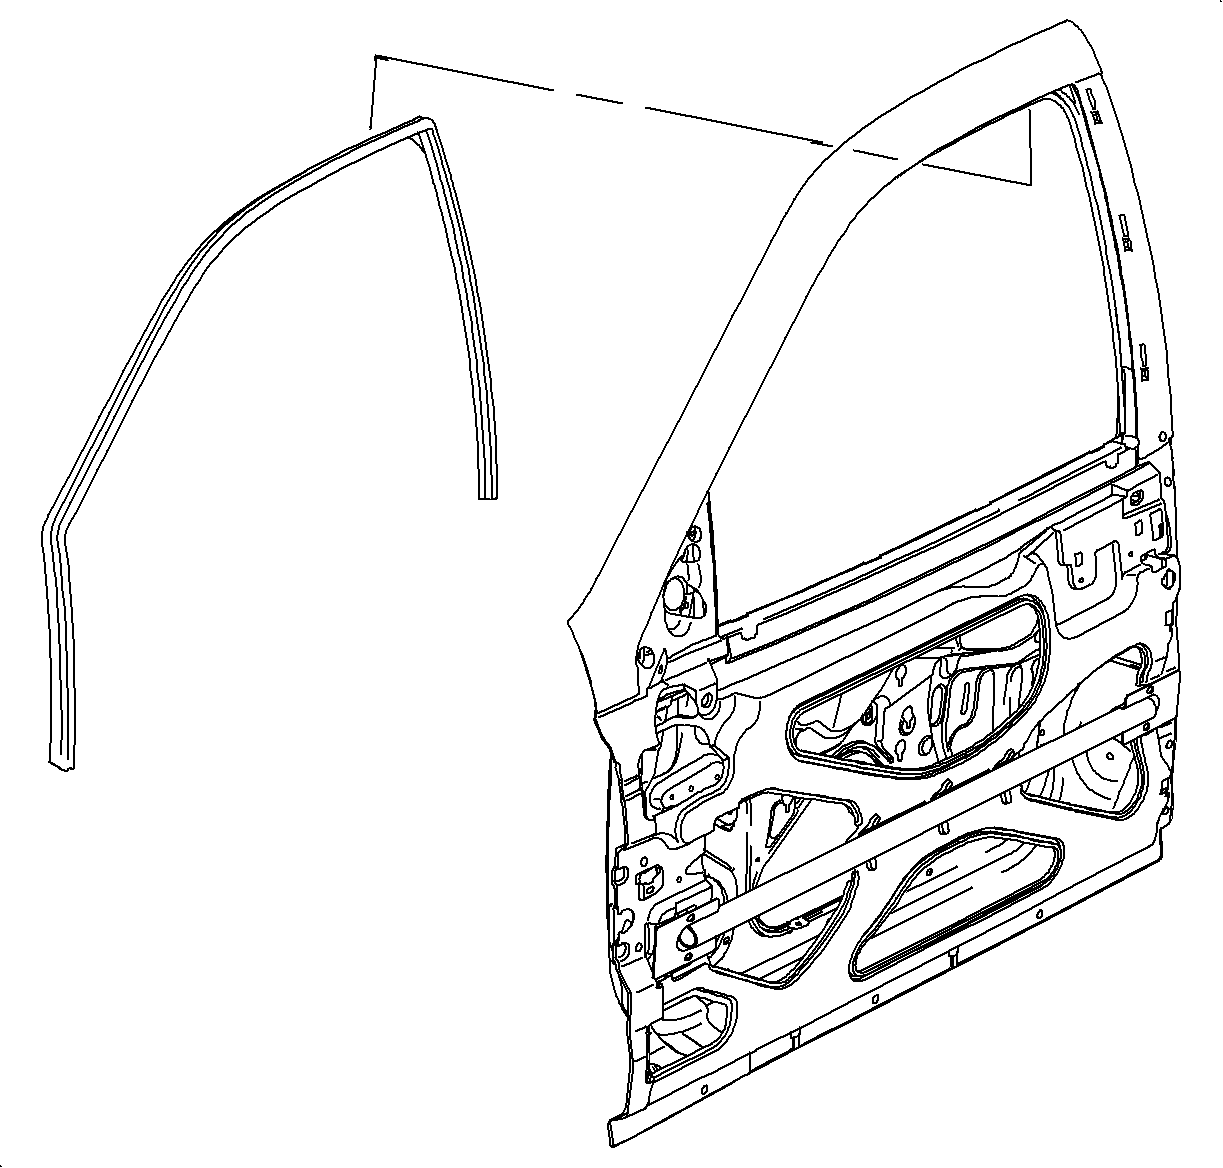
- Partially remove inside weatherstrip above door trim panel.
- Lift upward on door trim panel to disengage panel from door structure at top of panel.
- On vehicles equipped with illuminated front door trim panels, hold door trim panel away from door structure and disconnect wiring harness connector.
- Remove door trim panel and place in a clean protected area.
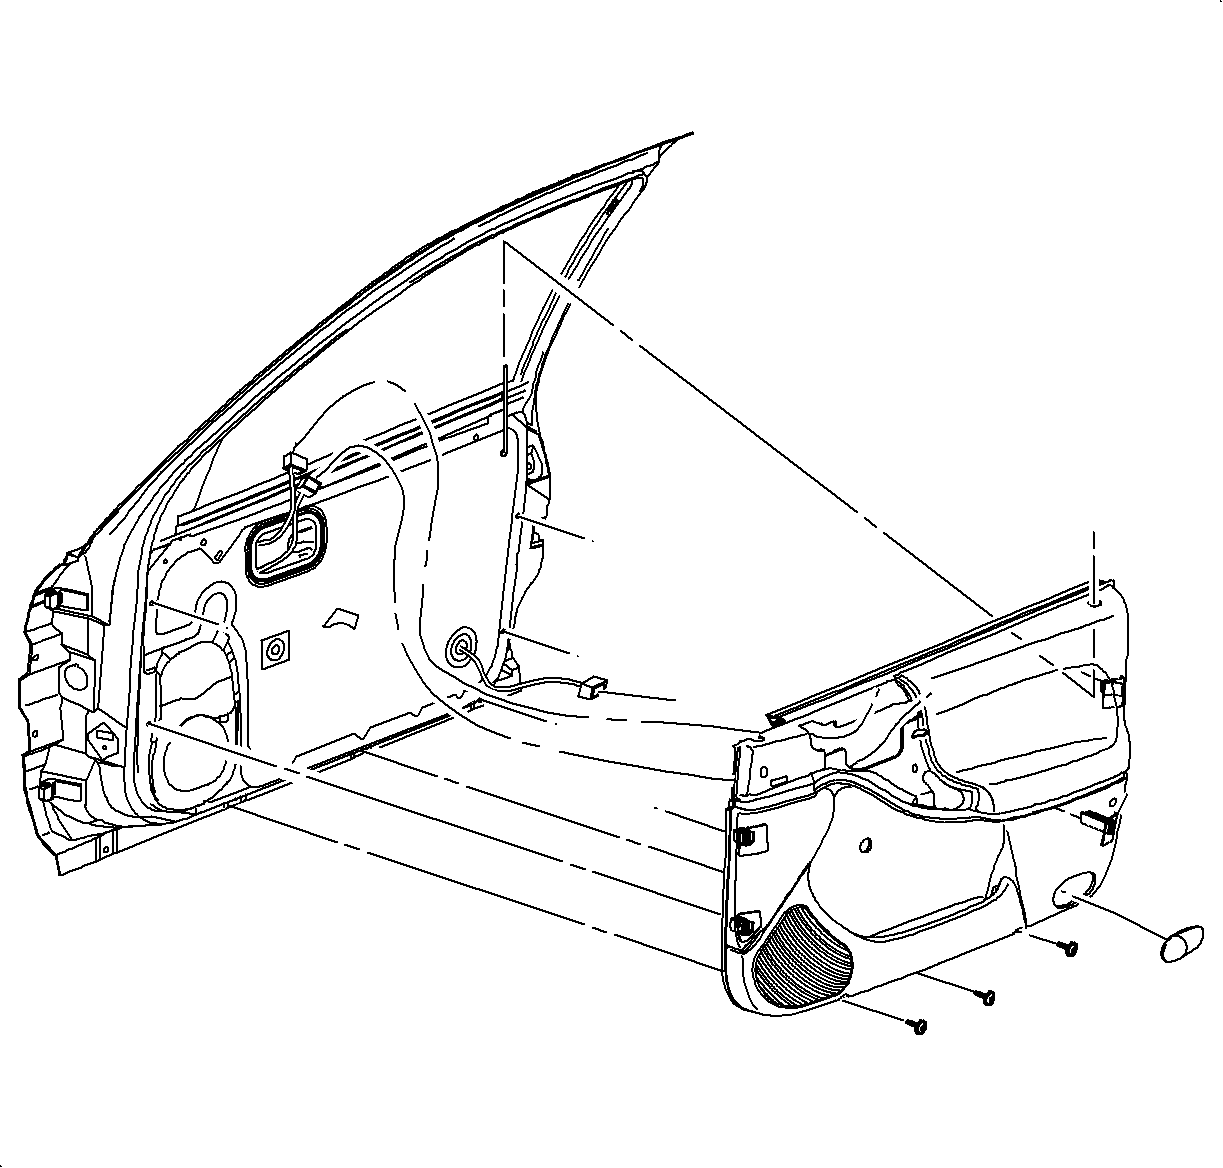
- Remove water deflector at rear edge of door and fold up and over window opening.
- To aid in installation, use tape or marker to note orientation and door structure routing of all lock and latch actuator rods.
- Detach manual lock rod from latch assembly by releasing rod retaining clip and pulling outward.
- Remove manual lock rod by pulling up through access hole.
- Detach inside door release handle actuator rod from latch mechanism by releasing rod retaining clip and pulling outward.
- Remove inside door release lever assembly
- Remove weatherstrip at rear of window and window rear guide.
- Raise window as high as possible without pinching weatherstrip.
- Remove power door lock wiring harness retainer (if equipped) from rear window guide.
- Remove rear window guide bolt at outside rear edge of door structure.
- Release rear window guide from door structure by pulling down, and remove from door.
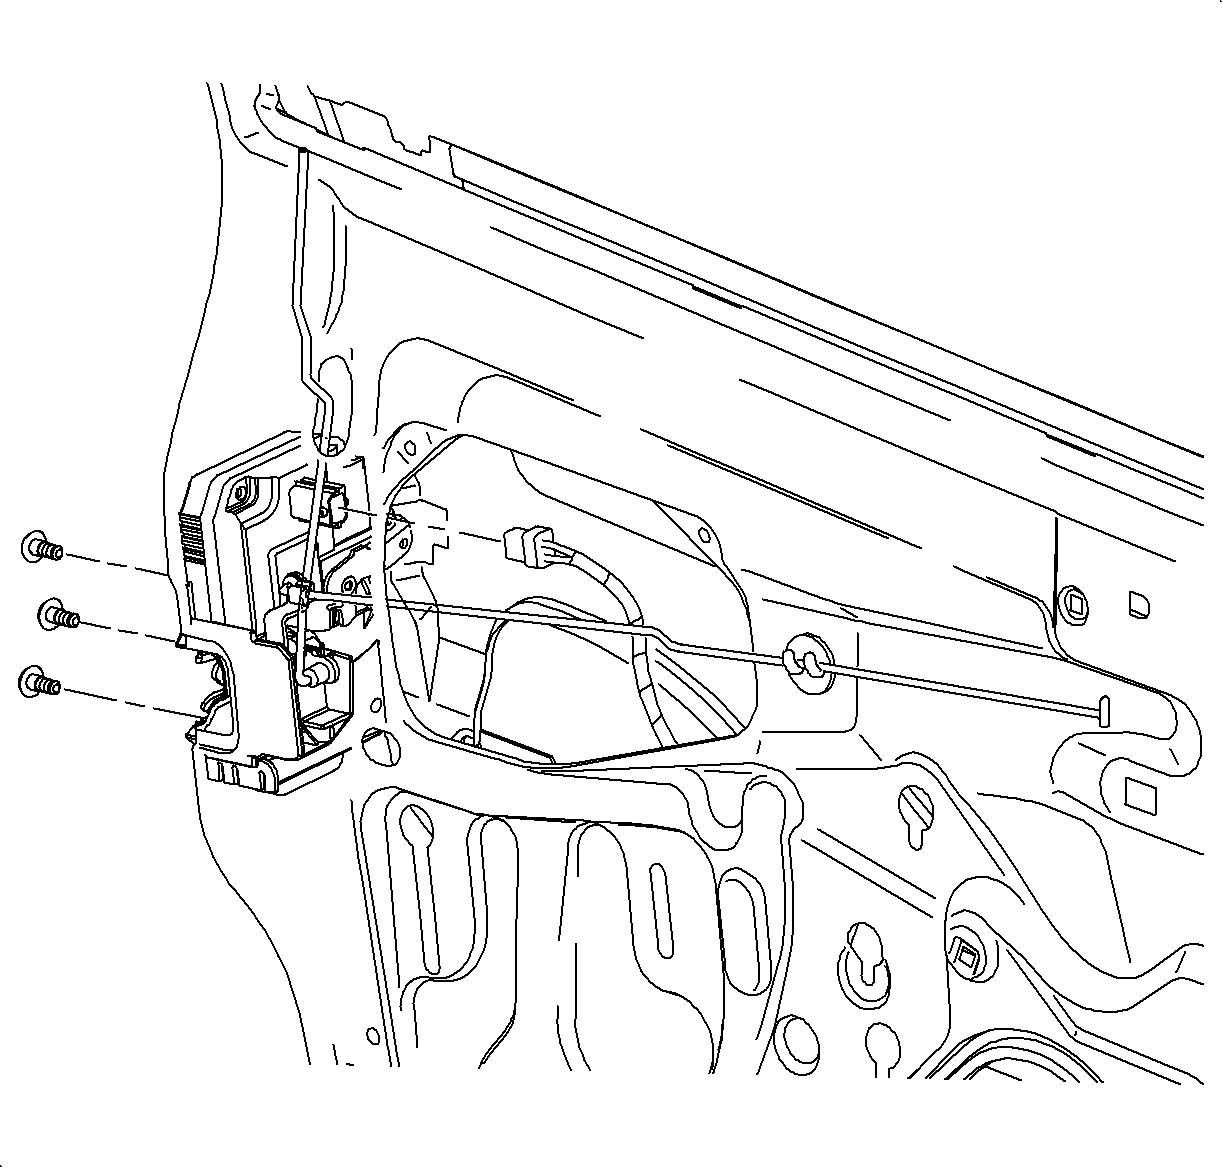
- Disconnect power door lock wiring harness connector from latch assembly (if equipped).
- Remove latch assembly bolts from outside rear edge of door structure.
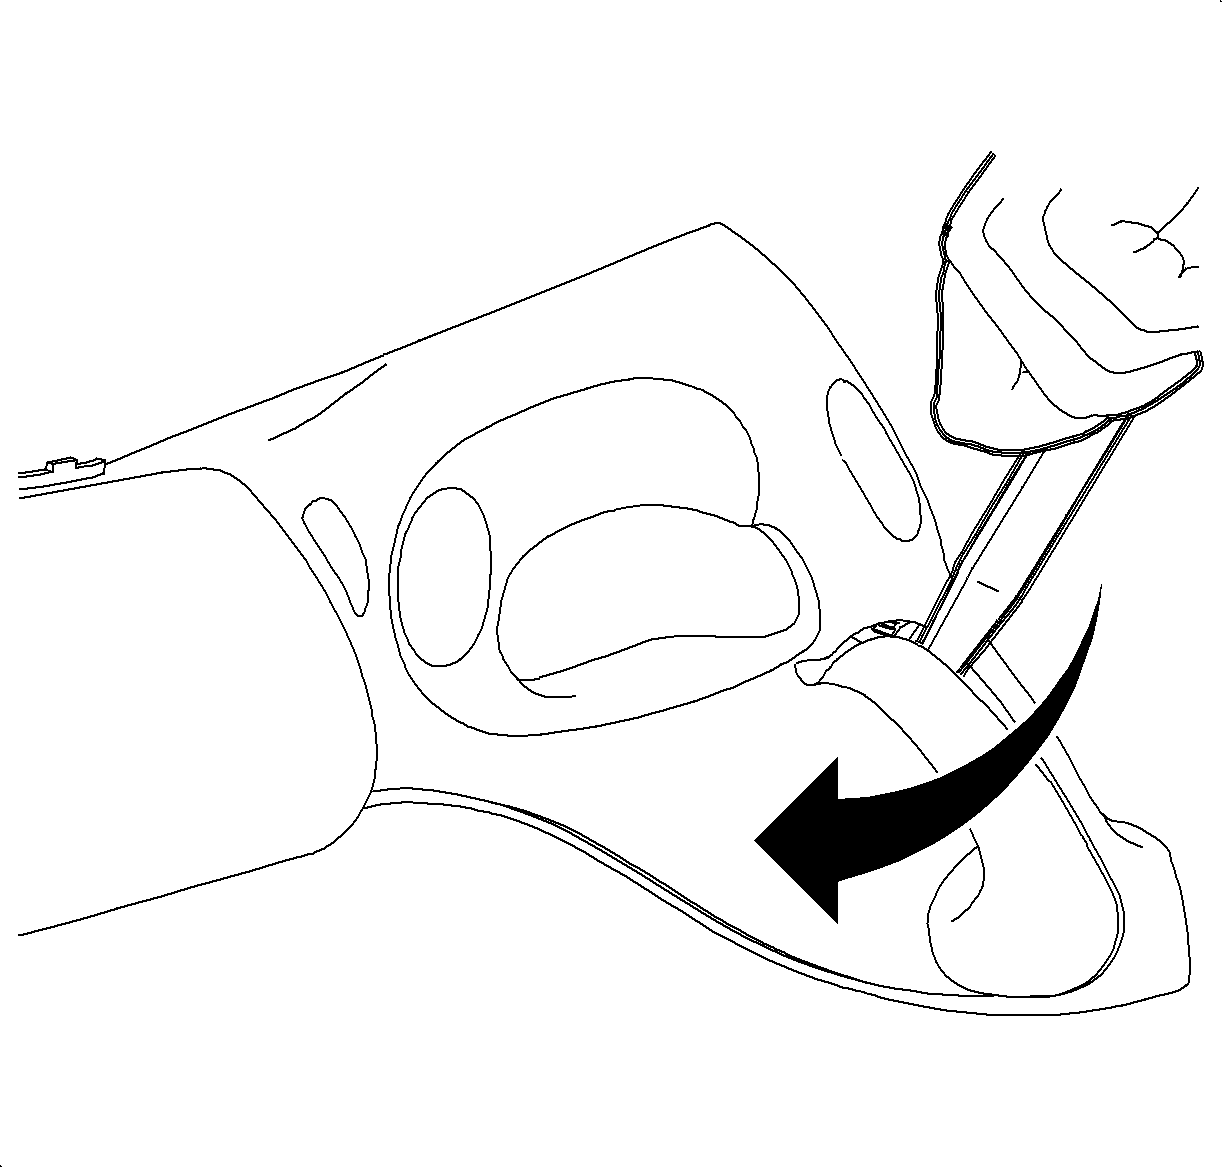
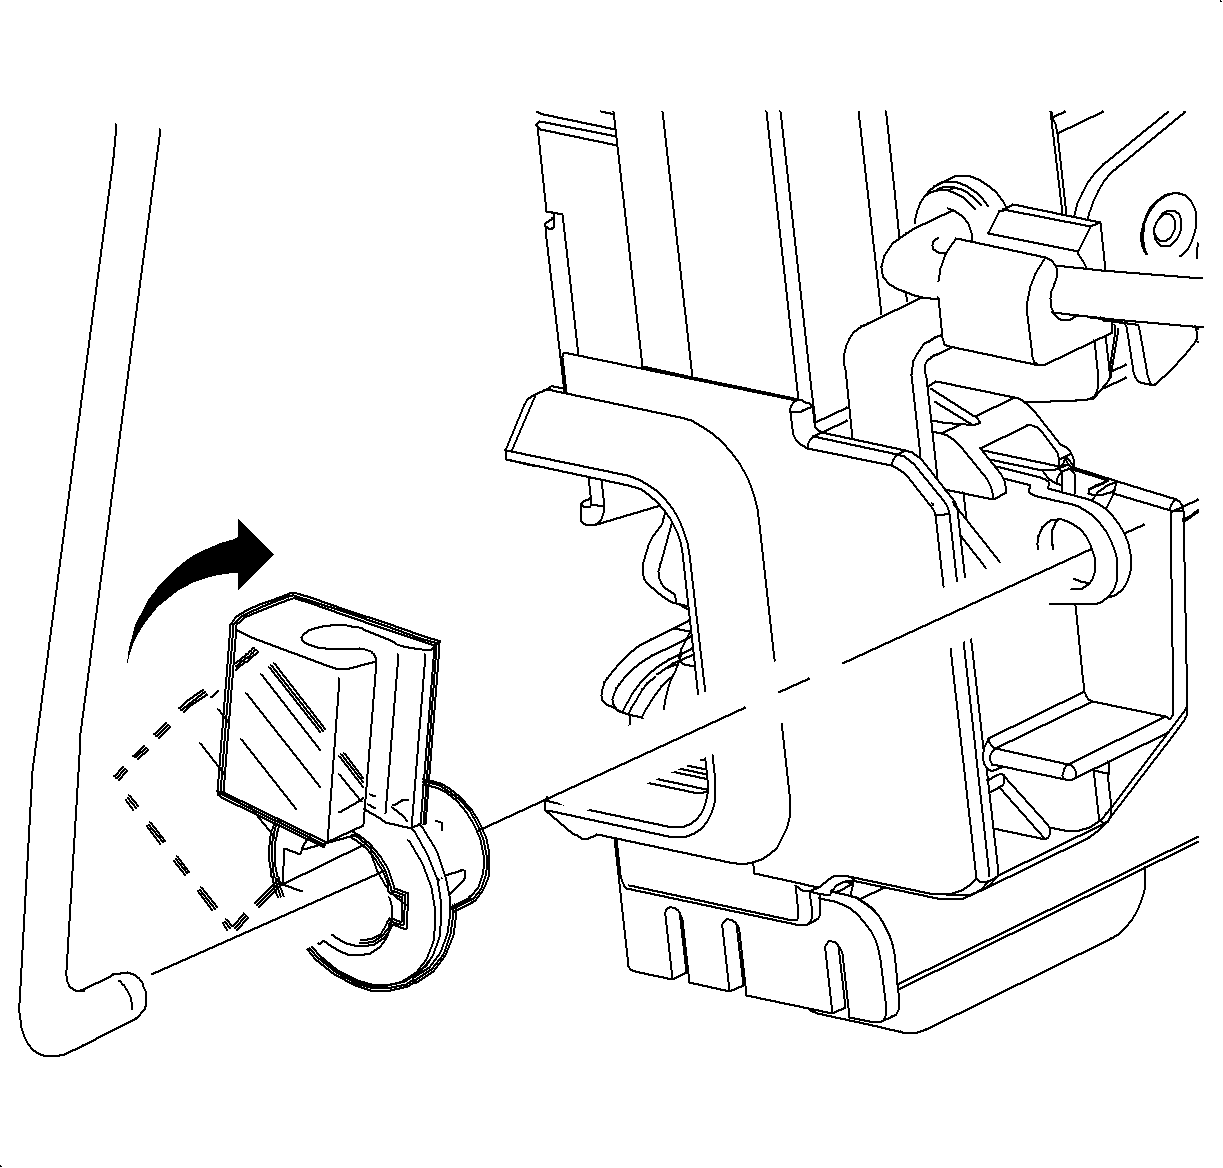
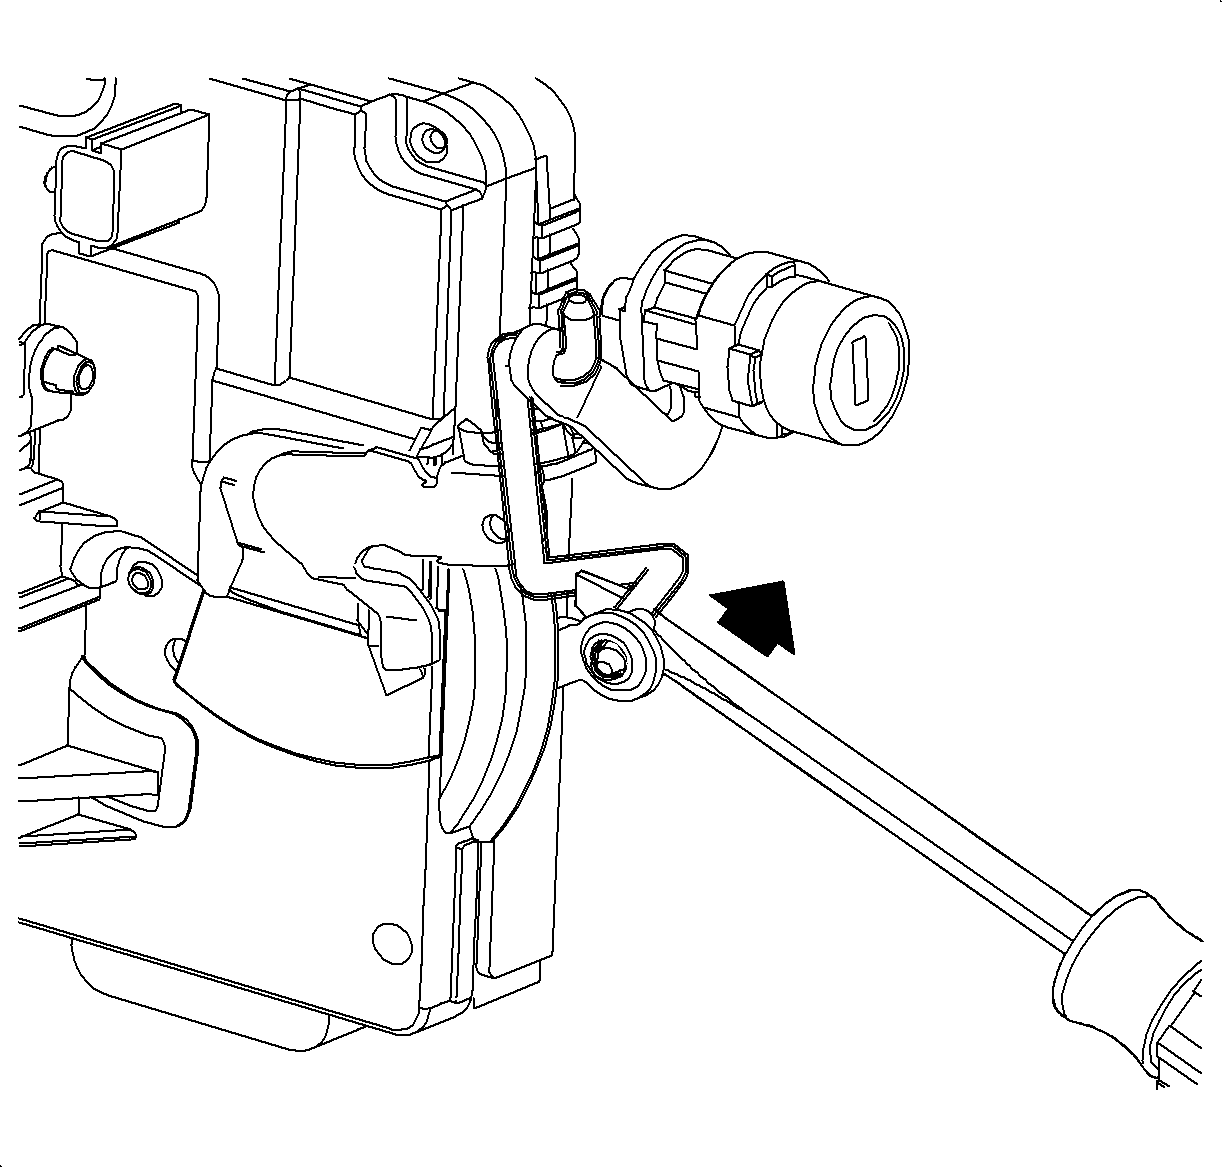
- Position latch assembly so that latch-to-lock cylinder rod can be removed at latch assembly by prying gently between lock rod and latch assembly.
- remove latch-to-lock cylinder rod from latch assembly.
- Remove latch assembly from vehicle.
- Remove lock rod from lock cylinder and discard.
Installation
- Obtain new service replacement latch-to-lock cylinder rods.
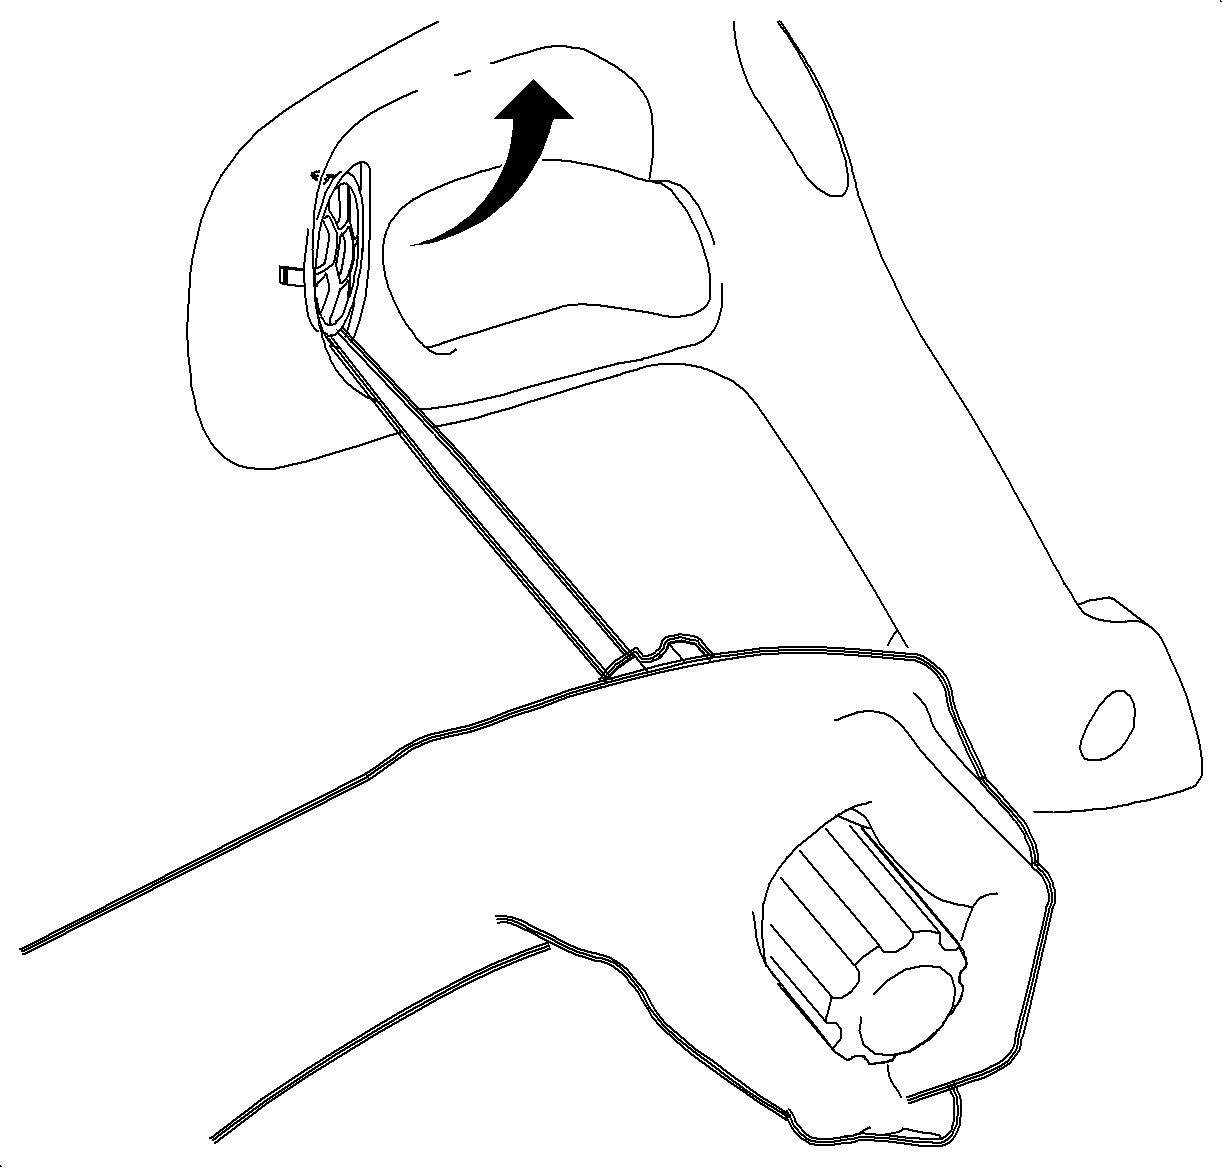
- Install new lock rod to lock cylinder.
- Install latch assembly to door structure and ensure outside door handle lock rod engages in latch assembly. Install and torque bolts in the following order:
- Top bolt
- Snap lock cylinder rod to latch mechanism.
- Position rear window guide into door. Install by aligning locating tab on guide with door structure and pushing up.
- Install rear window guide bolt.
- If equipped, attach door lock wiring harness retainer to rear window guide.
- Install inside door handle release lever.
- Attach inside door handle release lever actuator rod to latch assembly and secure rod to guide clip on door structure.
- If equipped, contact power door lock wiring harness connector to latch assembly.
- Install water deflector at top rear edge of door only.
- Install remaining areas of water deflector. Ensure a tight and wrinkle free seal along all adhesive areas.
- Attach manual lock rod to latch mechanism and install lock rod retainer.
- Check function of outside door lock cylinder with key to make sure door unlocks and stays unlocked when outside door handle is pulled.
- On vehicles equipped with illuminated front door trim panels, hold door trim panels, hold door trim panel away from door structure enough to connect wiring harness connector.
- Lower window.
- Install weatherstrip at rear edge of window.
- Align top of door trim panel to door structure (front first, then rear) and [push down to engage top attachment locations.
- Apply pressure to door trim panel side to seat retainers and secure panel to door structure.
- Install lower door trim panel fasteners.
- On non-power window equipped vehicles, install window crank handle.
- Connect tweeter speaker wiring harness connector.
- If equipped with power locks or power mirrors, route wiring harnesses through door handle opening.
- Tuck door handle under trim panel upper weatherstrip and install door handle fasteners.
- Snap door handle grip into place.
- Snap tweeter speaker cover into place.
- Snap mirror patch into place.
- On power equipped vehicles, connect power lock switch and power mirror switch wiring harness connectors and snap switches into place. (On non-power equipped vehicles, snap covers into place.)
- If equipped, check function of power door lock, power windows, and power mirrors.
- Check function of front speakers to ensure proper operation.
| • | P/N 24407368 for driver side (red markings) |
| • | P/N 24407369 for passenger side (green makings) |
Tighten
Tighten the bolts to 10 N·m (89 lb in).
Bottom bolt
Middle bolt
Tighten
Tighten the bolt to 10 N·m (89 lb in).

Tighten
Tighten the fasteners to 1.5 N·m (13 lb in).
Tighten
Tighten the fasteners to 1.2 N·m(10 lb in).
24407368 | Rod - Frt S/D Lk Syl (D/S) w/ Red Marking |
24407369 | Rod - Frt S/D Lk Syl PD/S) w/ Green Marking |
CLAIM INFORMATION
To receive credit for this repair during the warranty coverage period, submit a claim through the Saturn Dealer System using the appropriate Electronic Labor Time Guide and Labor Operation Code B4364 (Rod, Front Door Lock Cylinder to Lock, Right - R&R or Replace) and B4365 (Rod, Front Door Lock Cylinder to Lock, Left - R&R or Replace).
