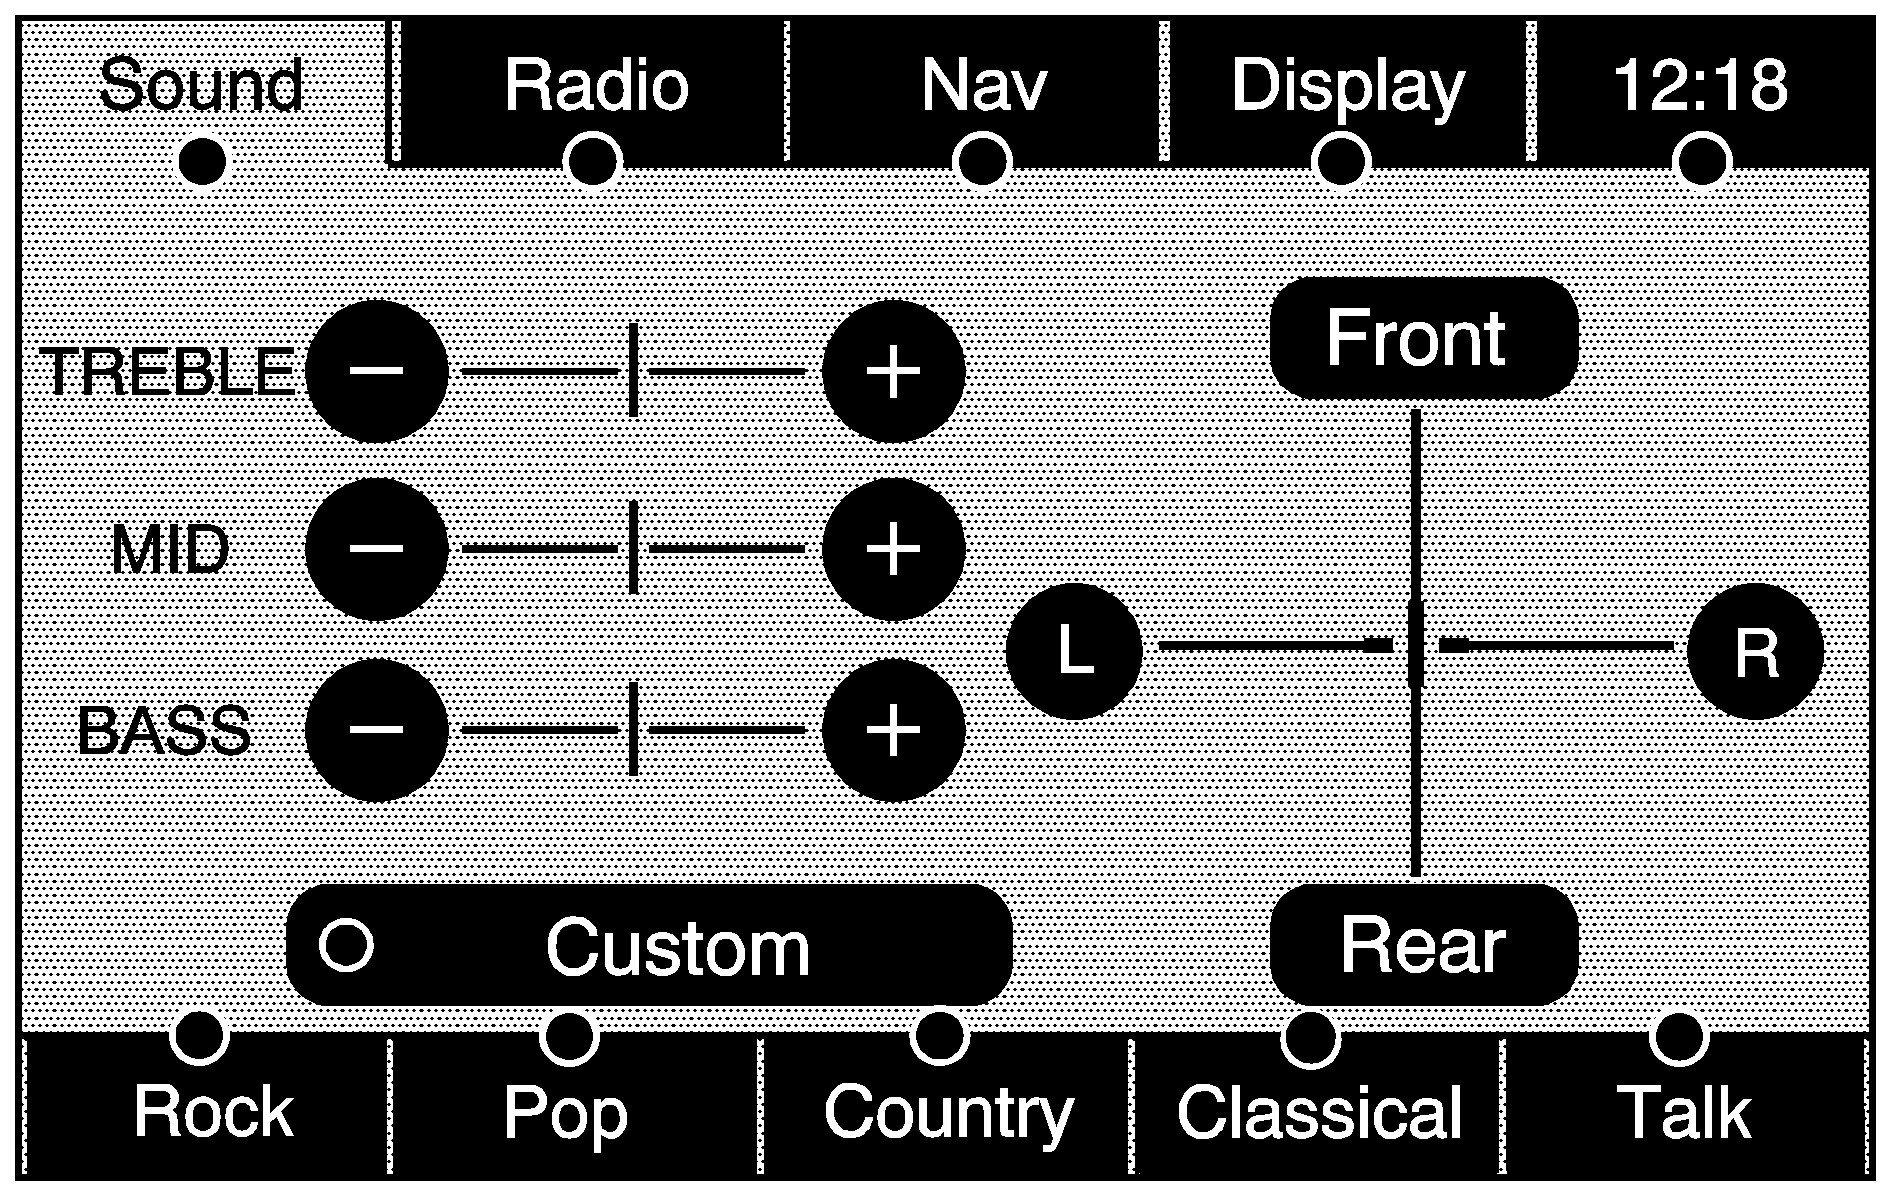
Press the MENU hard key to adjust several of the system's features and preferences. The last selected menu screen will be the screen that displays; Sound, Radio, Nav (navigation), Display, or Time.
Sound
Press the MENU key to enter the menu options then press the MENU key repeatedly until Sound is selected or select the Sound screen button, to make speaker and equalization adjustments. See Navigation Audio Systemfor more information.
Radio
Press the MENU key to enter the menu options then press the MENU key repeatedly until Radio is selected or select the Radio screen button, to make changes for radio information displayed, preset pages, XM™ categories, and automatic volume control. See Navigation Audio System for more information.
Nav (Navigation)
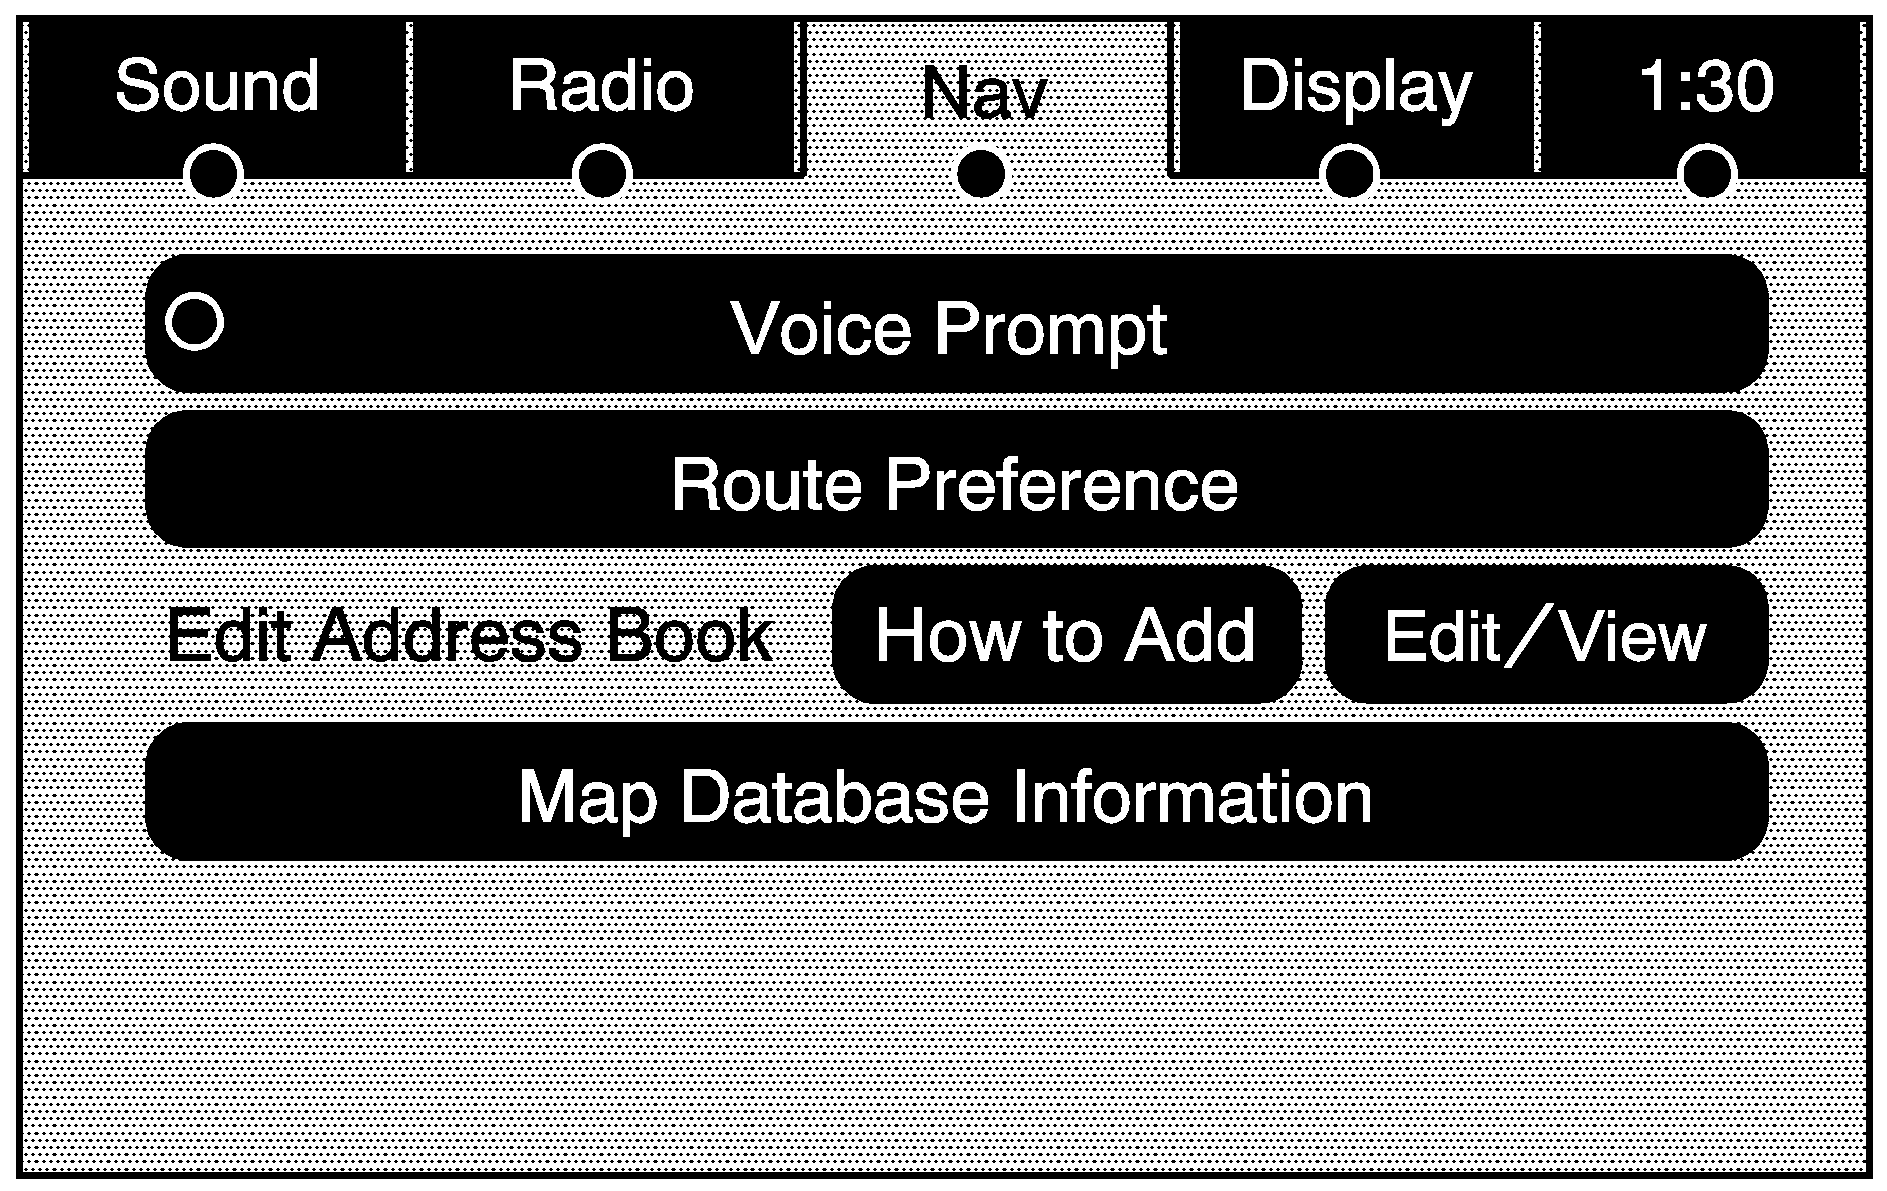
Press the MENU key to enter the menu options, then press the MENU key repeatedly until Nav is selected or select the Nav screen button.
Voice Prompt
Voice Prompt: Select the Voice Prompt screen button to change the volume of the voice prompts or to turn voice guidance on and off.Volume: Select the + (plus) or - (minus) screen buttons to increase or to decrease the volume of the voice prompts. The system will respond with the adjusted voice level.
Voice Guidance: Select the On or Off screen buttons to turn voice instructions on and off while traveling on a planned route.
Route Preference
Select the Route Preference screen button to change route options when the system calculates a route.
Allow Major Roads: Major roads will be used when calculating a planned route.Allow toll road: Toll roads will be used when calculating a planned route.
Allow ferry: Ferries will be used when calculating a planned route.
Allow time and seasonal restricted road: Time restricted and seasonal roads will be used when calculating a planned route.
Edit Address Book -- How to Add
To add an address to the address book, see "Adding Destinations to the Address Book" under Destination.
Edit Address Book -- Edit/View
To edit the name of an address book:
- Press the MENU key then press the MENU key repeatedly until Nav is selected or select the Nav screen button.
- Select the Edit/View Address Book screen button.
- Select the Address book entry.
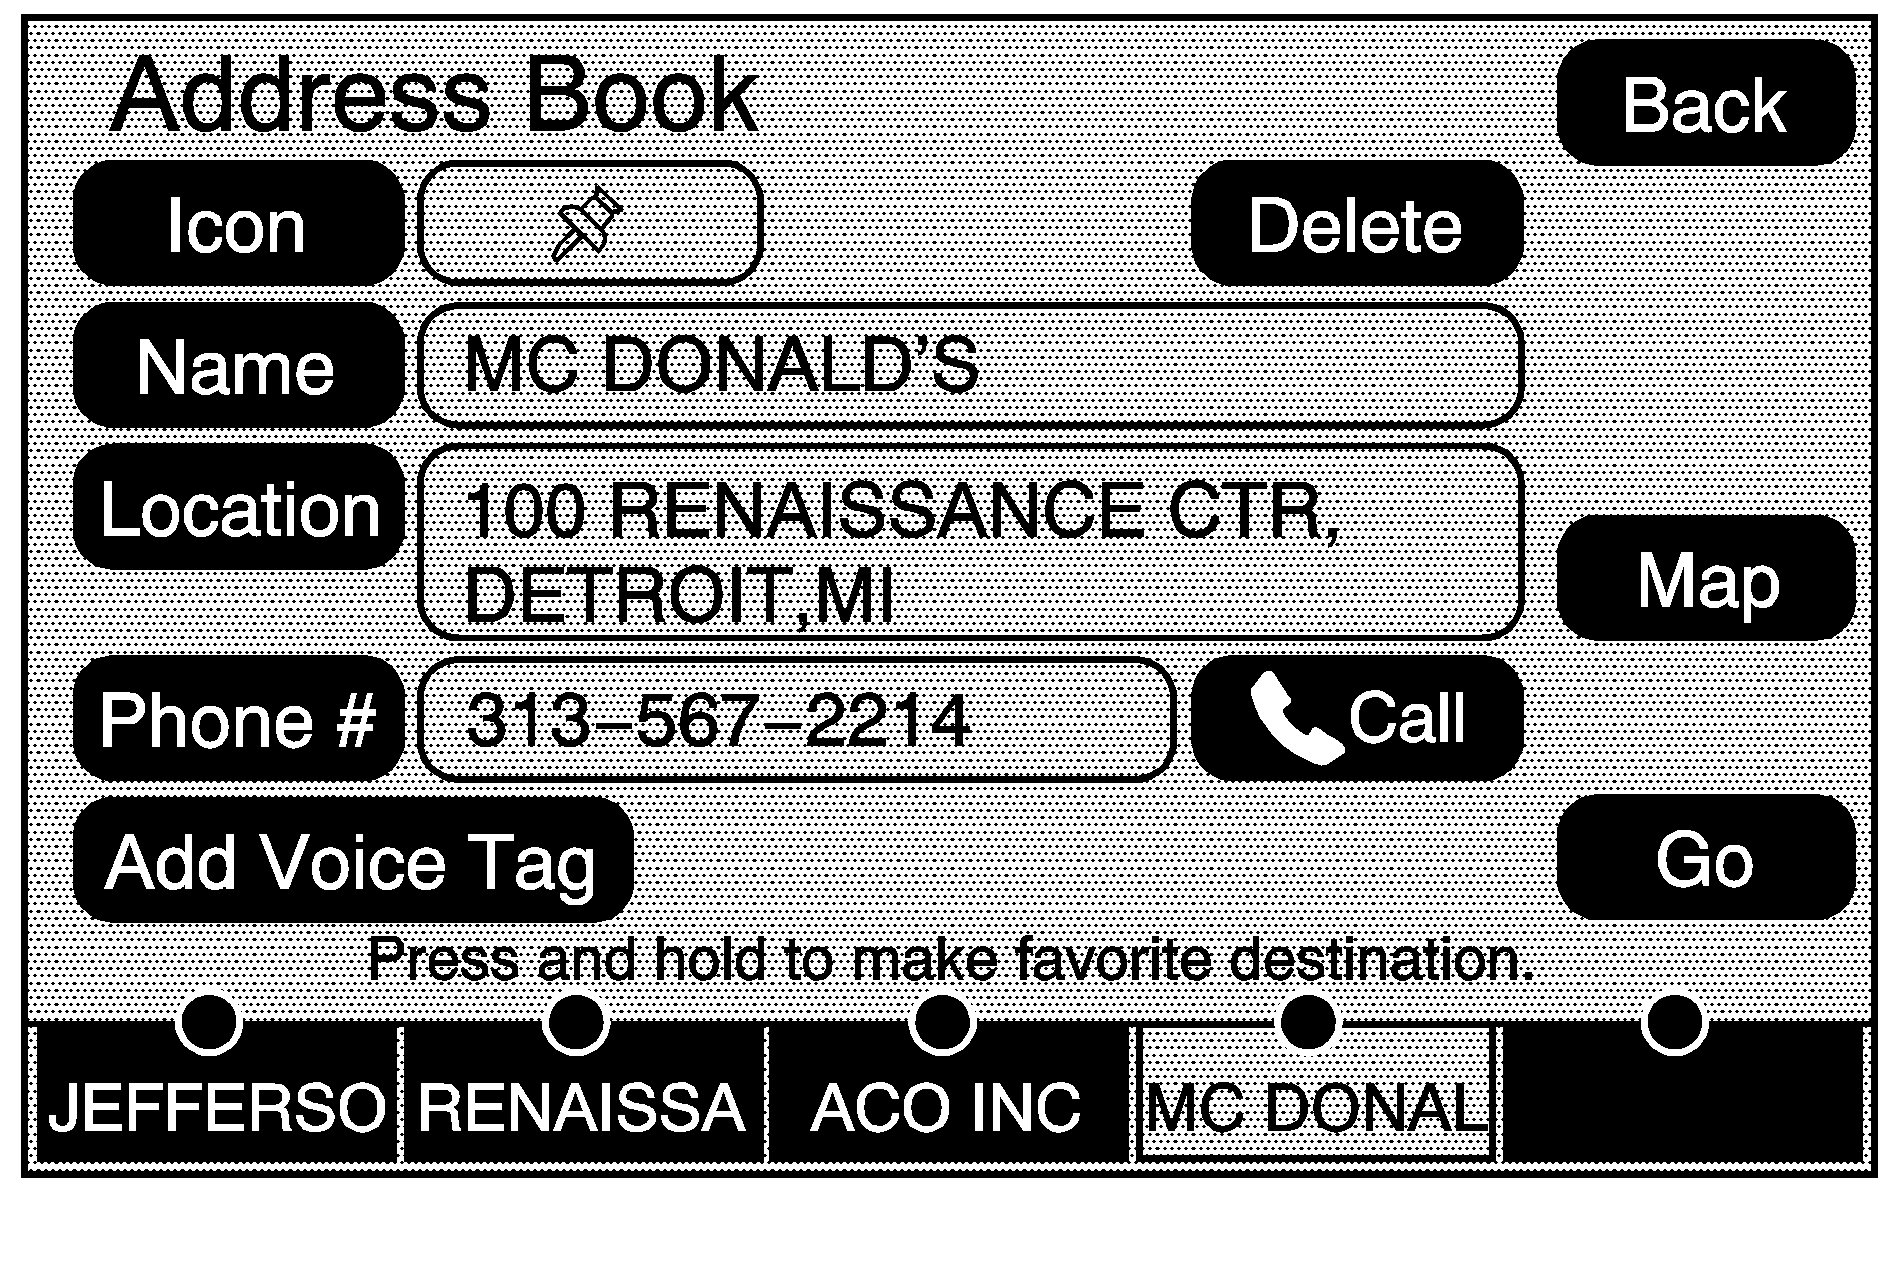
- Select the Name screen button and use the alpha keyboard to edit or add the name.
- Select the OK screen button to save your changes.
To add or change the phone number of an address book entry:
- Press the MENU key then press the MENU key repeatedly until Nav is selected or select the Nav screen button.
- Select the Edit/View Address Book screen button.
- Select the address book entry to change.
- Select the Phone # screen button and use the numeric keyboard to enter or change the phone number.
- Select the OK screen button to save your changes.
To change the map icon of an address book entry:
- Press the MENU key then press the MENU key repeatedly until Nav is selected or select the Nav screen button.
- Select the Edit/View Address Book screen button.
- Select the address book entry to change.
- Select the Icon screen button.
- Select an icon from the list.
To add a voice tag to an address book entry:
- Press the MENU key then press the MENU key repeatedly until Nav is selected or select the Nav screen button.
- Select the Edit/View Address Book screen button.
- Select the Add Voice Tag screen button.
- The system will ask for you to state the name. You will have four seconds to state the name. The system will repeat the name.
To delete an address book entry:
- Press the MENU key then press the MENU key repeatedly until Nav is selected or select the Nav screen button.
- Select the Edit/View Address Book screen button.
- Select the address book entry to delete.
- Select the Delete screen button to delete the address book entry.
- A confirmation pop-up will display. Select Ok to delete; select No to cancel the operation.
To delete the entire address book:
- Press the MENU key then press the MENU key repeatedly until Nav is selected or select the Nav screen button.
- Select the Edit/View Address Book screen button.
- A list of all the address book entries will display. Press and hold the Clear All screen button.
- A confirmation pop-up will display. Select Ok to delete; select No to cancel the operation.
Map Database Information
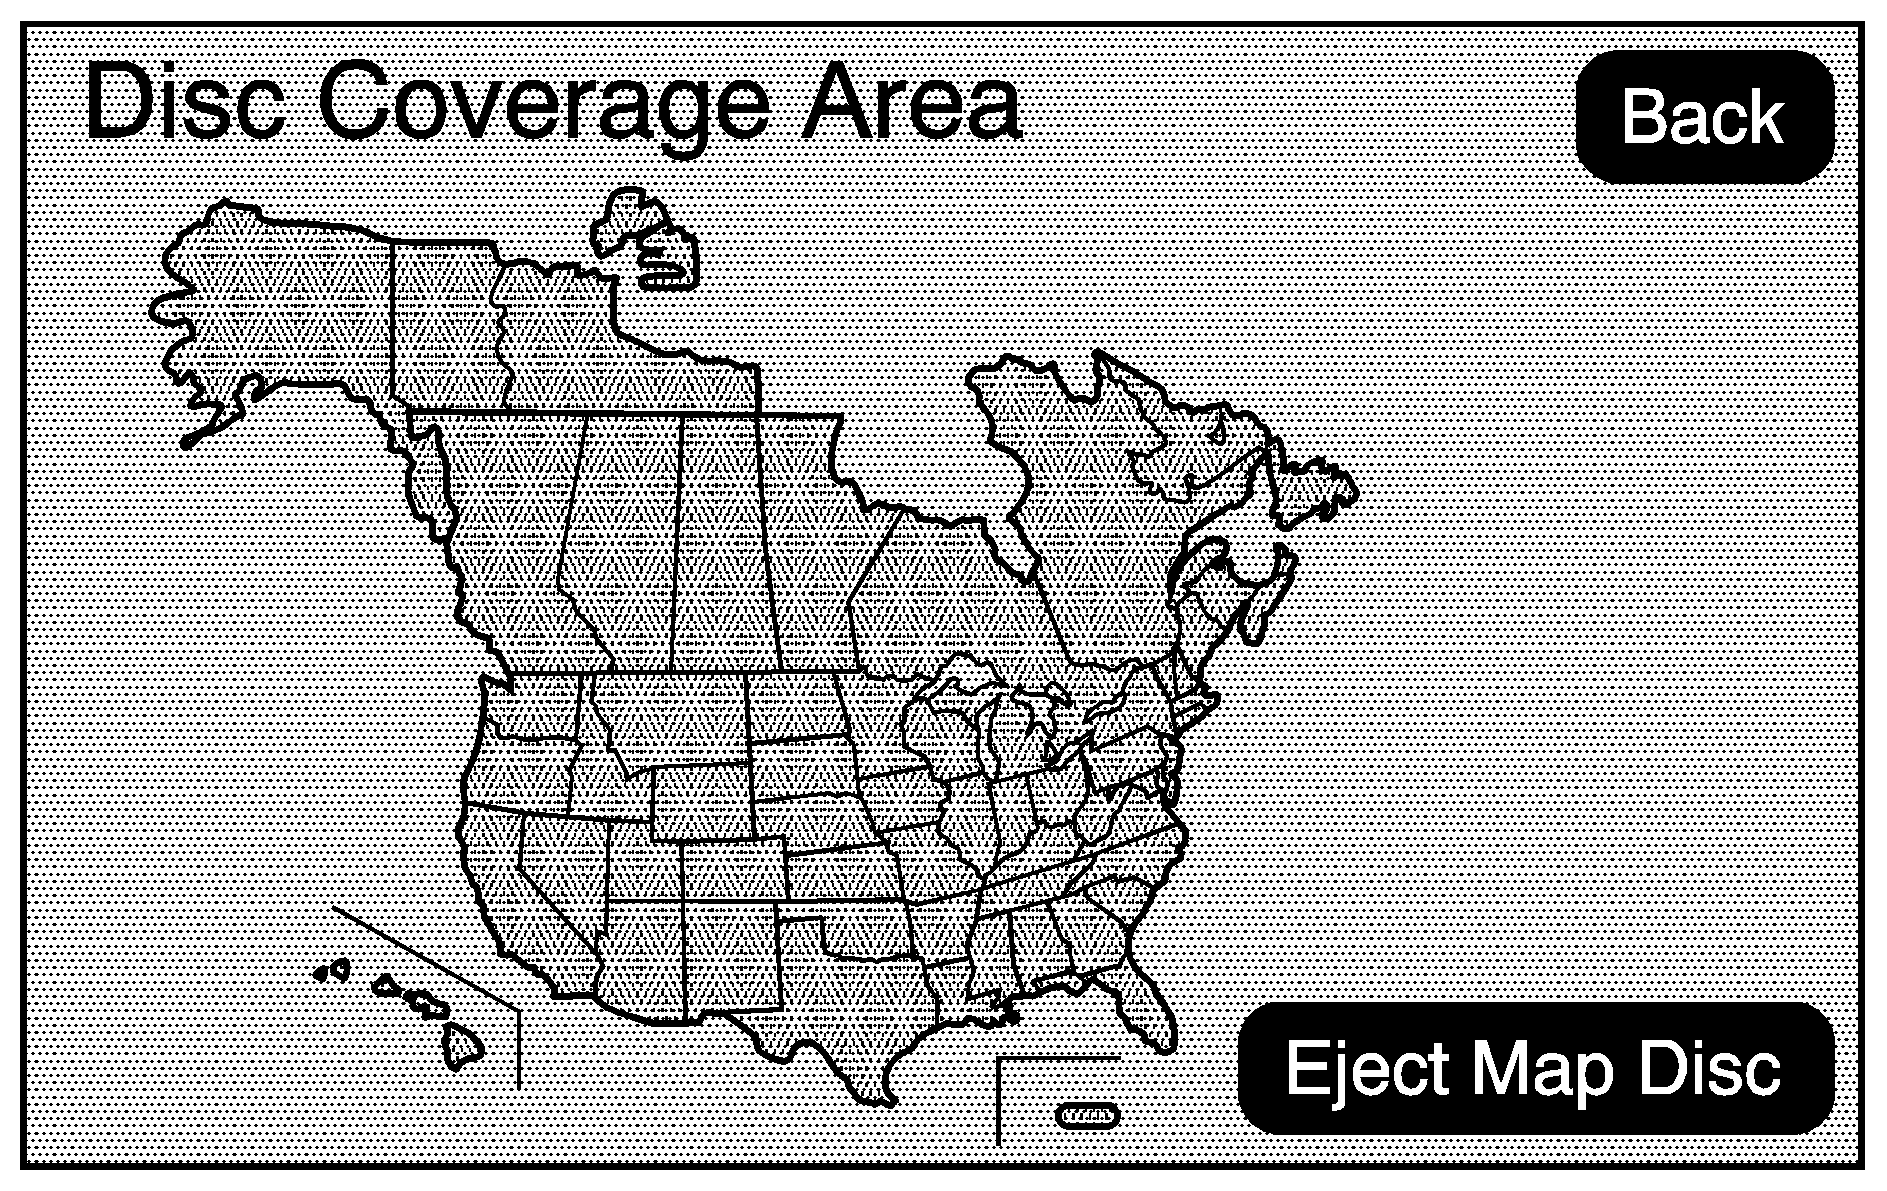
Select the Map Database Information screen button to view the coverage areas of the map DVD.
Eject Map Disc: Select this screen button to eject or to change the map DVD. The screen will open, exposing the map DVD slot. Press the eject button, next to the map DVD slot, to eject the disc. Pull the map DVD out. The screen can not be closed until you hear a double beep.Notice: Pressing directly on the navigation screen may cause damage. Repairs would not be covered by the vehicle's warranty. Do not press directly on the navigation screen.
To close the screen, slightly push up on the two outer corners until the screen is in position. Then push the screen in by pushing on the four outer corners until you hear a click. See Maps for more information.
Display
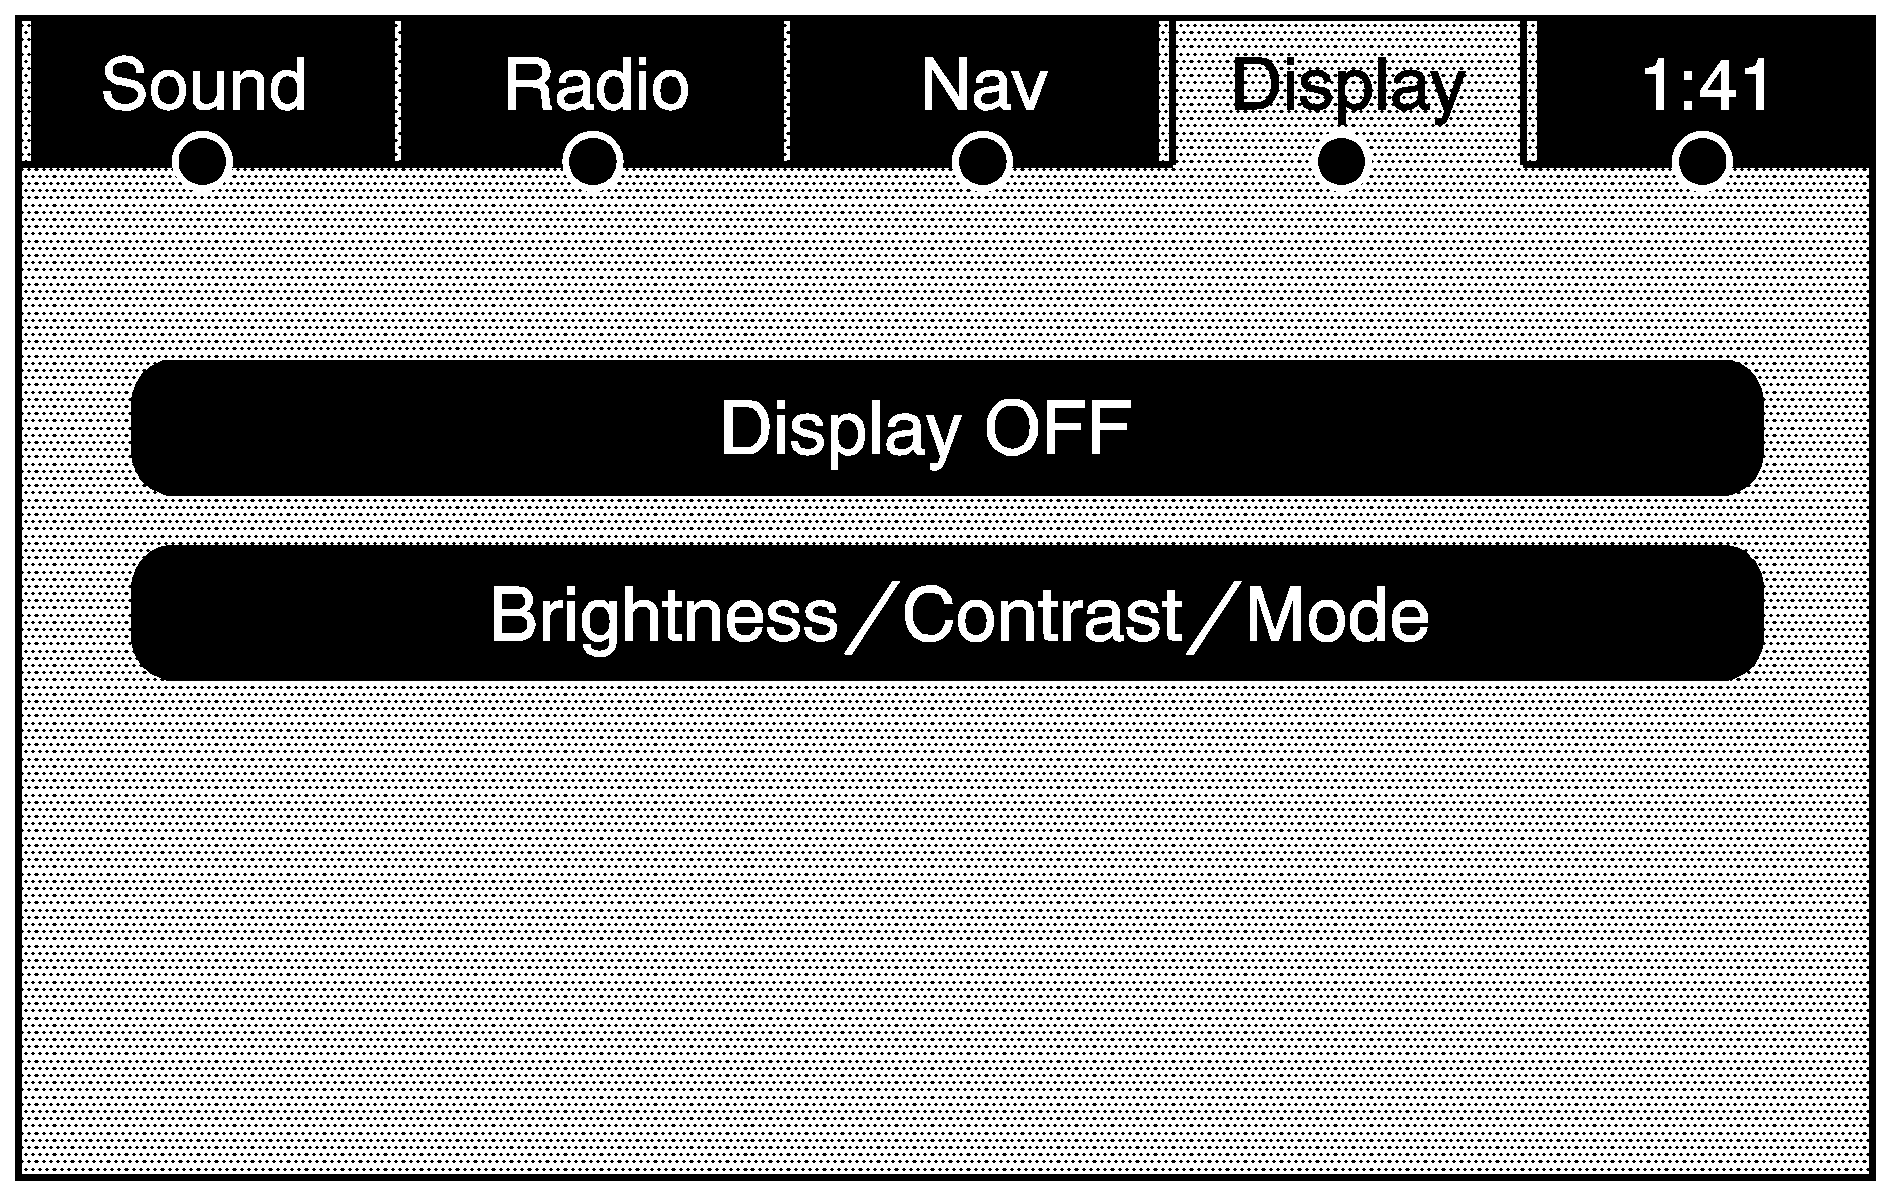
Press the MENU key to enter the menu options, then press the MENU key repeatedly until Display is selected or select the Display screen button.
Display Off
Select this screen button to turn the display off. Press the Nav, Dest, Fav, or Menu hard key or the (tone) button to view the display.
Brightness/Contrast/Mode
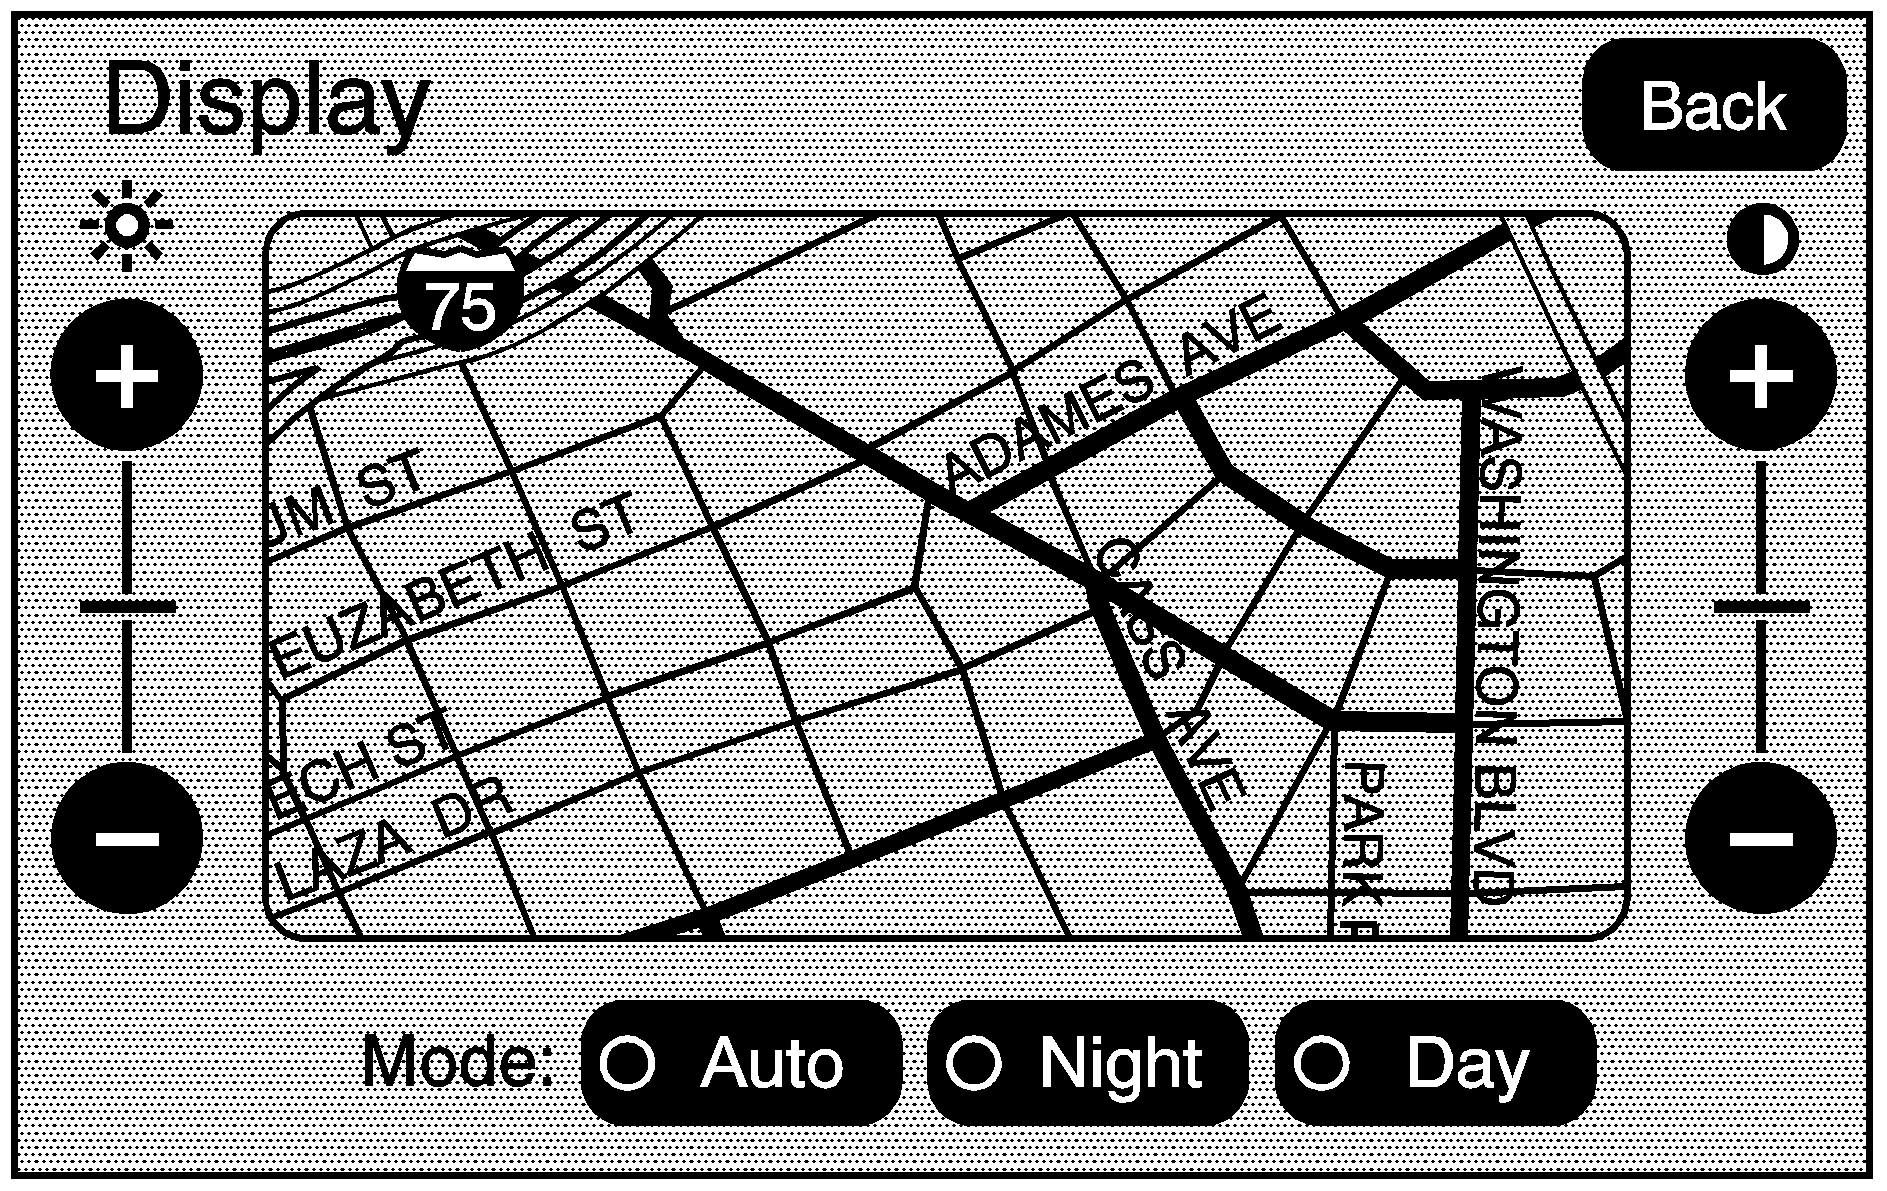
Select this screen button to change the brightness, contrast, and mode of the display.
(Brightness): Select and hold the + (plus) or - (minus) screen buttons to increase or decrease the brightness of the screen.(Contrast): Select and hold the + (plus) or - (minus) screen buttons to increase or decrease the contrast of the screen.
Auto (Automatic): Select this screen button for the system to automatically adjust the screen background depending on exterior lighting conditions.
Night: Select this screen button and the system will make the map background darker.
Day: Select this screen button and the system will make the map background brighter.
Setting the Time
Press the MENU key to enter the menu options, then press the MENU key repeatedly until the time is selected or select the time screen button, then press the Set screen button.
Hours: Select and hold the - (minus) or + (plus) signs to decrease or increase the hours.Minutes: Select and hold the - (minus) or + (plus) signs to decrease or increase the minutes.
12/24 Format: Select the 12 screen button for standard time; select the 24 screen button for military time.
