Interior Lights Do Not Turn Off When Door is Closed, Theft Deterrent May Not Set or Go Off Unexpectedly, Loss of Accessory Power, Dead Battery (Replace Door Latch Assembly)

| Subject: | Interior Lights Do Not Turn Off When Door Is Closed, Theft Deterrent May Not Set Or Go Off Unexpectedly, Loss Of Accessory Power, Dead Battery (Replace Door Latch Assembly) |
| Models: | 2007 GMC Acadia |
| 2007 Saturn OUTLOOK |
Do This | Do Not Do This |
|---|---|
Replace the Latch Assembly. | Do Not Replace the BCM. |
Condition
Some customers may comment on any of the following conditions:
| • | A dead battery. |
| • | The interior lights stay on. |
| • | The theft deterrent may not set or go off unexpectedly. |
Cause
These conditions may be caused by water entering the latch assembly and affecting the sensor.
Important: This concern is mostly seen in the driver's door, but may occur in the other doors as well.
Correction
With the doors closed, apply water to the rear of the driver's door in the area of the lock cylinder and latch. With a Tech 2®, monitor the door latch activity. With the door closed, the Tech 2® will read door closed. If the reading should change to door ajar with the door closed, replace the latch.
- Remove the door trim. Refer to SI if necessary.
- Remove the water deflector. Refer to SI if necessary.
- Remove the two push-pin fasteners that retain the energy absorber to the door and the absorber.
- Remove the rear window run channel bolts and channel. Once the channel bolt is removed, pull the channel straight down.
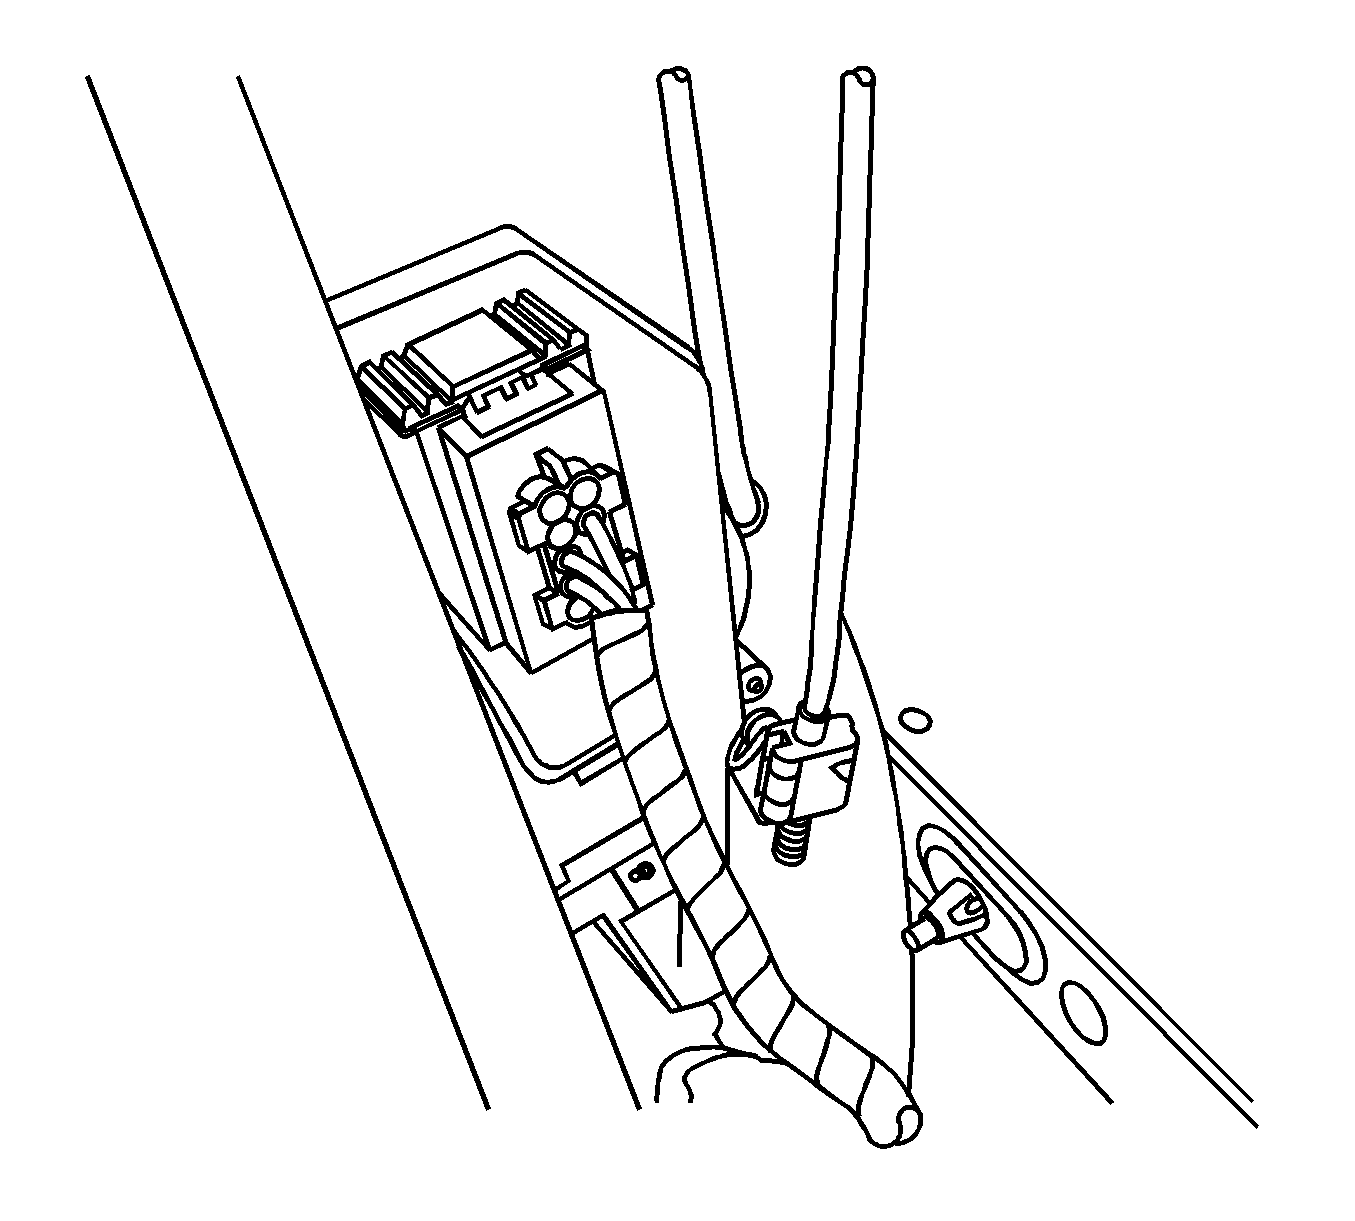
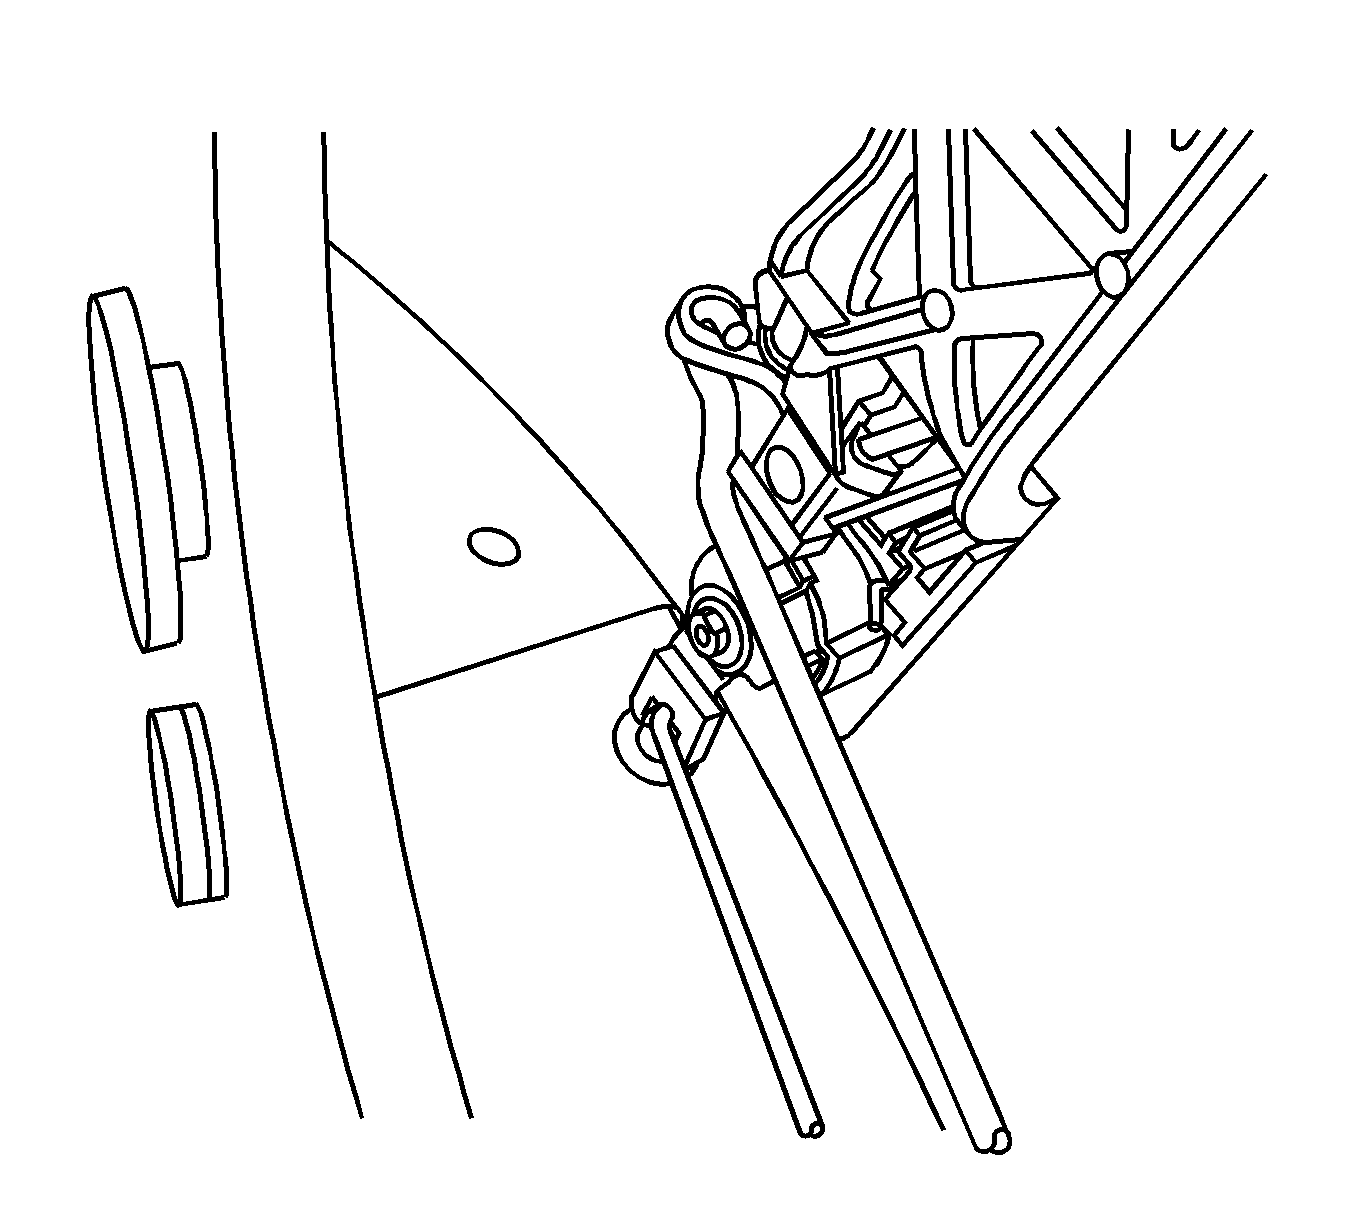
- Unclip the door handle rod from the latch assembly and unplug the electrical connector.
- (Driver door only ) Unclip the lock rod from the lock cylinder.
- Remove the two bolts from the latch assembly and remove the latch assembly.
- Transfer the rods.
- Install the new latch assembly and tighten the bolts.
- Reinstall the door handle rod to the latch assembly and the electrical connector.
- Reinstall the rear window run channel. Ensure that the upper and lower channel clip together. Tighten the bolts.
- Reinstall the energy absorber to the door with the push pins.
- Reinstall the water deflector. Refer to SI if necessary.
- Reinstall the door trim. Refer to SI if necessary.


Tighten
Tighten the bolts to 10 N·m (89 lb in).
Tighten
Tighten the bolts to 10 N·m (89 lb in).
Correction (Rear Door Latch)
If necessary to replace the rear door latch, follow the procedure below.
- Remove the door trim. Refer to SI if necessary.
- Remove the water deflector. Refer to SI if necessary.
- Remove the two push-pin fasteners that retain the energy absorber to the door and the absorber.
- Remove the rear window run channel bolt and channel. Once the channel bolt is removed, pull the channel straight down.
- Unclip the door handle rod from the latch assembly and unplug the electrical connector.
- Remove the two bolts from the lock assembly and remove the lock assembly.
- Transfer the rods.
- Install the new latch assembly and tighten the bolts.
- Reinstall the door handle rod to the latch assembly and the electrical connector.
- Reinstall the rear window run channel. Ensure that the upper and lower channel clip together. Tighten the bolt.
- Reinstall the energy absorber to the door with the push pins.
- Reinstall the water deflector. Refer to SI if necessary.
- Reinstall the door trim. Refer to SI if necessary.

Tighten
Tighten the two bolts to 10 N·m (89 lb in).
Tighten
Tighten the bolt to 10 N·m (89 lb in).
Parts Information
Part Number | Description |
|---|---|
25804713 | Left Front Door Latch |
25804714 | Right Front Door Latch |
25804711 | Left Rear Door Latch |
25804712 | Right Rear Door Latch |
Warranty Information
For vehicles repaired under warranty, use:
Labor Operation | Description | Labor Time |
|---|---|---|
B4310 | Latch Assembly, Front Door-Right - Replace | Use Published Labor Operation Time |
B4311 | Latch Assembly, Front Door-Left - Replace | Use Published Labor Operation Time |
B4660 | Lock, Rear-Right - R&R Or Replace | Use Published Labor Operation Time |
B4661 | Lock, Rear-Left - R&R Or Replace | Use Published Labor Operation Time |
Add | Water Testing | 0.2 hr |
