For 1990-2009 cars only
Removal Procedure
- Remove the sliding door garnish molding. Refer to Rear Side Door Garnish Molding Replacement .
- Remove the headliner trim finish molding. Refer to Headlining Trim Panel Molding Replacement in Interior Trim.
- Support the sliding door.
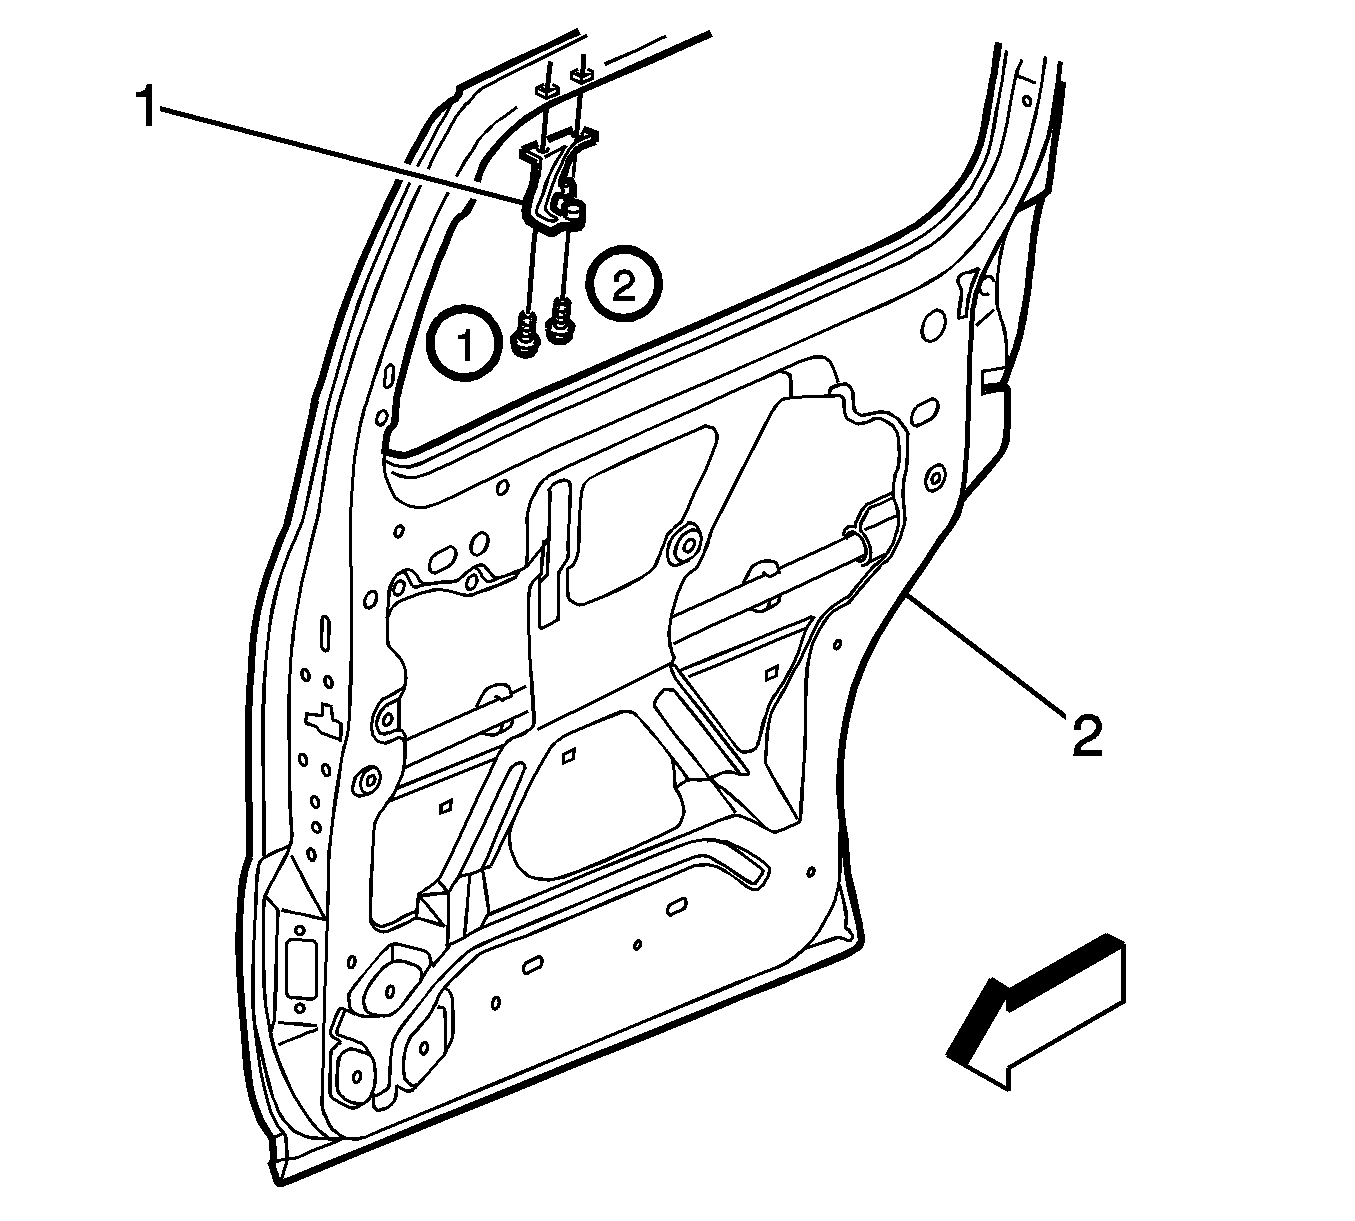
- Mark the location of the sliding door upper roller bracket (1) to the door (2) with a grease pencil.
- Remove the sliding door upper roller bracket bolts.
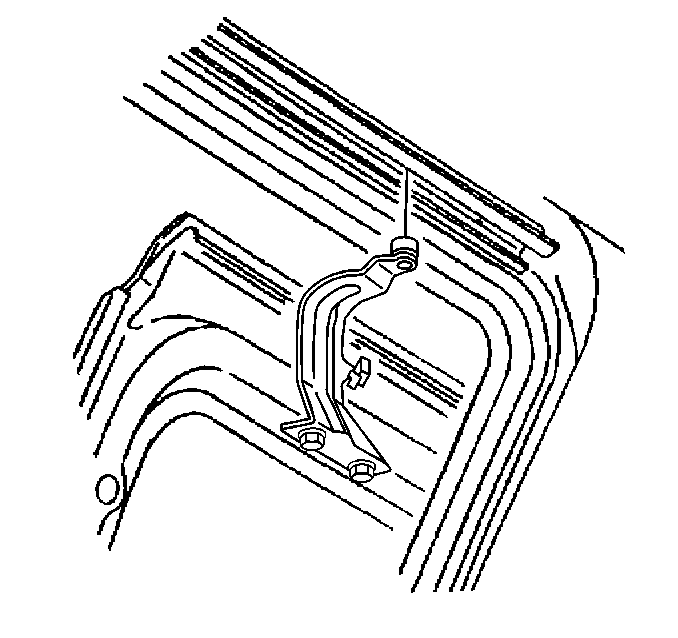
- Remove the sliding door upper roller bracket from the front edge of the upper track.


Installation Procedure
- Install the sliding door upper roller bracket to the front edge of the upper track.
- Align the sliding door upper roller bracket (1) to the grease pencil marks.
- Install the sliding door upper roller bracket bolts.
- Remove the support from the sliding door.
- Adjust the sliding door, if needed. Refer to Sliding Rear Side Door Adjustment .
- Install the headliner trim finish molding. Refer to Headlining Trim Panel Molding Replacement in Interior Trim.
- Install the sliding door garnish molding. Refer to Rear Side Door Garnish Molding Replacement in Interior Trim.


Notice: Refer to Fastener Notice in the Preface section.
Tighten
Tighten the sliding door upper roller bracket bolts,
in sequence as shown, to 10 N·m (89 lb in).
