For 1990-2009 cars only
Radiator Lower Support Replacement for Saturn RELAY 2006
Removal Procedure
Caution: Refer to Approved Equipment for Collision Repair Caution in the Preface section.
- Disable the SIR system. Refer to SIR Disabling and Enabling in SIR.
- Disconnect the negative battery cable. Refer to Battery Negative Cable Disconnection and Connection in Engine Electrical.
- Remove all related panels and components.
- Restore as much of the damage as possible to factory specifications. Refer to Dimensions - Body .
- Note the location and remove the sealers and anti-corrosion materials from the repair area, as necessary. Refer to Anti-Corrosion Treatment and Repair in Paint and Coatings.
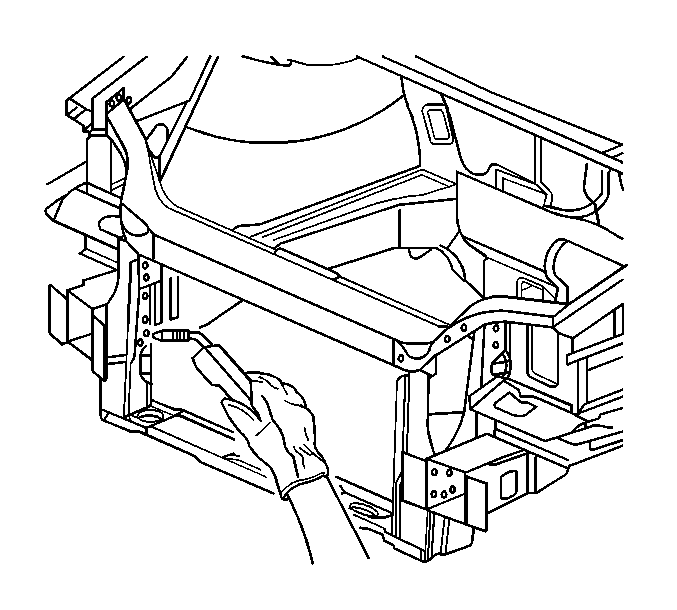
- Locate and drill out all factory welds. Note the number and location of welds for installation of the lower radiator support .
- Remove the damaged lower radiator support .
Caution: Refer to Foam Sound Deadeners Caution in the Preface section.
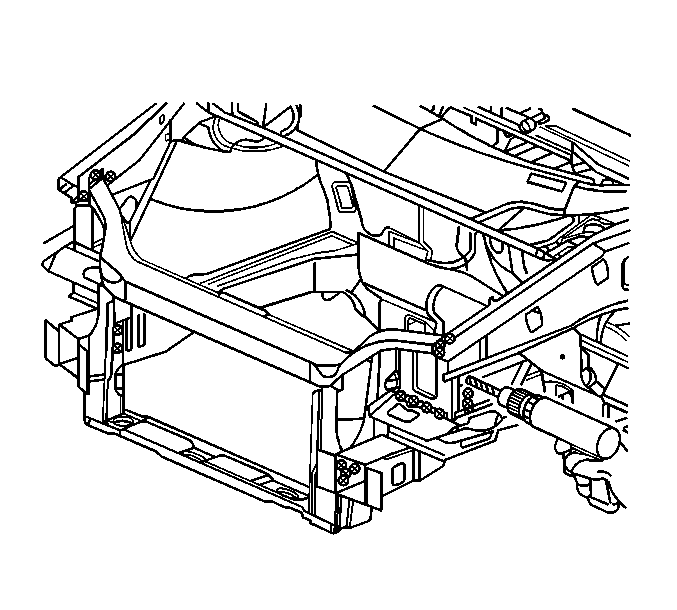
Important: Do not damage any inner panels or reinforcements.
Installation Procedure
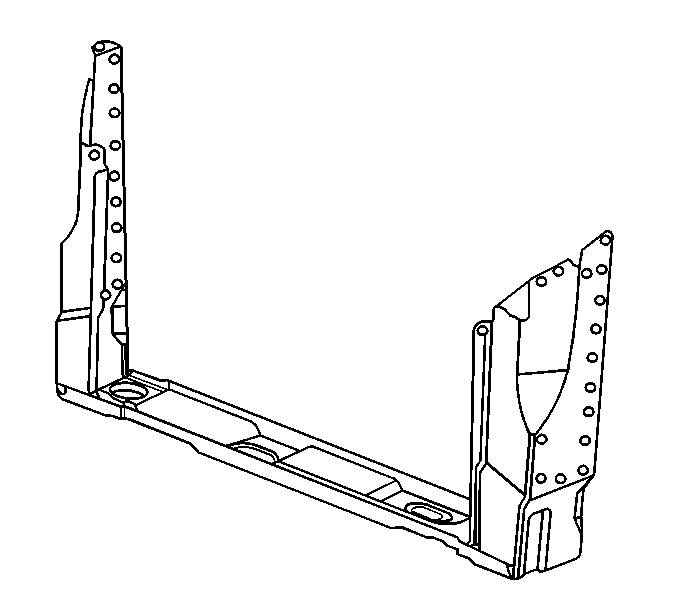
- Drill 8 mm (5/16 in) plug weld holes as necessary in locations noted from the original panel.
- Prepare all mating surfaces as necessary.
- Apply 3M® Weld-Thru coating P/N 05916 or equivalent to all mating surfaces
- Position the lower radiator support.
- Plug weld accordingly.
- Clean and prepare all welded surfaces.
- Apply the sealers and anti-corrosion materials to the repair area, as necessary. Refer to Anti-Corrosion Treatment and Repair in Paint and Coatings.
- Paint and repair the area. Refer to Basecoat/Clearcoat Paint Systems in Paint and Coatings.
- Install all related panels and components.
- Connect the negative battery cable. Refer to Battery Negative Cable Disconnection and Connection in Engine Electrical.
- Enable the SIR system. Refer to SIR Disabling and Enabling in SIR.
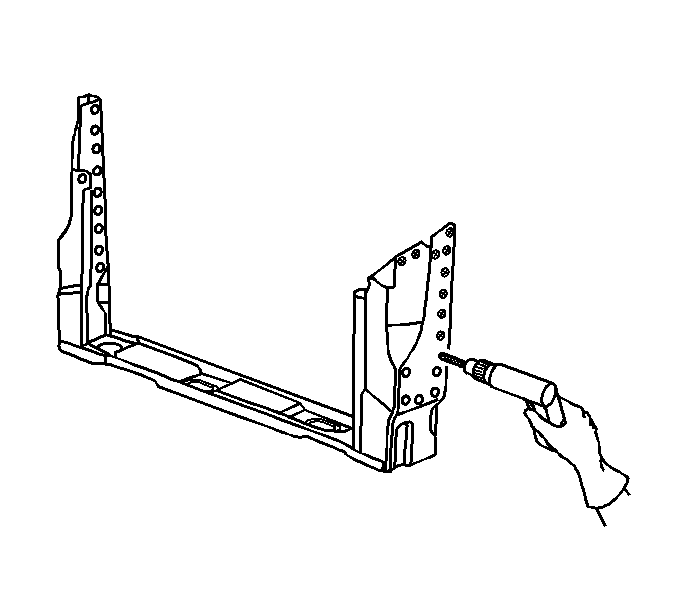
Important: If the location of the original plug weld holes can not be determined, or if structural weld-thru adhesive is present, space the plug weld holes every 40 mm (1 ½ in) apart.