Tools Required
| • | J 29873 Injector Nozzle Socket 30 MM |
| • | J 45006 Pinion Press Pilot |
| • | J 45012 Holding Fixture |
| • | J 45019 Flange and Pinion Cage Remover |
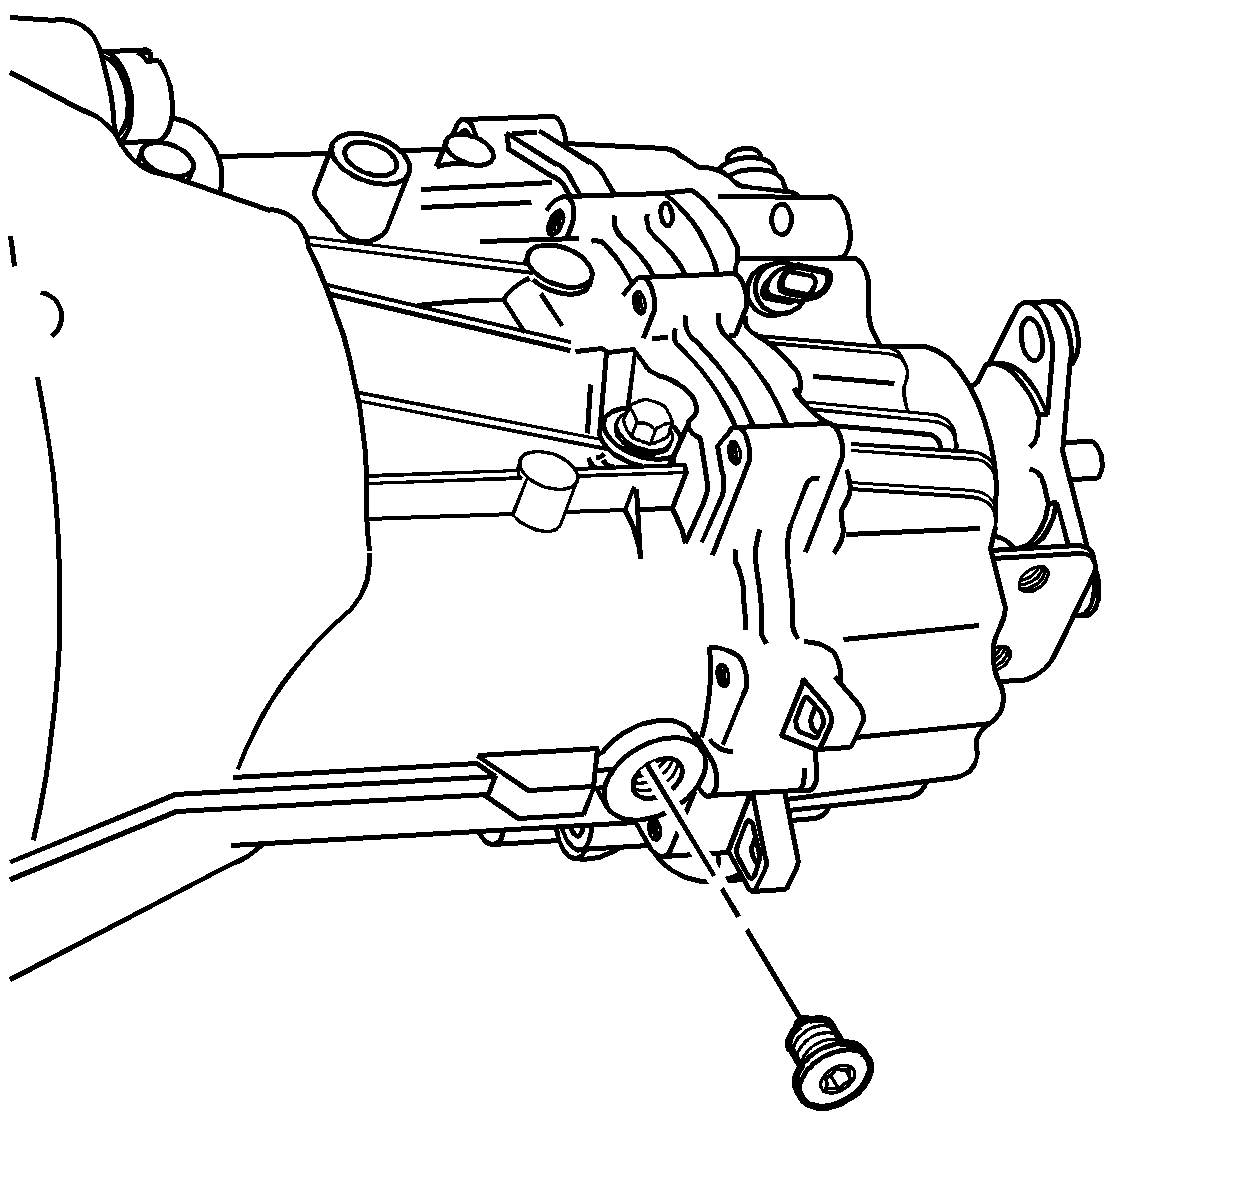
- Remove the drain plug. Drain fluid into a suitable clean tray or pan.
- Carefully inspect the drain plug magnet and the drained fluid for foreign matter such as metal particles, etc.
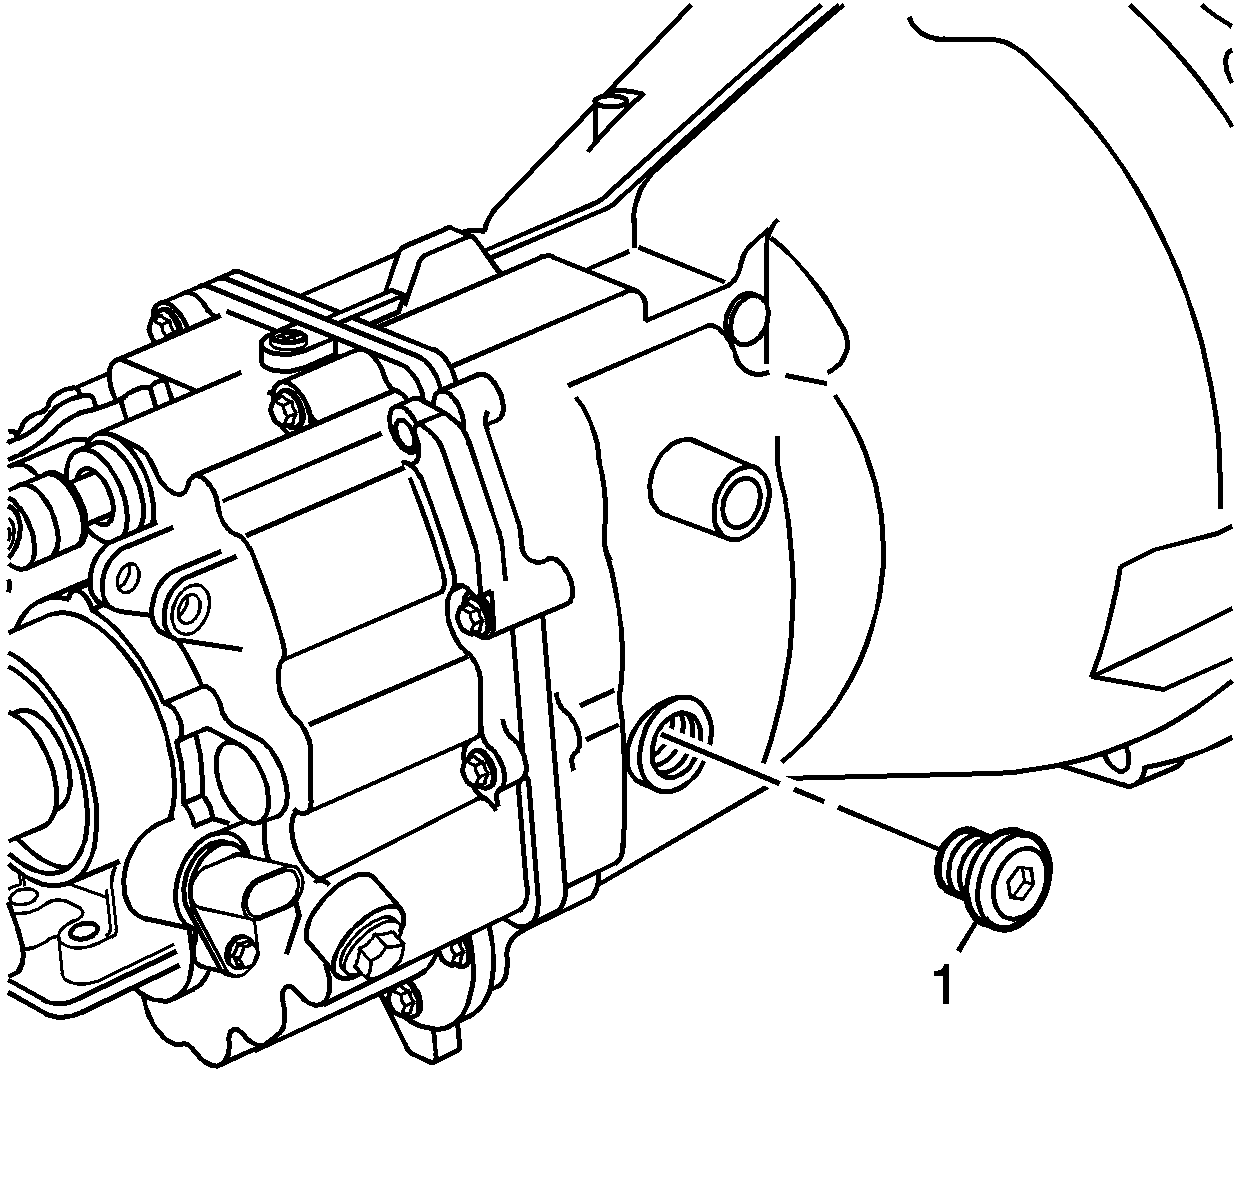
- Remove the fill plug (1).
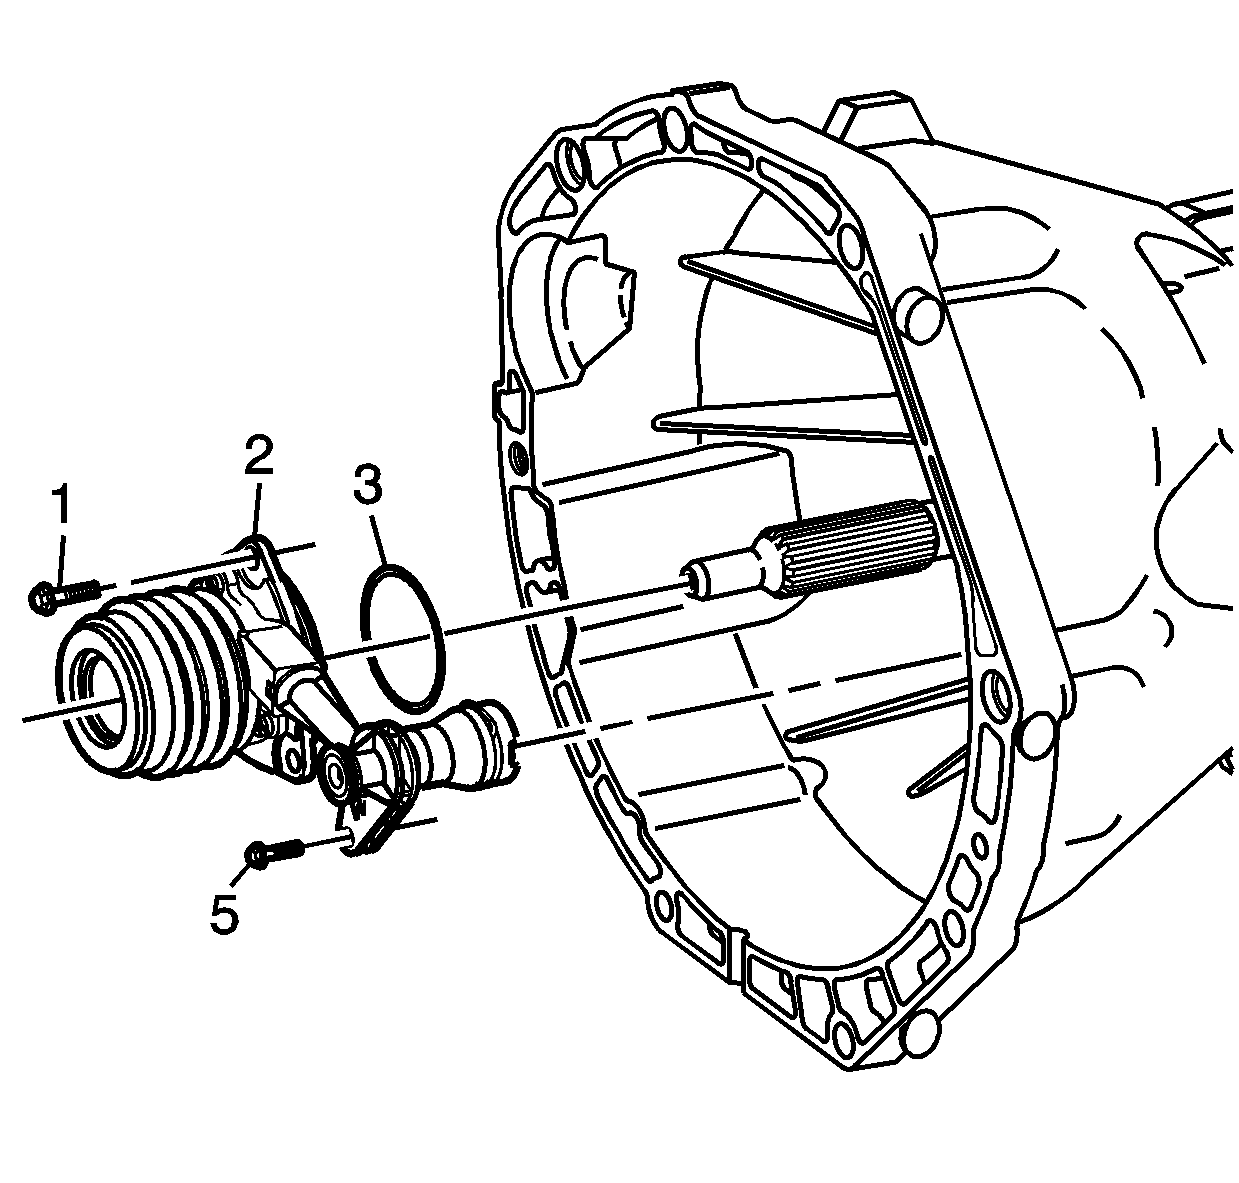
- Remove the CSC assembly (2), attaching bolts (1), quick disconnect attaching bolt (5) and O-ring (3).
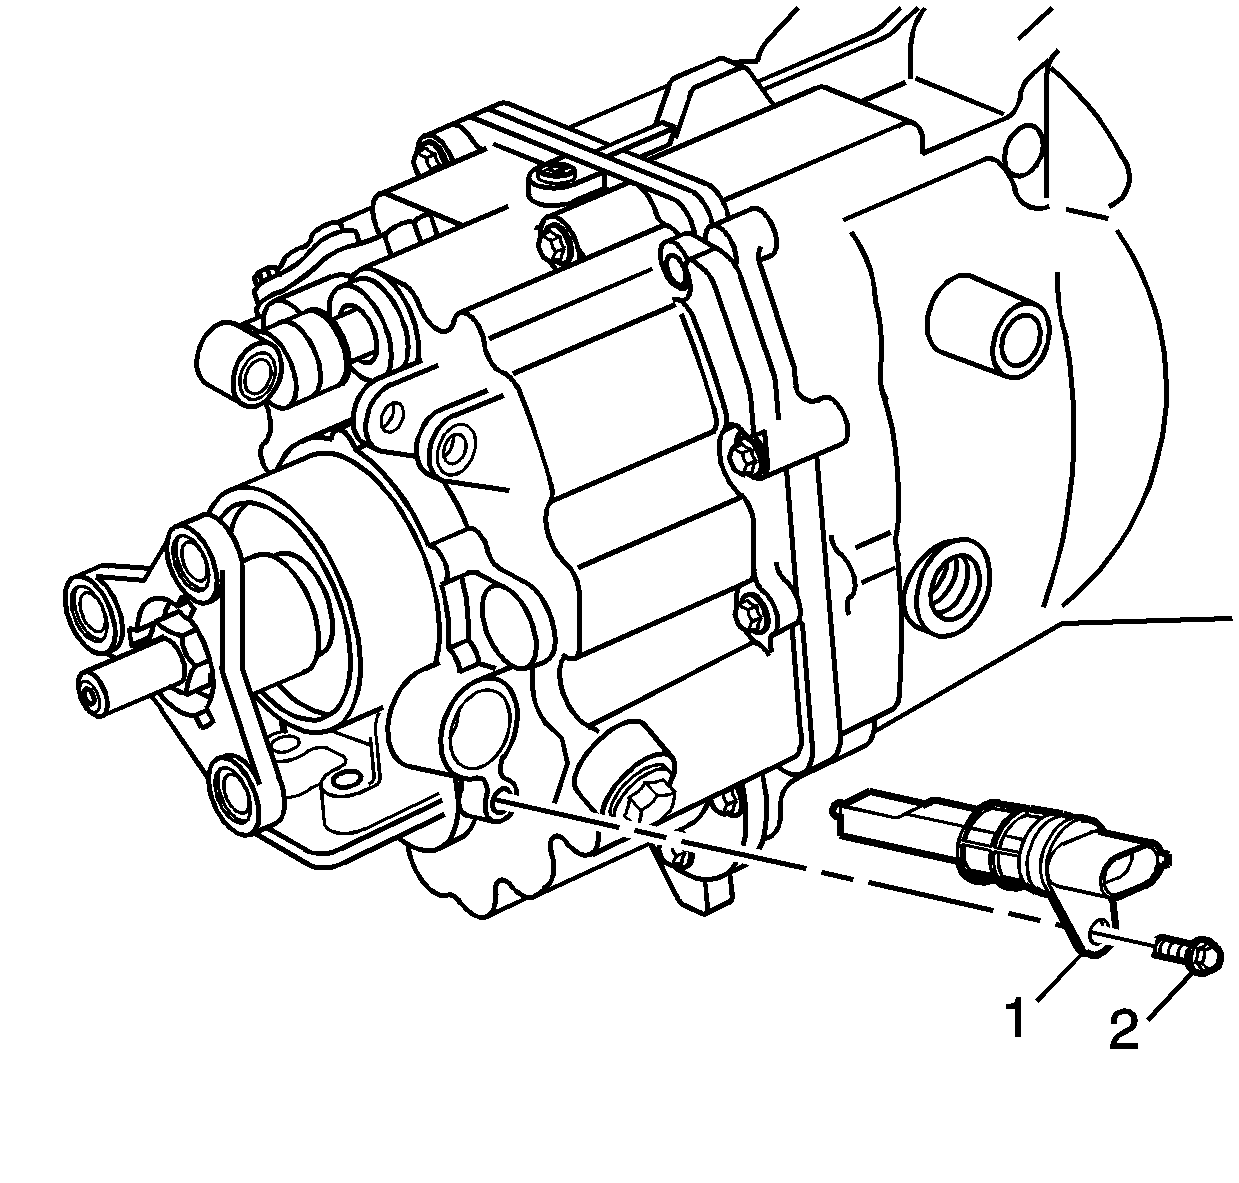
- Remove the speed sensor bolt (2) and sensor (1).
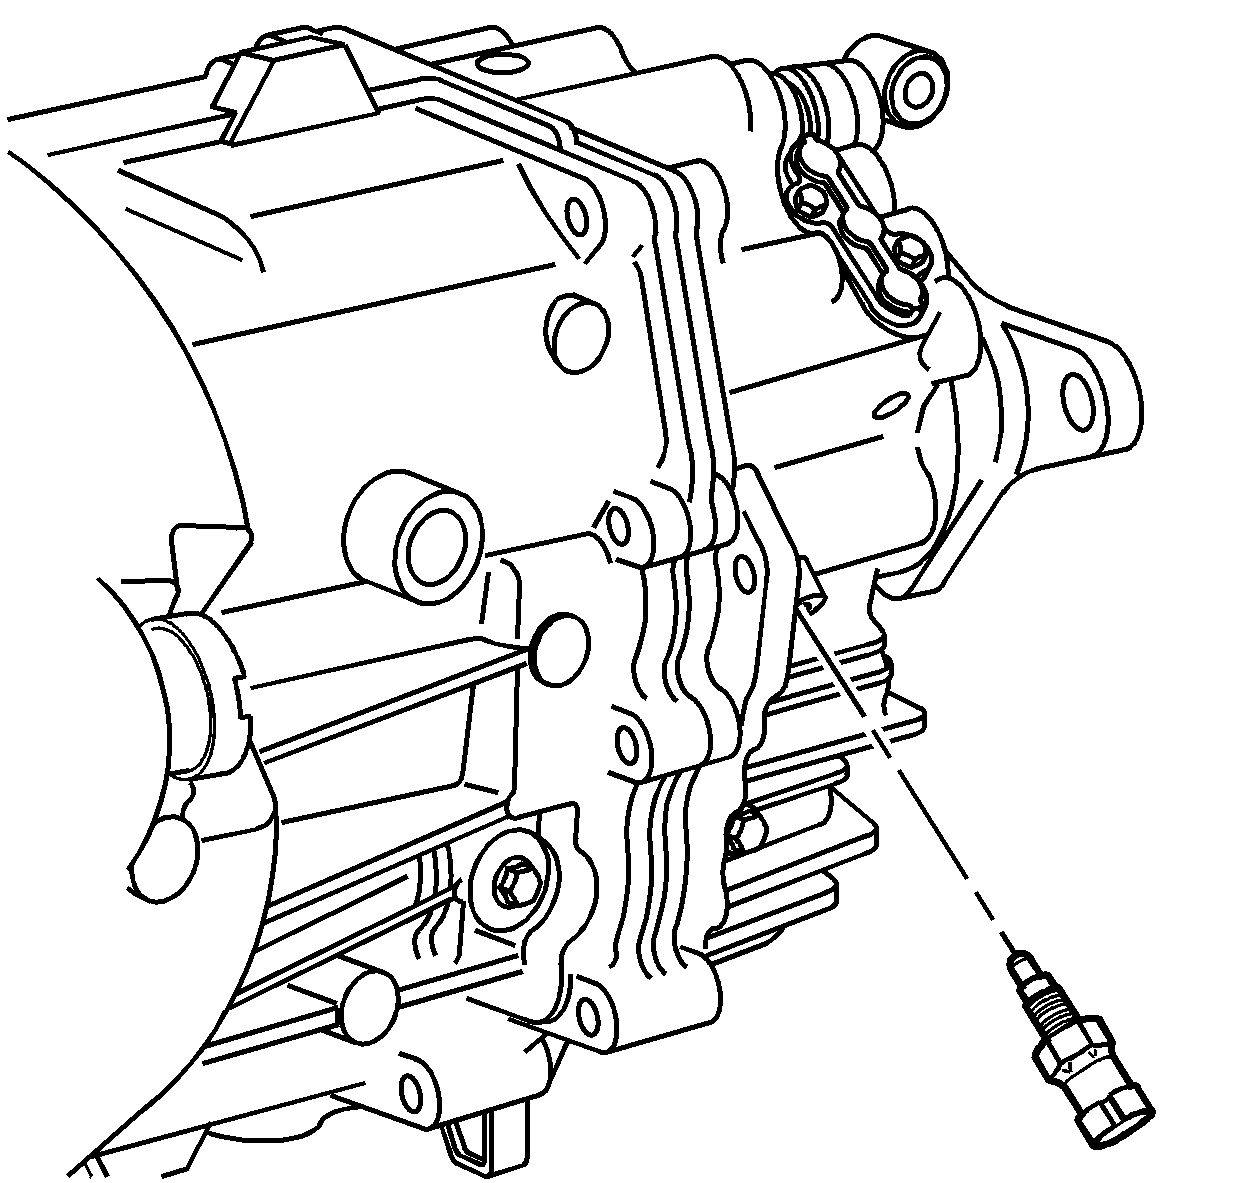
- Remove the reverse switch.
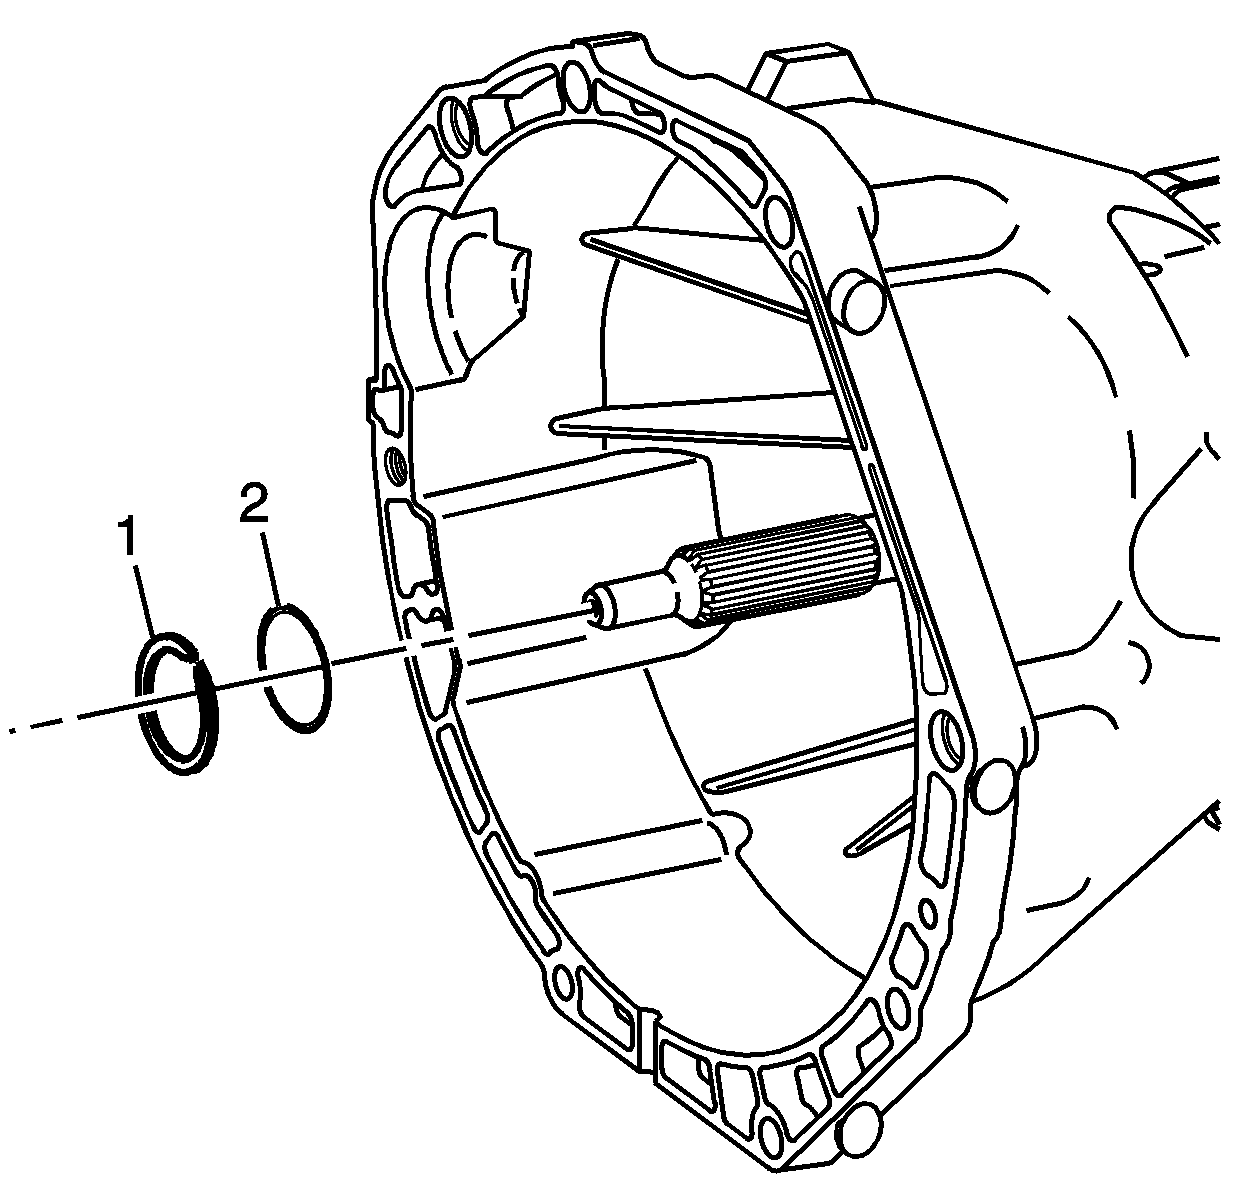
- Remove the snap ring (1) and shim (2) from the main drive gear.
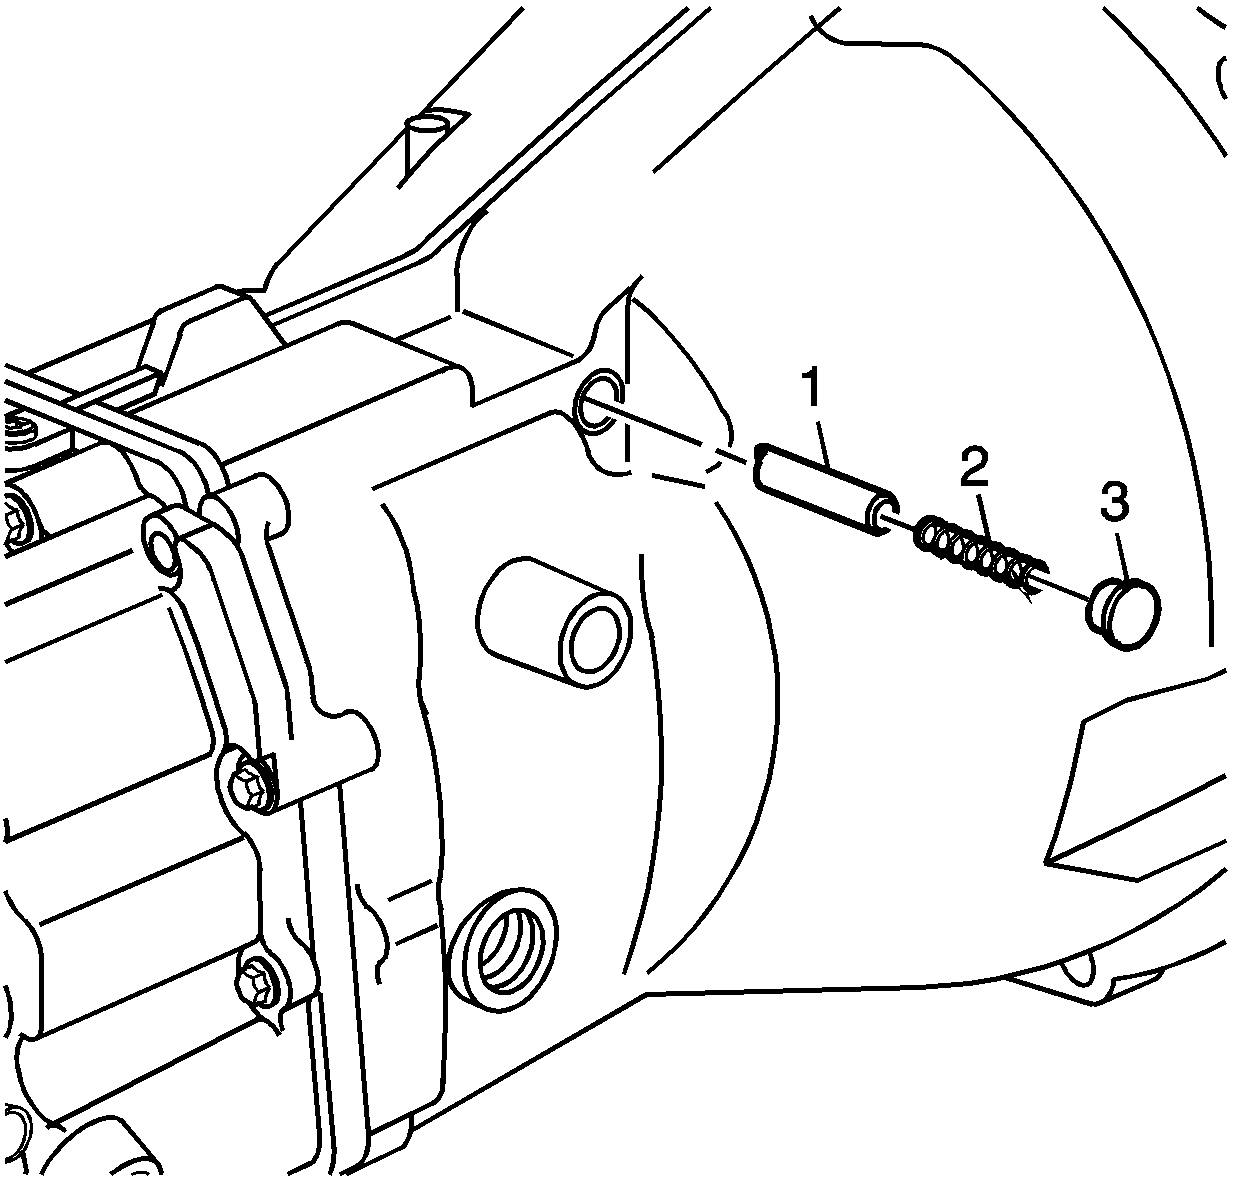
- Remove the detent plug (3), spring (2) and detent pin (1), from the front section of the transmission case.
- Remove the reverse idler gear front retaining bolt (1) on the left side of the transmission.
- Remove the transmission case attaching bolts from the case rear section.
- Install the J 45019 to the front of the transmission case using 3 long bolts.
- Turn the hex head forcing screw on the J 45019 to separate the case sections.
- Carefully remove the front transmission case section.
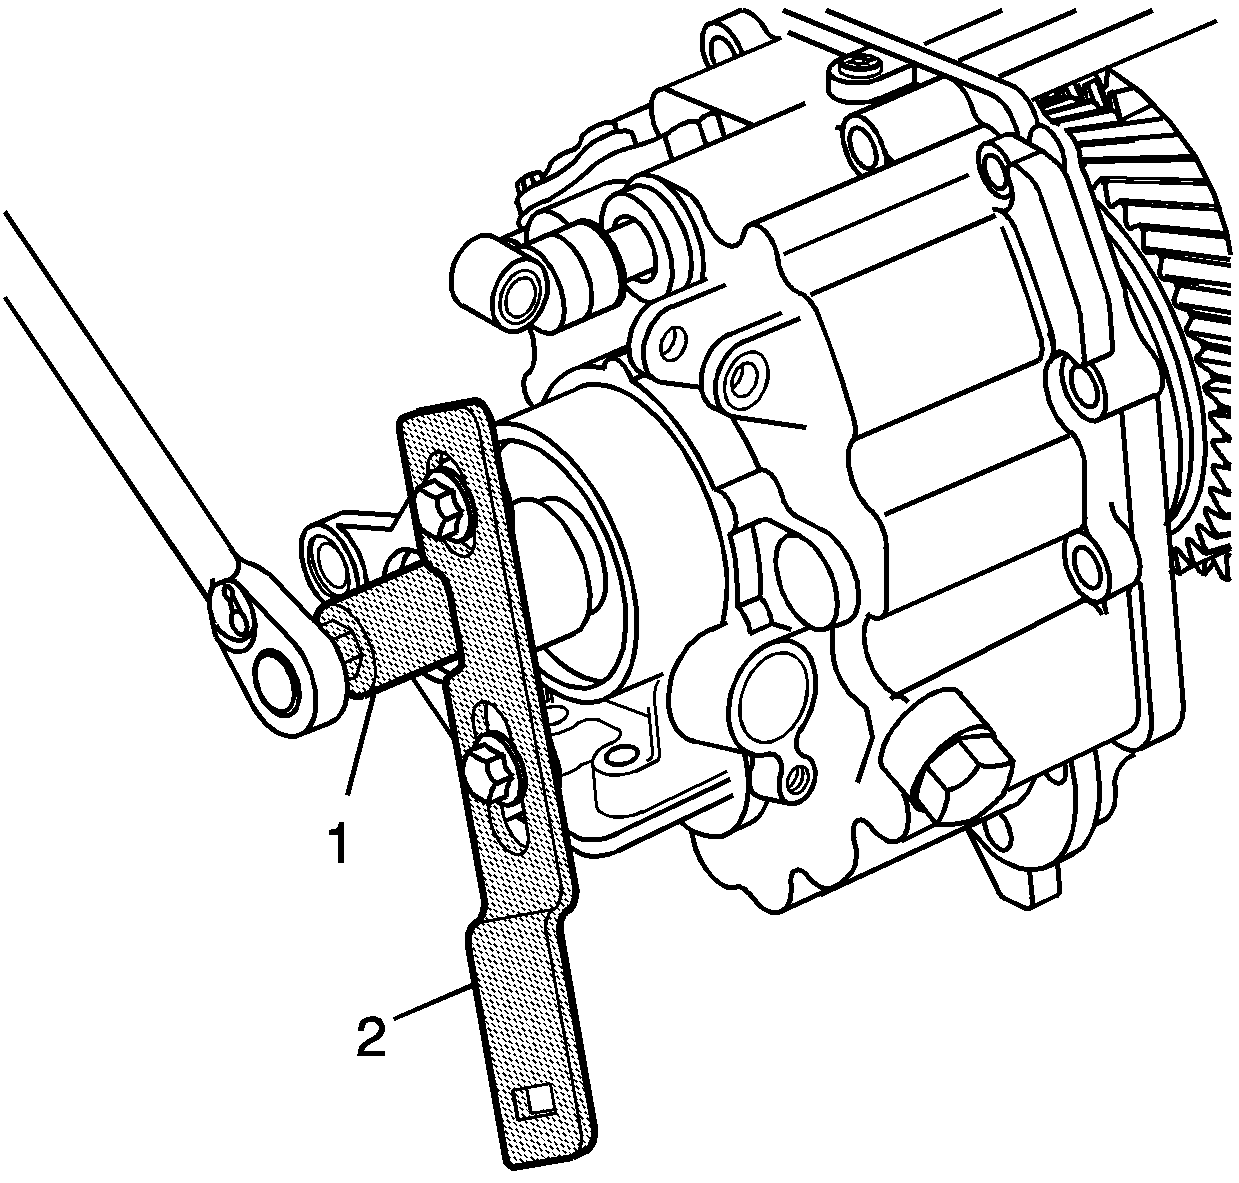
- Install the J 45012 (2) with 2 bolts and nuts.
- Use the J 29873 (1) and breaker bar to remove the flange nut.
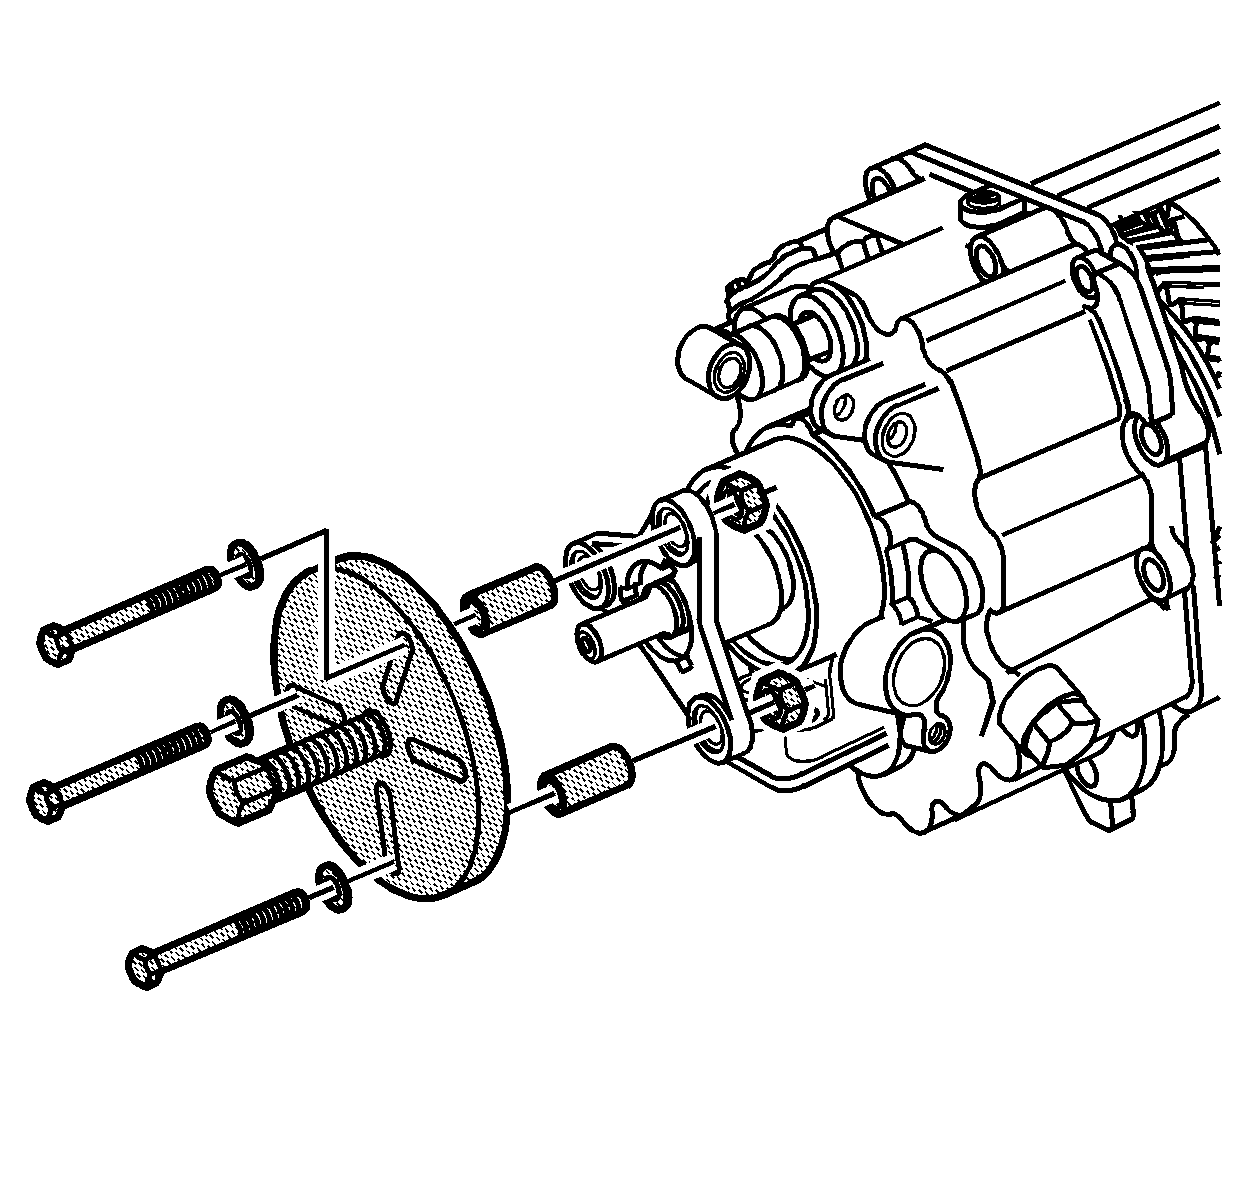
- Install the J 45019 and 3 bolts, spacers and nuts.
- Tighten the forcing screw to remove the rear flange from the main shaft.
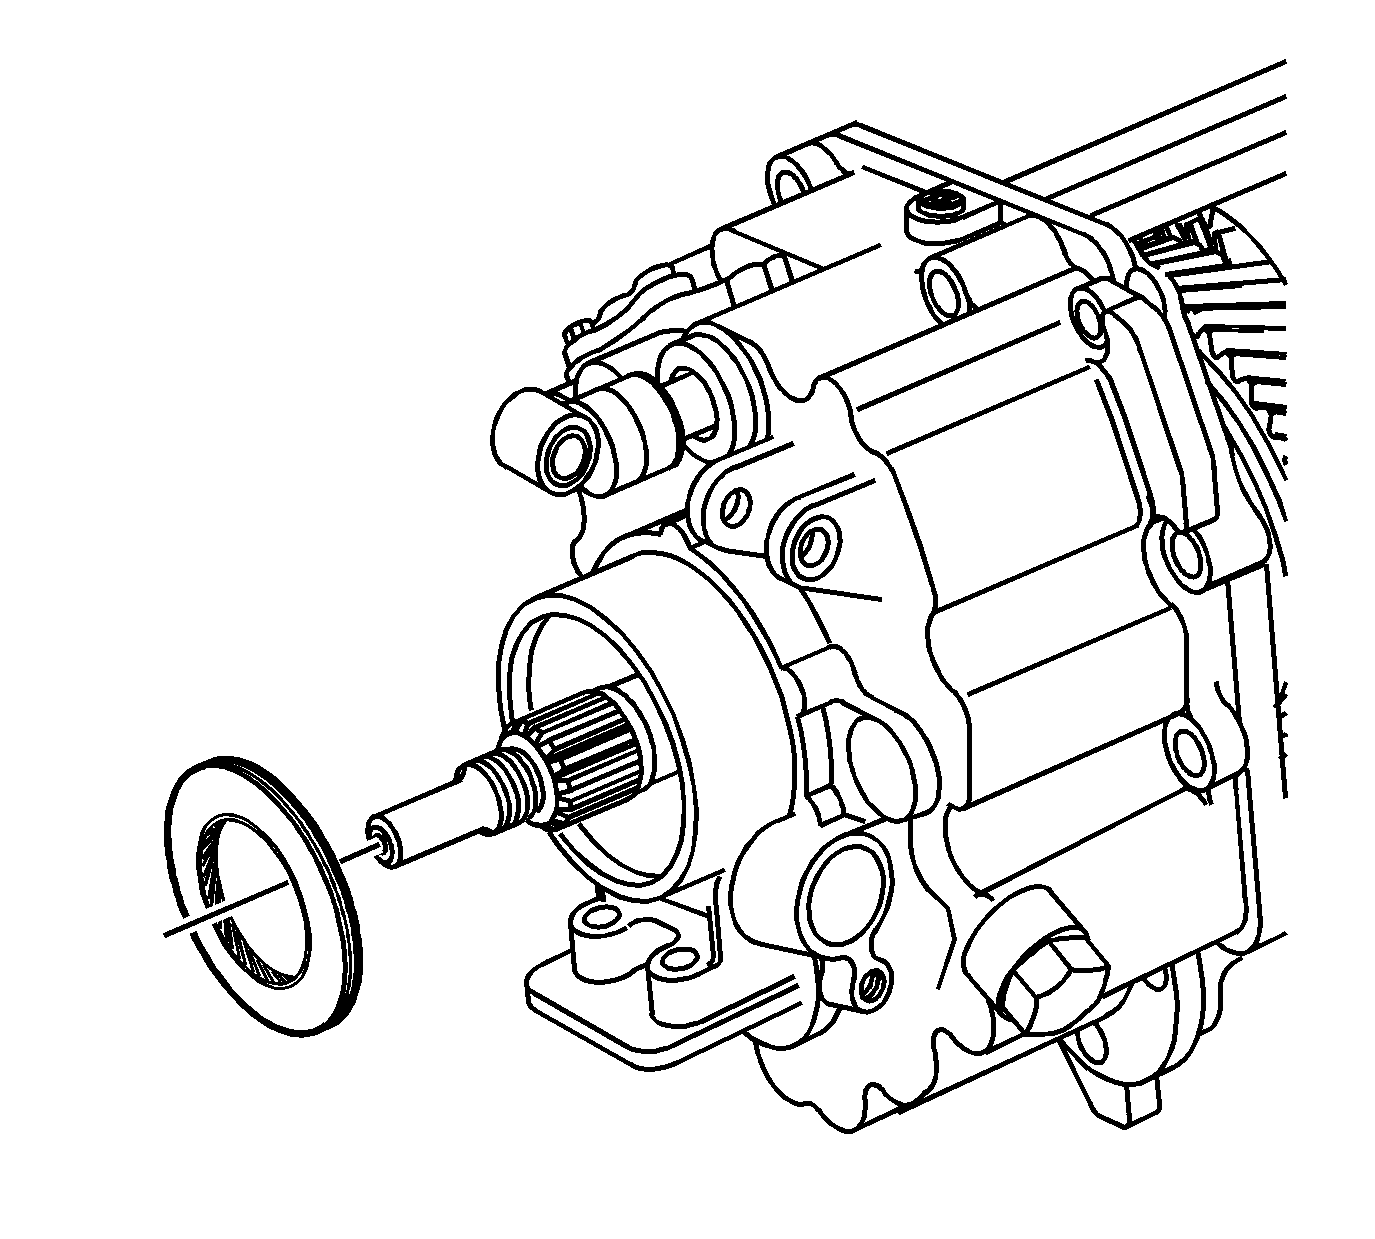
- Remove seal from the rear case section.
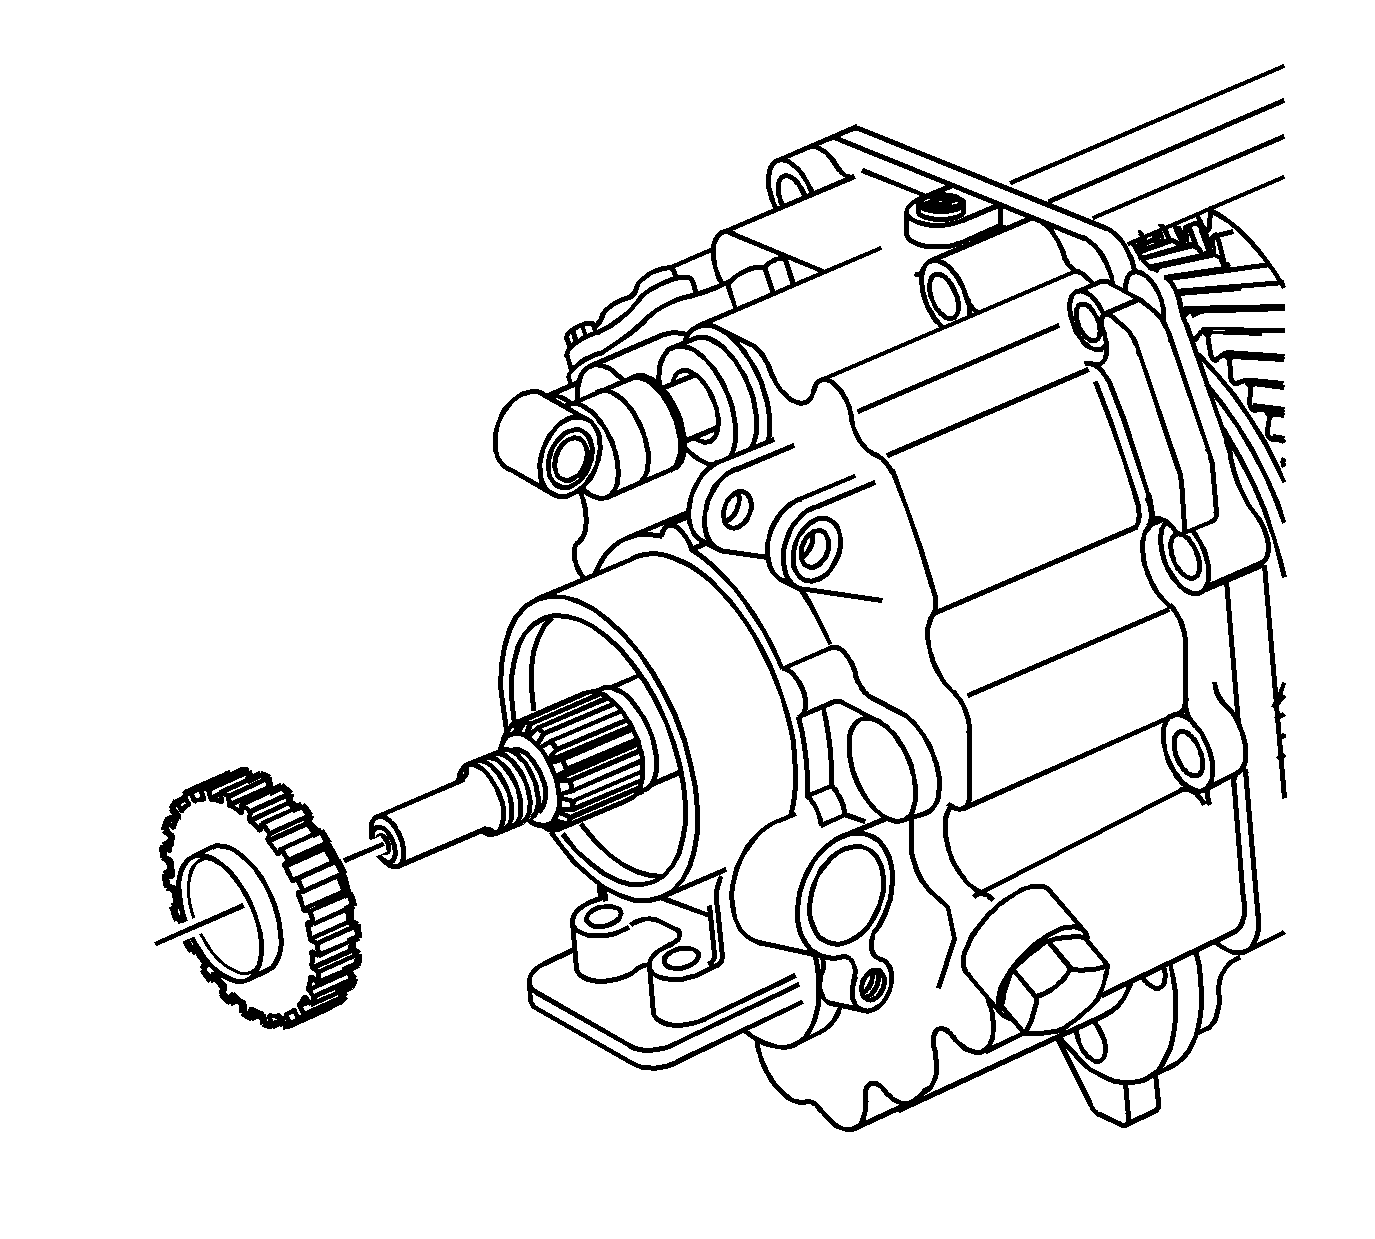
- Remove reluctor wheel from the rear case section.
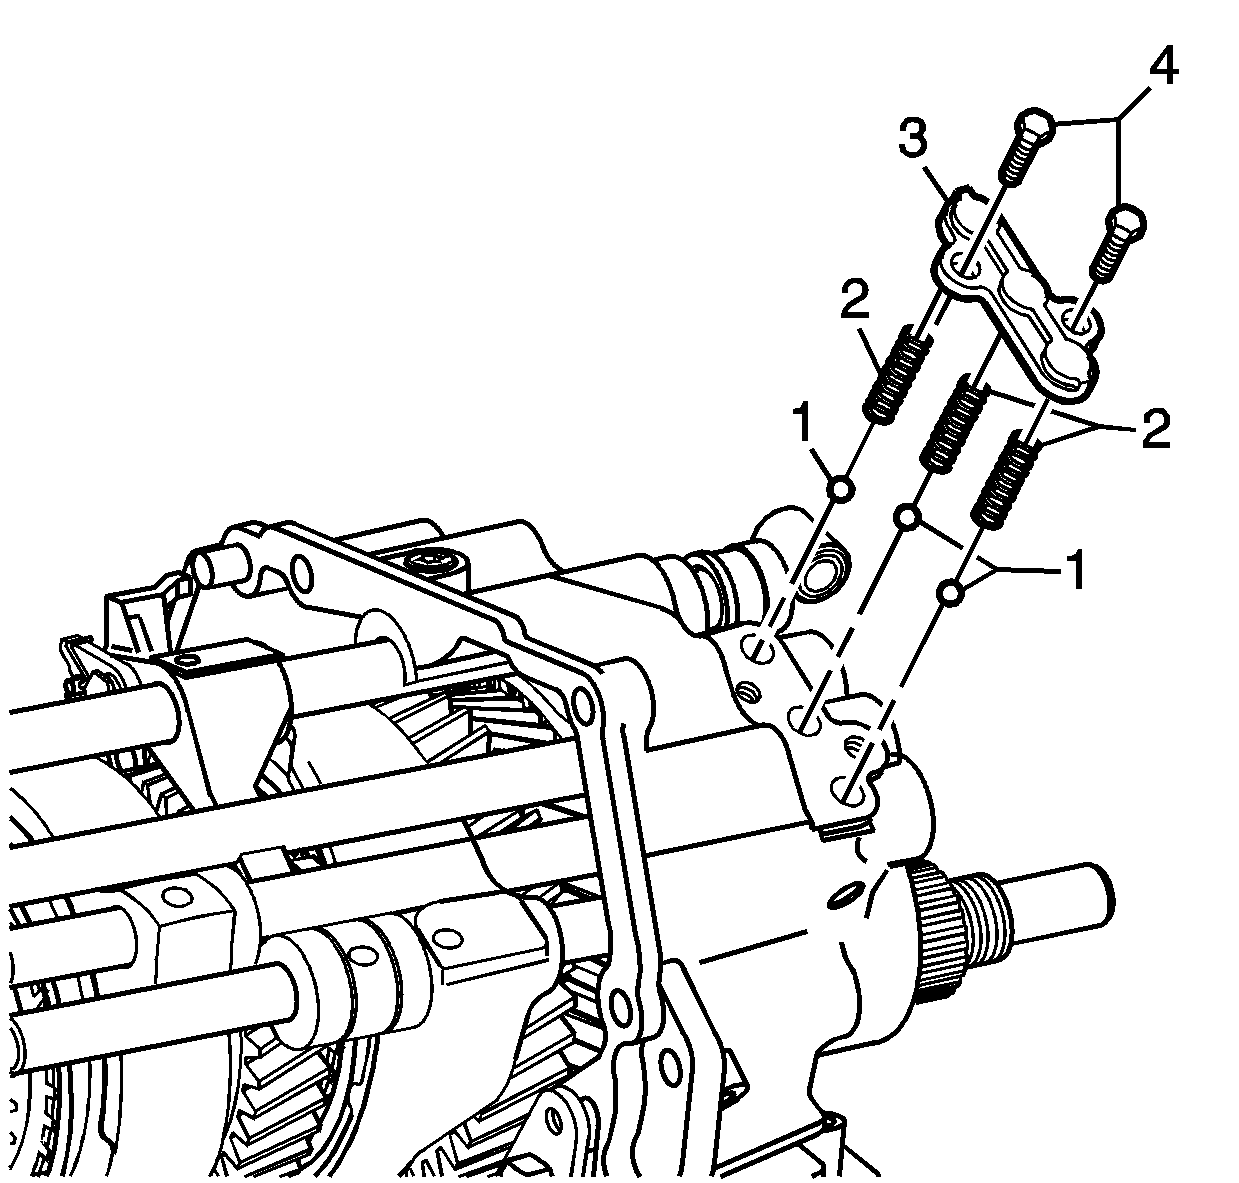
- Remove the bolts (4) from the spring plate (3) on the transmission rear section.
- Remove the 3 detent springs (2).
- Using a pencil magnet, remove the 3 detent balls (1) from under the springs.
- Select 4th gear, support the shift selector shaft with a wooden wedge, using a punch, remove the roll pin from the gearshift selector arm. The roll pin will not contact gear teeth on removal.
- Using a rubber hammer, tap the shift shaft (3) rearwards through the bearing support, removing the seal (2) in the same direction. The gearshift selector arm (1) will slide off the end of the shift shaft (3).
- While supporting the selector shaft with a wedge of wood, drive the selector fork roll pin out just enough to enable the shaft to be removed.
- While supporting the 3rd/4th shift fork, use a rubber hammer to gently tap the shaft (1) rearward, forcing out the expansion plug (3) in the rear of the transmission housing. This will allow removal of the interlock pin (2) and the shaft from the rear, which overcomes the risk of the interlock pin (2) becoming dislodged and jamming the shaft.
- Move the 1st/2nd synchromesh ring forward into the 2nd gear position and the 5th/reverse synchromesh ring forward, into the reverse position.
- Remove the rear bolt (5) securing the reverse idler gear to the transmission case and the bolt (1) securing the thrust plate (2). Remove the reverse idler gear shaft (3), from the rear case section. Remove the idler gear.
- Support the case on suitable press plates, place the J 45006 over the mainshaft.
- Press the mainshaft from the rear transmission case sealed ball bearing.
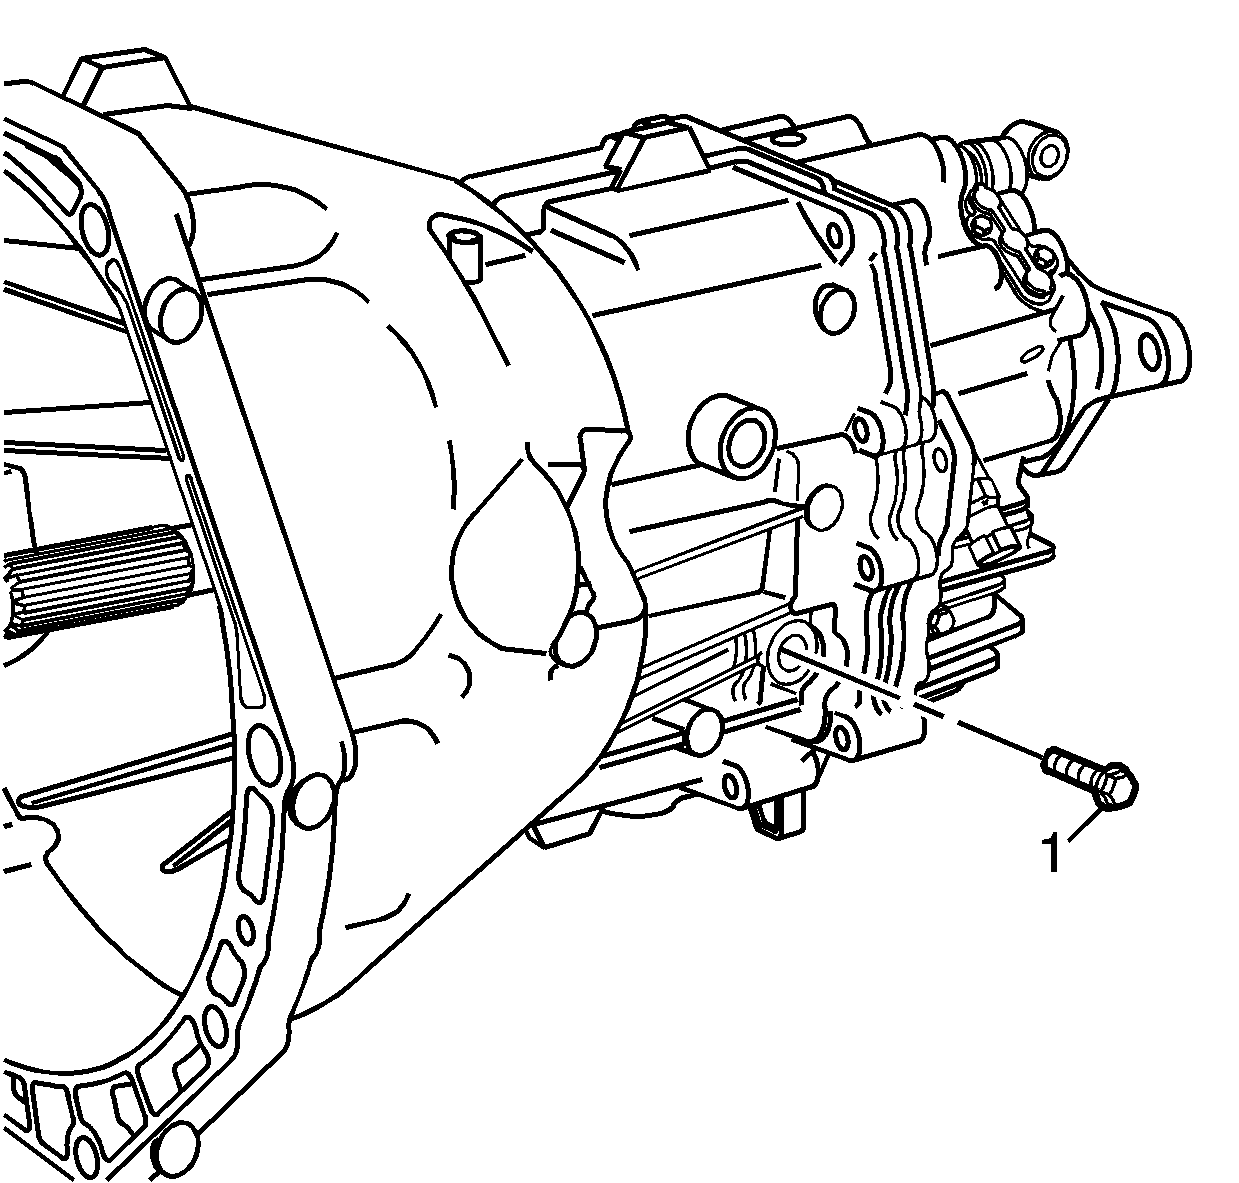
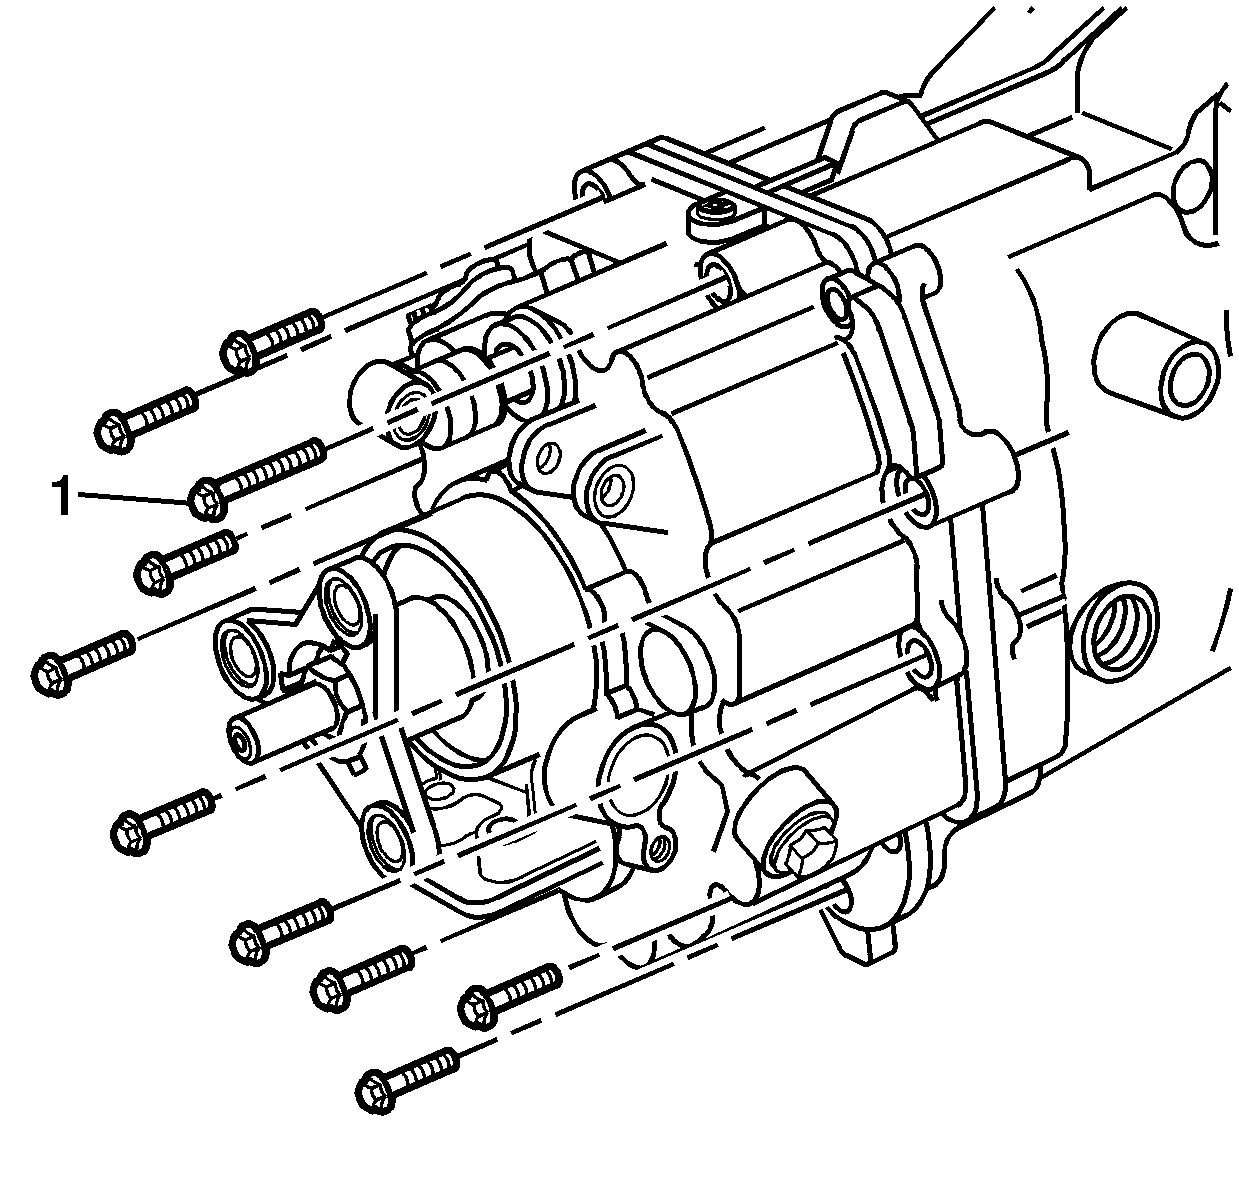
Important: Mark the position of the longer bolt (1) for re-assembly.
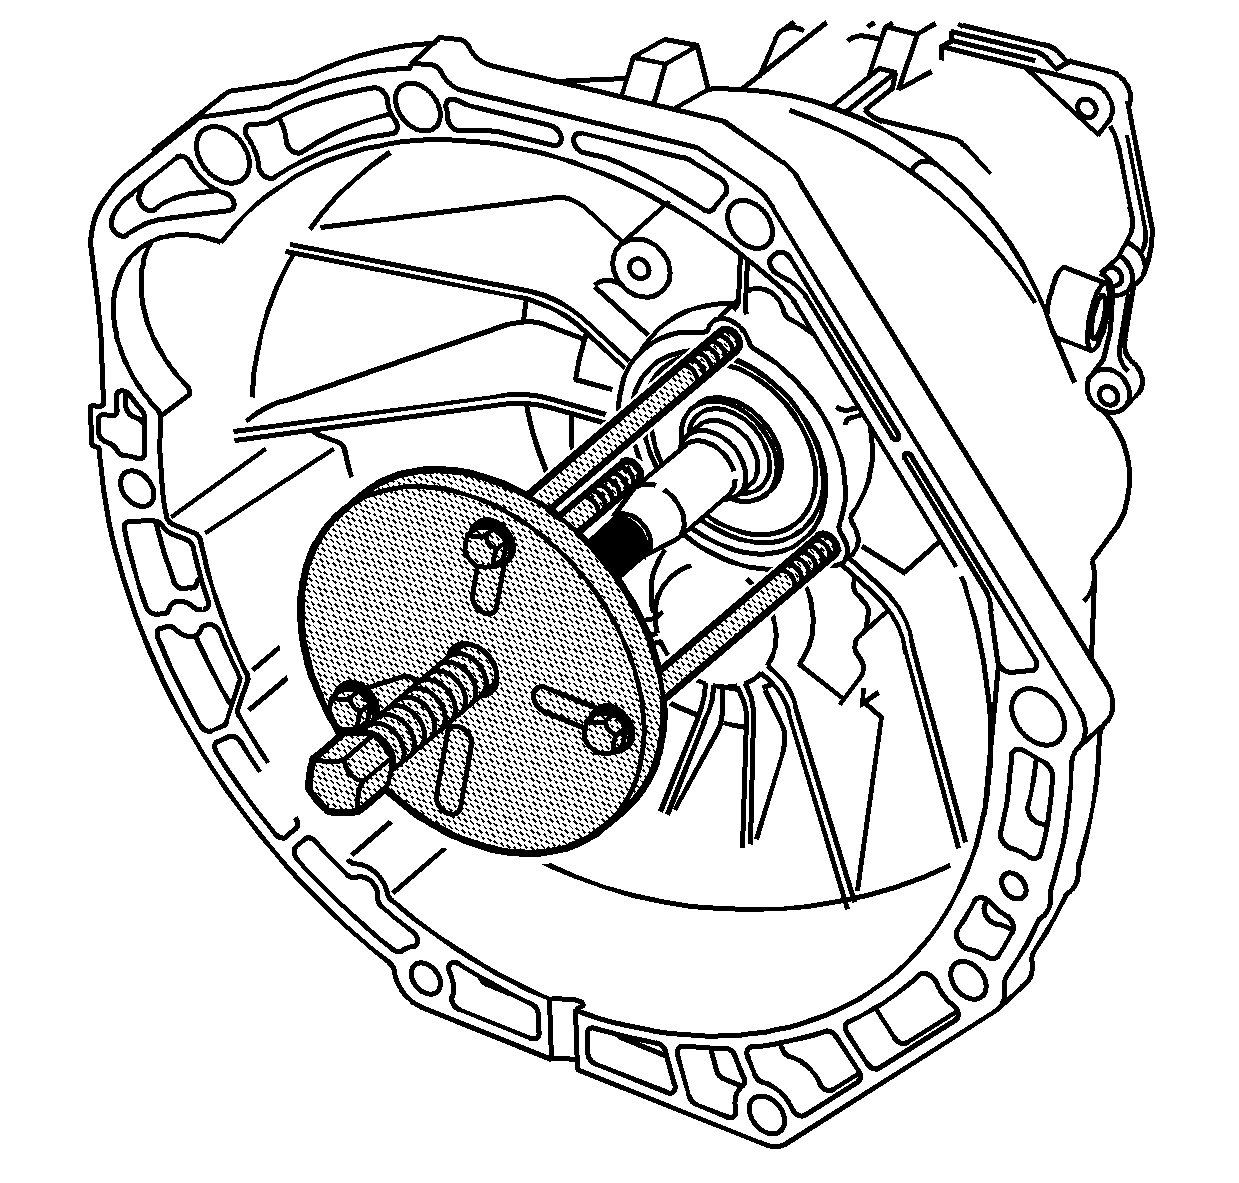
Important: While the forcing screw has torque applied, it may be necessary to use a rubber mallet to tap the two lug locations on the rear transmission case to help the splitting process.
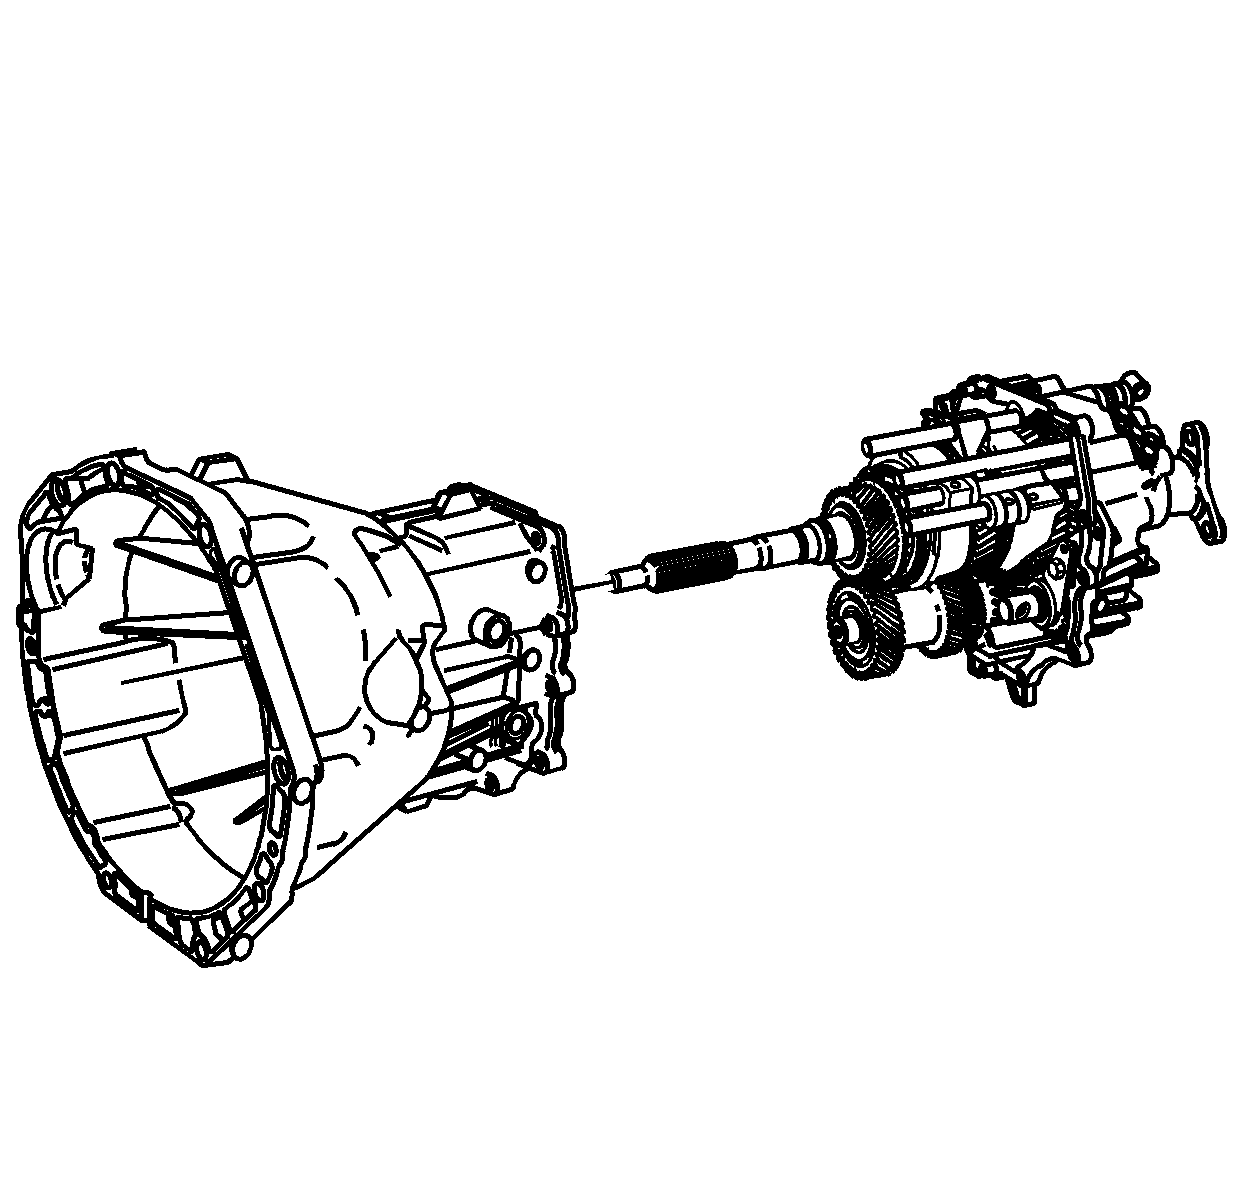
Notice: Do not lift the transmission by the input shaft, damage to the mainshaft bearing will occur.
Important: The input gear bearing and counter bearing cup remain in the transmission case. Ensure that the counter shaft bearing does not fall out of the front case after splitting.
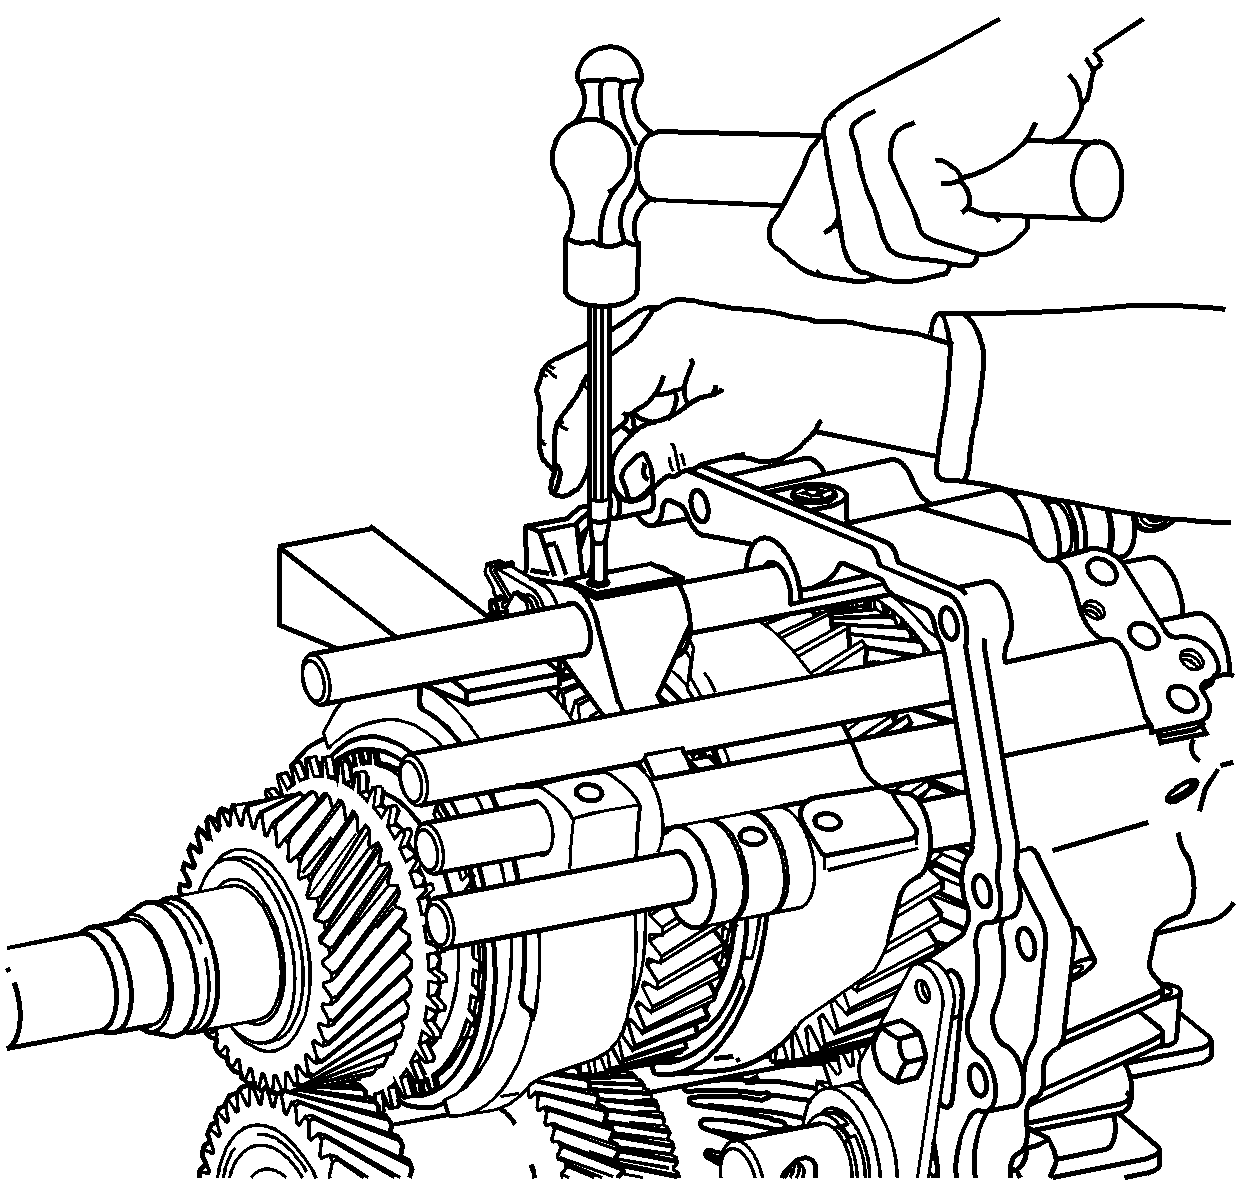
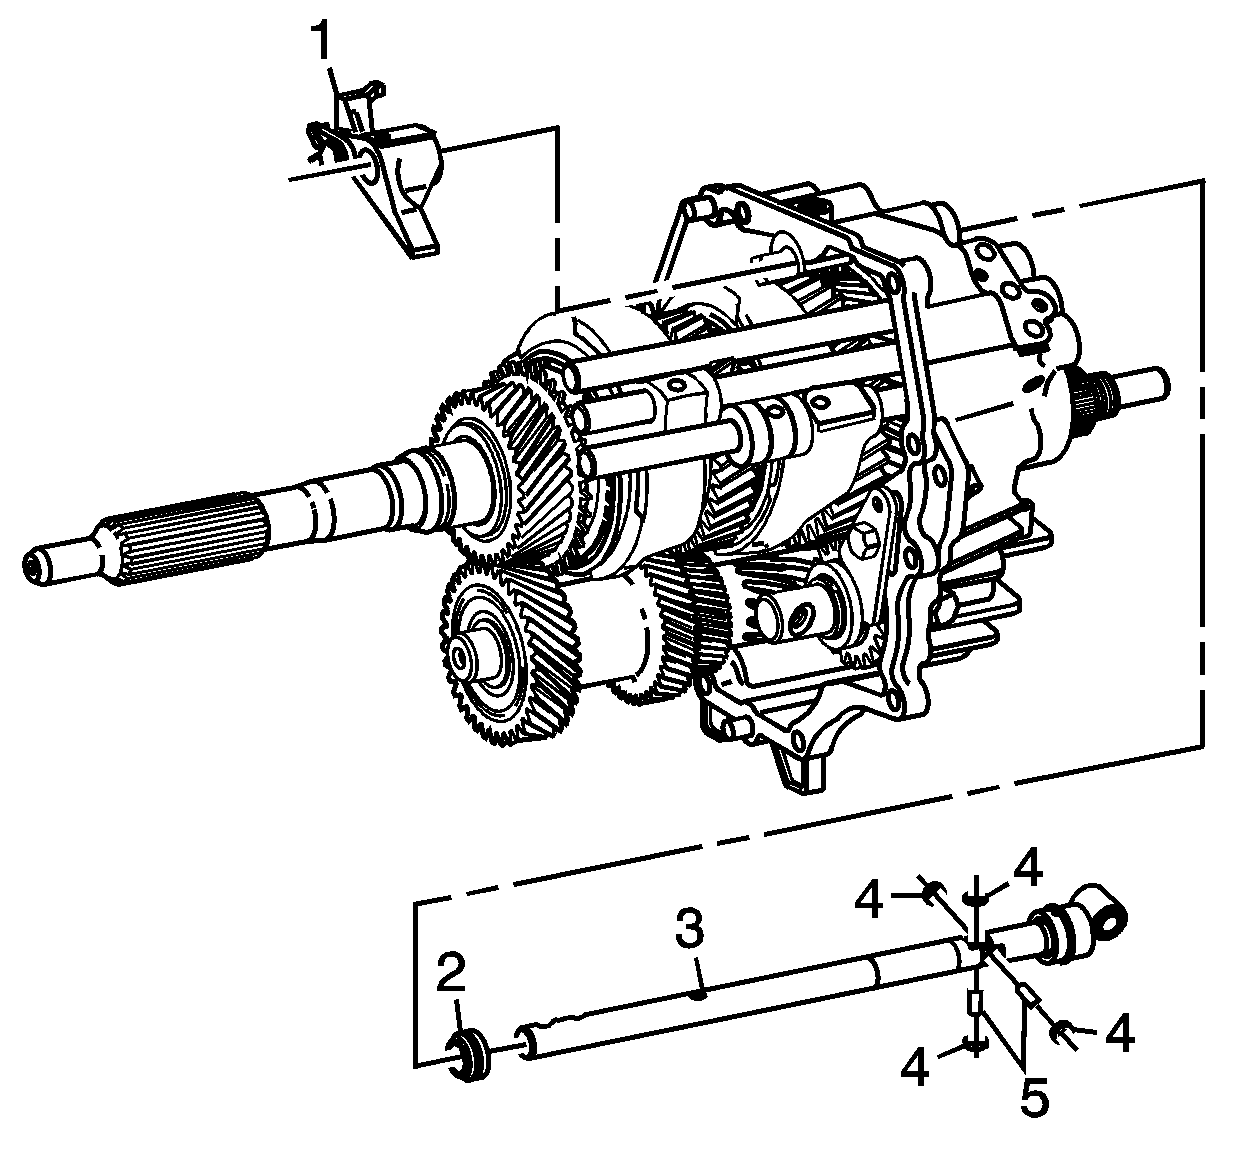
Important: Do not lose the 4 rollers (4) that may be dislodged from the pins (5) in the shaft during the removal process.
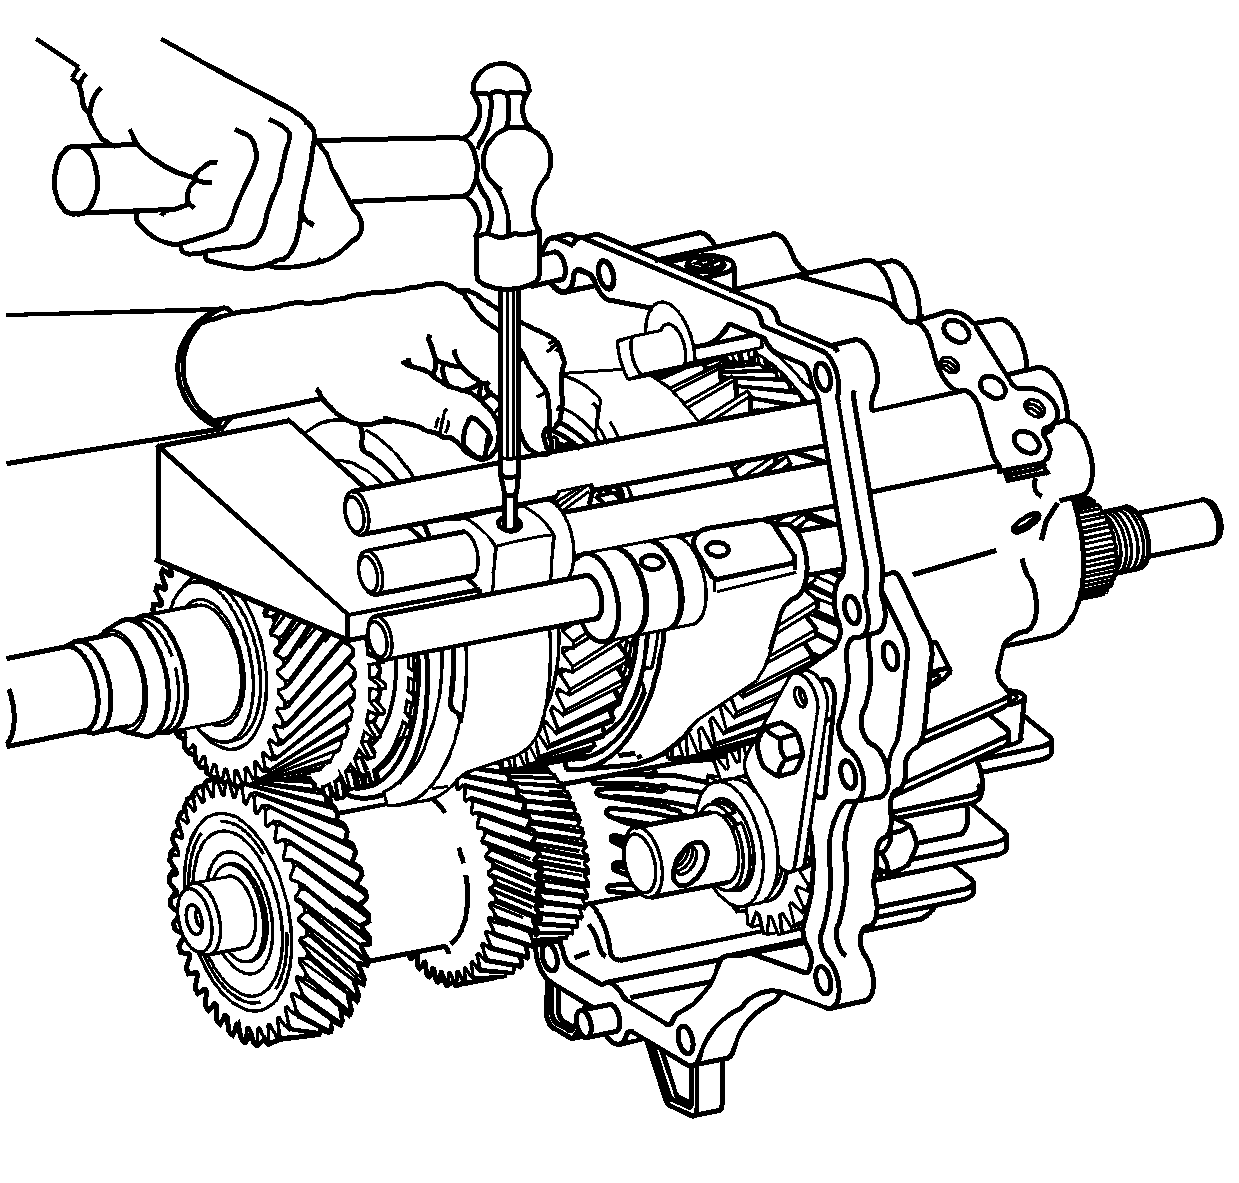
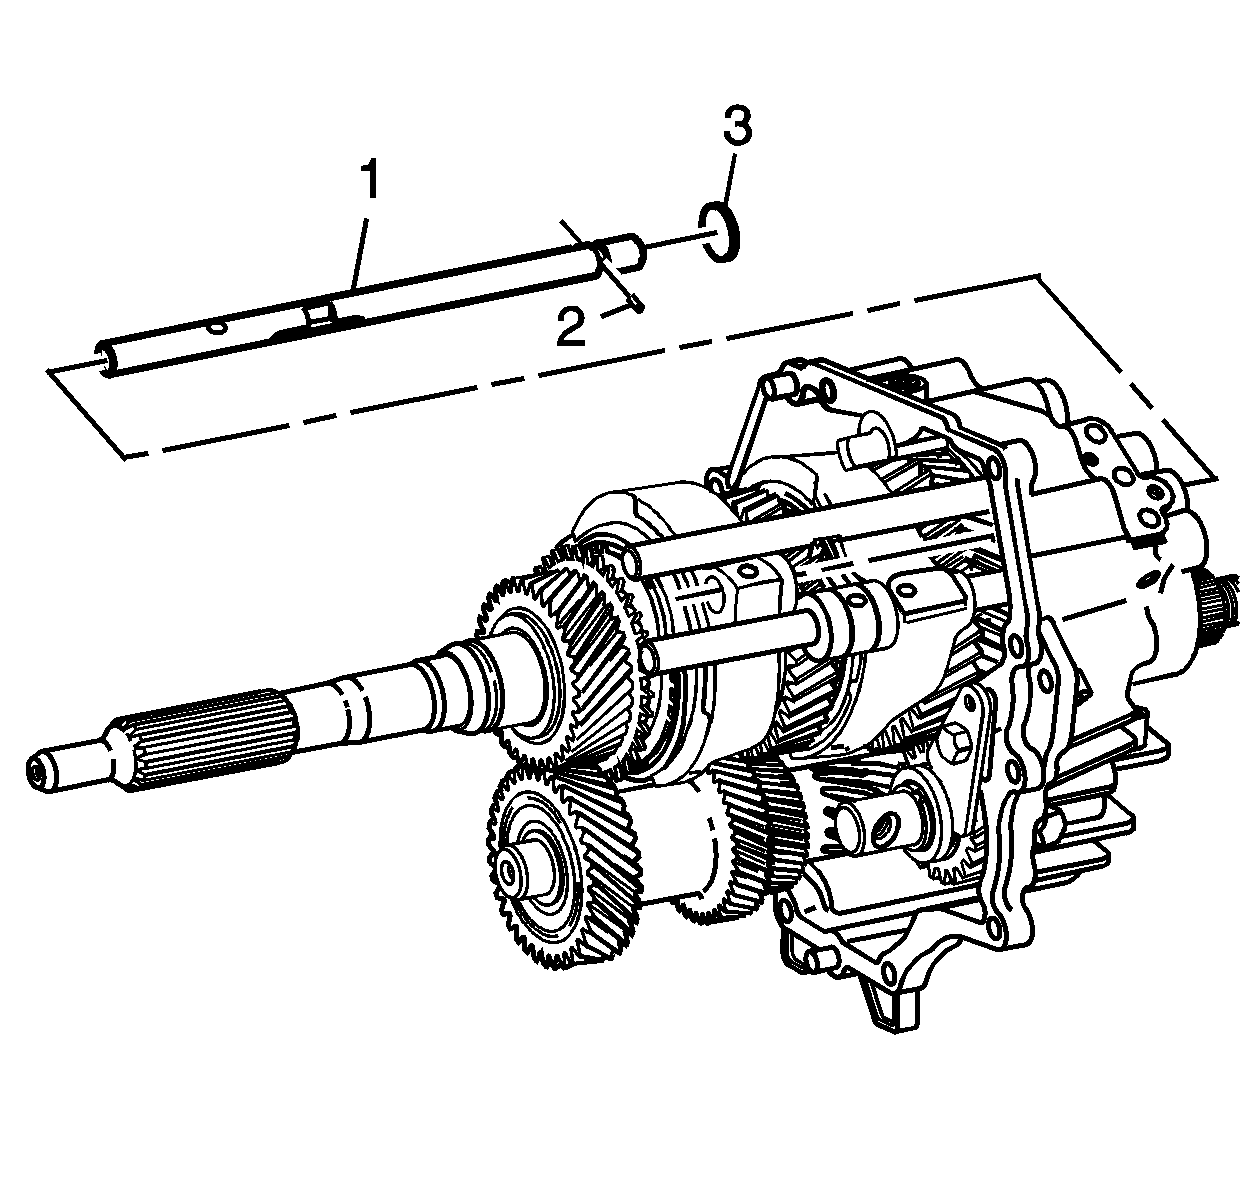
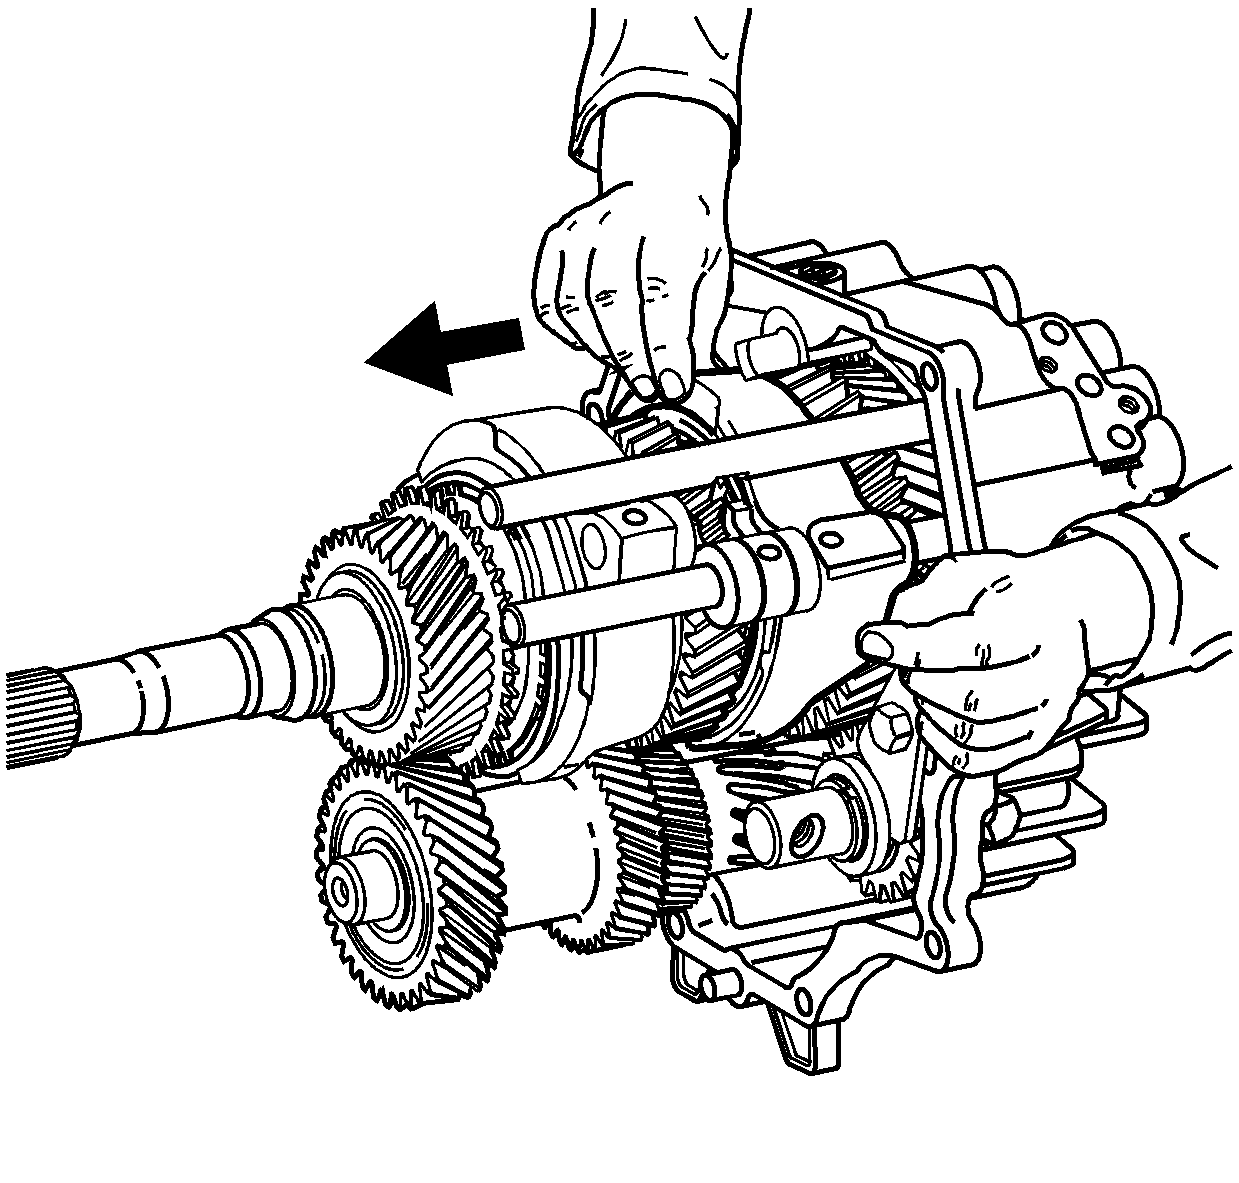
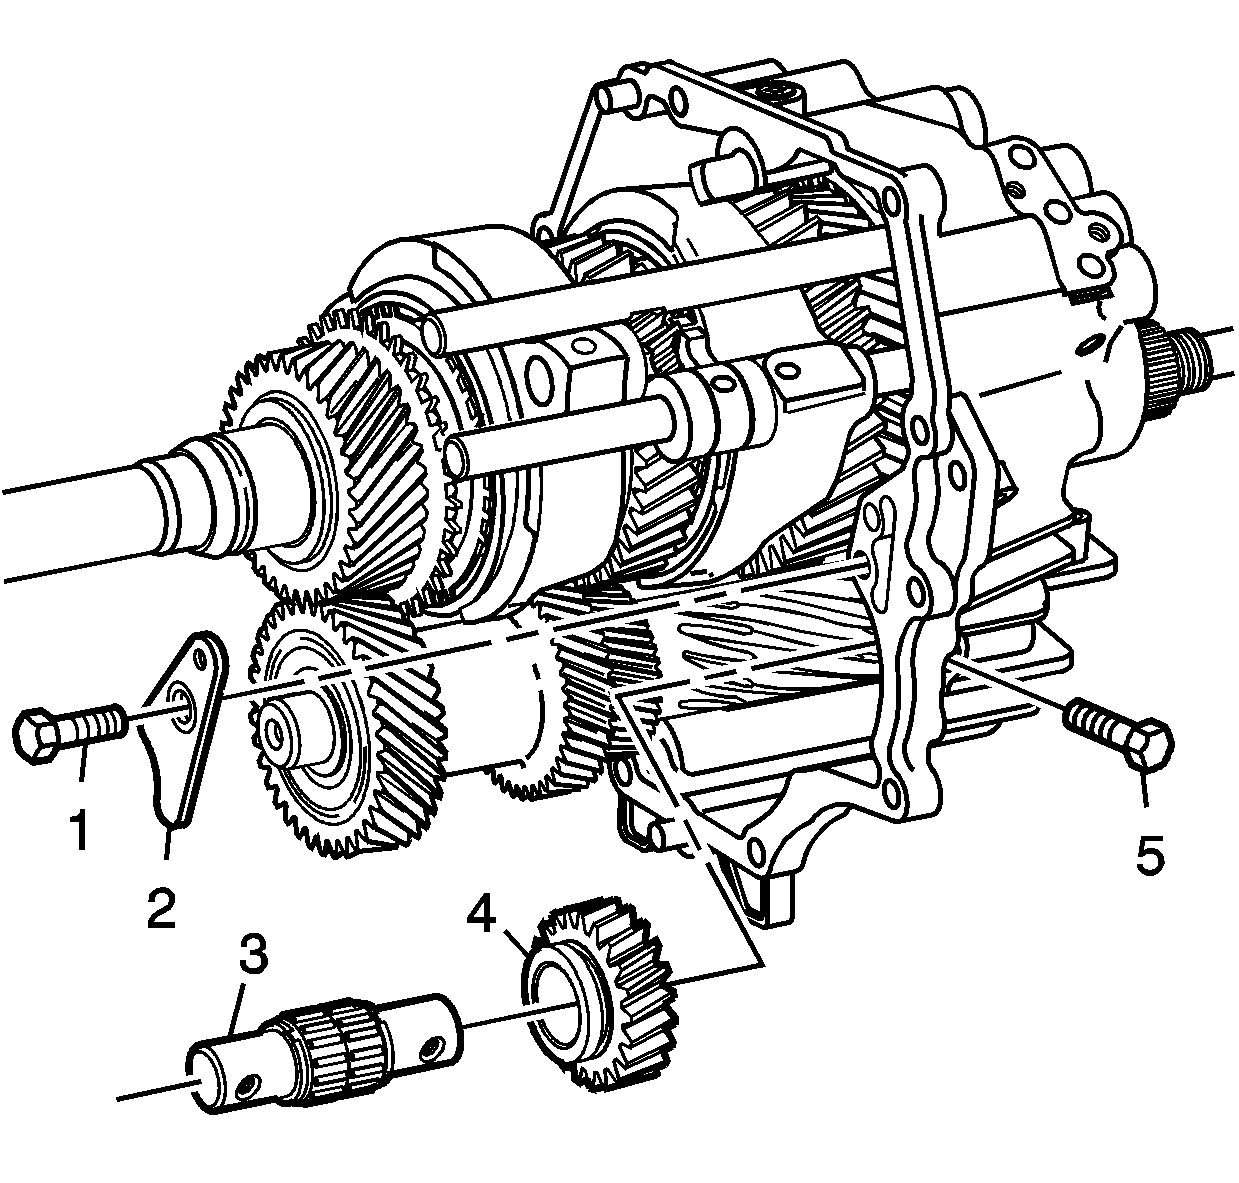
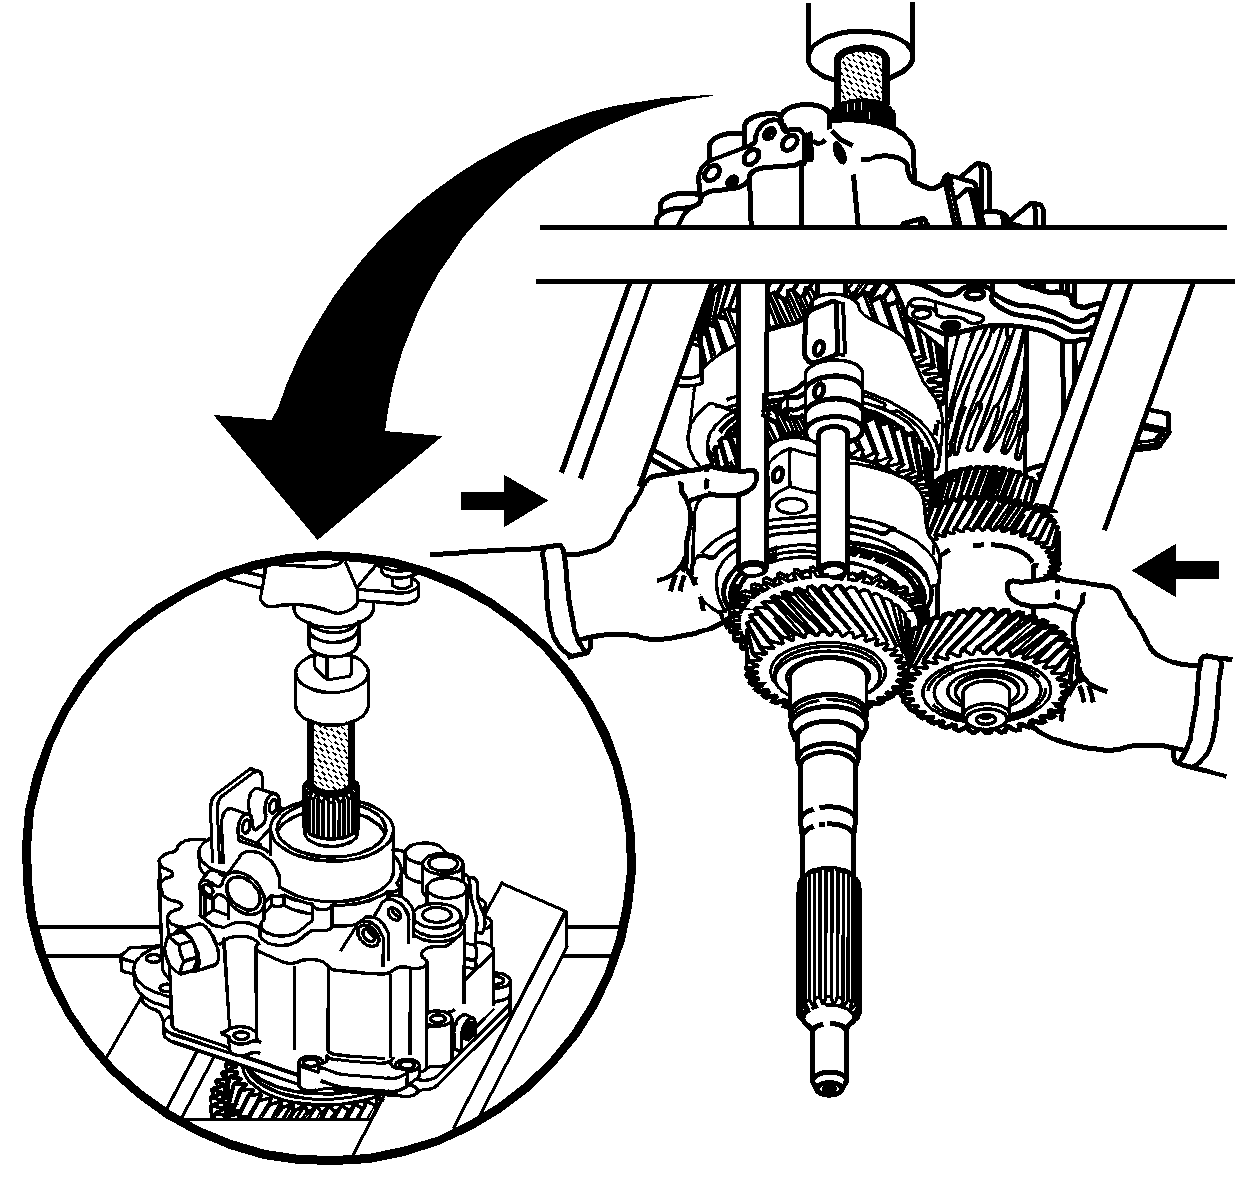
Important: The mainshaft and cluster gear assemblies, together with the selector shafts and forks will all be pressed out of the rear transmission case at the same time.
