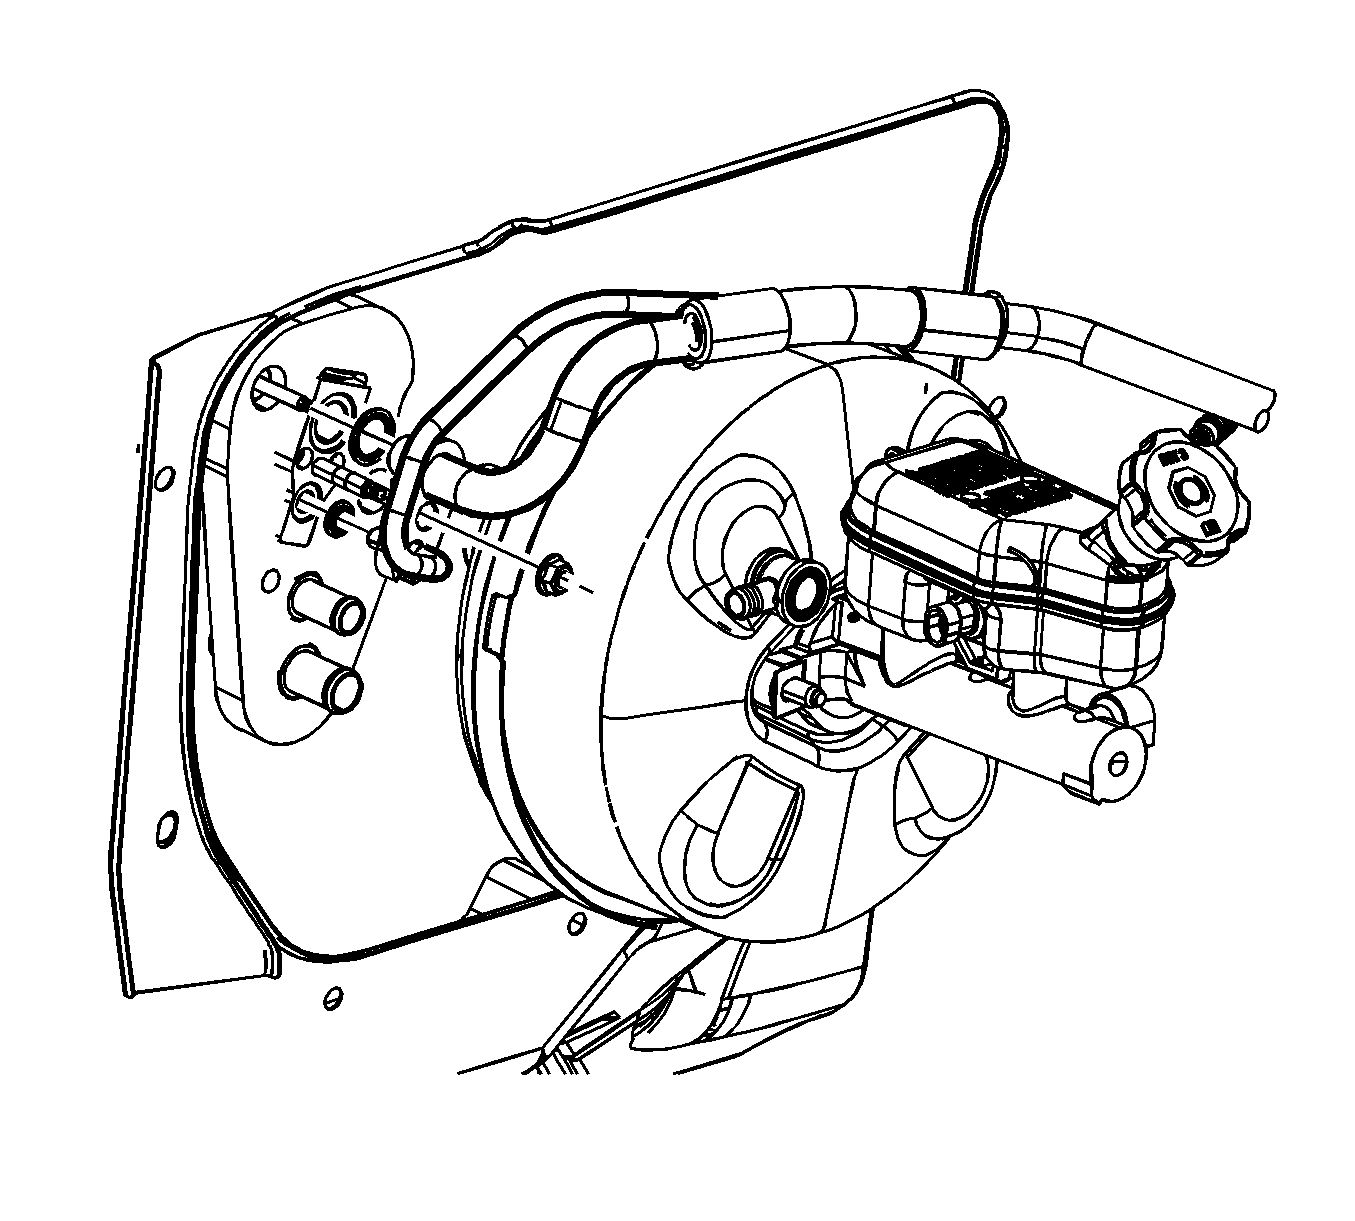
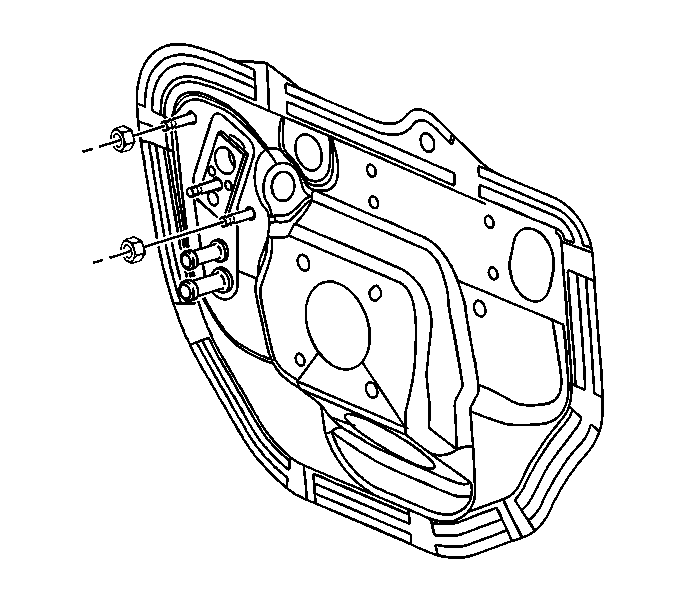
For 1990-2009 cars only
Tools Required
J 39400-A Halogen Leak Detector
Removal Procedure
- Recover the refrigerant from the air conditioning (A/C) system. Refer to Refrigerant Recovery and Recharging .
- Drain the cooling system. Refer to Cooling System Draining and Filling in Engine Cooling.
- Set the heating, ventilation and air conditioning (HVAC) controls in the vent setting to close the defroster door.
- Remove the blower motor. Refer to Blower Motor Replacement .
- Disconnect the electrical connector from the blower motor resistor.
- Disconnect the electrical connector from the evaporator temperature sensor.
- Disconnect all of the HVAC actuator electrical connectors.
- Remove the instrument panel (I/P) carrier. Refer to Instrument Panel Carrier Replacement in Instrument Panel, Gages, and Console.
- Remove the evaporator outlet tube nut.
- Disconnect the evaporator outlet tube and evaporator inlet tube from the thermal expansion valve (TXV).
- Remove and discard the sealing washers.
- Remove the heater inlet and outlet hoses. Refer to Heater Inlet Hose/Pipe and Heater Outlet Hose/Pipe Replacement .
- Remove the HVAC module nuts.

Important: The defroster door must be closed to allow clearance during defroster duct removal.

Installation Procedure
Important: Ensure proper alignment of the HVAC module and drain tube through the cowl.
- Install the HVAC module.
- Instal the HVAC module to dash panel sound barrier nuts.
- Install the heater inlet and outlet hoses. Refer to Heater Inlet Hose/Pipe and Heater Outlet Hose/Pipe Replacement .
- Install NEW sealing washers.
- Connect the evaporator inlet and outlet tube block to the TXV.
- Install the evaporator tube block nut.
- Install the I/P carrier. Refer to Instrument Panel Carrier Replacement in Instrument Panel, Gages, and Console.
- Connect all of the HVAC actuator electrical connectors.
- Connect the electrical connector to the evaporator temperature sensor.
- Connect the electrical connector to the blower motor resistor.
- Install the blower motor. Refer to Blower Motor Replacement .
- Fill the cooling system. Refer to Cooling System Draining and Filling in Engine Cooling.
- Evacuate and recharge the A/C system. Refer to Refrigerant Recovery and Recharging .
- Leak test the fittings using the J 39400-A .
Notice: Refer to Fastener Notice in the Preface section.

Tighten
Tighten the nuts to 10 N·m (89 lb in).

Tighten
Tighten the nut to 16 N·m (12 lb ft).
