For 1990-2009 cars only
Removal Procedure
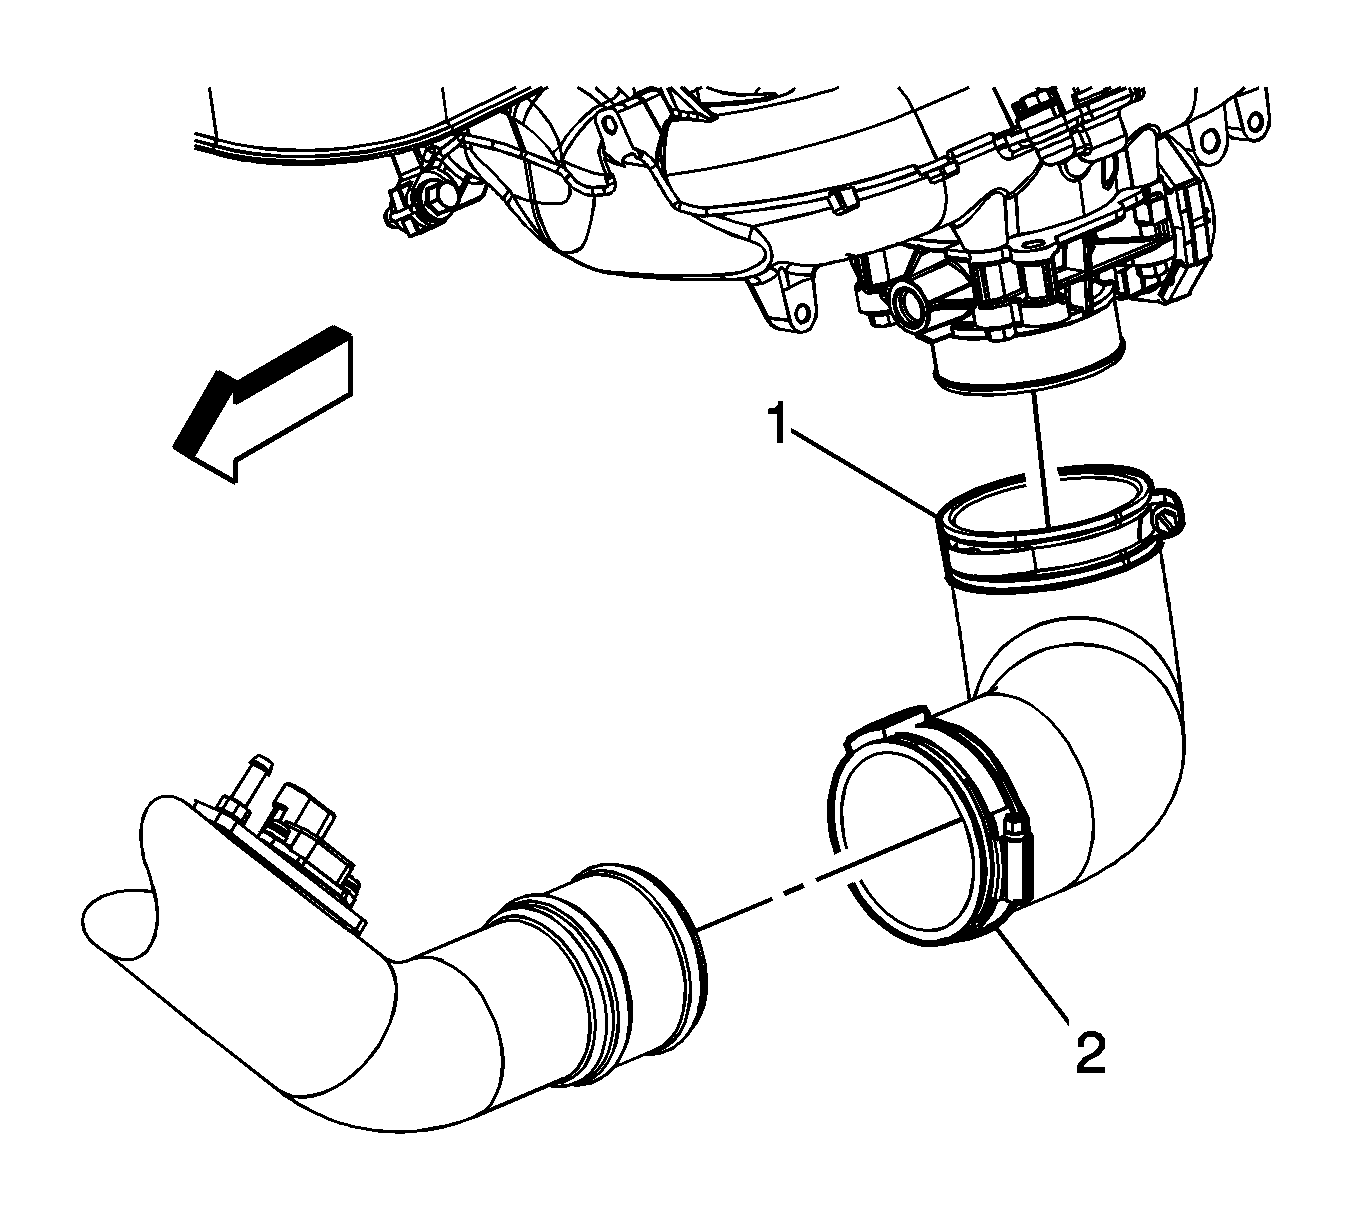
- Loosen the charge air cooler (CAC) outlet hose clamp (2) at the CAC outlet pipe.
- Loosen the CAC outlet hose clamp (1) at the throttle body.
- Remove the CAC outlet hose from the CAC outlet pipe and throttle body.
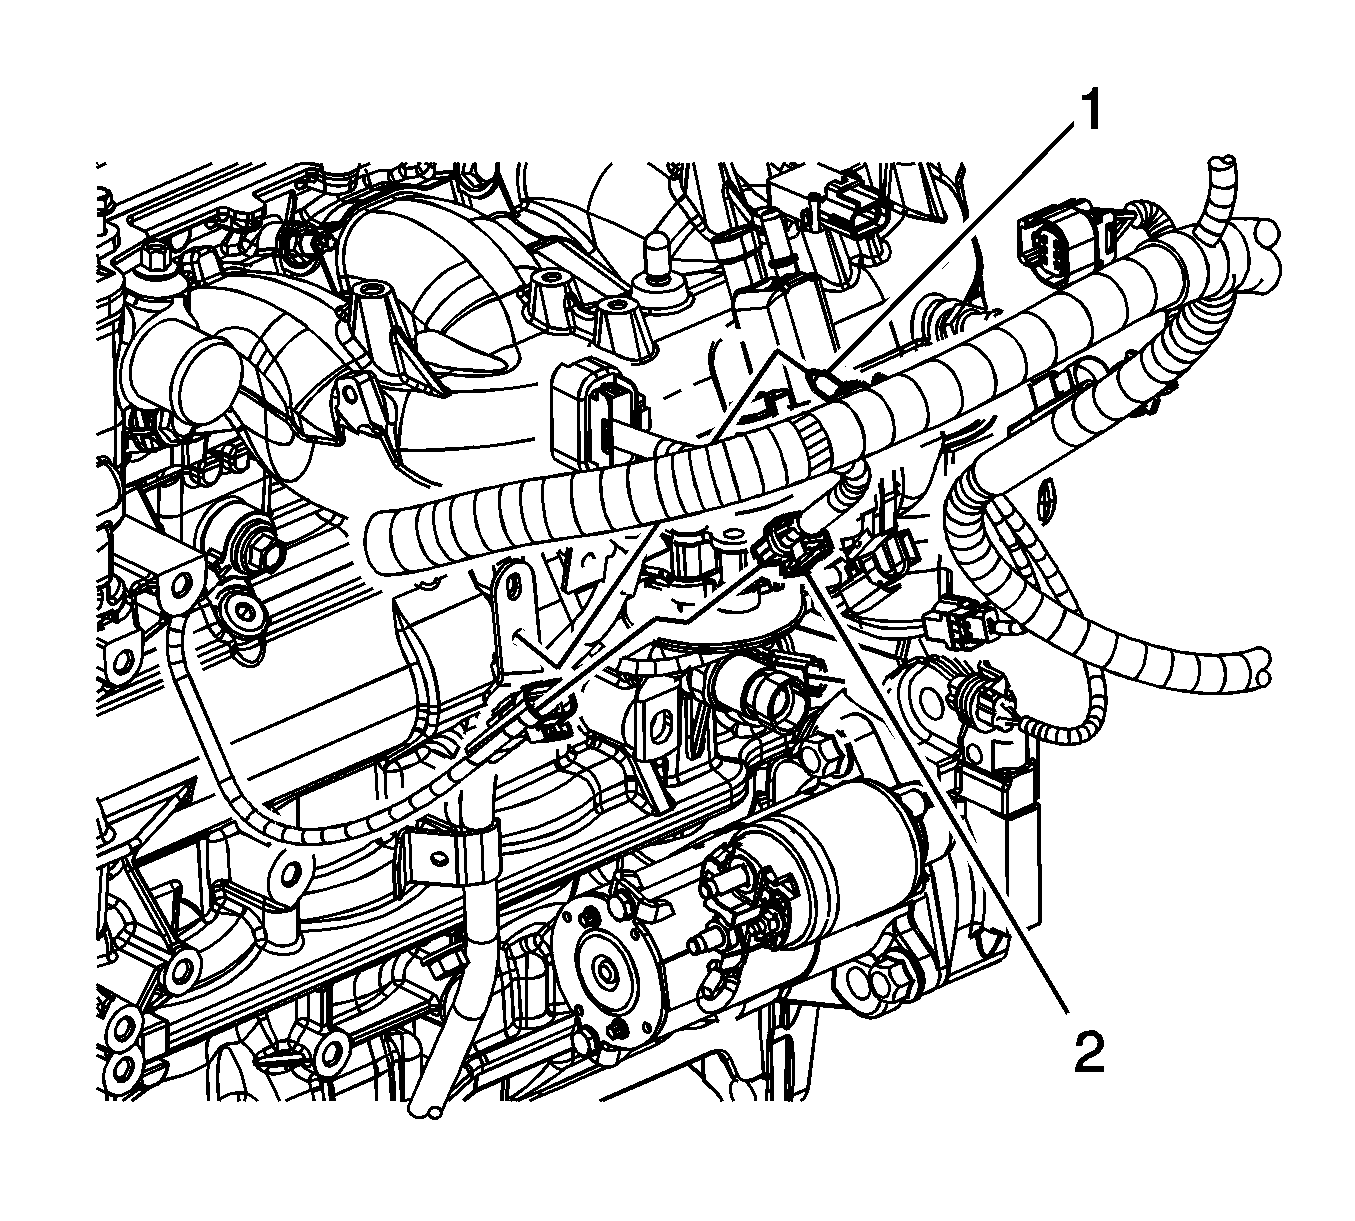
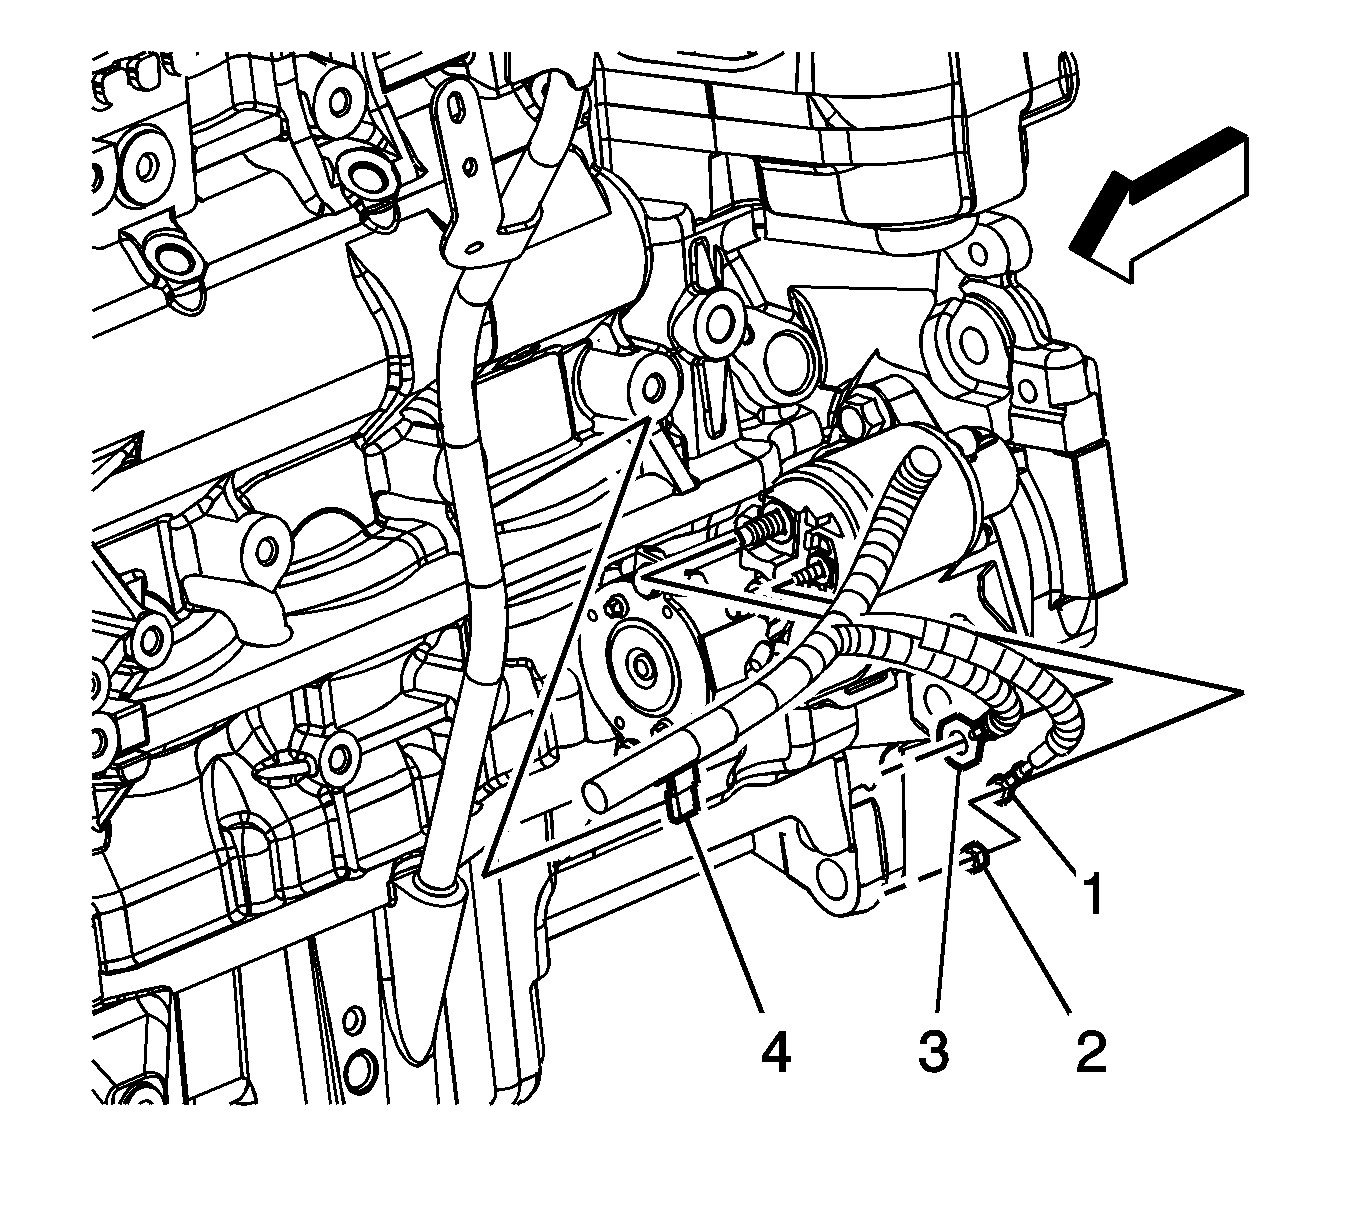
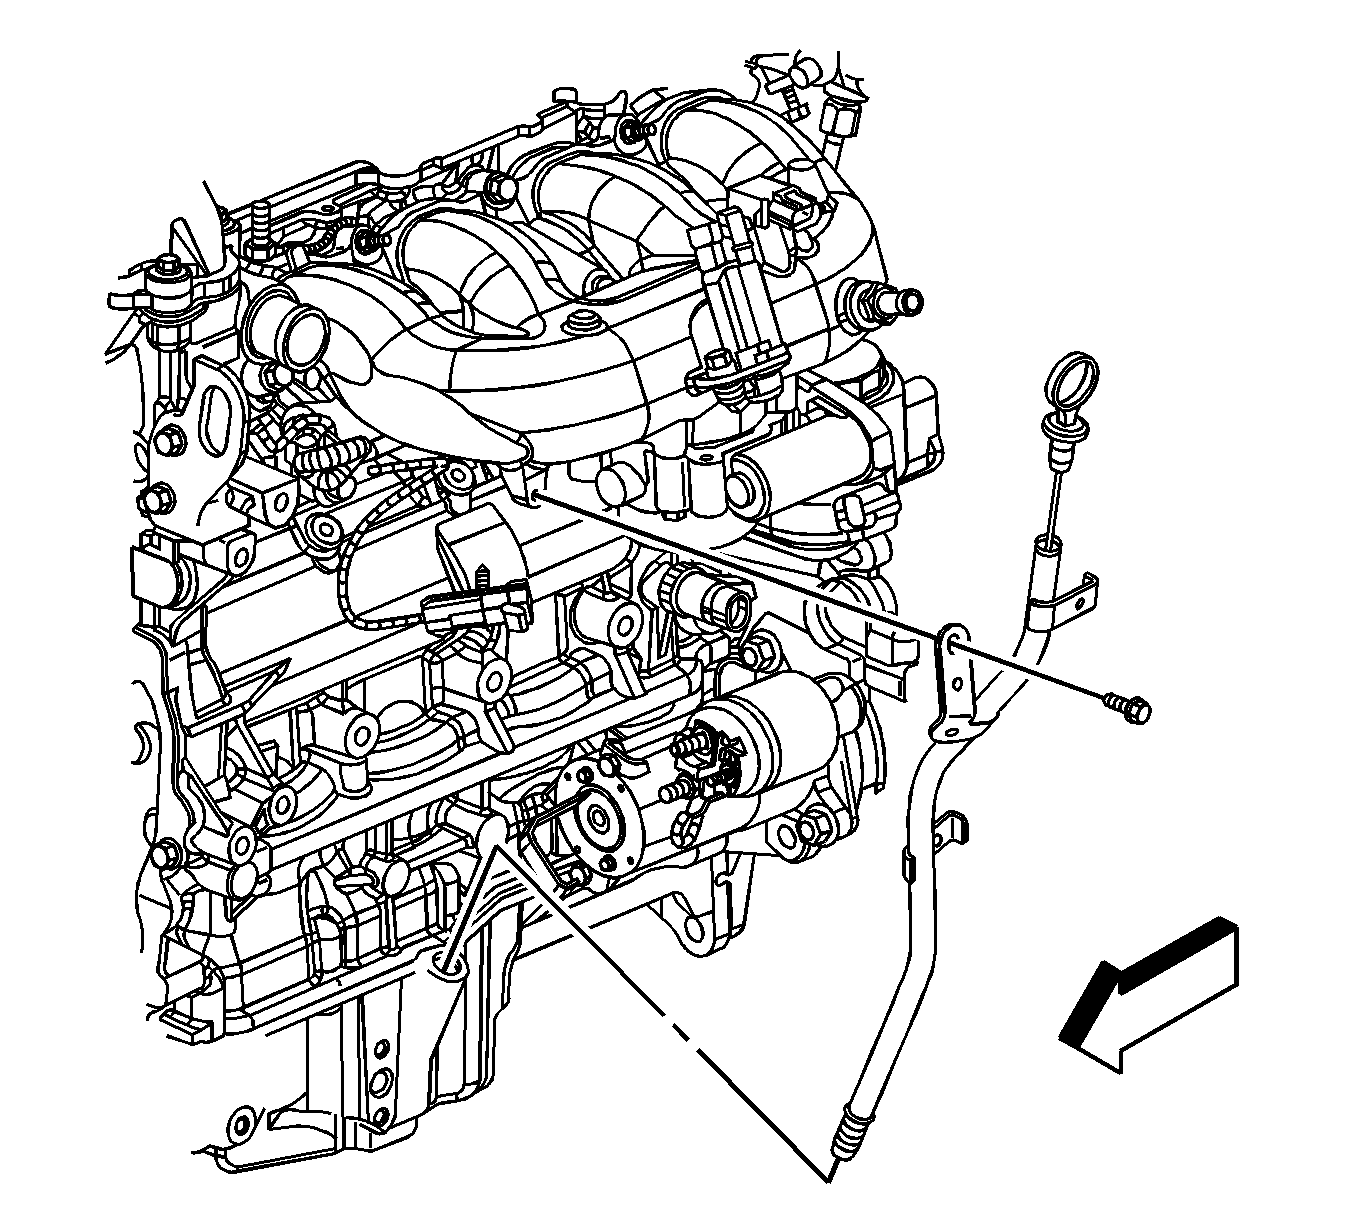
- Remove the engine wiring harness clip (1) from the oil level indicator tube bracket.
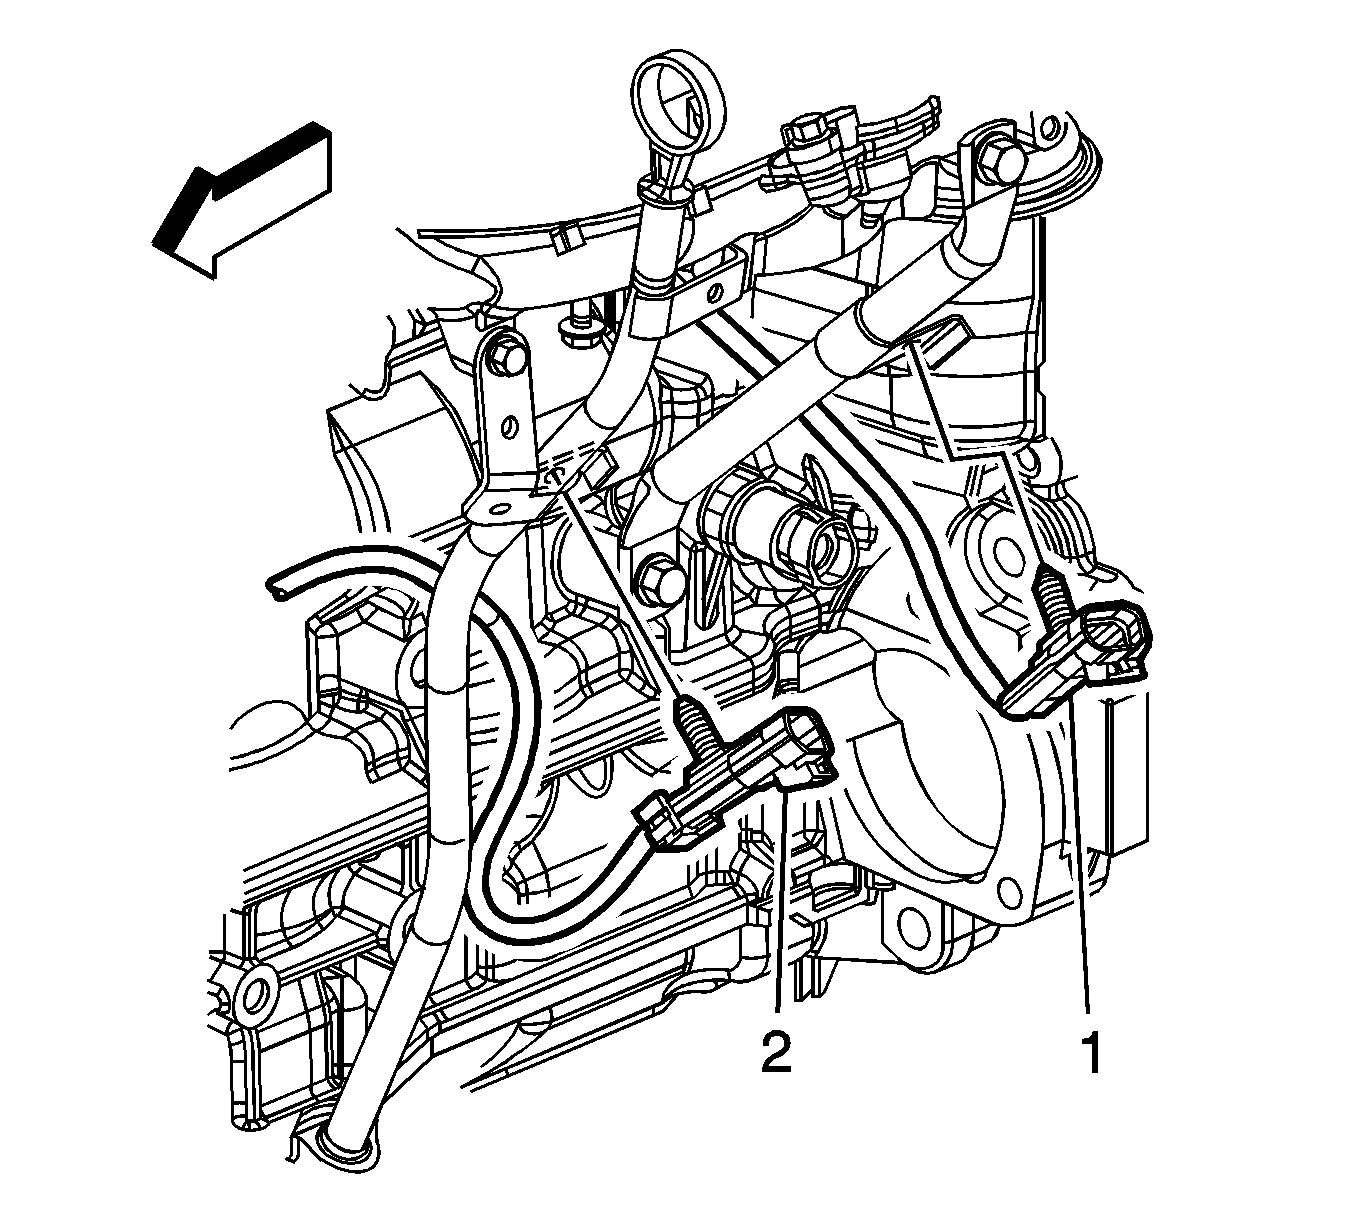
- Remove the number 1 knock sensor (2) clip from the oil level indicator tube bracket.
- Remove the engine wiring harness clip (4) from the oil level indicator tube bracket.
- Remove the oil level indicator tube bolt.
- Remove the oil level indicator tube and indicator.
Installation Procedure
- Lubricate the oil level indicator tube O-ring seal with lubricant. Refer to Adhesives, Fluids, Lubricants, and Sealers .
- Install the oil level indicator tube to the engine block.
- Install the oil level indicator tube bolt.
- Install the engine wiring harness clip (4) to the oil level indicator tube bracket.
- Install the number 1 knock sensor (2) clip to the oil level indicator tube bracket.
- Install the engine wiring harness clip (1) to the oil level indicator tube bracket.
- Install the CAC outlet hose to the CAC outlet pipe and throttle body.
- Tighten the CAC outlet hose clamp (1) at the throttle body.
- Tighten the CAC outlet hose clamp (2) at the CAC outlet pipe.
Notice: Refer to Fastener Notice in the Preface section.
Tighten
Tighten the bolt to 10 N·m (89 lb in).
Tighten
Tighten the clamps to 5 N·m (44 lb in).
