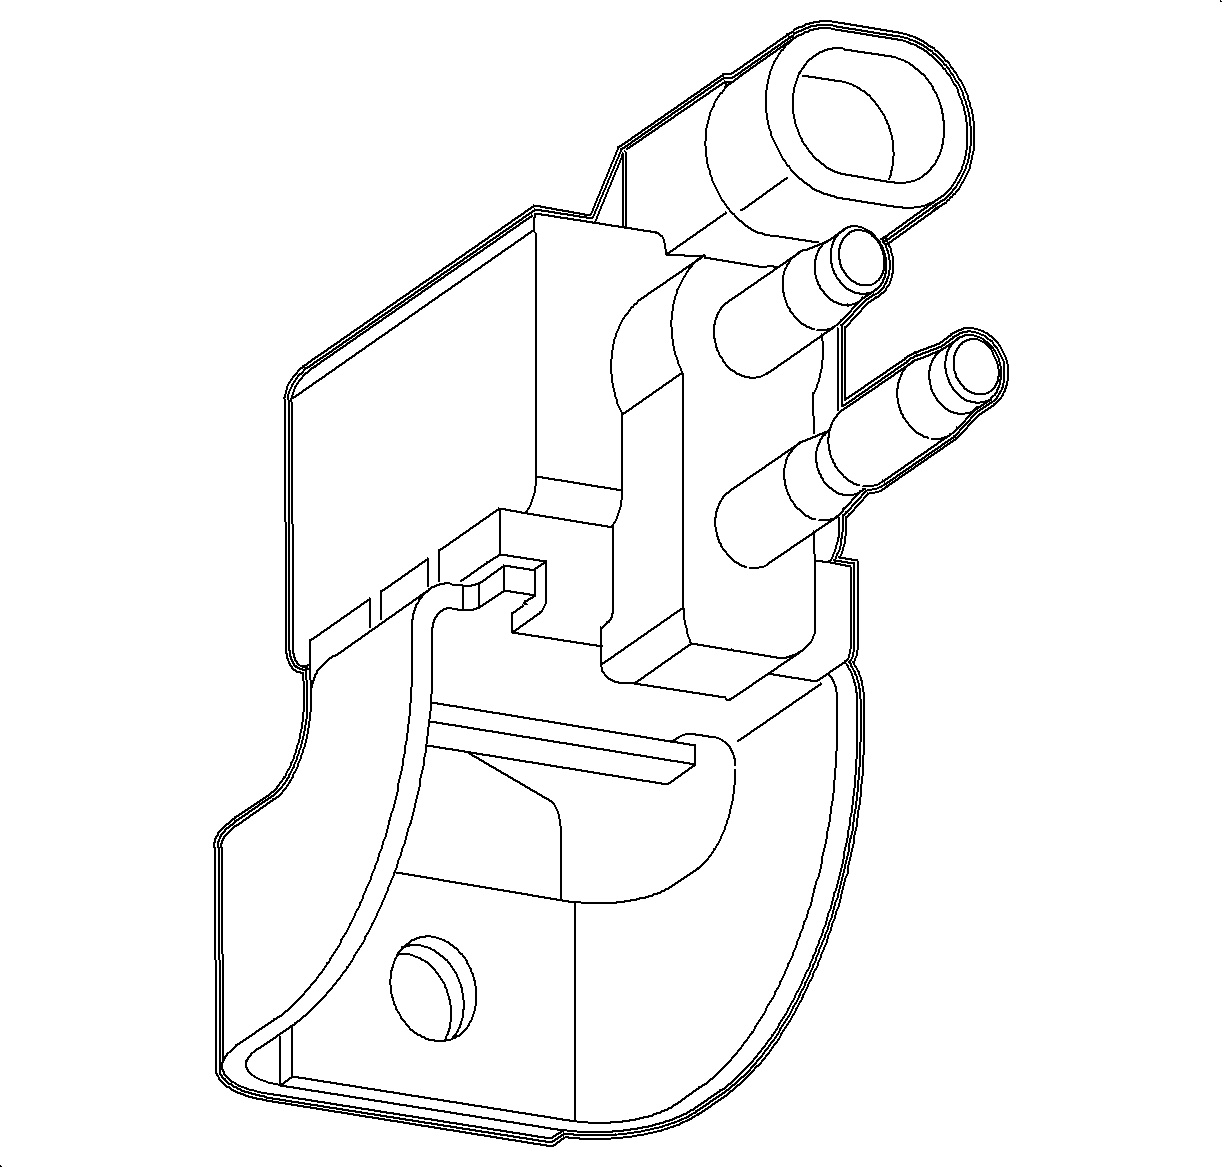
Evaporative Emission Canister Purge Solenoid Valve Replacement SOHC
Removal Procedure
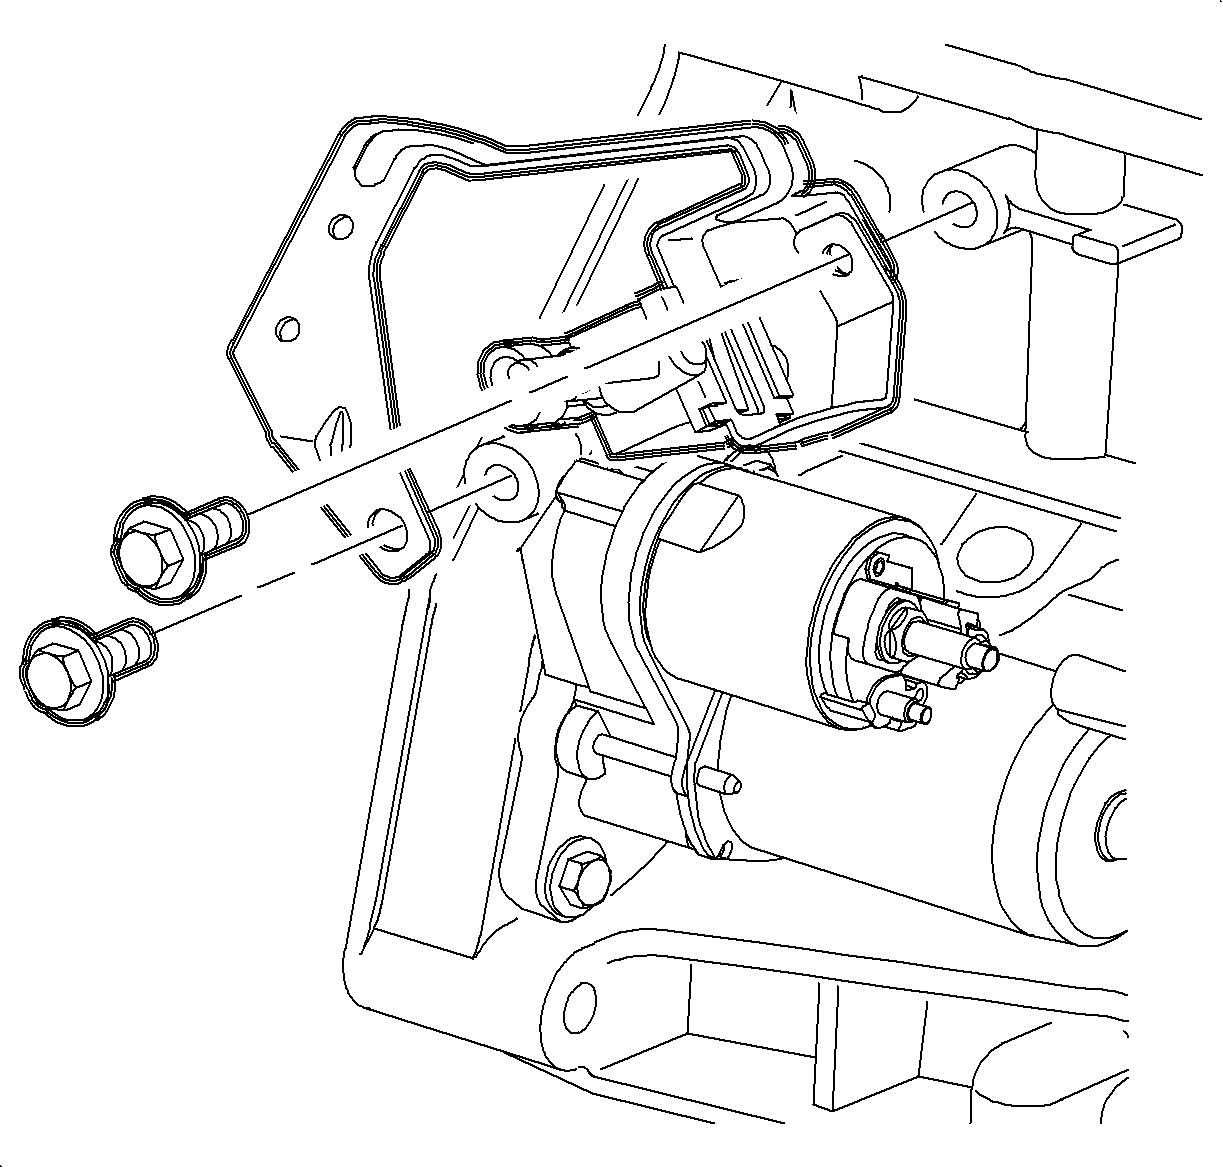
The EVAP purge solenoid is located to the rear of the engine block, below the intake manifold above the starter solenoid.
- Record the preset radio stations.
- Turn the ignition OFF.
- Disconnect the negative battery cable.
- Raise the vehicle.
- Disconnect the EVAP purge solenoid harness connector.
- Disconnect the vacuum line from the EVAP purge solenoid.
- Disconnect the purge line quick connect from the EVAP purge solenoid.
- Remove the 10 mm attachment bolt and remove the solenoid.

Caution: Ensure that the vehicle is properly supported and squarely positioned. To help avoid personal injury when a vehicle is on a hoist, provide additional support for the vehicle on the opposite end from which the components are being removed.
Installation Procedure
- Install the EVAP purge solenoid and the attachment bolt.
- Connect the purge line quick connect and the vacuum hose to the solenoid.
- Connect the EVAP purge solenoid harness connector. Push in the connector until a click is heard and pull back to confirm a positive engagement.
- Lower the vehicle.
- Connect the negative battery cable.
- Reset the clock and the preset radio stations.

Notice: Use the correct fastener in the correct location. Replacement fasteners must be the correct part number for that application. Fasteners requiring replacement or fasteners requiring the use of thread locking compound or sealant are identified in the service procedure. Do not use paints, lubricants, or corrosion inhibitors on fasteners or fastener joint surfaces unless specified. These coatings affect fastener torque and joint clamping force and may damage the fastener. Use the correct tightening sequence and specifications when installing fasteners in order to avoid damage to parts and systems.
Tighten
Tighten the canister purge solenoid-to-block bolt to 22 N·m (16 lb ft).
Important: Make sure the purge quick connect is seated and a "click" is heard. Pull back to confirm a positive engagement.
Evaporative Emission Canister Purge Solenoid Valve Replacement DOHC
Removal Procedure
The EVAP purge solenoid is located to the rear of the engine block, below the intake manifold above the starter solenoid.
- Turn the ignition OFF.
- Remove the air induction tubing from the throttle body to the air cleaner.
- Disconnect the crankshaft position (CKP) and knock sensor harness connectors.
- Remove the CKP and knock sensor connectors from the bracket by inserting a flat-bladed screwdriver between the connector and the clip. Gently pull the connector toward the battery to remove the connector from the clip. Do not pull on the wires.
- Disconnect the EVAP purge solenoid harness connector.
- Disconnect the purge line quick connect from the EVAP purge solenoid and the vacuum line.
- Remove both 10 mm EVAP purge solenoid bracket bolts and remove the solenoid/bracket assembly.

Installation Procedure
- Install the EVAP purge solenoid/bracket assembly and install the attachment bolts.
- Connect the purge line quick connect and the vacuum hose to the EVAP purge solenoid.
- Connect the EVAP purge solenoid harness connector. Push until a click is heard and pull back to confirm a positive engagement.
- Install the CKP and knock sensor connectors to the bracket by sliding the connector into the clip.
- Connect the CKP and knock sensor harness connectors. Push in the connectors until a click is heard and pull back to confirm a positive engagement.
- Install the air induction tubing from the throttle body to the air cleaner.

Notice: Use the correct fastener in the correct location. Replacement fasteners must be the correct part number for that application. Fasteners requiring replacement or fasteners requiring the use of thread locking compound or sealant are identified in the service procedure. Do not use paints, lubricants, or corrosion inhibitors on fasteners or fastener joint surfaces unless specified. These coatings affect fastener torque and joint clamping force and may damage the fastener. Use the correct tightening sequence and specifications when installing fasteners in order to avoid damage to parts and systems.
Tighten
Tighten the canister purge solenoid-to-block bolts to 22 N·m (16 lb ft).
Important: Make sure the purge quick connect is seated and a "click" is heard. Pull back to confirm a positive engagement.
