SUNROOF SHADE BINDS /RATTLES IN TRACKS AND OR SUNROOF

SUBJECT: Sunroof Sunshade Binds or Rattles in Tracks and/or Sunroof Rattles (Install New Sunshade Bumpers and Repair Rattles)
MODELS AFFECTED: 1997 Saturn Coupes built before and including VIN VZ356663, and 1996-1997 Saturn Sedans equipped with factory sunroof option (CF5).
CONDITION: Sunroof sunshade may bind or rattles in the tracks during operation. There may also be rattles from other various locations in the sunroof.
CAUSE: Sunroof sunshade stops become deformed or dislodged during use, causing rattles and/or binding, with other potential rattles caused by:
* Misrouted black plastic cable tubing
* Rear beam tabs loose at side rails
CORRECTION: Install new sunroof sunshade bumpers and correct rattles as described in the following procedures.
PROCEDURES
1. Remove headliner. (Refer to appropriate year "Body/Repair Service Manual.")
2. Partially loosen the sunroof module fasteners from sunroof module, and allow the sunroof module to drop in the rear without fully removing the fasteners.
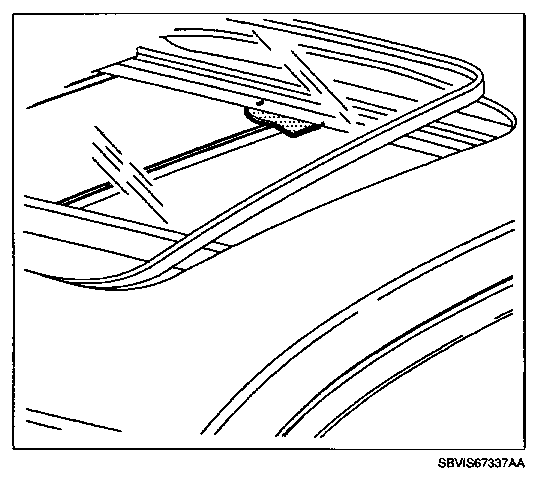
3. Remove the sunroof sunshade stops on each side of the sunroof module.
NOTICE: Proper location of the screw is critical for sunshade operation. If screw is placed too far forward, sunroof glass panel when open, will cause sunshade to bind.
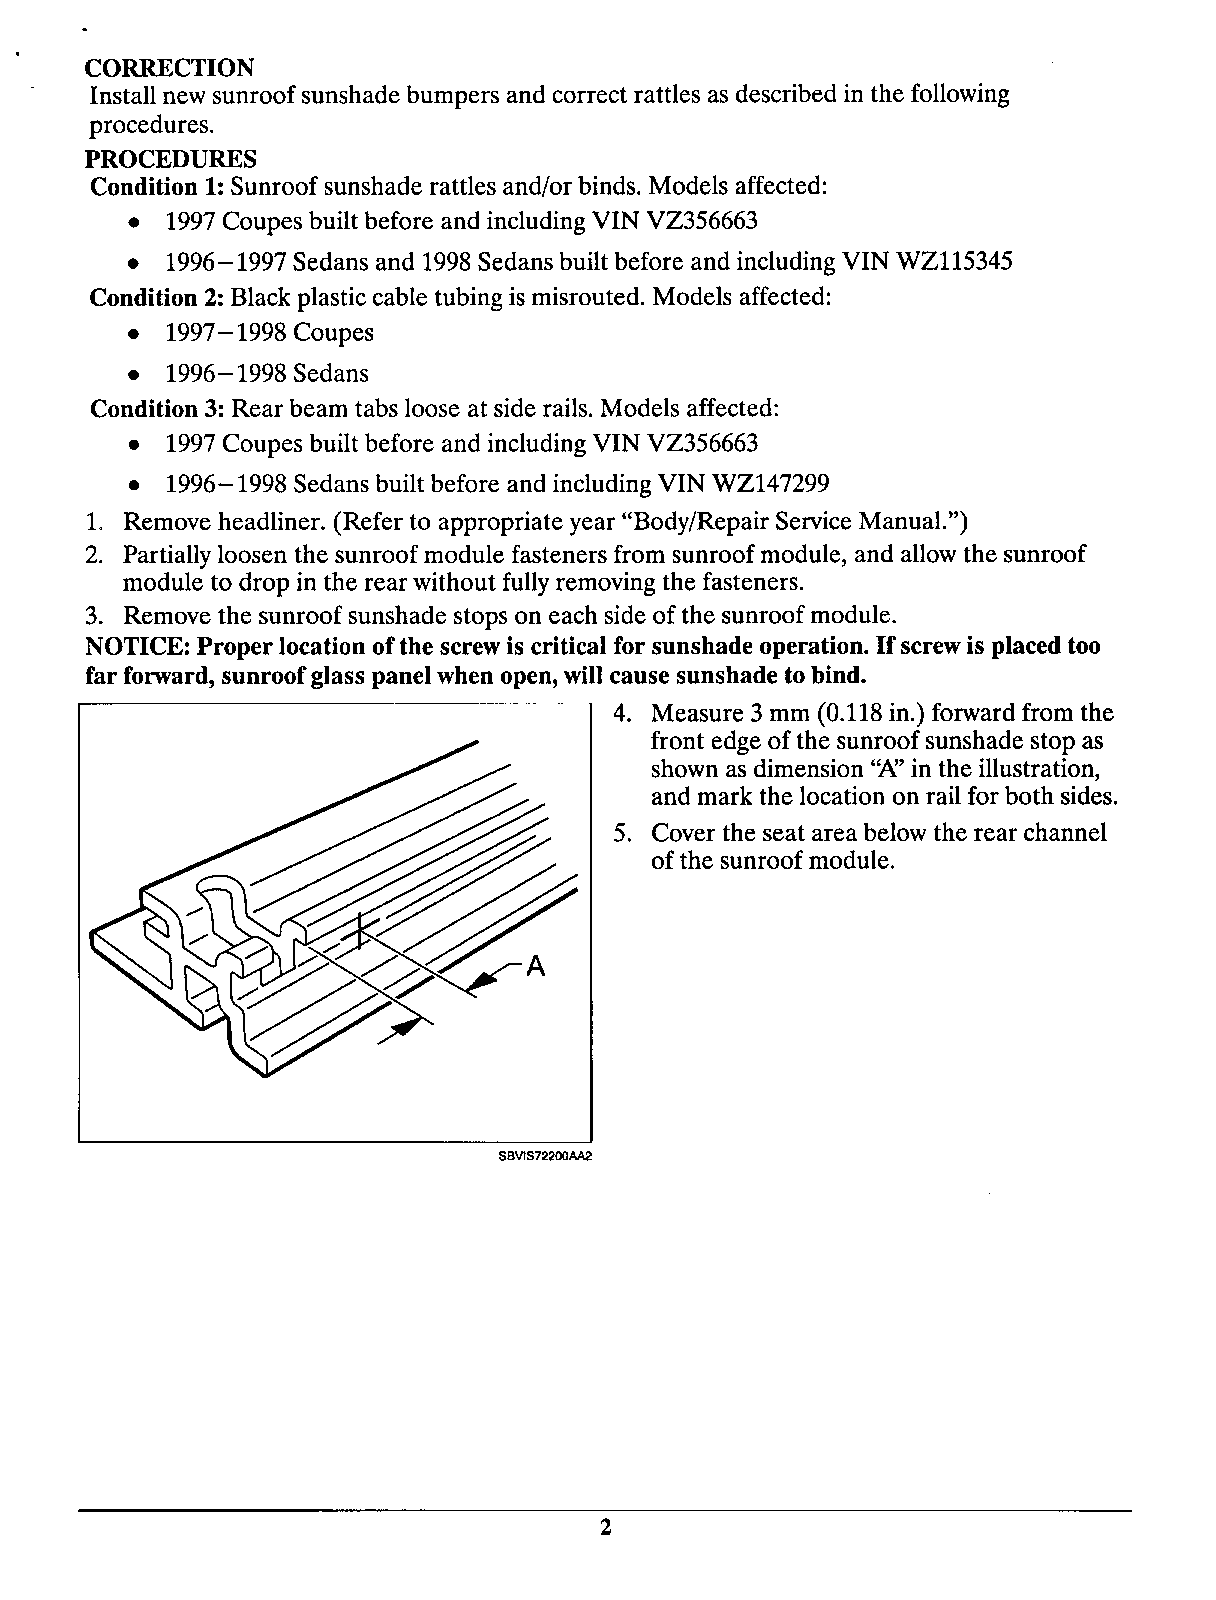
4. Measure 3 mm (0.118 in.) forward from the front edge of the sunroof sunshade stop as shown as dimension "A' in the illustration, and mark the location on rail for both sides.
5. Cover the seat area below the rear channel of the sunroof module.
CAUTION:
EYE PROTECTION SHOULD BE WORN FOR THE FOLLOWING STEP.
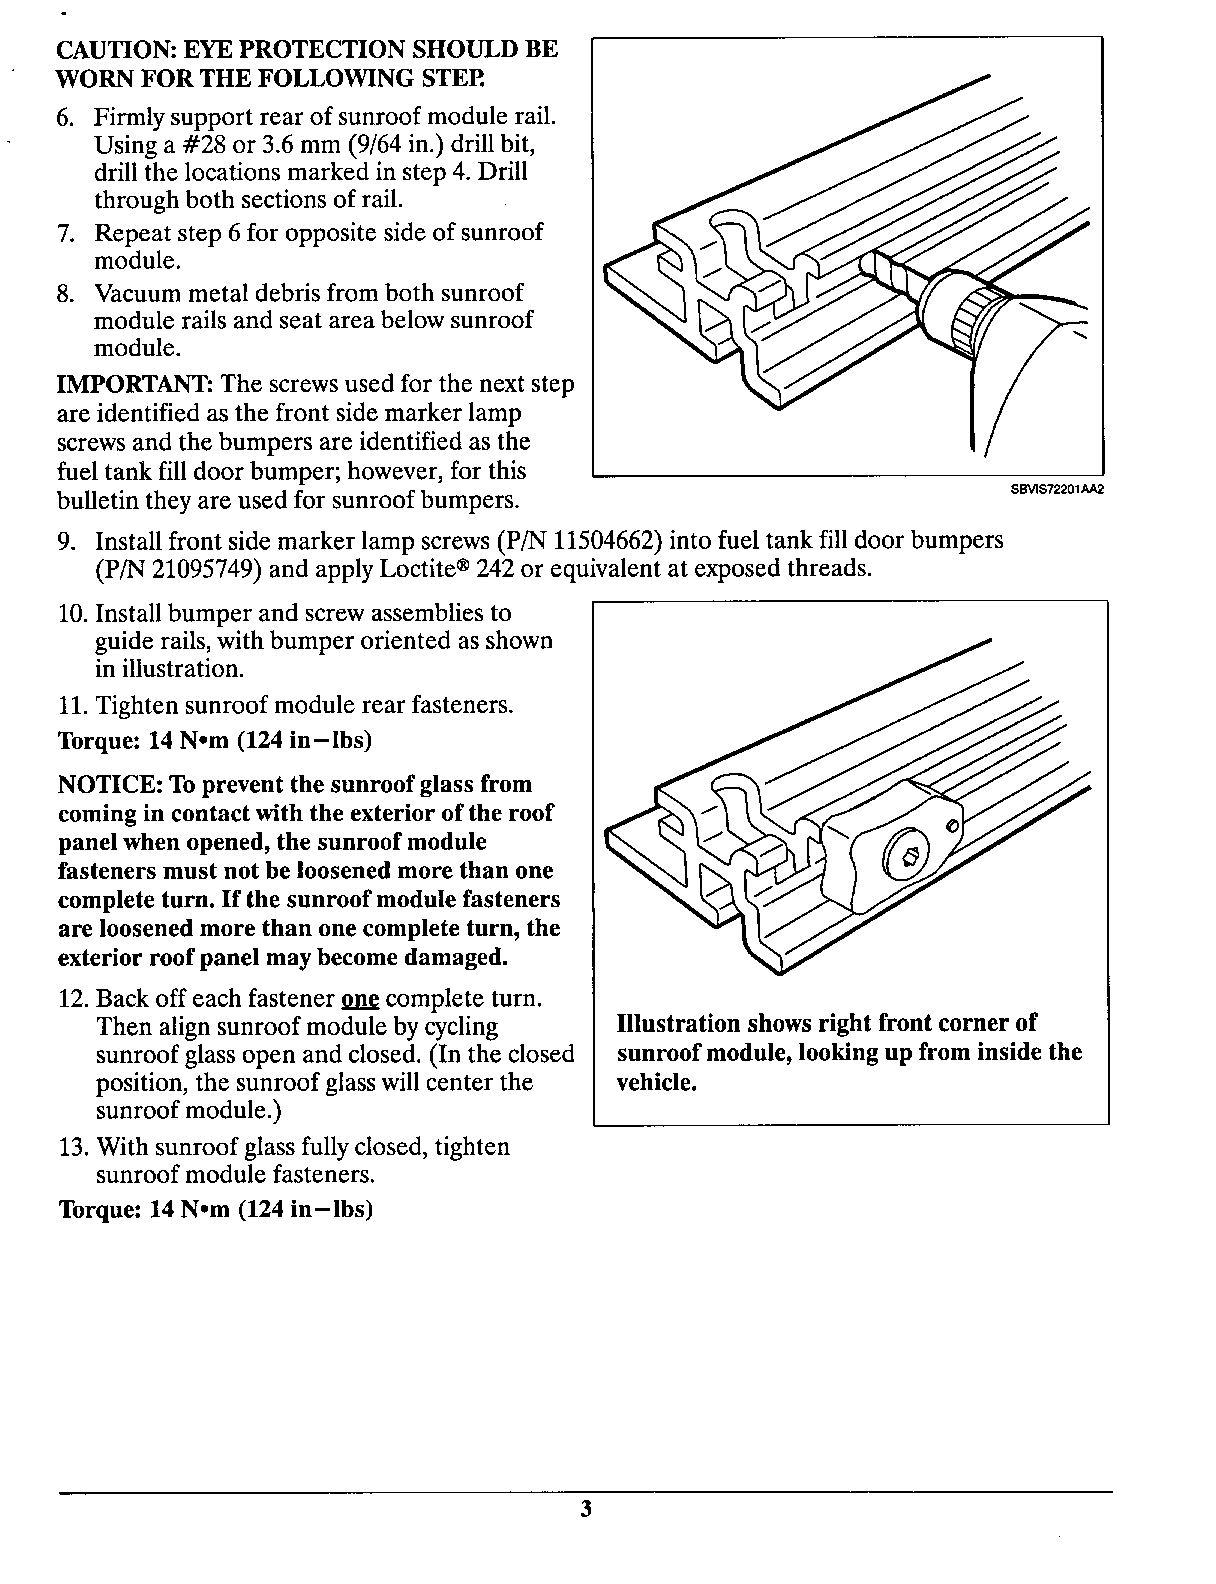
6. Firmly support rear of sunroof module rail. Using a #28 or 3.6 mm (9/64 in.) drill bit, drill the locations marked in step 4. Drill through both sections of rail.
7. Repeat step 6 for opposite side of sunroof module.
8. Vacuum metal debris from both sunroof module rails and seat area below sunroof module.
IMPORTANT: The screws used for the next step are identified as the front side marker lamp screws and the bumpers are identified as the fuel tank fill door bumper; however, for this bulletin they are used for sunroof bumpers.
9. Install front side marker lamp screws (P/N 11504662) into fuel tank fill door bumpers (P/N 21095749) and apply Loctite 242 or equivalent at exposed threads.
10. Install bumper and screw assemblies to guide rails, with bumper oriented as shown in illustration.
11. Tighten sunroof module rear fasteners.
Torque: 14 N-m (124 in-lbs)
NOTICE: To prevent the sunroof glass from coming in contact with the exterior of the roof panel when opened, the sunroof module fasteners must not be loosened more than one complete turn. If the sunroof module fasteners are loosened more than one complete turn, the exterior roof panel may become damaged.
12. Back off each fastener one complete turn. Then align sunroof module by cycling sunroof glass open and closed. (In the closed position, the sunroof glass will center the sunroof module.)
13. With sunroof glass fully closed, tighten sunroof module fasteners.
Torque: 14 N-m (124 in-lbs)
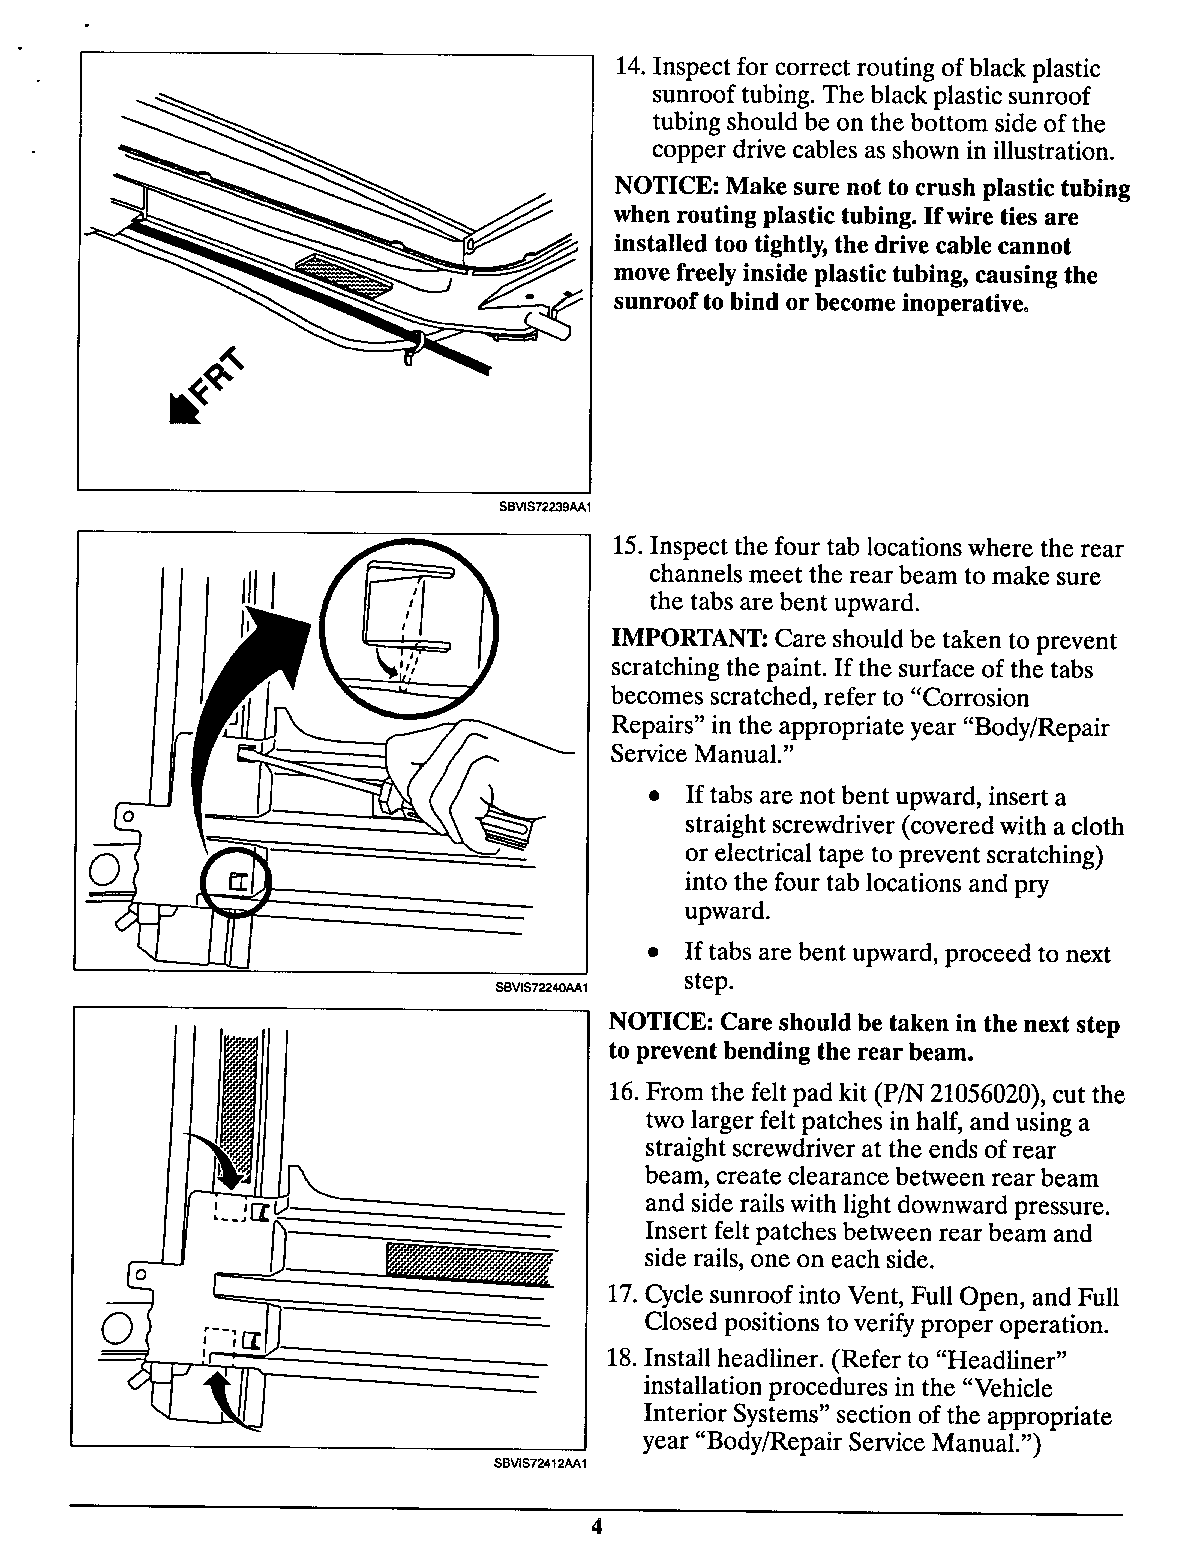
14. Inspect for correct routing of black plastic sunroof tubing. The black plastic sunroof tubing should be on the bottom side of the copper drive cables as shown in illustration.
NOTICE: Make sure not to crush plastic tubing when routing plastic tubing. If wire ties are installed too tightly, the drive cable cannot move freely inside plastic tubing, causing the sunroof to bind or become inoperative.
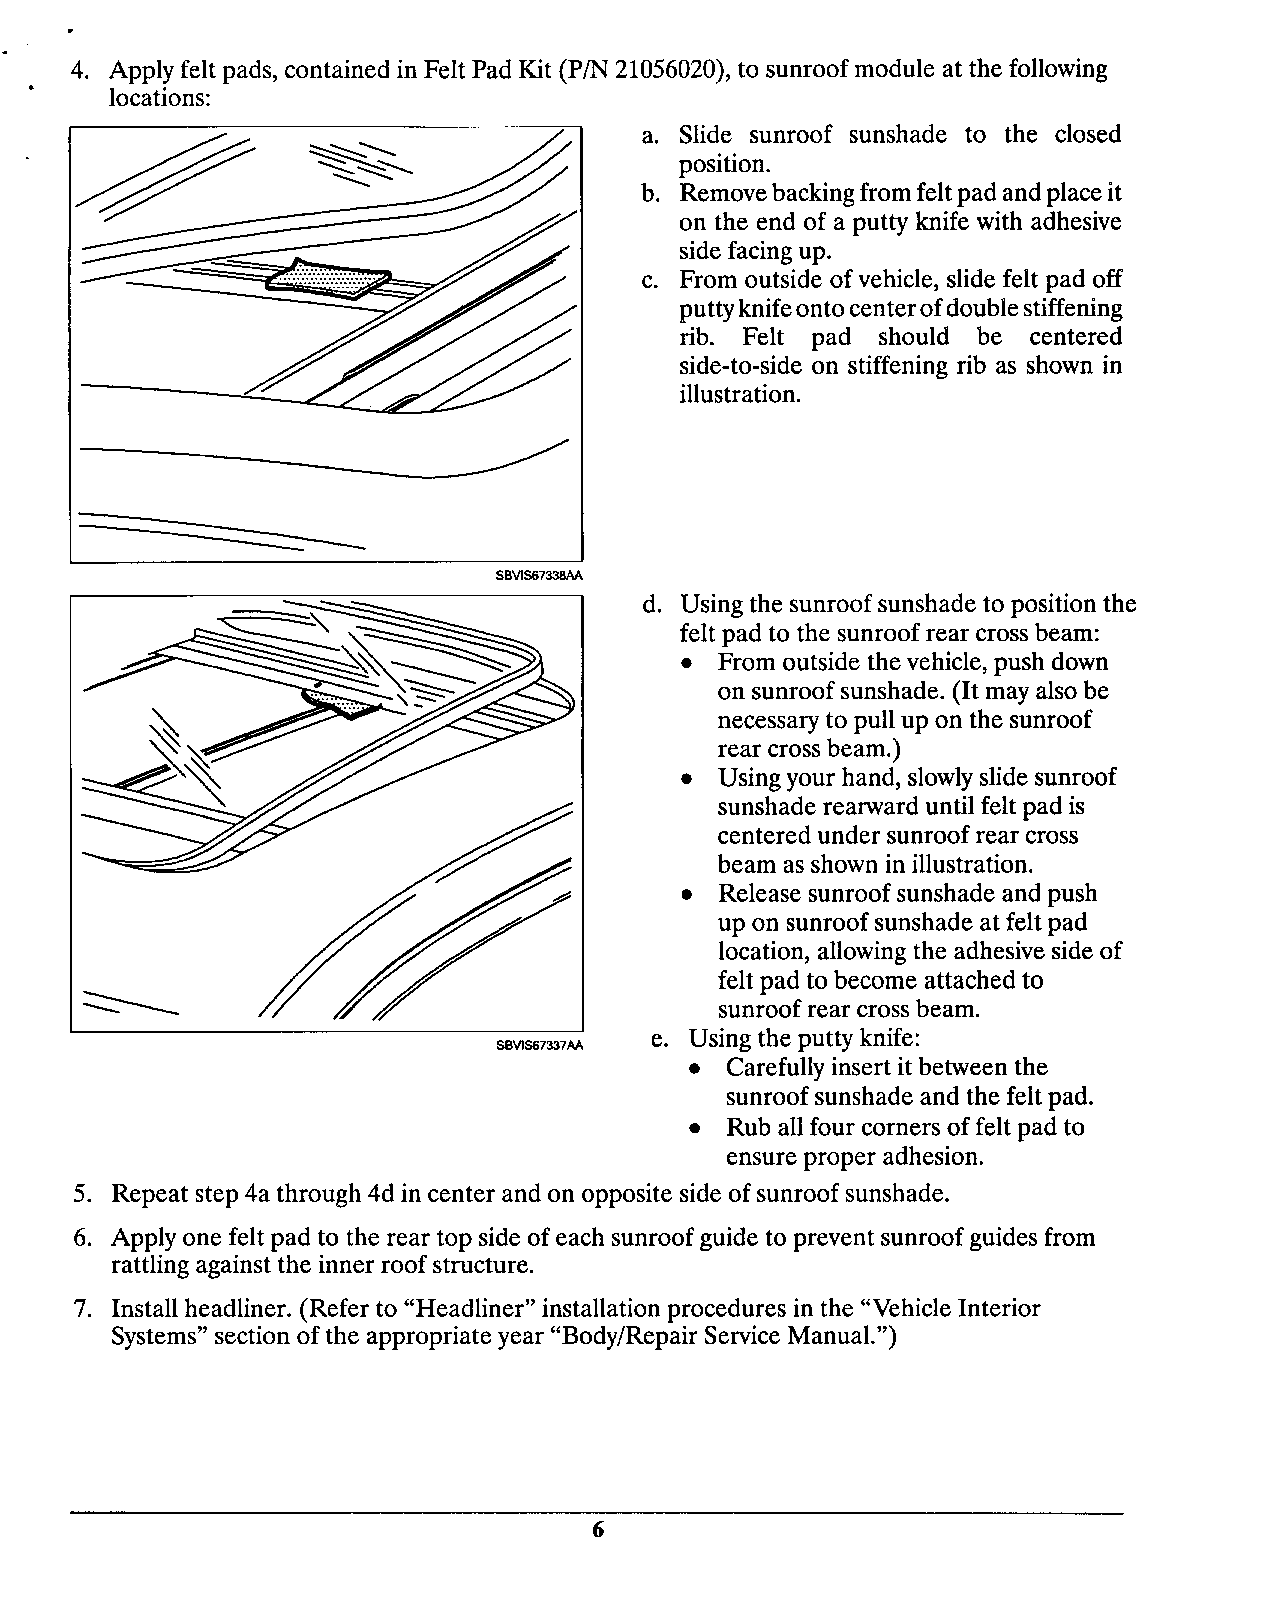
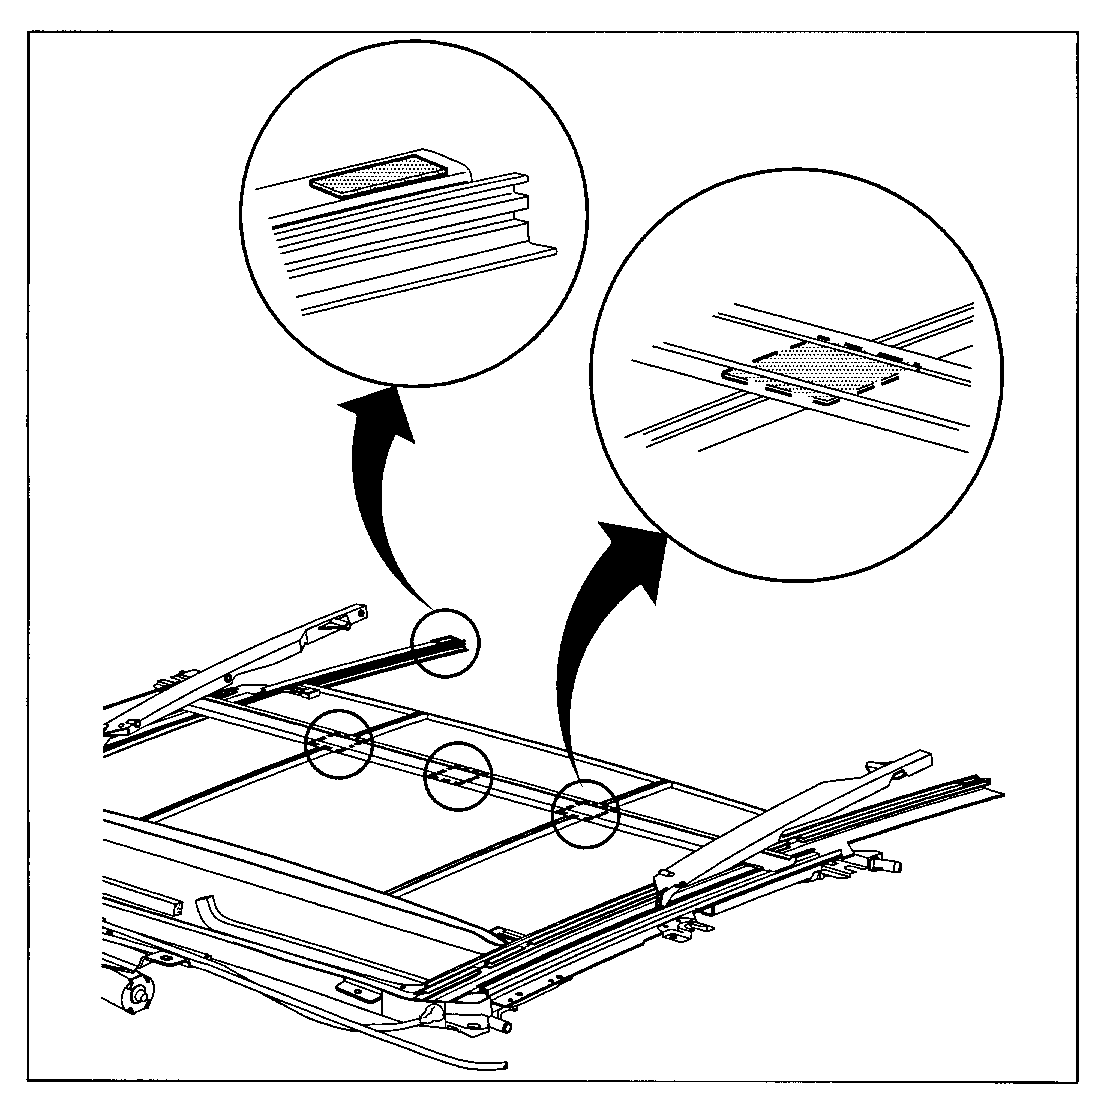
15. Inspect the four tab locations where the rear channels meet the rear beam to make sure the tabs are bent upward.
IMPORTANT: Care should be taken to prevent scratching the paint. If the surface of the tabs becomes scratched, refer to "Corrosion Repairs" in the appropriate year "Body/Repair Service Manual."
* If tabs are not bent upward, insert a straight screwdriver (covered with a cloth or electrical tape to prevent scratching) into the four tab locations and pry upward.
* If tabs are bent upward, proceed to next step.
NOTICE: Care should be taken in the next step to prevent bending the rear beam.
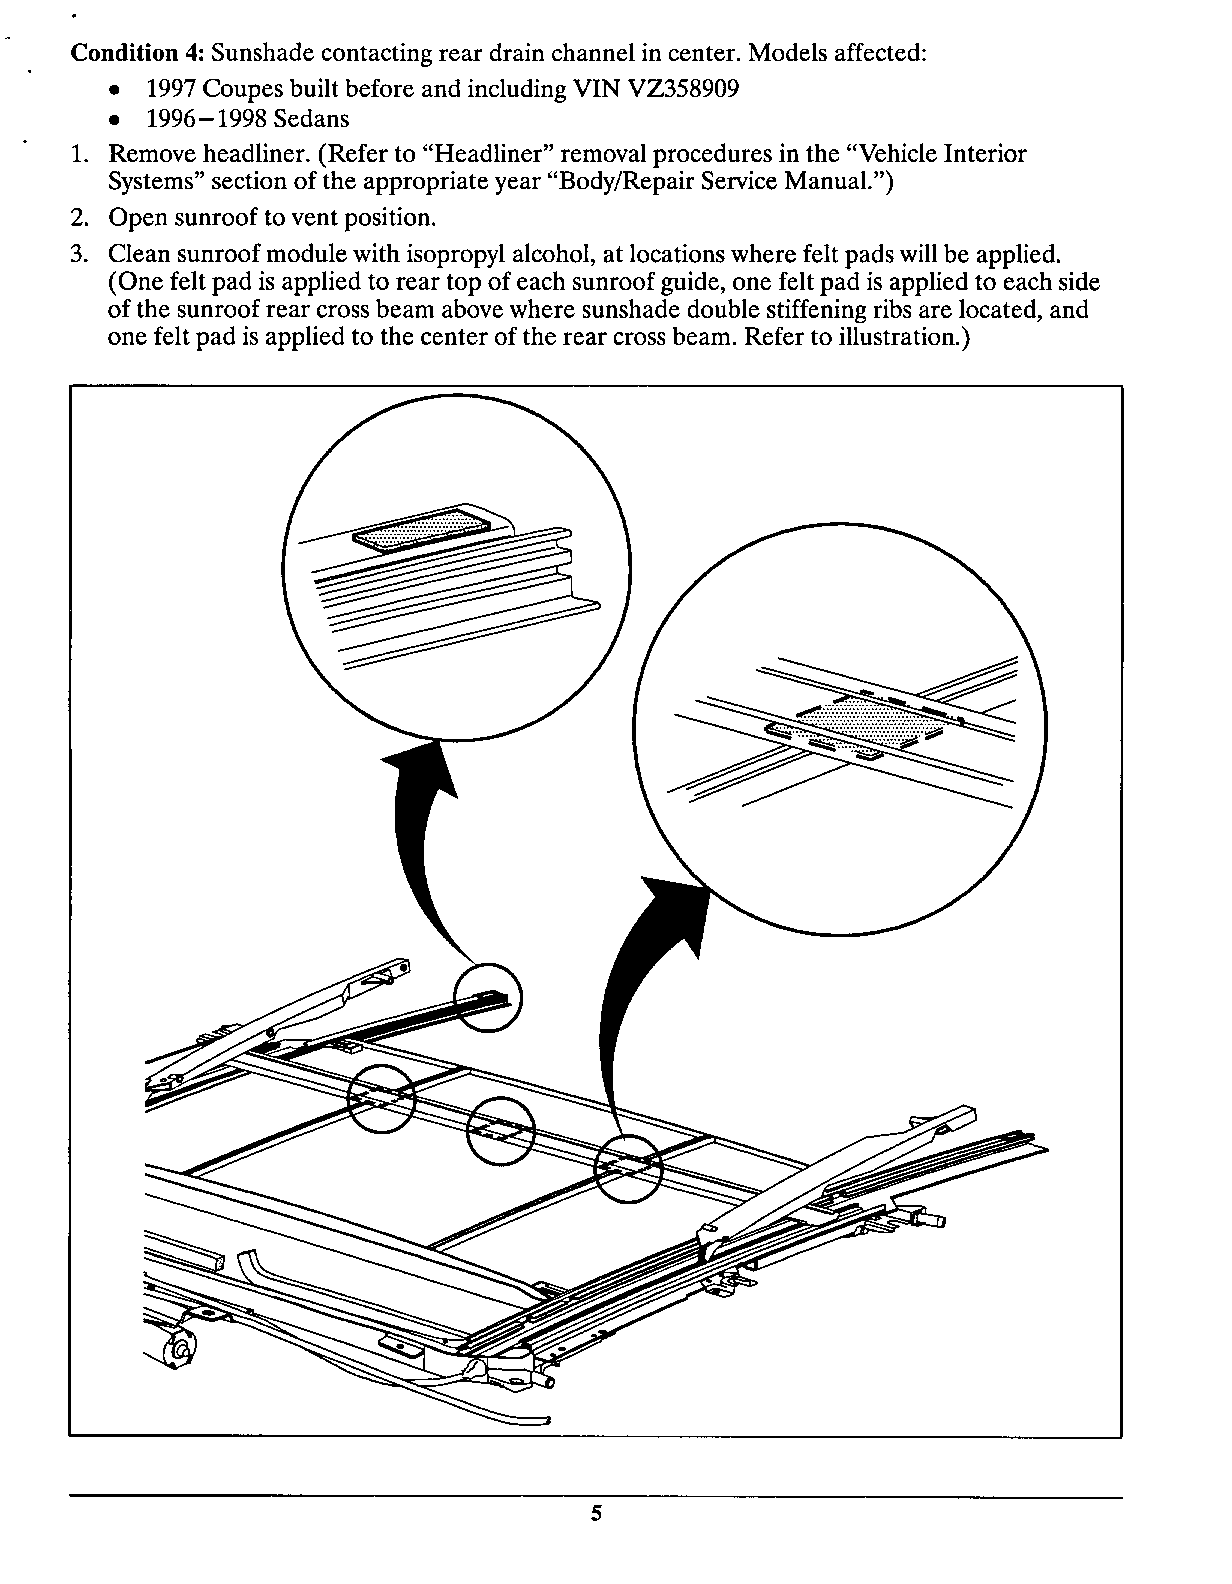
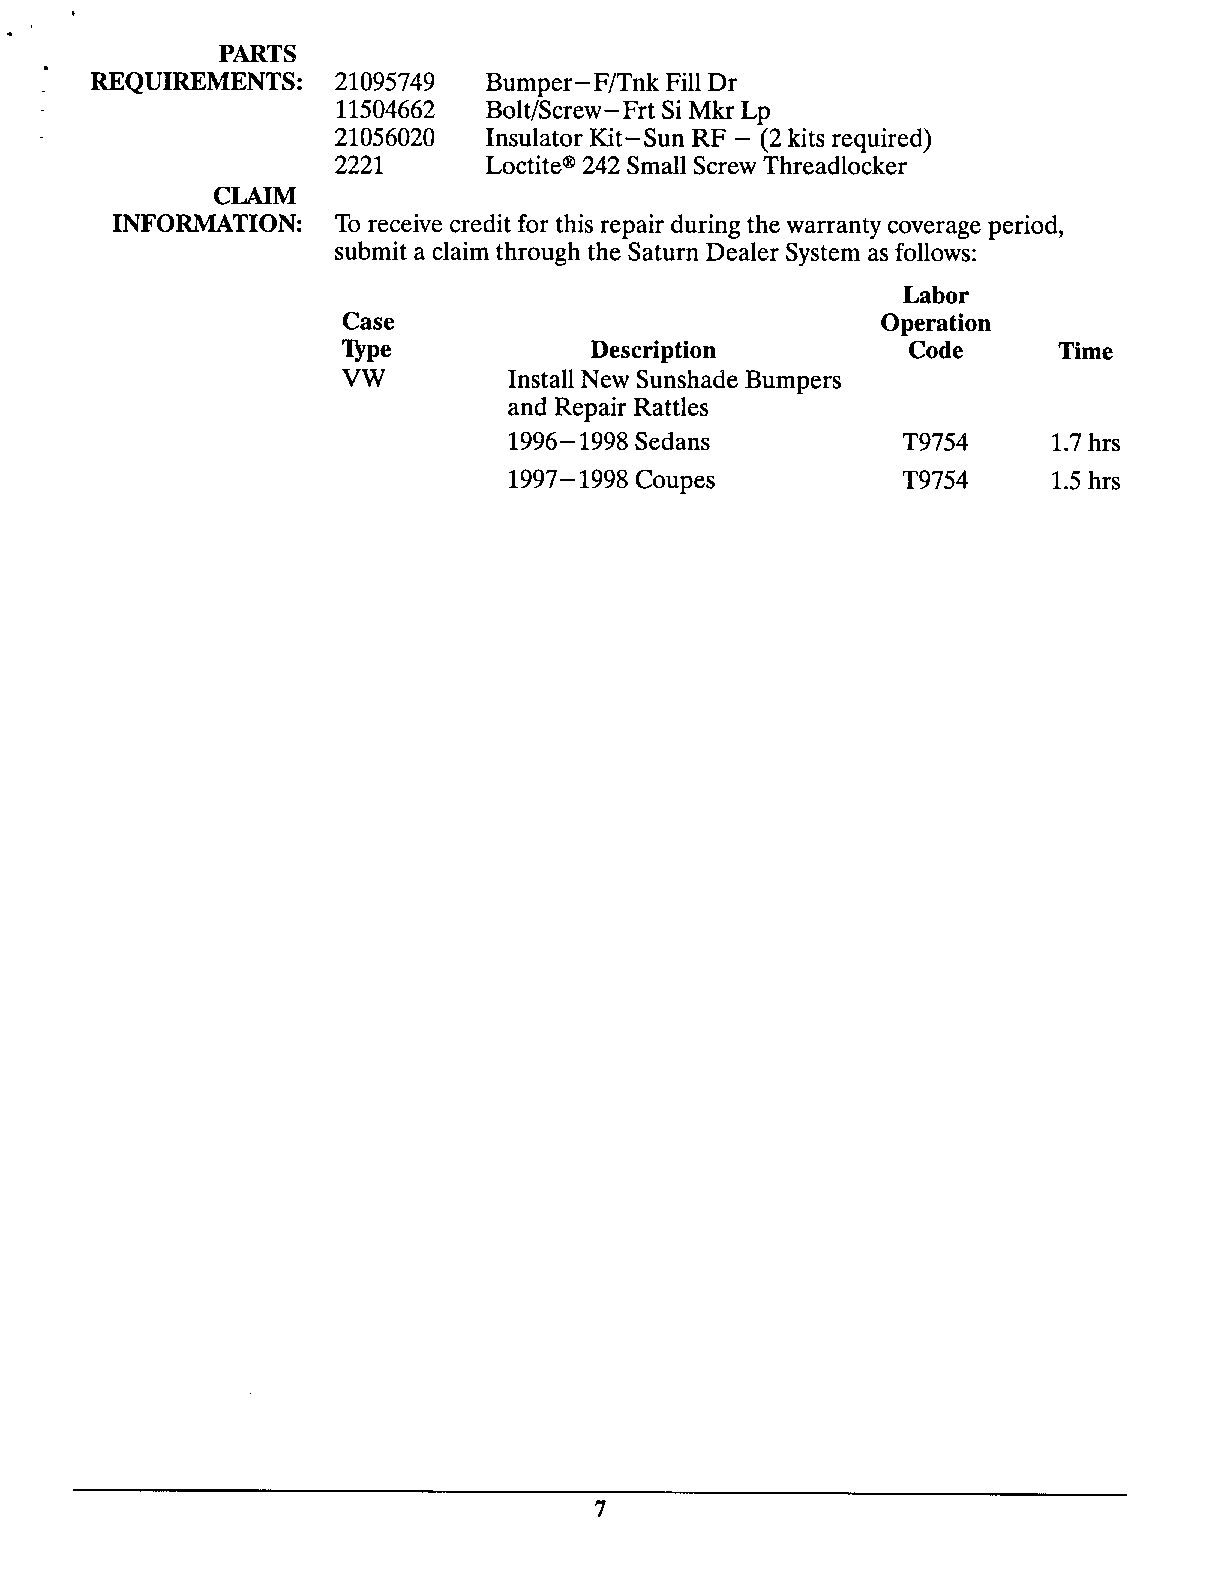
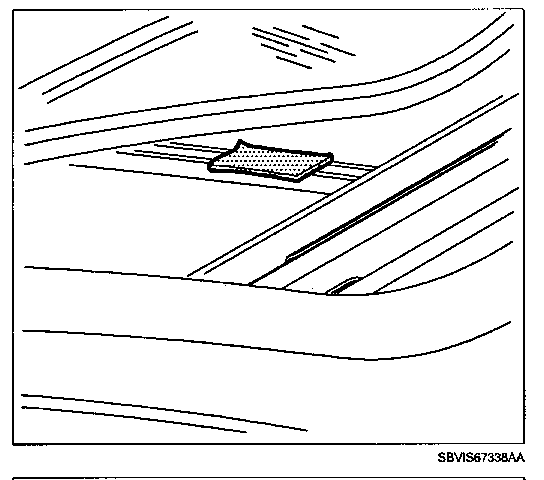
16. From the felt pad kit (P/N 21056020), cut the two larger felt patches in half, and using a straight screwdriver at the ends of rear beam, create clearance between rear beam and side rails with light downward pressure. Insert felt patches between rear beam and side rails, one on each side.
17. Cycle sunroof into Vent, Full Open, and Full Closed positions to verify proper operation.
18. Install headliner. (Refer to appropriate year "Body/Repair Service Manual.")
PARTS REQUIREMENTS:
21095749 Bumper-F/Tnk Fill Dr 11504662 Bolt/Screw-Frt Si Mkr Lp 21056020 Kit-Felt Pad 2221 Loctite 242 Small Screw Threadlocker
CLAIM INFORMATION: To receive credit for this repair during the warranty coverage period, submit a claim through the Saturn Dealer System as follows:
Labor Case Operation Type Description Code Time
VW Install New Sunshade Bumpers and Repair Rattles 1996-1997 Sedans T9754 1.7 hrs 1997 Coupes T9754 1.5 hrs
General Motors bulletins are intended for use by professional technicians, not a "do-it-yourselfer". They are written to inform those technicians of conditions that may occur on some vehicles, or to provide information that could assist in the proper service of a vehicle. Properly trained technicians have the equipment, tools, safety instructions and know-how to do a job properly and safely. If a condition is described, do not assume that the bulletin applies to your vehicle, or that your vehicle will have that condition. See a General Motors dealer servicing your brand of General Motors vehicle for information on whether your vehicle may benefit from the information.
