For 1990-2009 cars only
Wiring Repairs for Saturn SL 1998
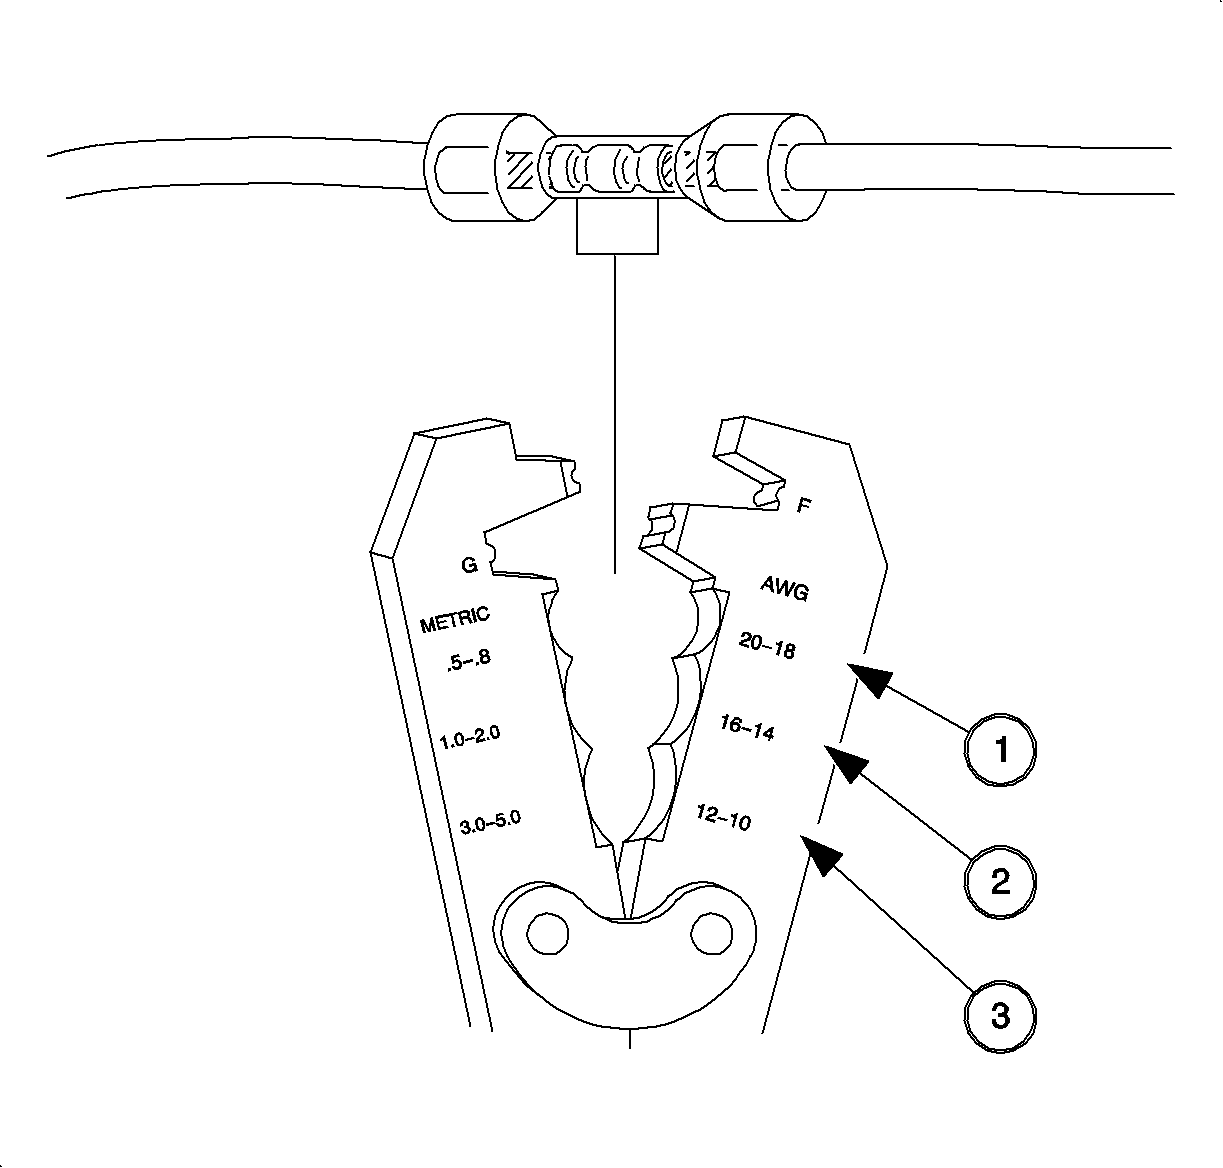
With the low current and voltage wires in the Saturn vehicle, it is best to use approved Packard Electric Crimp and Seal Splice Sleeves (or equivalent).
Part Number | Wire Size | Gage | Color |
|---|---|---|---|
12089189 217670** | 0.35 0.5 0.8 | 22 20 18 | Salmon |
12089190* | 1.0 2.0 | 16 14 | Blue |
12089191* 217672** | 3.0 5.0 | 12 10 | Yellow |
*Can be ordered through Delphi-Packard by calling 1-800-PACKARD. **Can be ordered through Saturn Special Tool Catalog. Found with J44020 Terminal Repair Kit. | |||
- Put the connector seal on the wire, if equipped.
- Remove the insulation from the end of the cut lead and the harness. Recommended strip length is 9.5 mm (3/8 in). Caution must be used to prevent cutting the wire strands.
- Determine proper sleeve for gage of wire.
- Position stripped ends in sleeve until wires hit the stop in the center of the splice.
- Hand crimp using the approved crimping tool. Gently tug on wires to make sure they are secure before applying heat to them.
- Apply heat using the Heat Gun or some other device, heating to 175°C (347°F) until glue flows around edges of sleeve.
- Check for continuity.
- Insert the terminal into the connector. Check to make sure the terminal lock tab is engaged by gently tugging on the wire.
- Replace any terminal position assurance (TPA) devices.
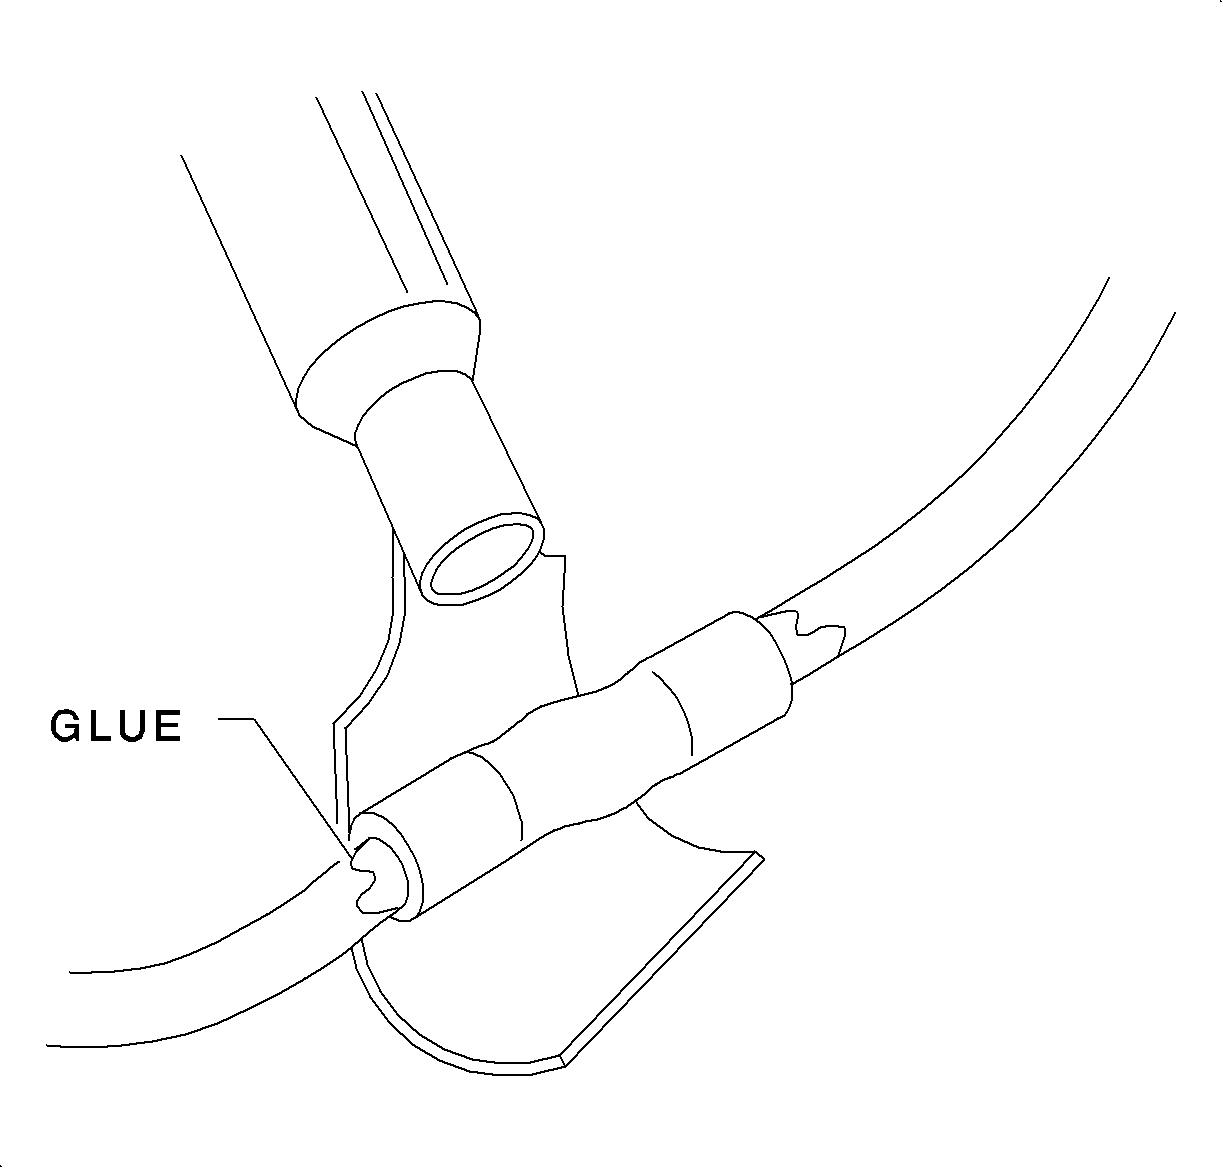
Caution: Do not use match or open flame to apply heat to seal.
