For 1990-2009 cars only
Removal Procedure
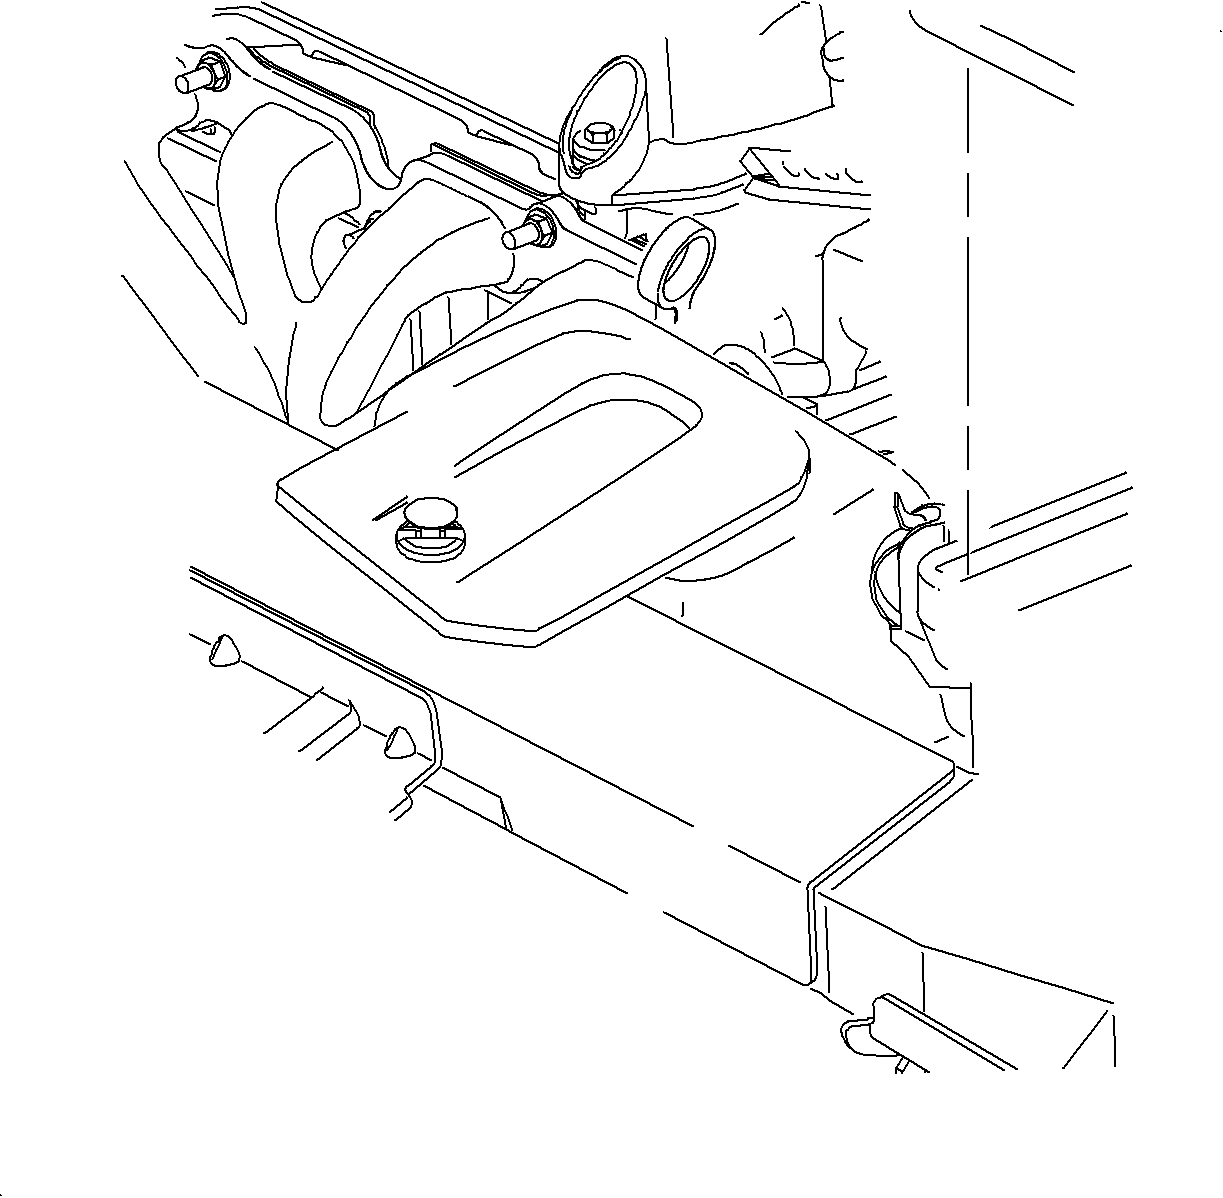
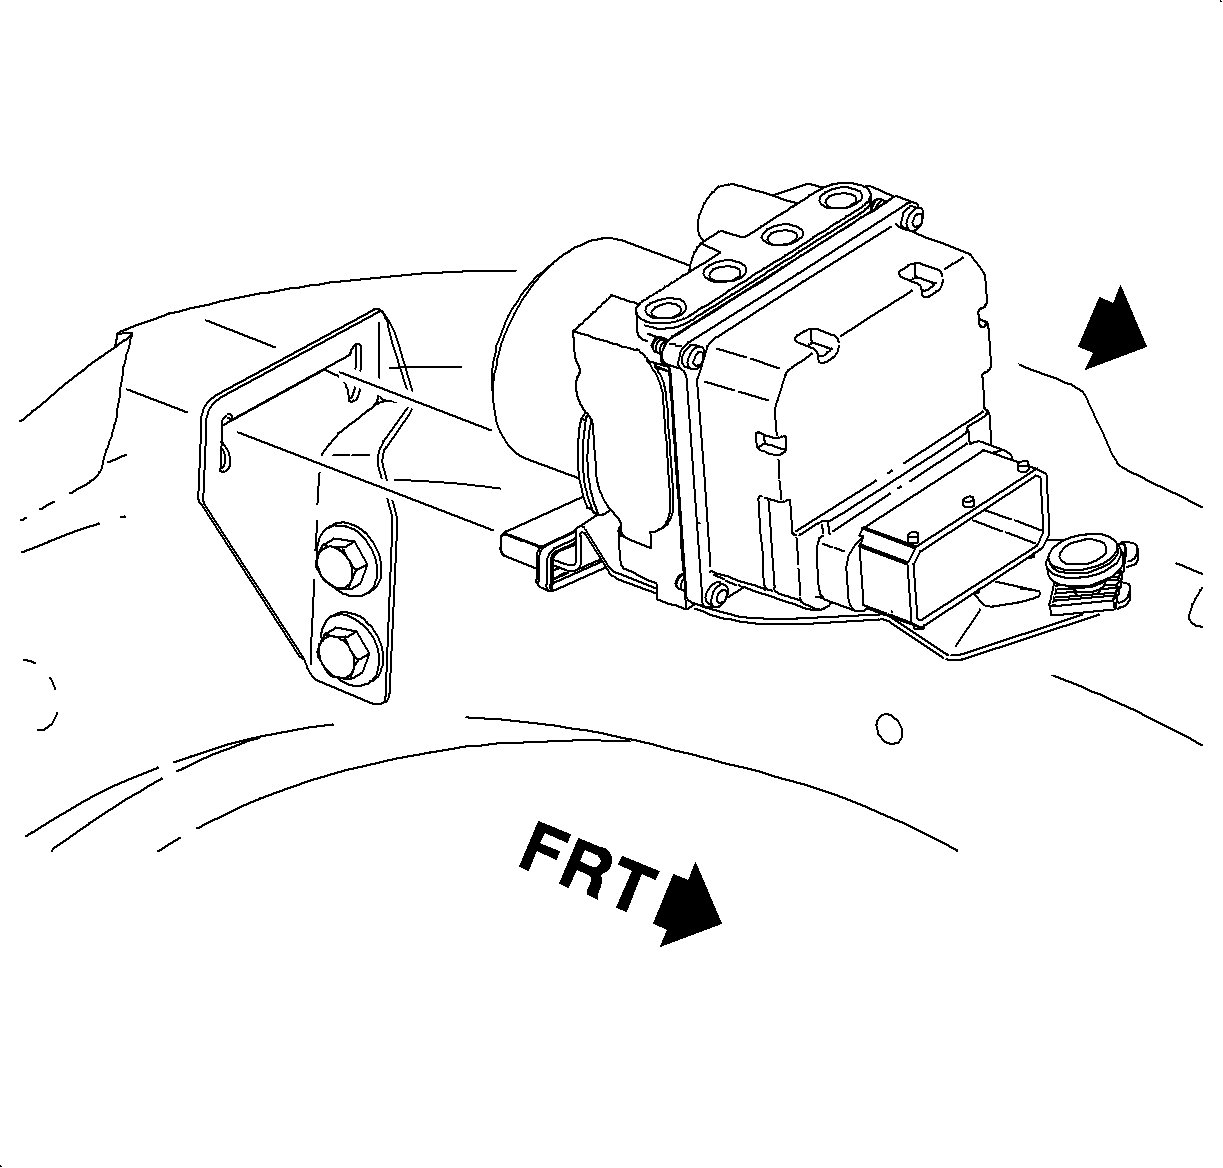
- Remove the air cleaner housing cover and the air induction hose at the throttle body.
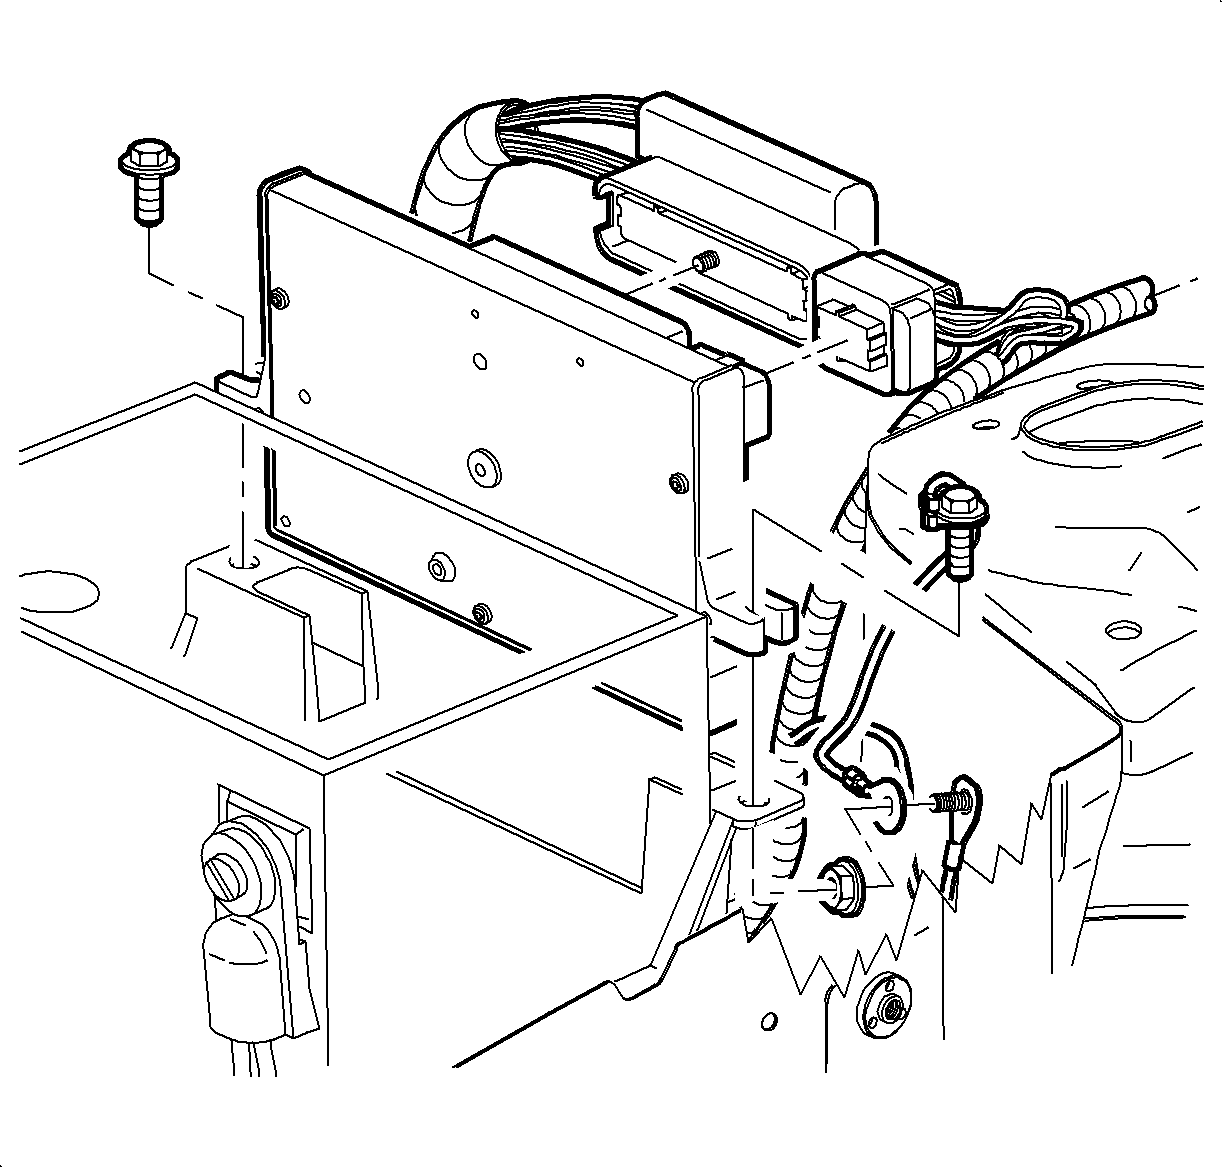
- Remove two powertrain control module (PCM) bolts.
- Disconnect the PCM I/P harness electrical connector.
- Lift the PCM from the carrier and set aside.
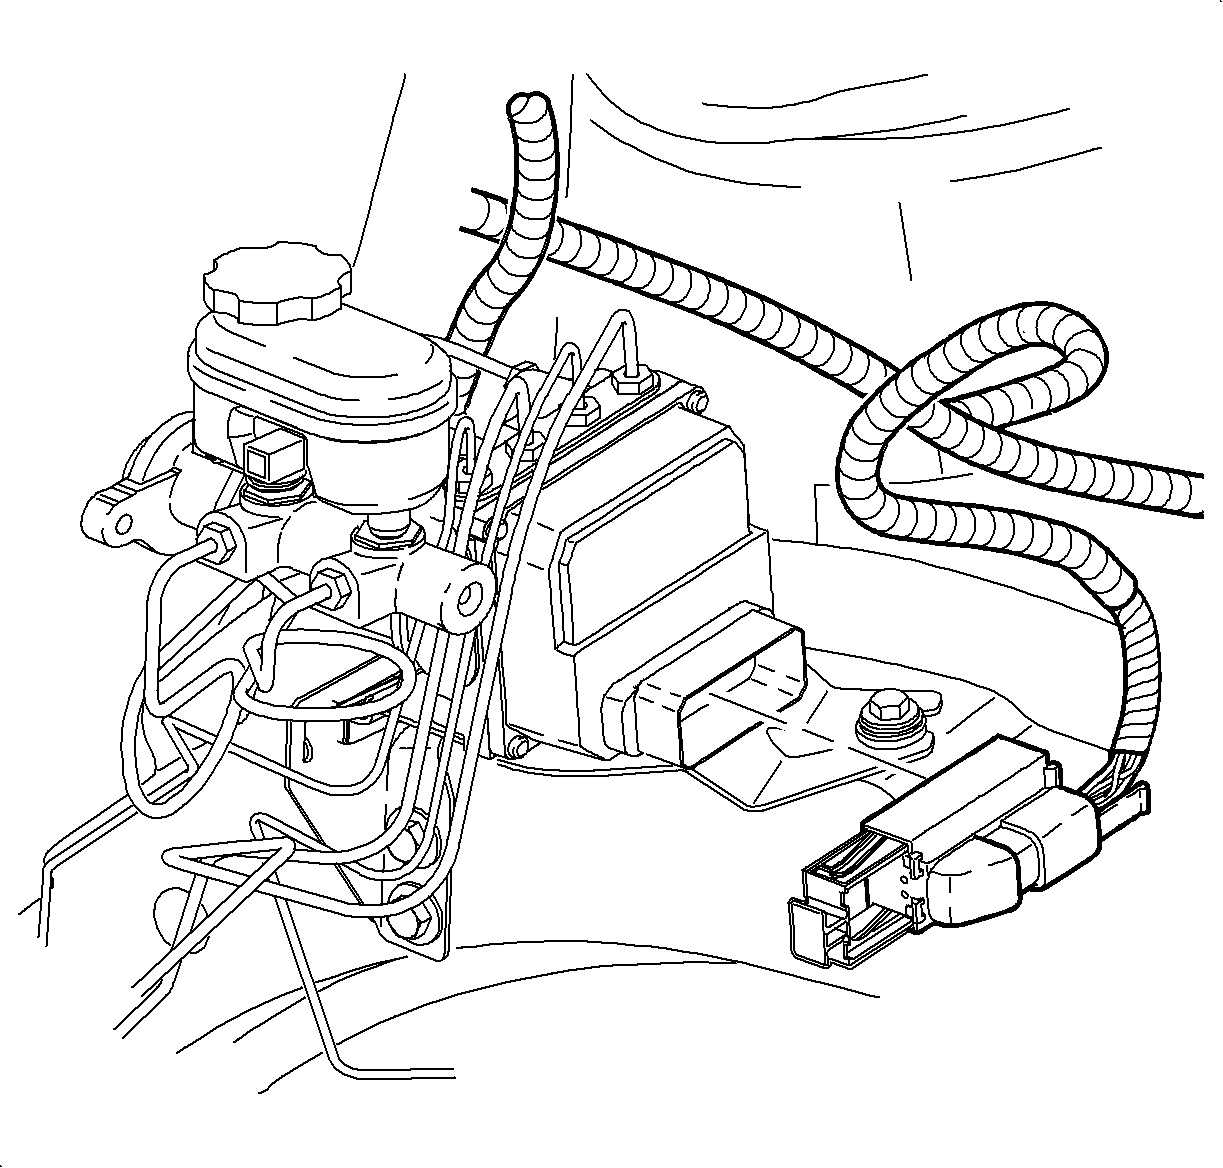
- Disconnect the brake fluid level switch connector.
- Disconnect the control module electrical connector by pulling on the lock tab.
- Disconnect the brake pipe nuts from the brake pressure modulator valve.
- Remove ABS control assembly-to-rail attachment bolt.
- Pull ABS assembly forward to disengage the tab from the bracket, then remove from the vehicle.
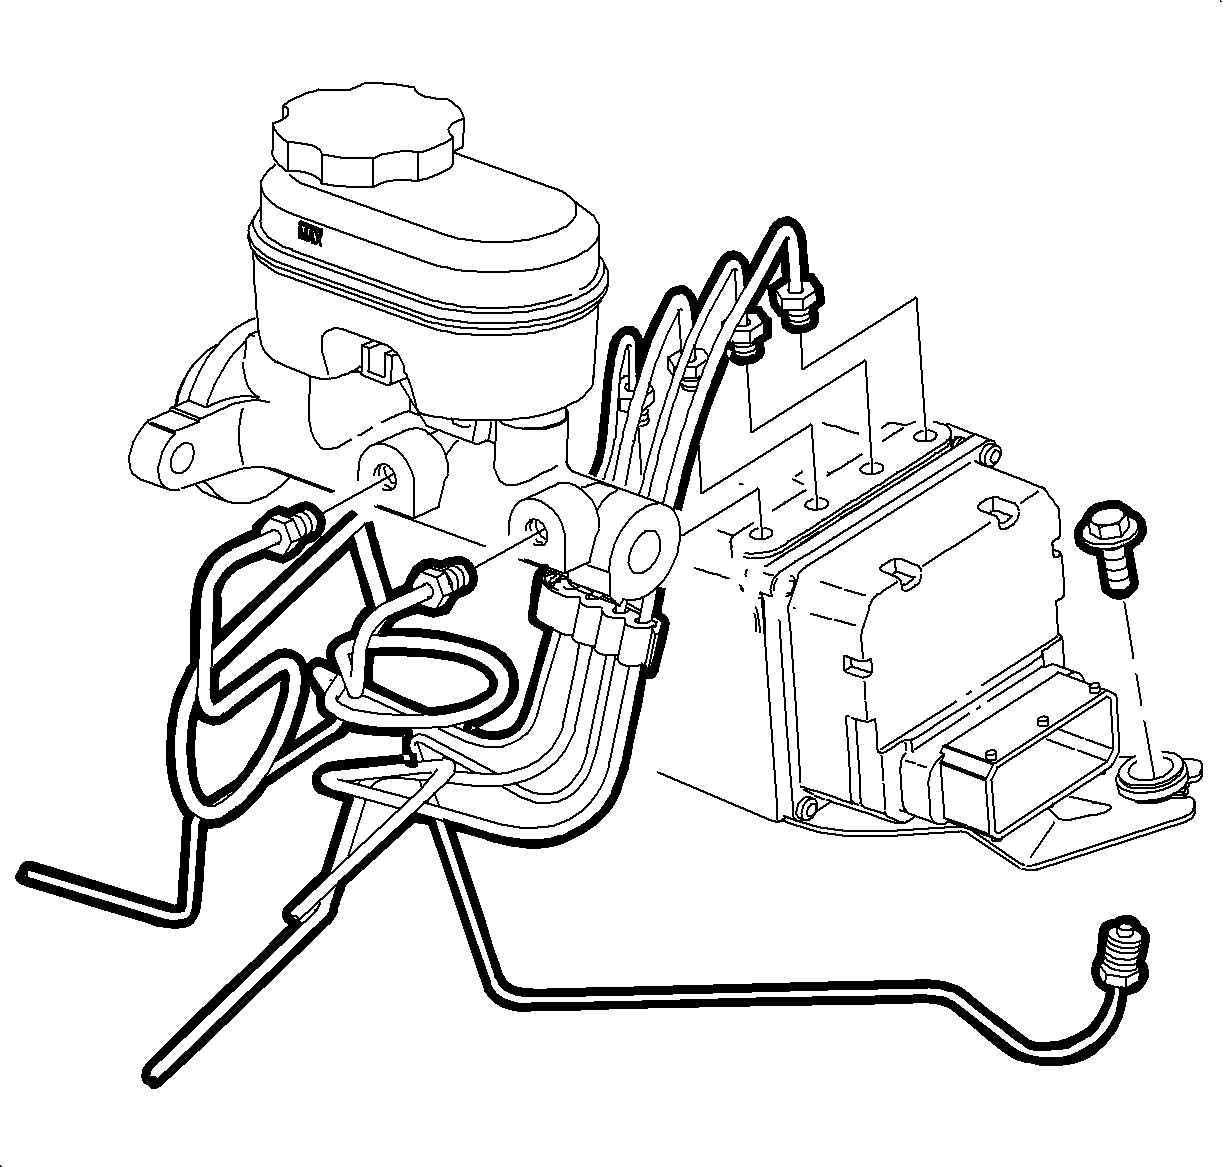
Notice: Clean brake pipe fittings to prevent contaminants entering ABS system. Place shop cloth underneath brake pipes to catch dripping brake fluid.
Notice: Take care in not to pull or bend brake pipes away from pressure modulator valve.
Notice: Plug open brake pipes to prevent brake fluid loss and contamination.
Disassembly Procedure
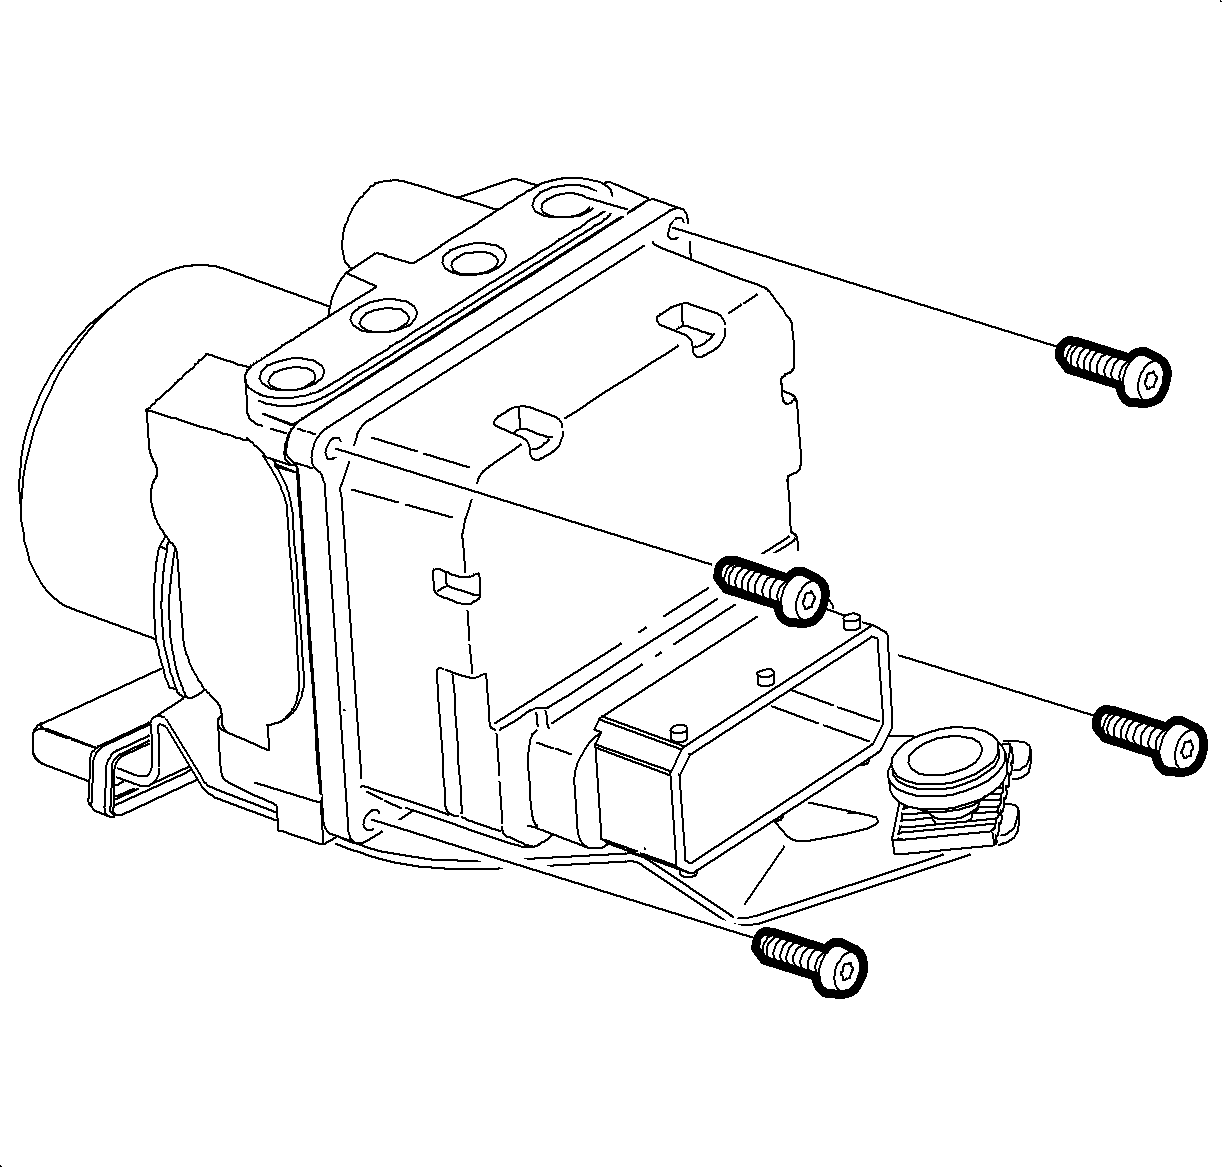
- Use Saturn Brake Cleaner (or equivalent) to clean brake fluid from ABS control assembly.
- Place Electro-Static Discharge (ESD) Pad on clean bench and connect ground strap to ground connection on work bench.
- Put ESD wrist strap on and attach ground strap to same ground used for ESD pad.
- Remove 4 screws from the control module.
- Separate the control module from the valve assembly by pulling straight back.
Assembly Procedure
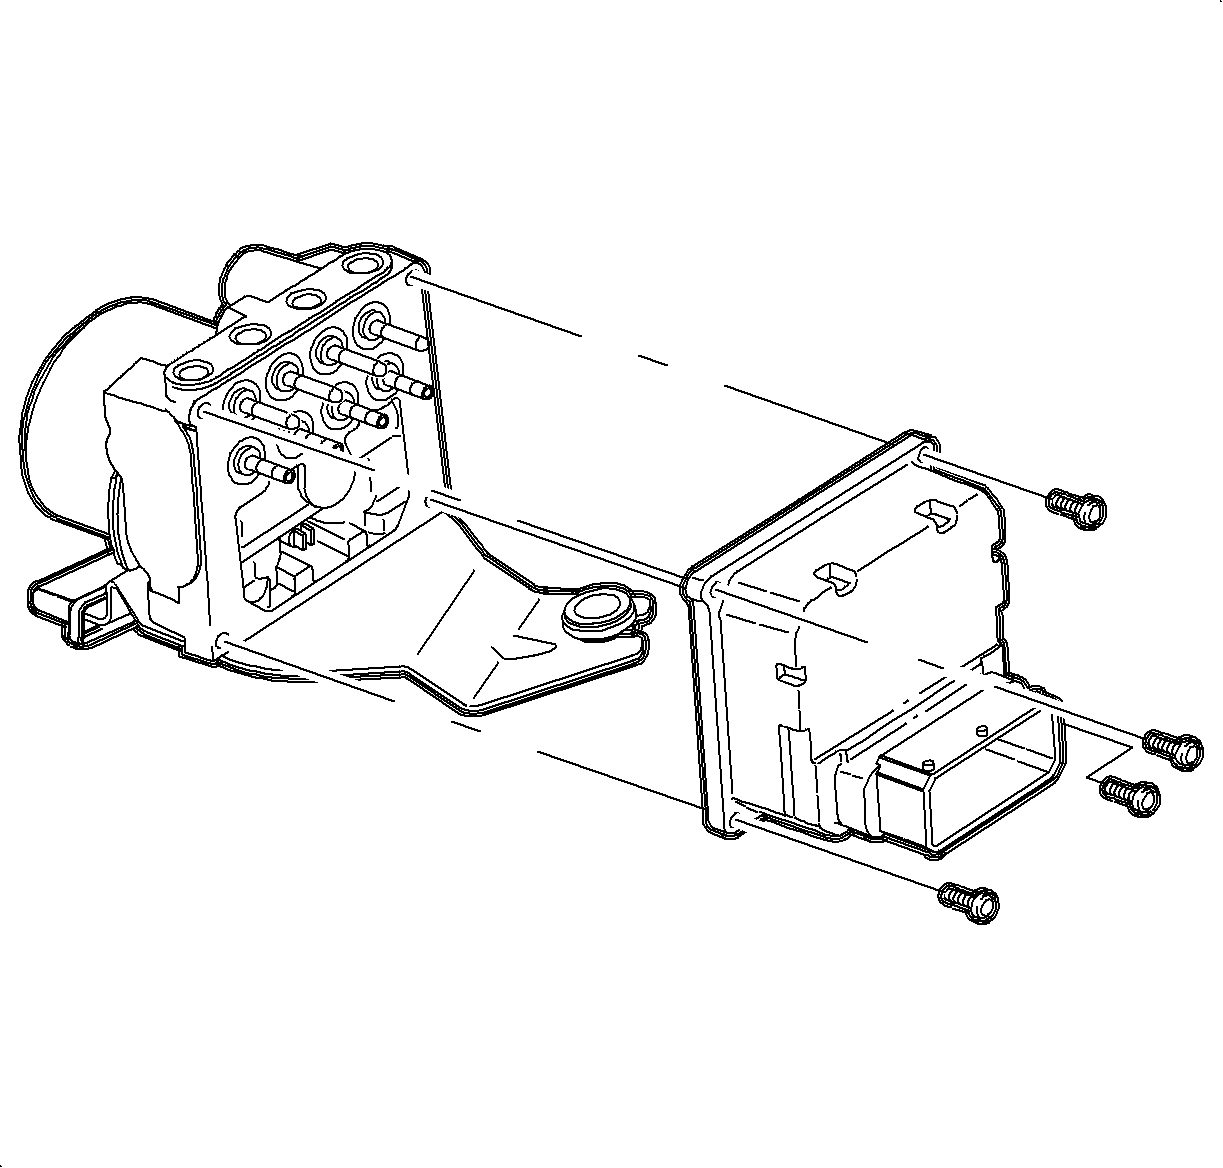
- Align coils on the control module with valve cores on the valve assembly and push together.
- Inspect the gasket on the control module for damage. If the gasket is damaged, refer to ABS Control Module (EBTCM) Gasket Repair .
- Install and torque the 4 screws to the control module.
Tighten
Tighten the control module-to-valve assembly screws to 4-6 N·m
(35-53 lb in).
