Windshield Replacement Sedan/Wagon
Removal Procedure
Caution: Always wear heavy gloves and safety glasses when handling glass to minimize
the risk of injury.
Notice: Place protective covers on body to prevent paint damage.
- Remove the air inlet grille panel. Refer to
Air Inlet Grille Panel Replacement
in Body Front End.
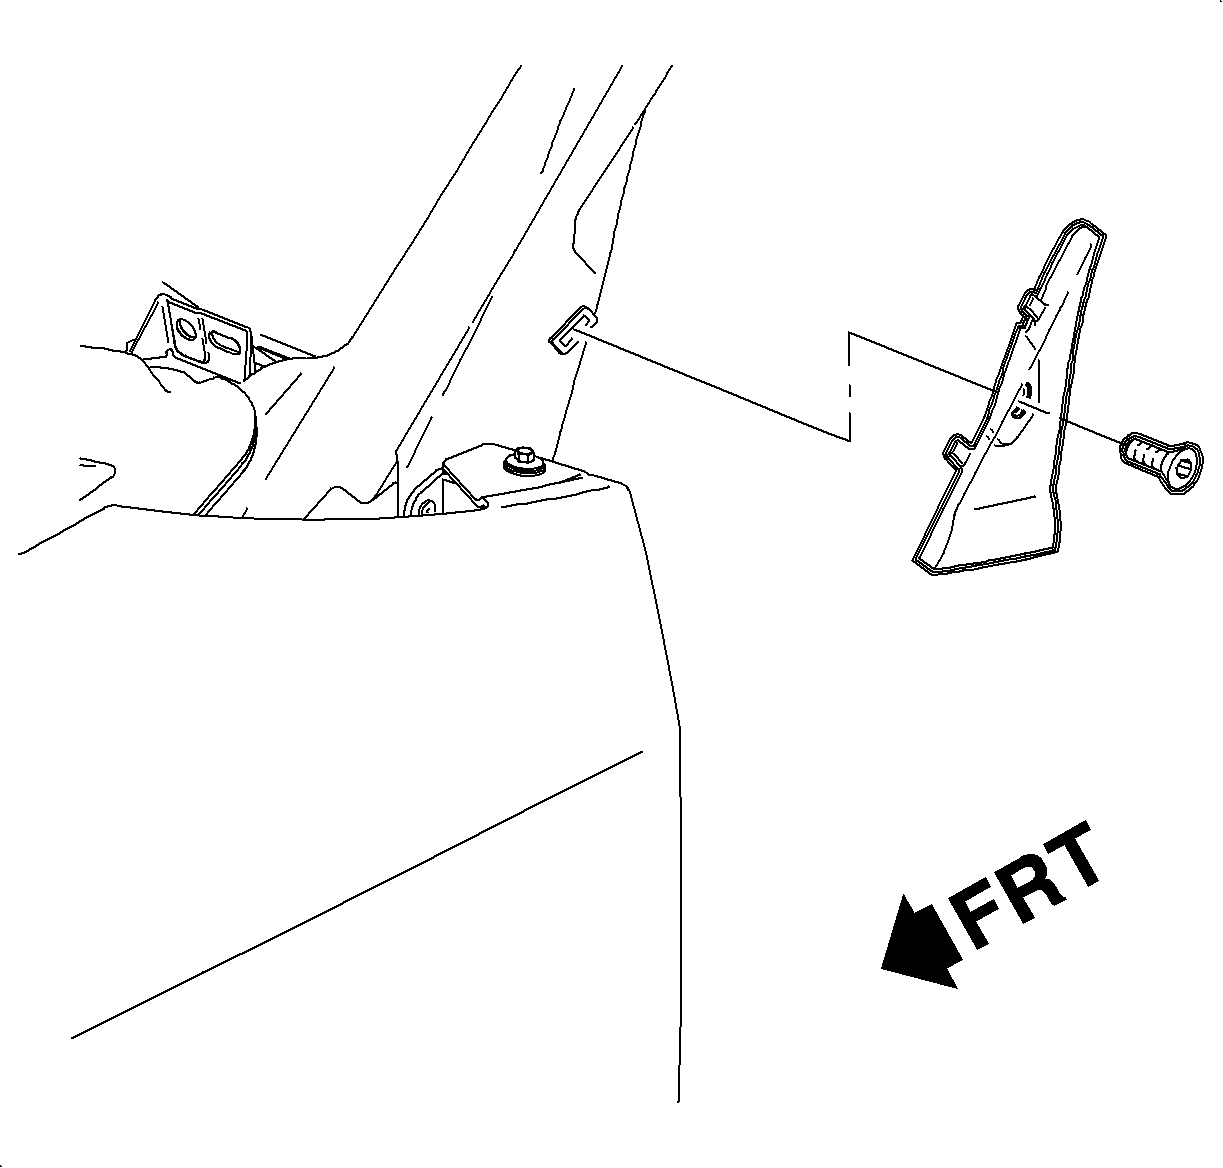
- Remove the windshield pillar lower side applique.
- Remove the roof side outer front panel.
- Remove the rearview mirror.
- Remove the instrument panel - upper trim panel. Refer to
Instrument Panel Upper Trim Plate Replacement
in Instrument Panel,
Gages, and Console.
Caution: If broken glass falls into defroster outlets, it can be blown into the passenger
compartment and cause injuries. To help avoid personal injury, cover the defroster
outlets before replacing windows.
Important: Make certain the seal on the forward edge of the instrument panel - upper trim
panel is not trapped between the windshield and spaceframe. If so, remove the seal
and place it on the forward edge of the instrument panel - upper trim panel.
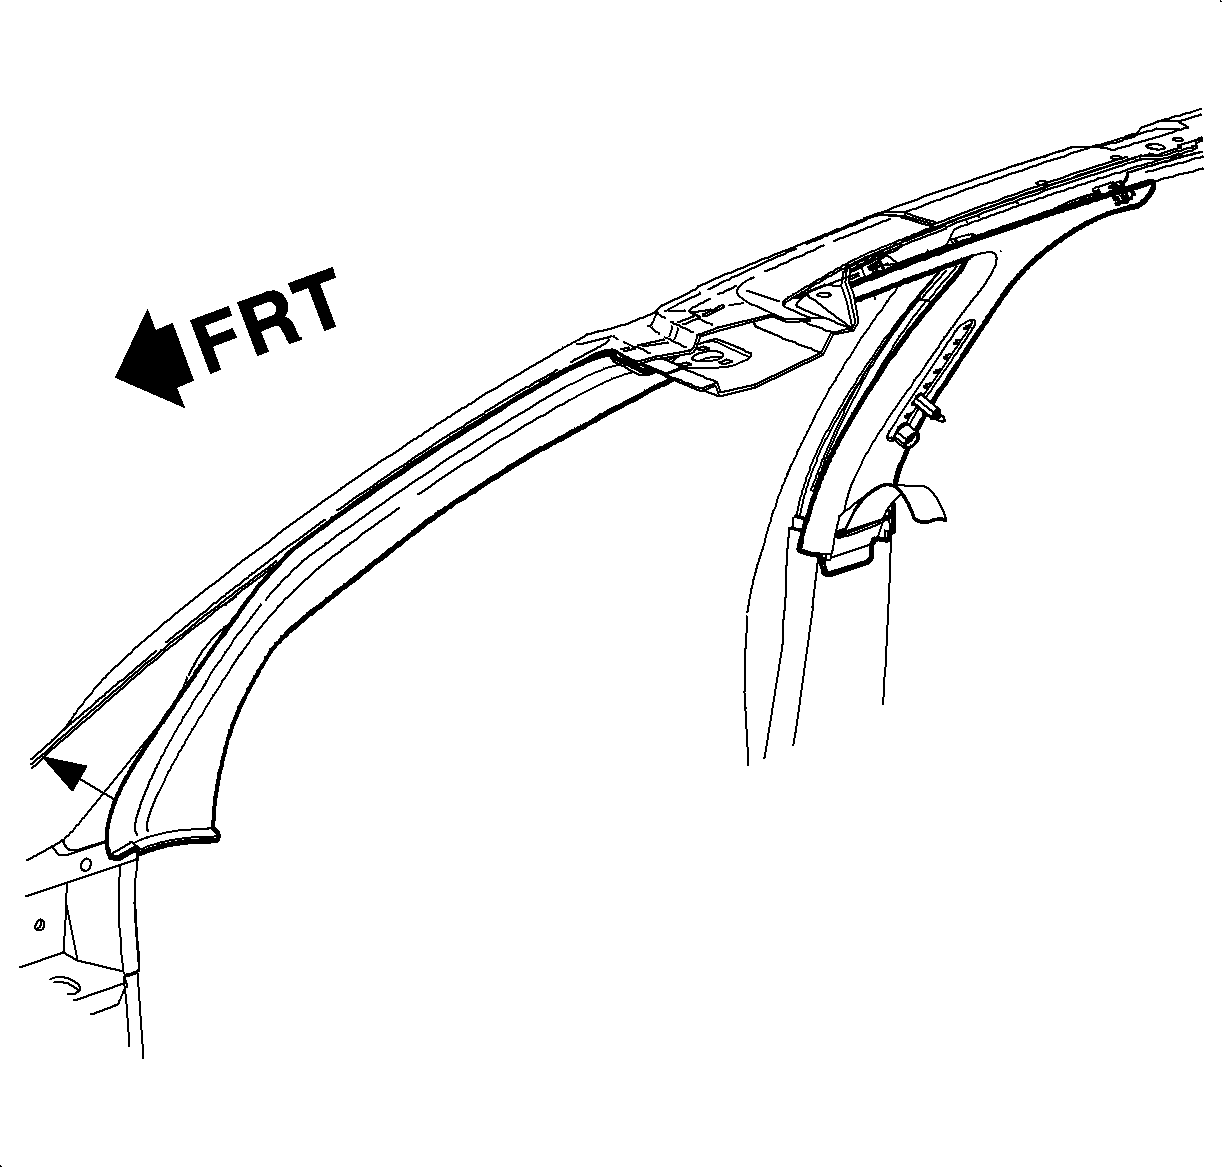
- Partially remove the windshield garnish molding around the windshield opening.
- Remove the sunshades and the sunshade supports.
- Remove the roof front compartment bezel, if equipped.
- Remove the assist straps, if equipped.
- Lower the front half of the headliner. Use lightweight wood or foam block
to hold the headliner down.
- If reusing the windshield, apply two 152 mm (6 in) pieces
of duct tape to the top and bottom of the glass to prevent it from falling out when
the urethane adhesive is cut.
Caution: When using power tools that may create smoke when cutting urethane sealant,
work should be done in a well ventilated area and/or with a NIOSH/MSHA Approved air
supplied respirator to prevent possible harmful exposure.
When the urethane adhesive is heated enough to give off smoke, high levels of
methylene diisocyanate (MDI) may be present.
Unprotected exposure to methylene diisocyanate (MDI) may result in severe, chronic,
debilitating respiratory problems.
Notice: Care must be taken not to damage the roof when using power glass removal tool.
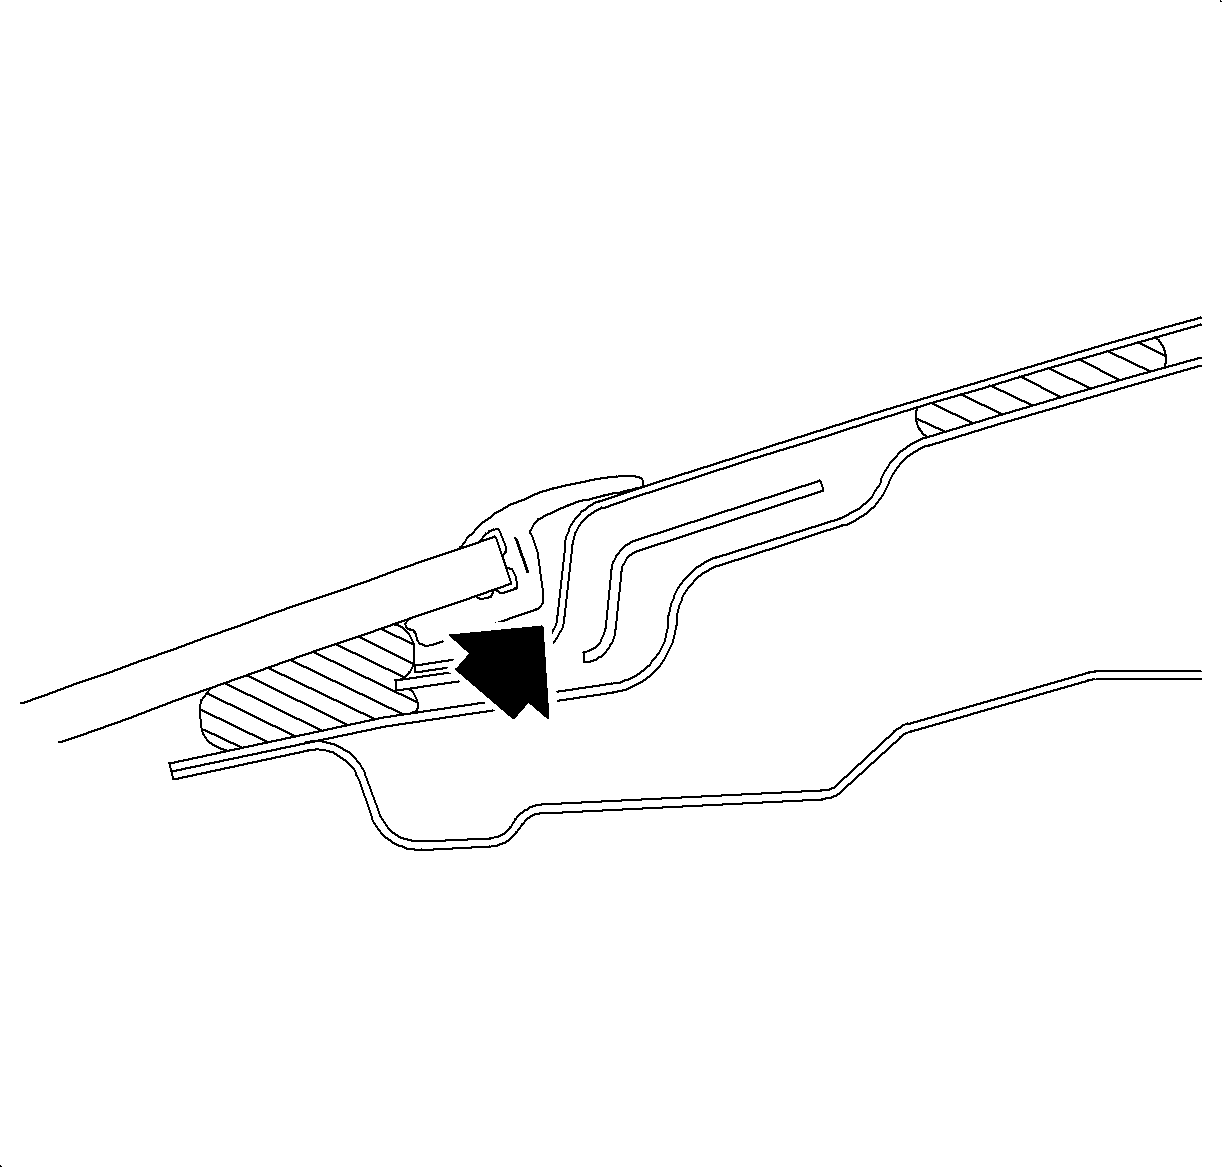
- Using a power glass removal tool, cut the urethane seal along the
roof from inside the vehicle and bottom from outside the vehicle. Open the hood
to gain access to the bottom.
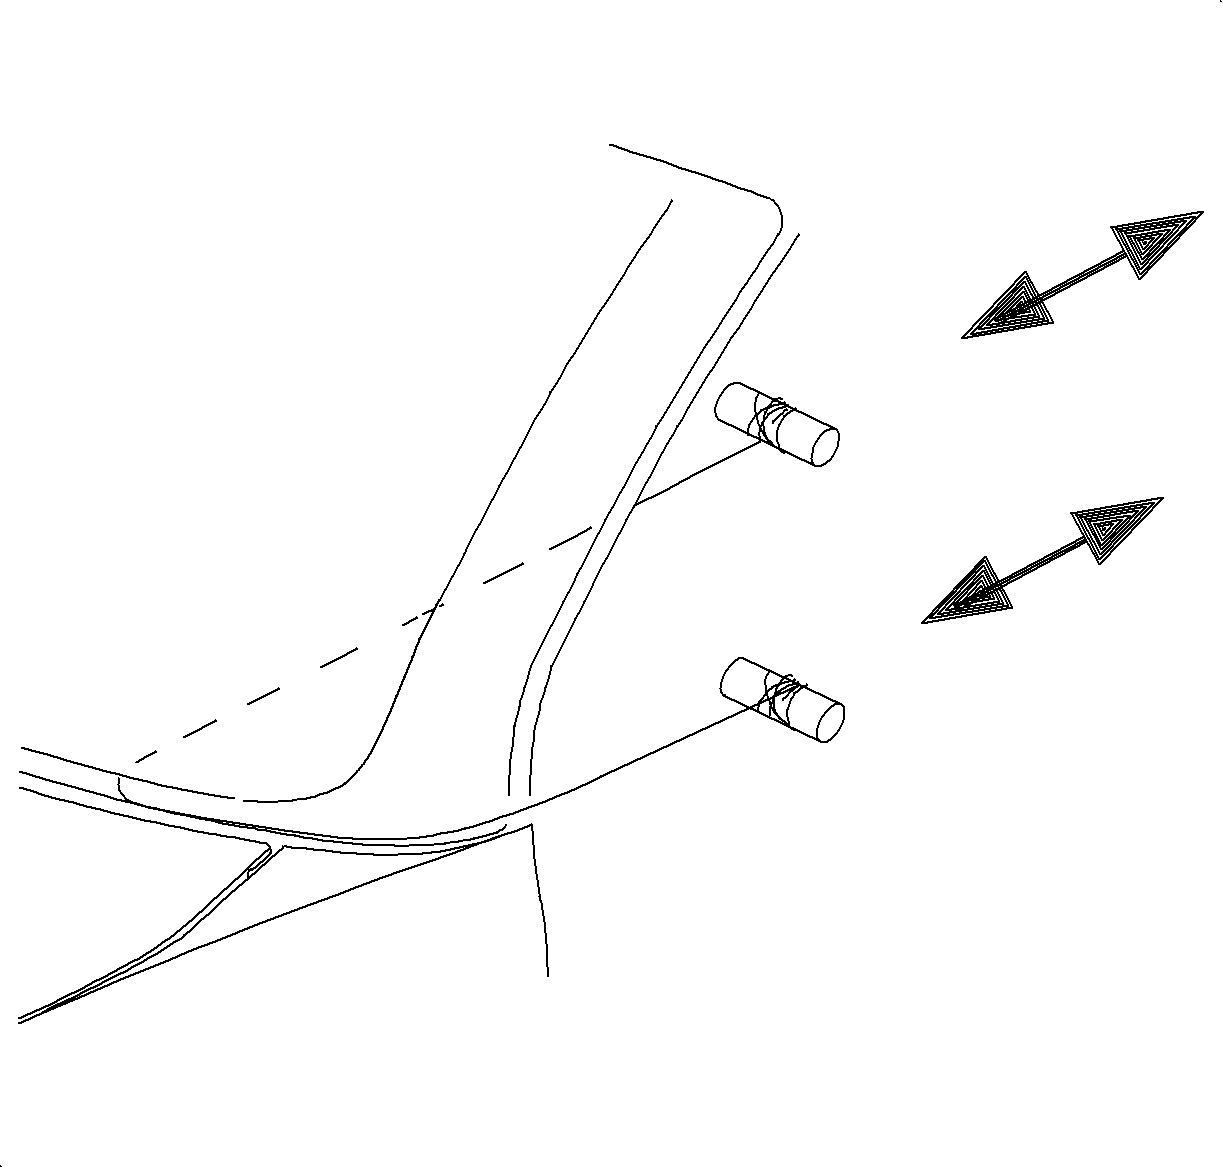
- Using piano wire, cut the urethane seal along the bottom corners and the side
of the windshield.
- With the aid of a helper, remove the glass.
- Remove the old urethane with a razor knife leaving a thin film, approximately
1-2 mm (0.04-0.08 in), around the perimeter of the window
opening and windshield, if being reused.
Installation Procedure
Notice: Loose material and/or a rough surface on remaining urethane may cause sealing
problems during installation.
- Clean the entire window opening and glass bonding surfaces with
a clean lint-free, alcohol dampened cloth. Allow to air dry.
Notice: To prevent corrosion, paint damage around the window opening by the power glass
removal tool must be covered with pinchweld primer. Do not prime over
existing urethane. Follow manufacturers recommendations for drying time.
Notice: To avoid damage to the outer edge of the glass, be careful not to scratch the
glass when removing urethane with a razor blade.
Notice: Loose urethane and/or rough surfaces may cause sealing problems during installation.
For cars with a sunroof, it is important to install the fasteners to the new
roof assembly before the roof is installed in place.
- Preparation for the window installation.
| • | If the existing windshield will be used: |
| - | Clean the old urethane from the windshield using a new razor knife. Leave
a thin film, approximately 1-2 mm (0.04-0.08 in) around
the perimeter of the windshield. |
| - | Clean the area with the urethane with a quality grade of rubbing alcohol
using a clean lint-free cloth, and allow to dry so there is no trace of rubbing
alcohol on the windshield or urethane. |
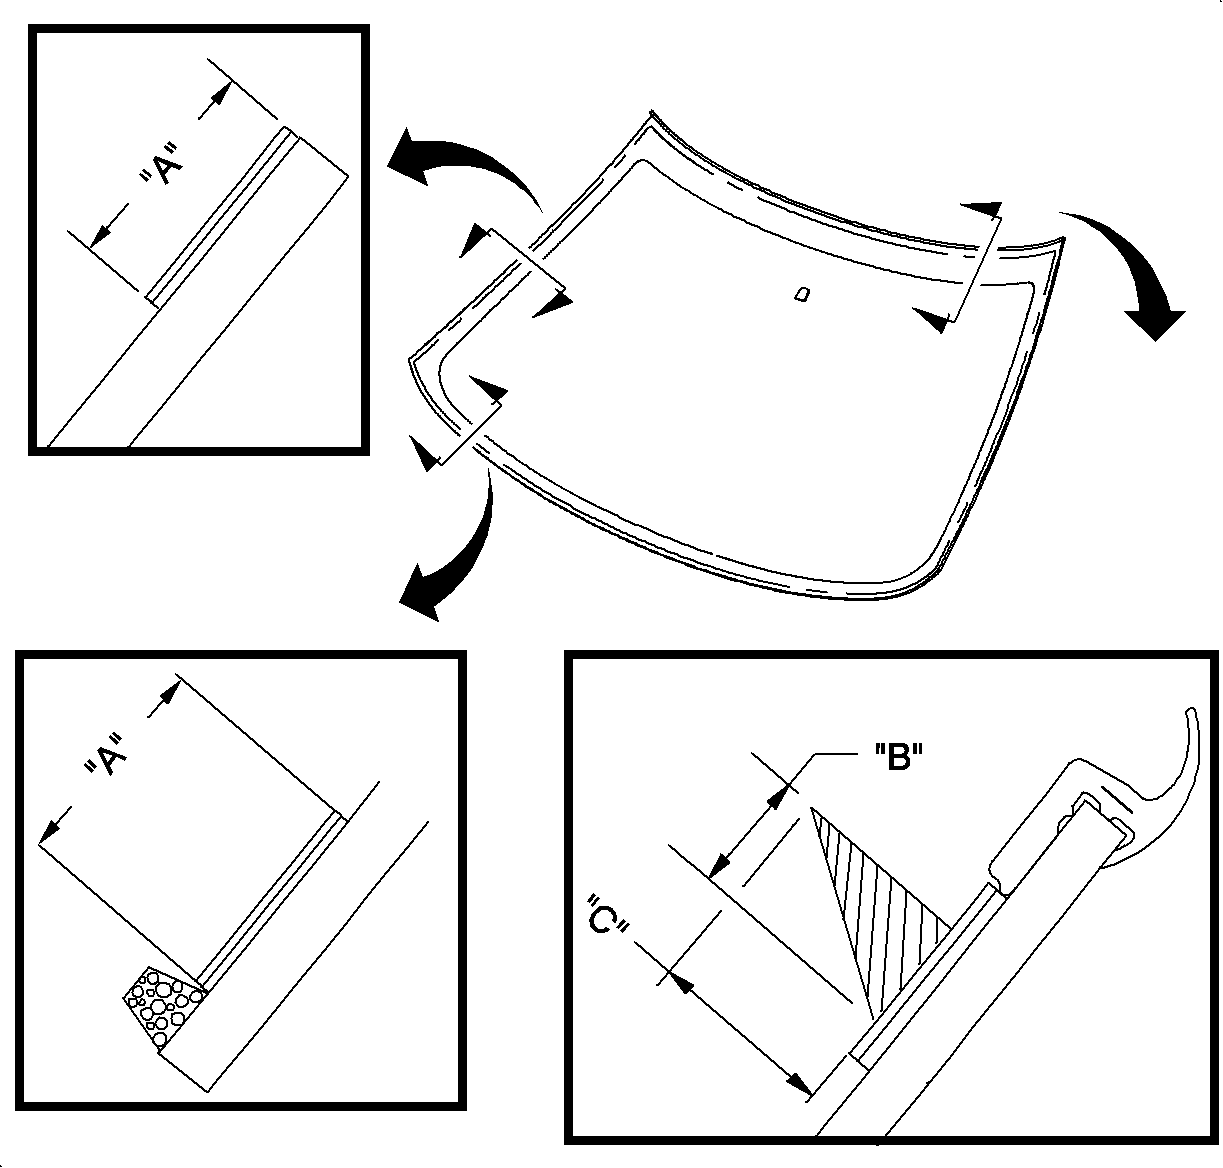
| | Important: The primer area has a minimum width diameter of 18 mm (0.71 in)
in the area (A) area.
|
| • | If a new windshield will be used: |
| - | Shake the glass prep primer ,Clear #1 or equivalent, well before
applying. Apply the glass prep primer, Clear #1 or equivalent, around the
entire perimeter of the glass using dauber. |
| - | Wipe the area dry with a clean lint-free cloth. |
- Prime the window opening area.
| 3.1. | Shake the glass primer, Black #2 or equivalent, well before applying. |
| | Important: The primer area has a minimum width diameter of 18 mm (0.71 in)
in area (A) area.
|
| | Important: Use the line along the top of the windshield below the windshield upper molding
as a guide when applying the primer.
|
| 3.2. | With a new dauber apply the glass prep primer, Black #2 or equivalent,
around the entire perimeter over Clear #1 or equivalent. |
| 3.3. | Allow the primer to dry 5 minutes before applying urethane. |
- Apply a smooth and continuous bead of adhesive directly to the old urethane
adhesive in the glass opening or to the glass. Apply according to the following dimensions:
Bead Dimension
| • | Minimum Width: Dimension (B) 10 mm (0.39 in) |
| • | Minimum Height: Dimension (C) 14 mm (0.55 in) |
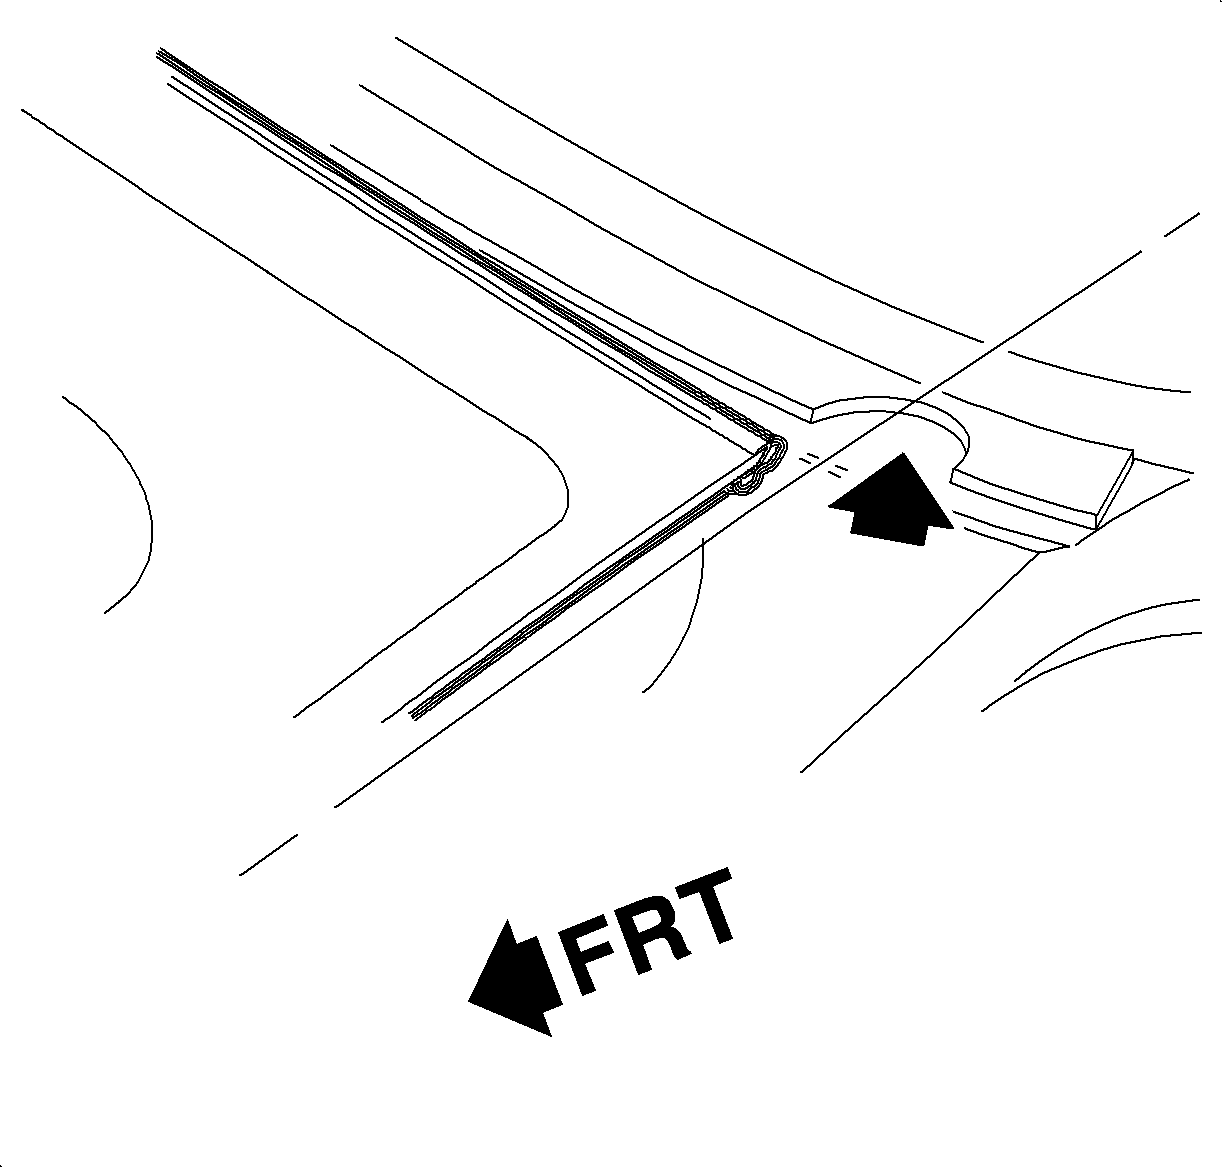
- With the aid of
a helper, lift the glass into the window opening. Use the notches in the roof panel
to center the glass to the vehicle. Make certain the lip of the applied molding
laps over the roof feature line.
Important: The vehicle must remain at normal room temperature for 6 hours to complete
the proper cure of the adhesive. Refer to the manufacturer's recommendation.
- Press the glass firmly to wet-out and set the adhesive. Use care to avoid excessive
squeeze out which would cause an appearance problem. Use tape from the windshield
to the roof panel to hold in position until the urethane adhesive is cured.
- Watertest the vehicle at once using a soft spray. Use warm or hot water
if available. Do not direct a hard stream of water on fresh adhesive material. Water
applied on top of urethane adhesive, either during watertest or part of a separate
operation, will speed up the cure of urethane.
- Inspect for leaks from inside the vehicle. Paddle in extra adhesive at
leak points using a tongue depressor or similar flat flexible tool.
- Remove the blocks used to hold the headliner down.
- Install the roof front compartment bezel, if equipped.
- Install the sunshades and sunshade supports.
- Install the assist straps, if equipped.
- Install the windshield garnish molding.
- Install the instrument panel - upper trim panel. Refer to
Instrument Panel Upper Trim Plate Replacement
in Instrument Panel,
Gages, and Console.
- Install the rear view mirror.
- Install the air inlet grille panel. Refer to
Air Inlet Grille Panel Replacement
in Body Front End.
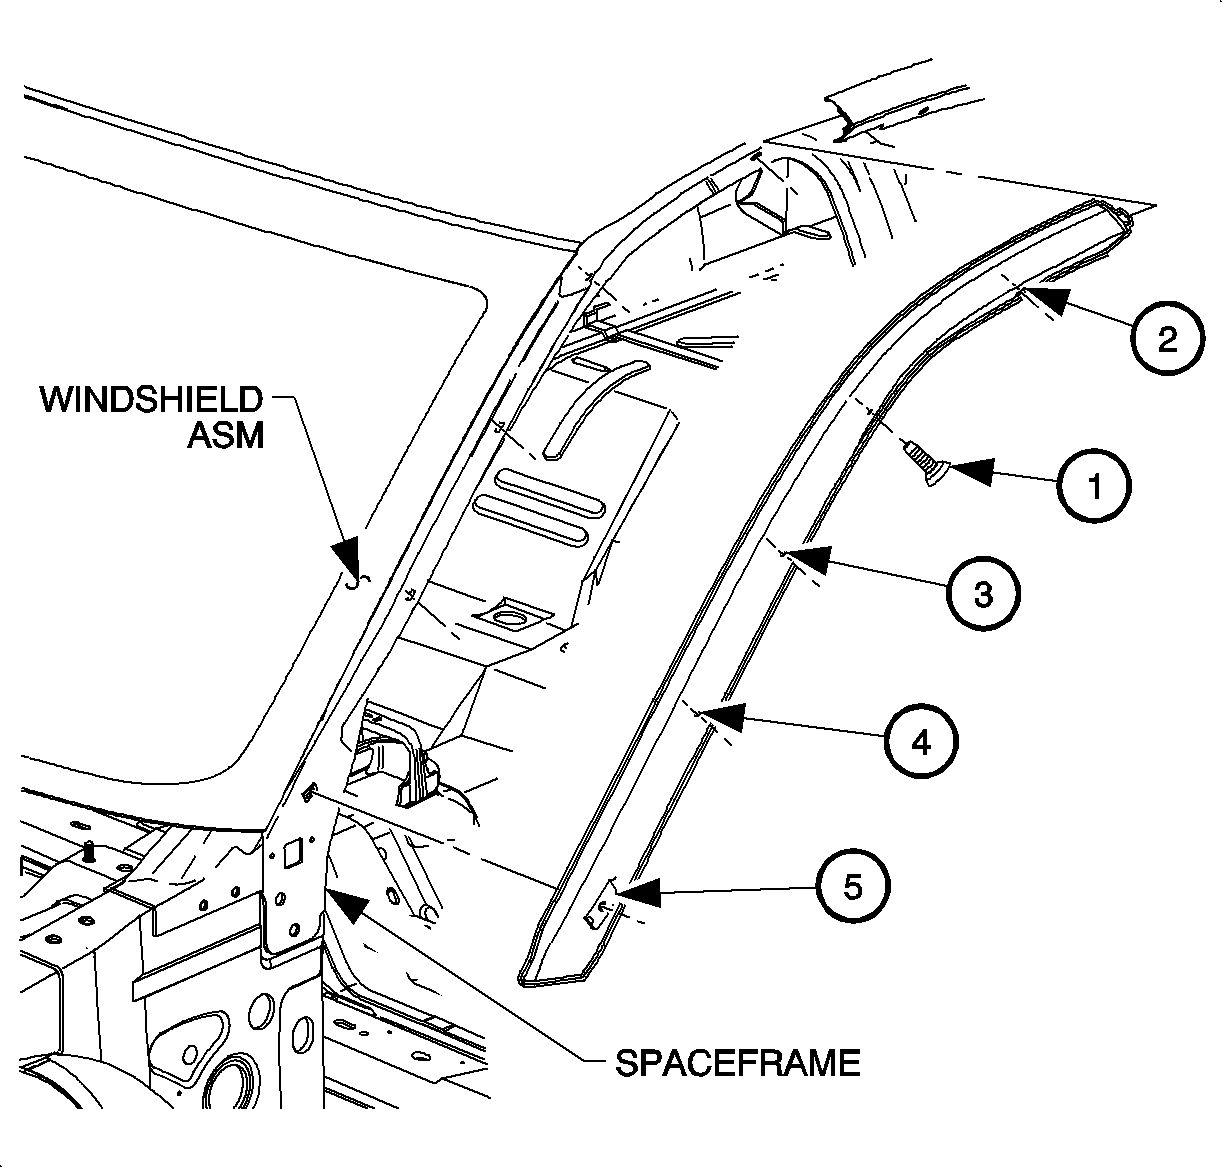
- Install the roof side outer front panel. Tighten the fasteners in the
sequence shown.
Tighten
Tighten the fasteners to 1.5 N·m (13 lb in).
- Install the windshield pillar lower side applique.


