For 1990-2009 cars only
Front Fender Replacement Coupe
Removal Procedure
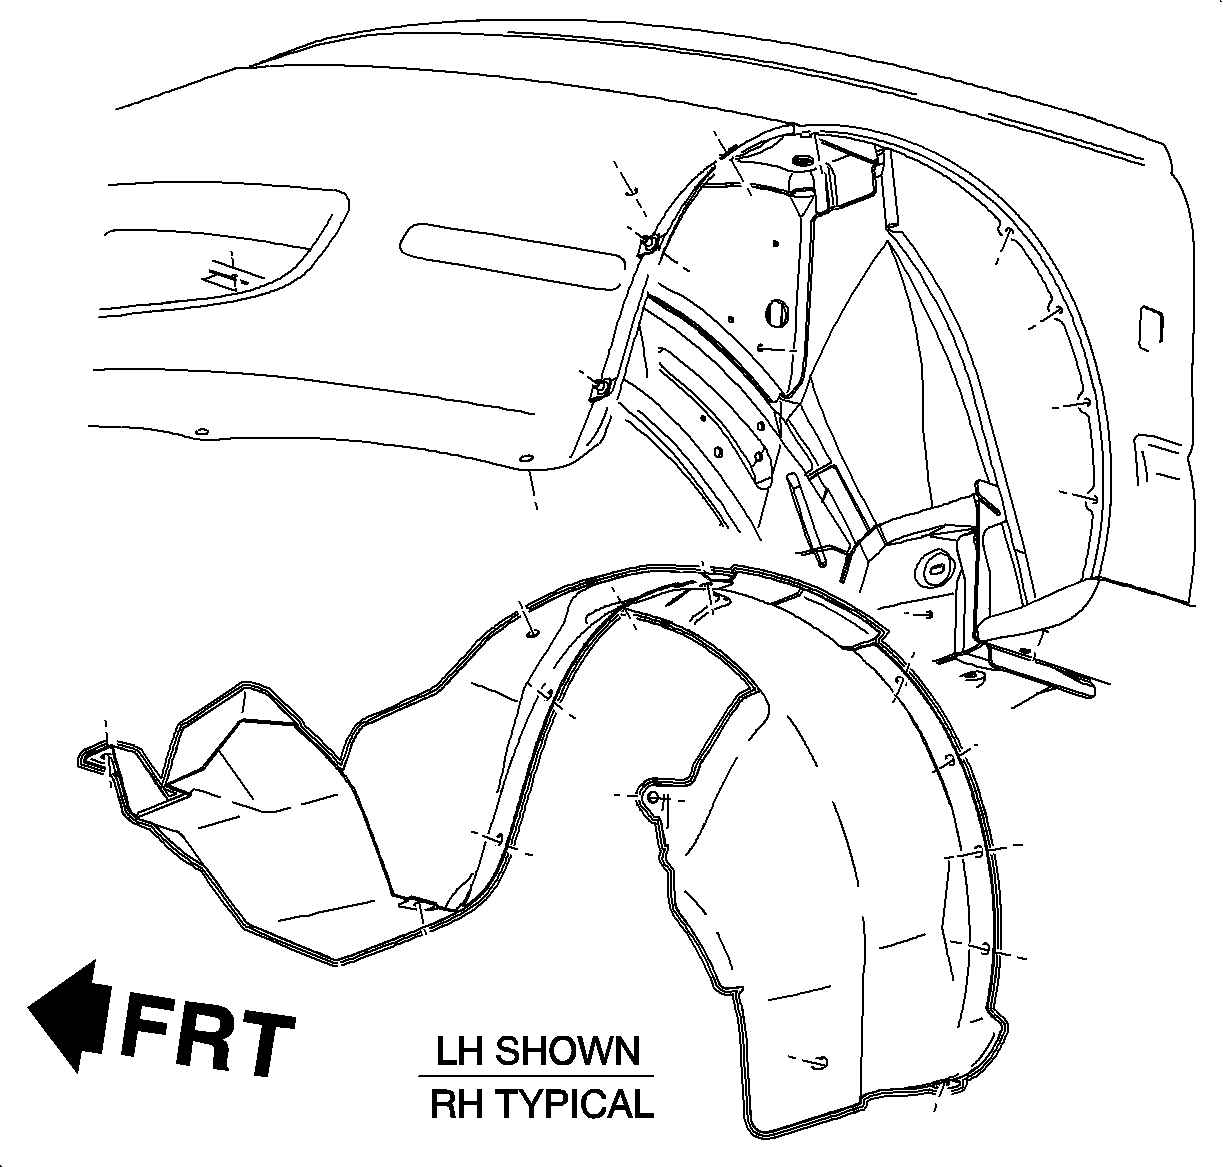
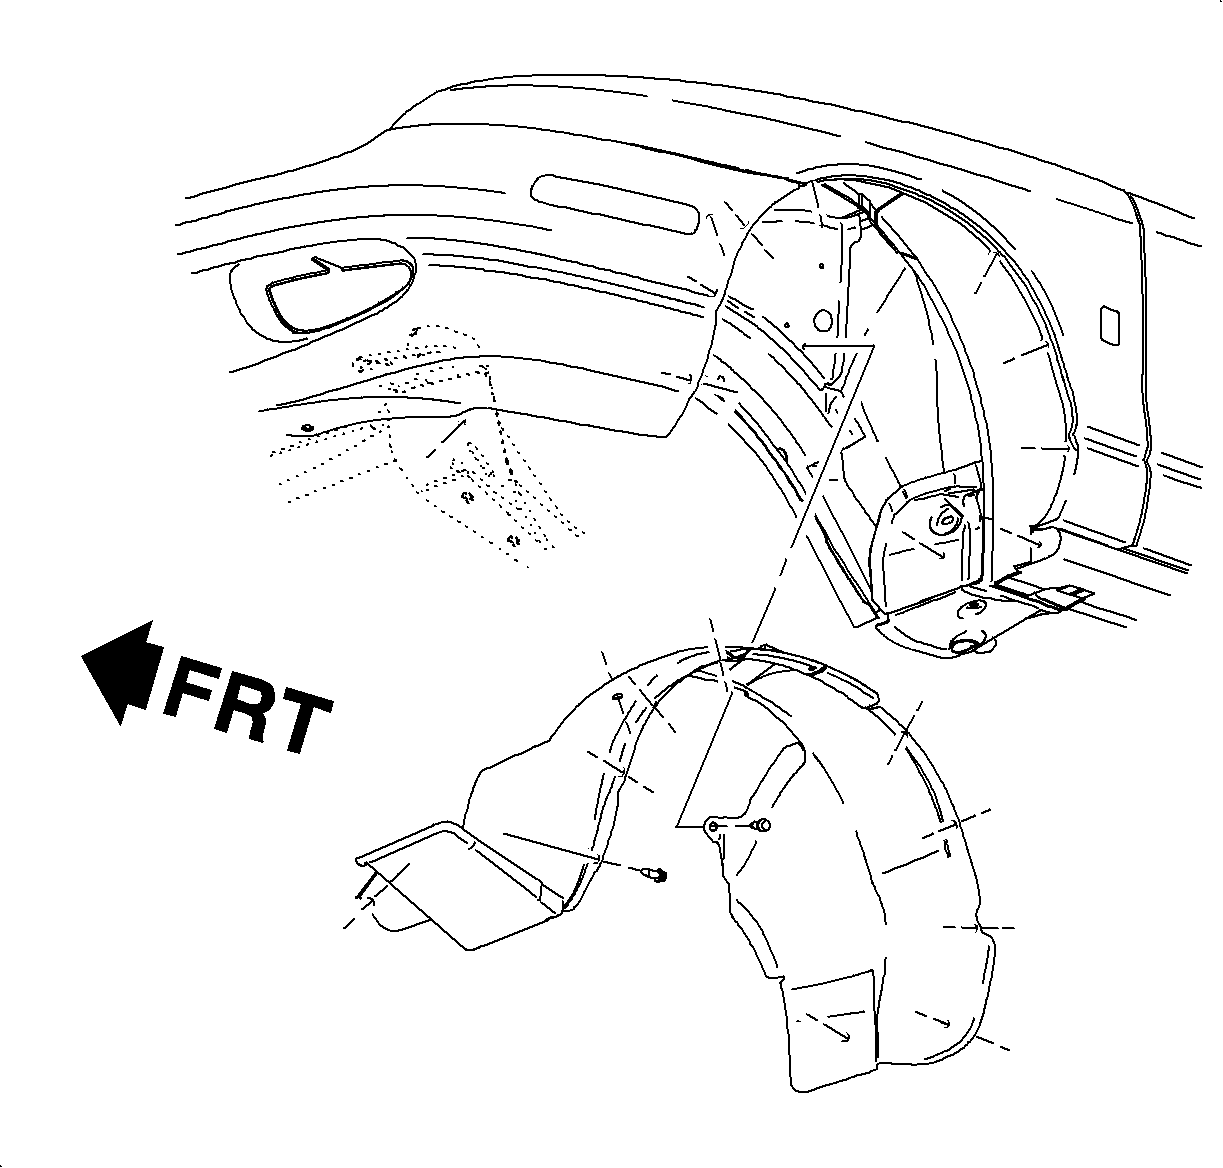
- Remove the front wheelhouse panel outer fasteners.
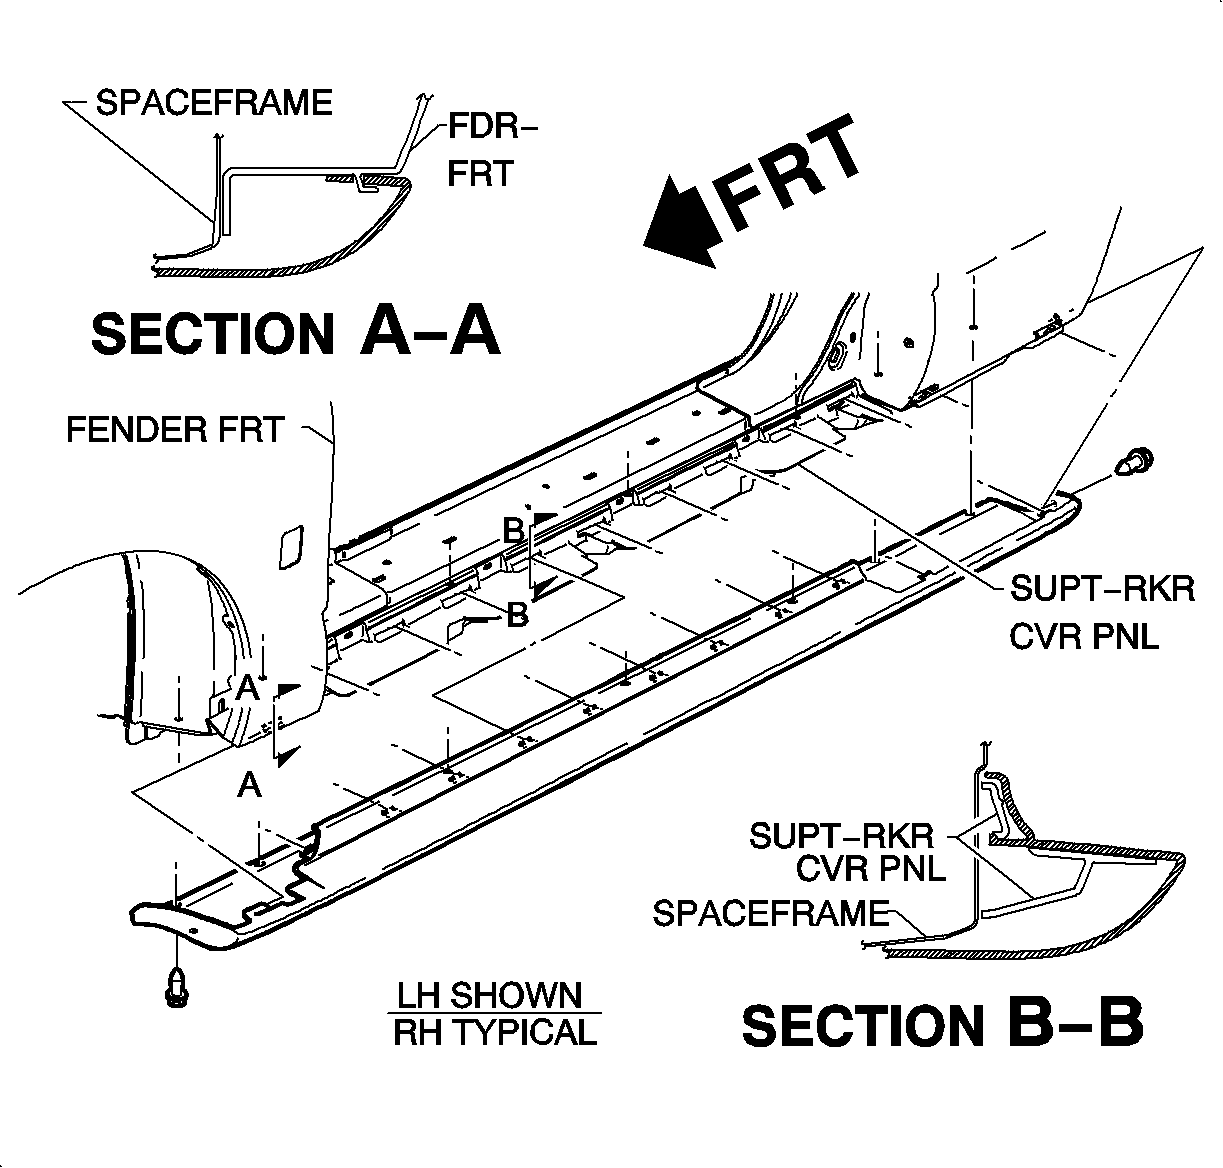
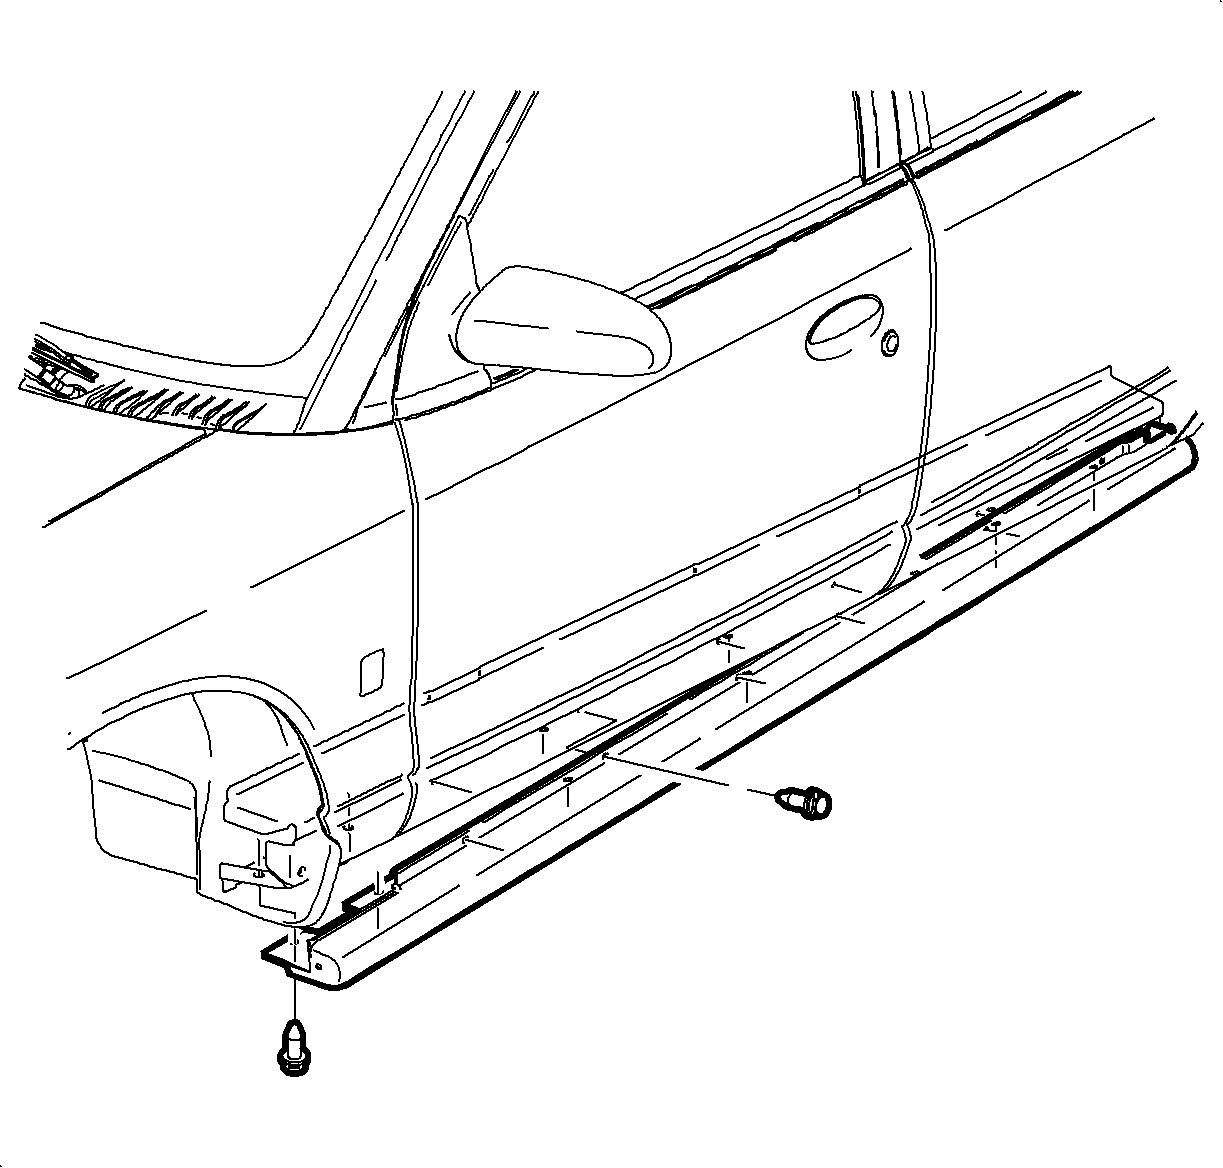
- Remove the rocker panel cover. Refer to Rocker Panel Molding Replacement in Exterior Trim.
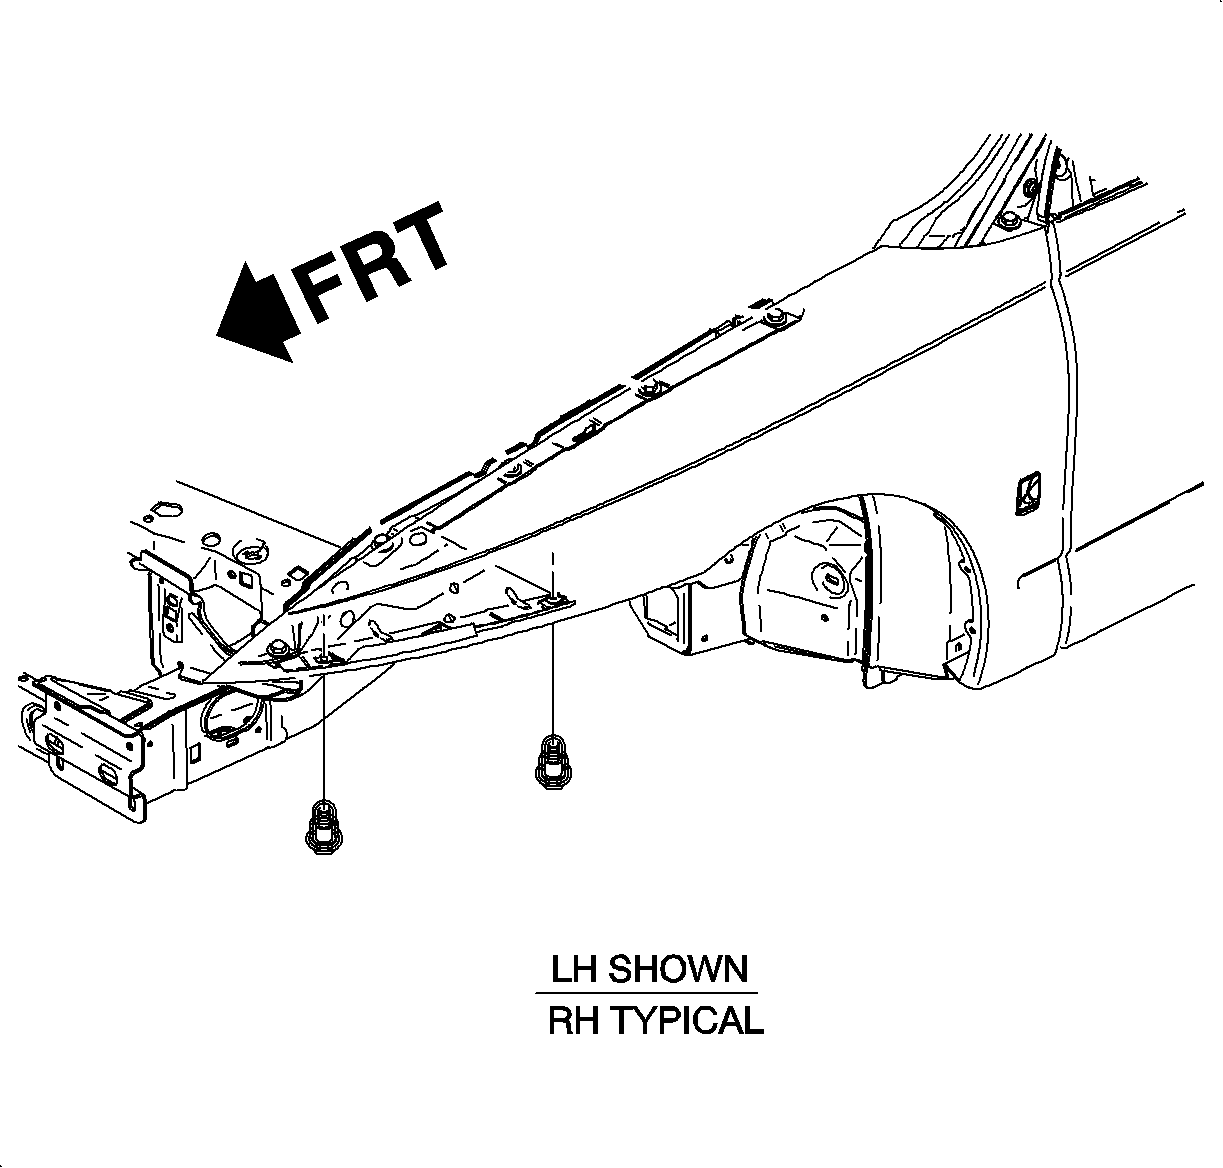
- Remove the bottom rear fender bolts.
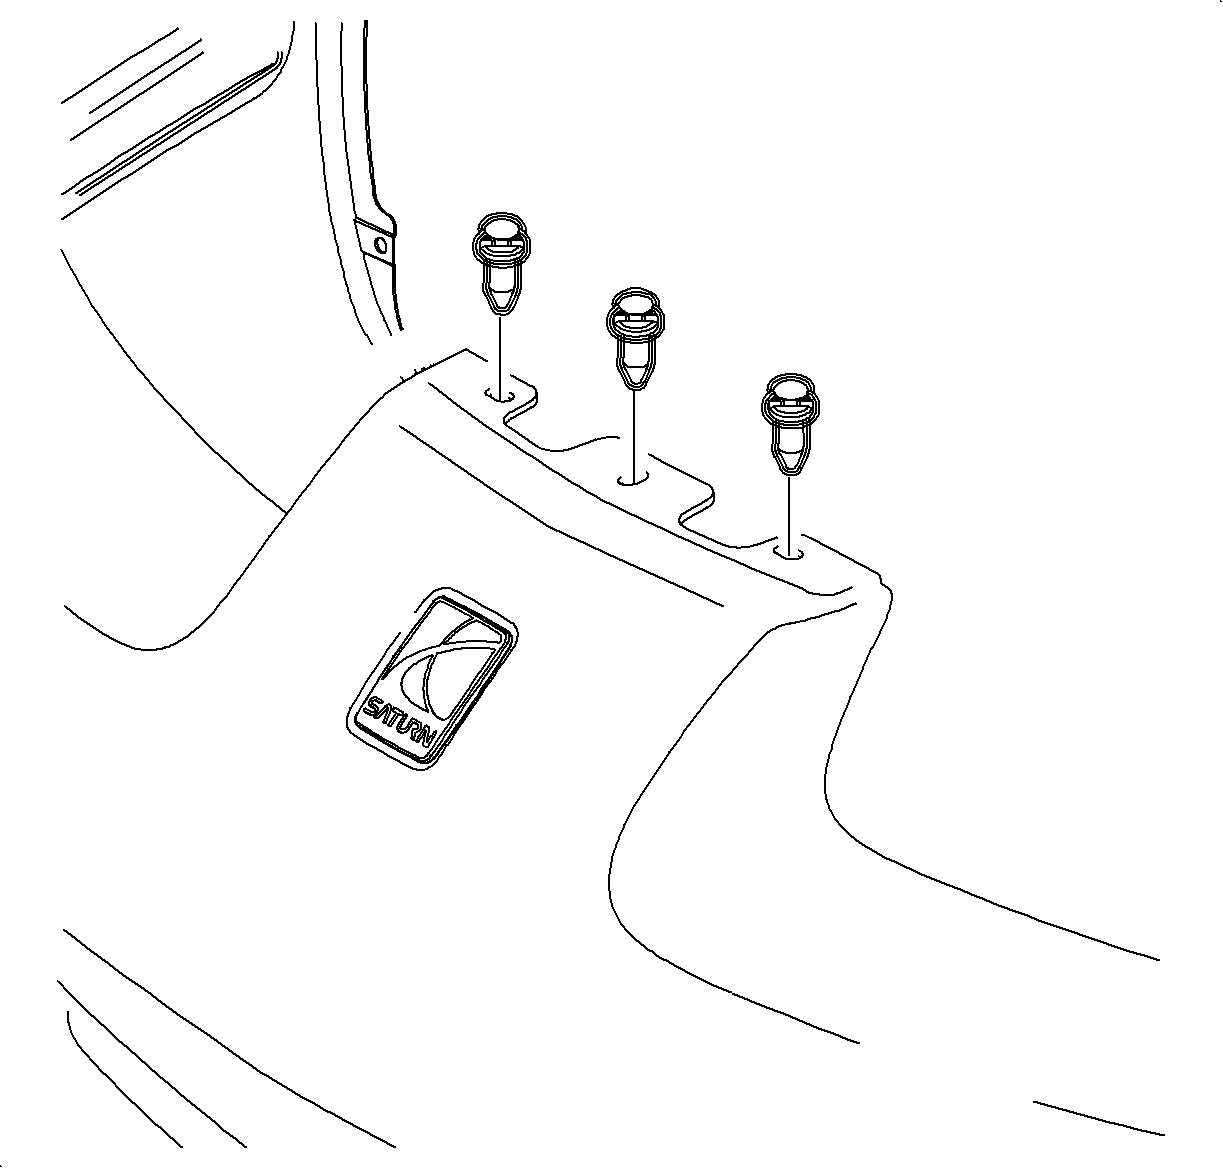
- Remove the top middle pushpin fasteners from the front fascia.
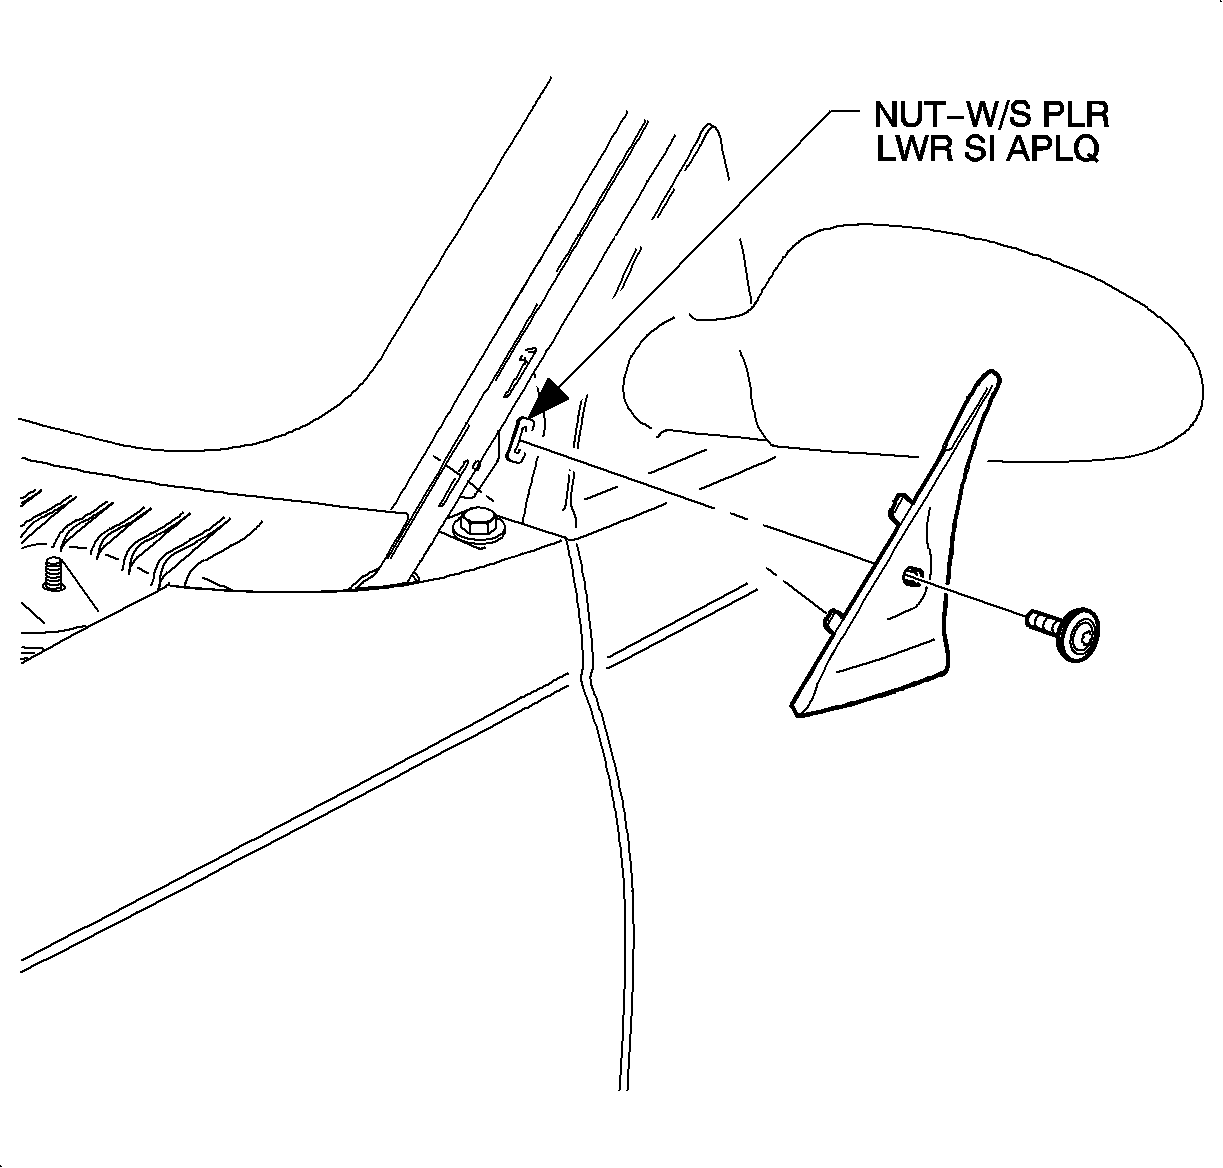
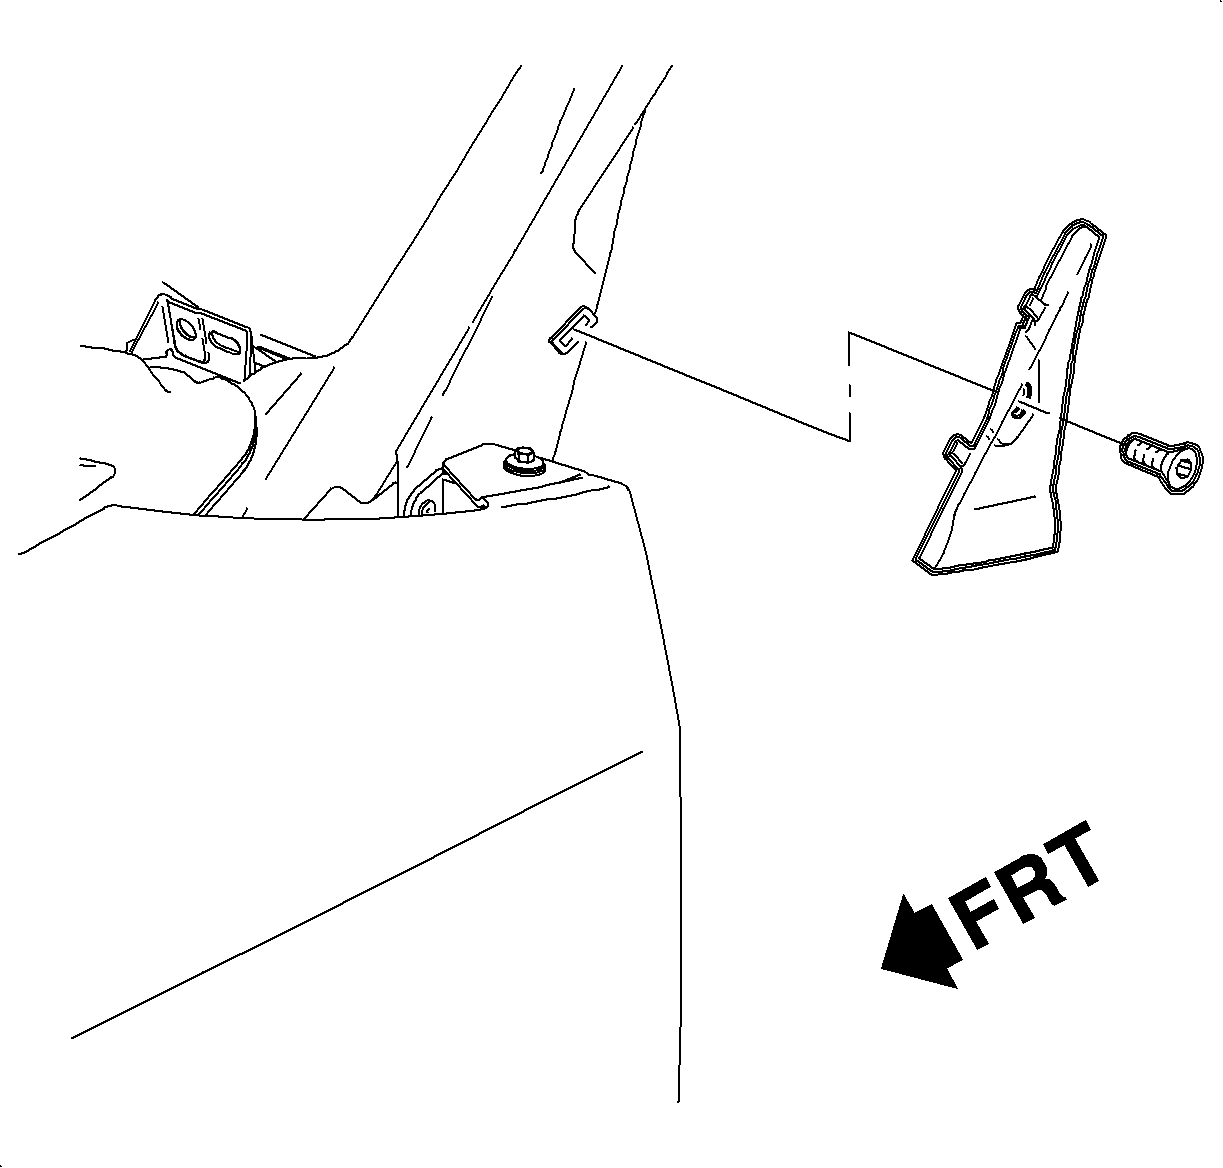
- Remove the windshield frame filler panel by removing the bolt, then sliding upward.
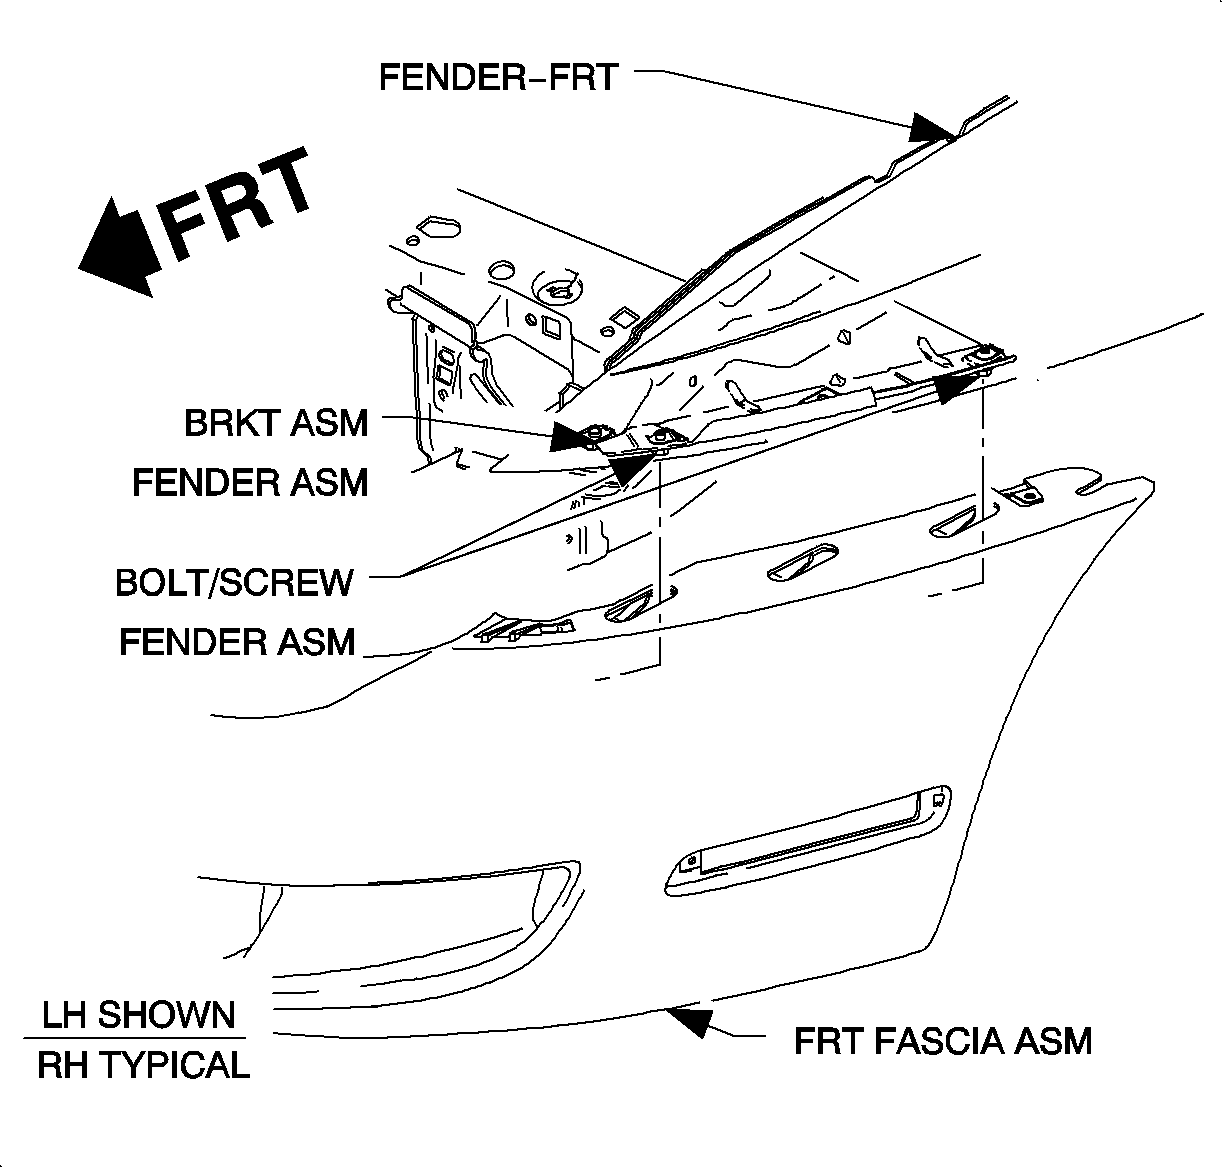
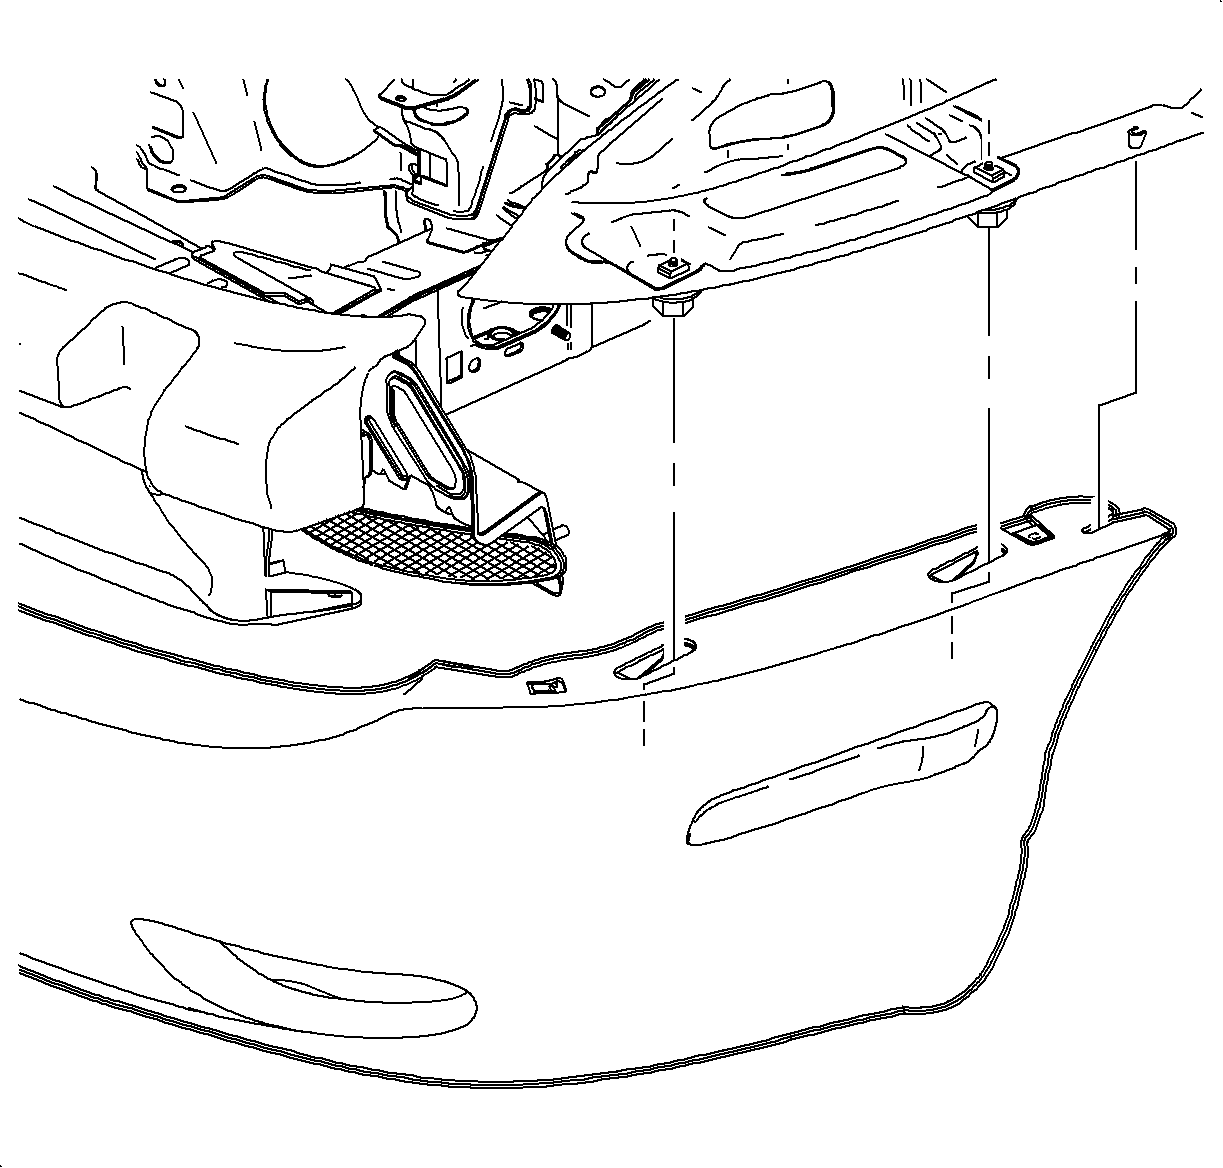
- Slide the front fascia forward and disengage from the bolts to the fender.
- Remove the shoulder bolts from the front fender bracket.
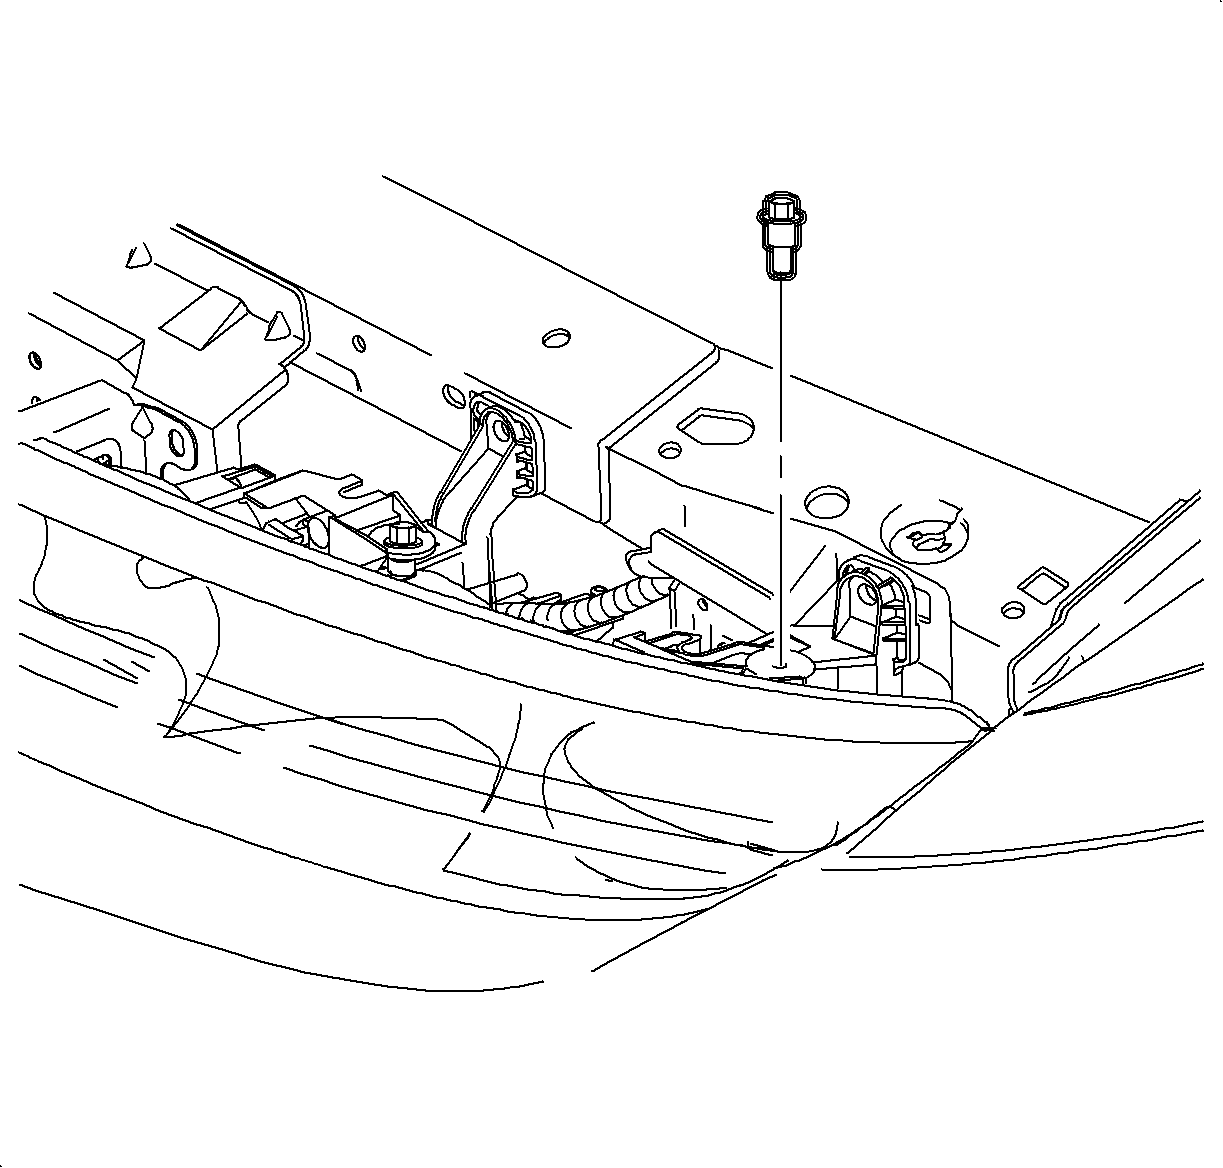
- Remove one headlamp attaching bolt. Slide the outer side of the headlamp forward to gain access to the forward front fender to compartment rail bolt.
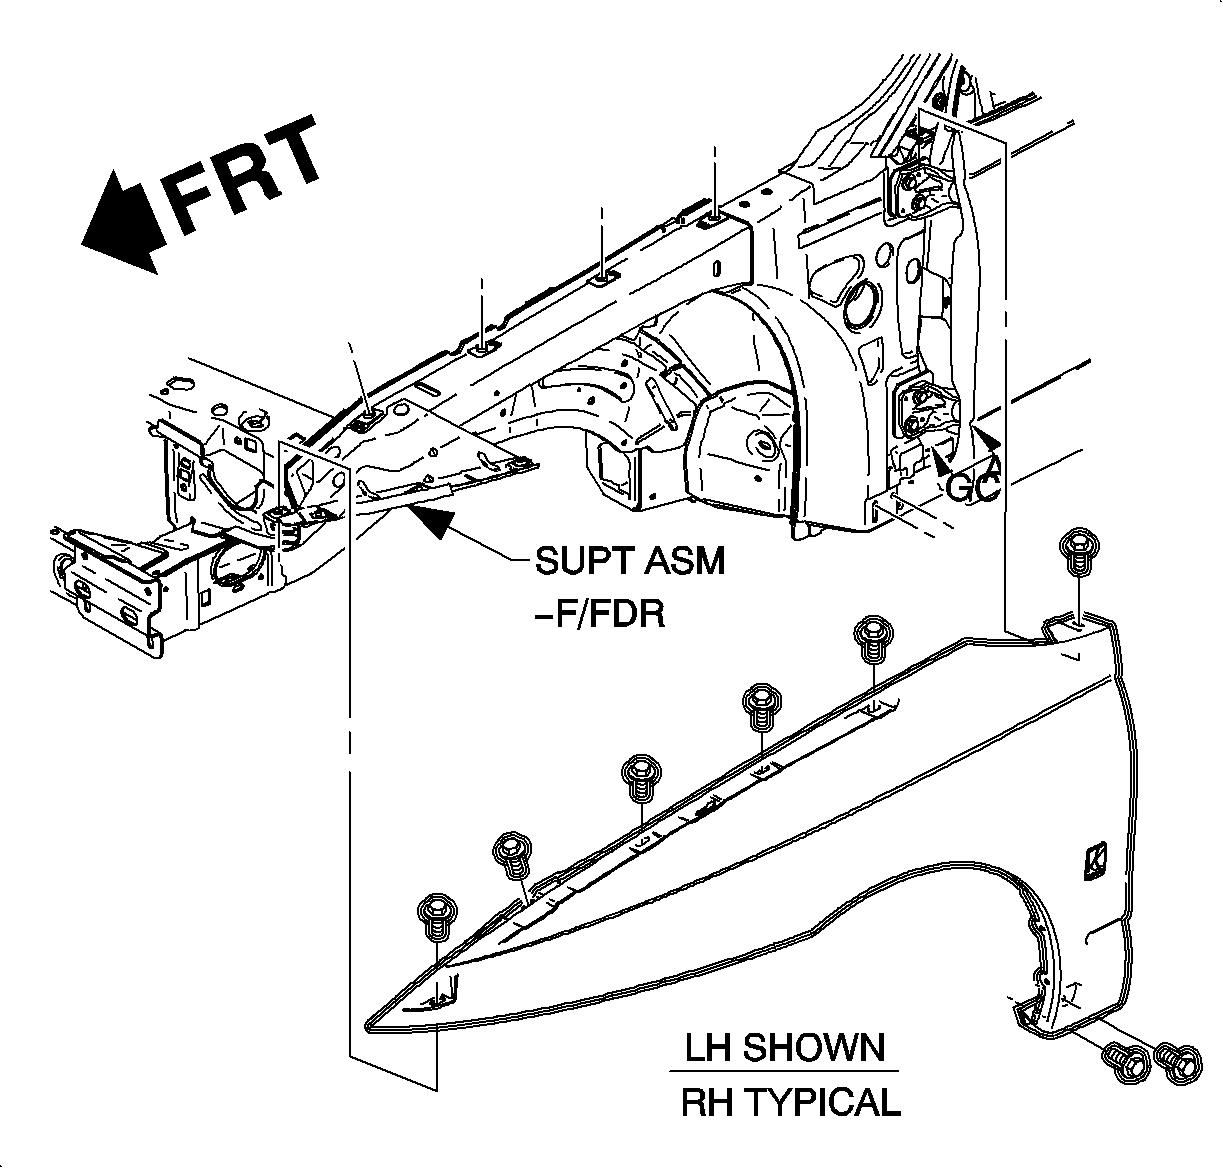
- Remove the bolt from the rear upper corner of the fender to the front body hinge pillar.
- Remove the bolts from the fender flange to the upper motor compartment rail.
- Remove the two fender-to-fender reinforcement bracket bolts.
- Remove the fender.
Installation Procedure
- If the fender is replaced:
- Position the fender on the motor compartment side rail.
- Align the fender to the door and hood.
- Install the fender to the front body hinge pillar bolt.
- Install the bolts from the fender flange to the upper compartment side rail, bottom rear fender to support, front fender bracket to fender shoulder bolts.
- Install the headlamp bolt.
- Check the headlamp aim. Adjust the headlamp aim , if required.
- Position the front fascia and slide it into place.
- Install the front fascia push pins.
- Install the windshield frame filler panel.
- Install the rocker panel cover. Refer to Rocker Panel Molding Replacement in Exterior Trim.
- Install the front wheelhouse panel outer fasteners.
| 1.1. | Install the Saturn emblem. |
| 1.2. | Install the hood bumper and antiflutter foam to the fender upper flange. |
Notice: Refer to Fastener Notice in the Preface section.
Tighten
Tighten the fender-to-front body hinge pillar bolt to 10 N·m (89 lb in).
Tighten
Tighten the fender-to-upper motor compartment side rail (front ) to 10 N·m
(89 lb in).

Tighten
Tighten the headlamp housing bolts (coupe) to 7 N·m (61 lb in).


Front Fender Replacement Sedan/Wagon
Removal Procedure
- Remove the front wheelhouse panel outer fasteners.
- Remove the front and middle fasteners on the rocker panel cover to lower the front end of the rocker panel cover.
- Remove the bottom rear fender bolts.
- Remove the windshield frame fill panel applique by removing the bolt, then sliding it upward.
- Slide the front fascia forward and disengage from the bolts to the fender.
- Remove the bolt from the rear upper corner of the fender to the front body hinge pillar.
- Remove the bolts from the fender flange to the upper motor compartment rail.
- Remove the 2 fender-to-fender reinforcement bracket bolts.
- Remove the fender.
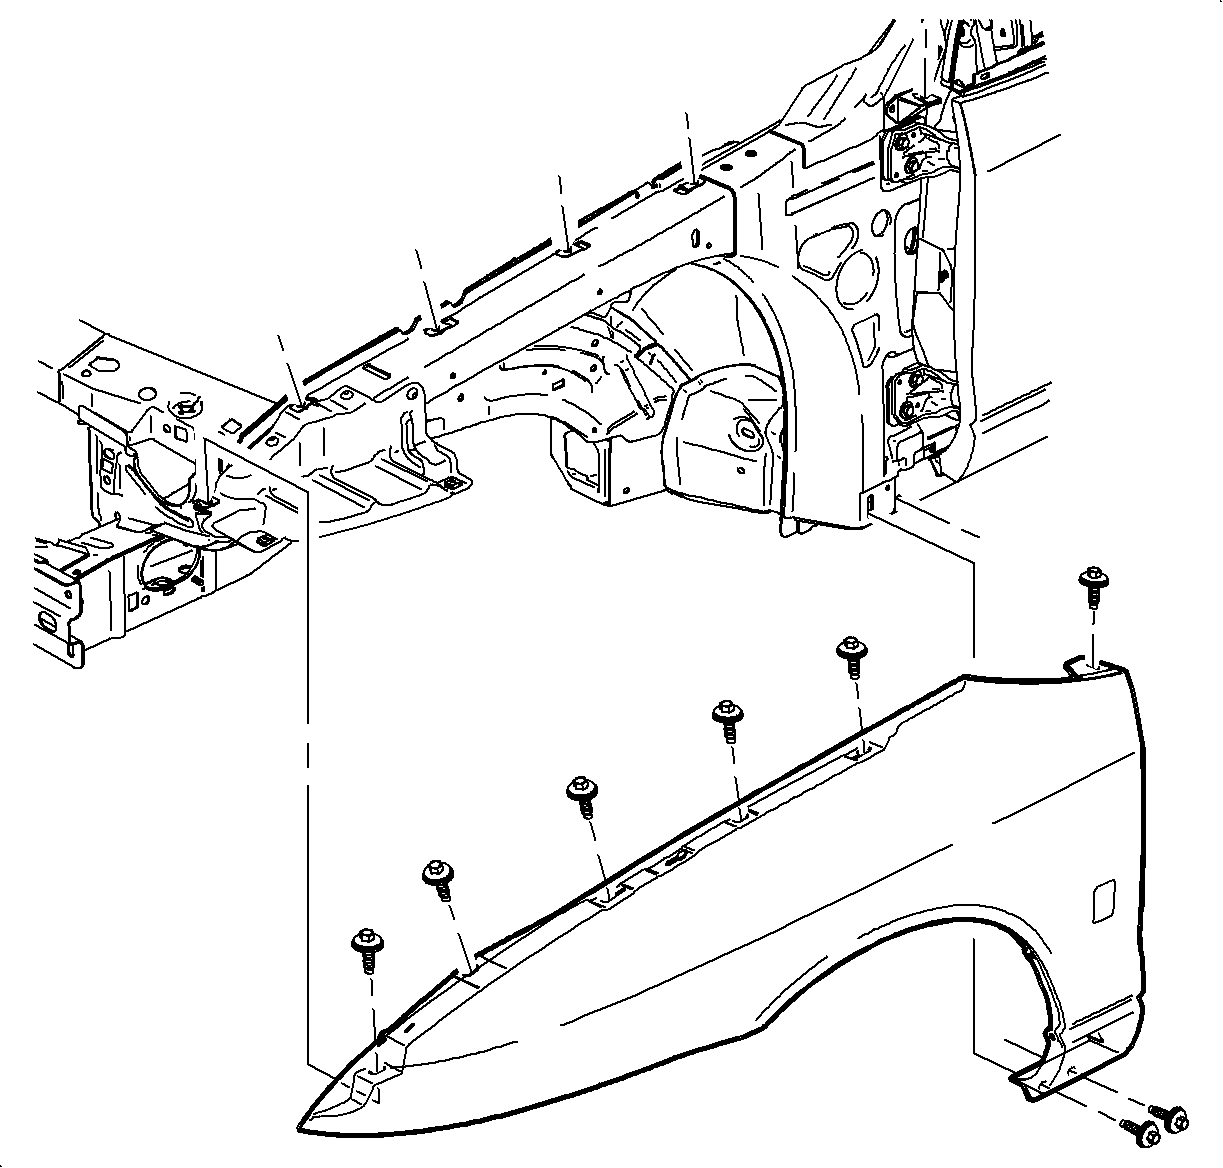
Installation Procedure
- If the fender is replaced:
- Position the fender on the motor compartment side rail.
- Align the fender to the door and hood.
- Install the fender to the front body hinge pillar bolt.
- Install the anti-flutter bumper.
- Install the bolts from the fender flange to the upper motor compartment side rail, bottom rear fender to support, and fender-to-fender reinforcement bracket.
- Position the front fascia and slide it into place.
- Install the windshield frame filler panel applique.
- Install the front of the rocker panel cover with plastic fasteners.
- Install the front wheelhouse panel outer fasteners.
| • | Install the Saturn emblem. |
| • | Install the rubber seals to the fender rear flange. |
Notice: Refer to Fastener Notice in the Preface section.
Tighten
Tighten the fender-to-front body hinge pillar bolt
to 10 N·m (89 lb in).
Tighten
Tighten the fender-to-upper motor compartment side
rail to 10 N·m (89 lb in).


