Center Pillar Garnish Molding Replacement Sedan/Wagon 2nd Design
Removal Procedure
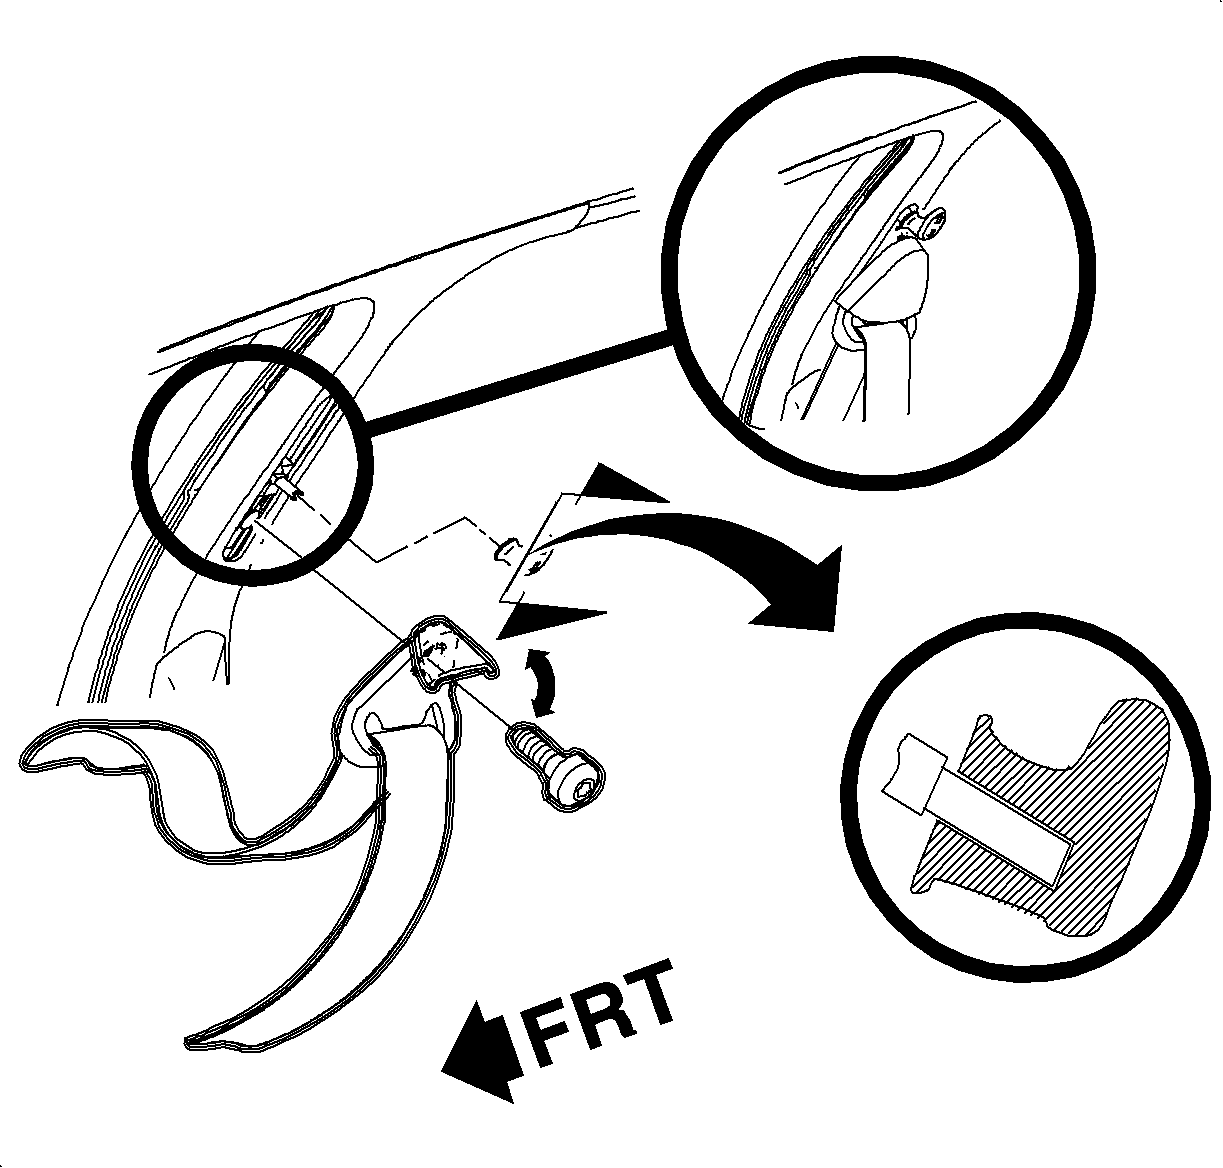
- Remove the shoulder belt adjuster knob by unsnapping the locking clip with an awl.
- Unsnap the shoulder belt bolt cover and remove the bolt.
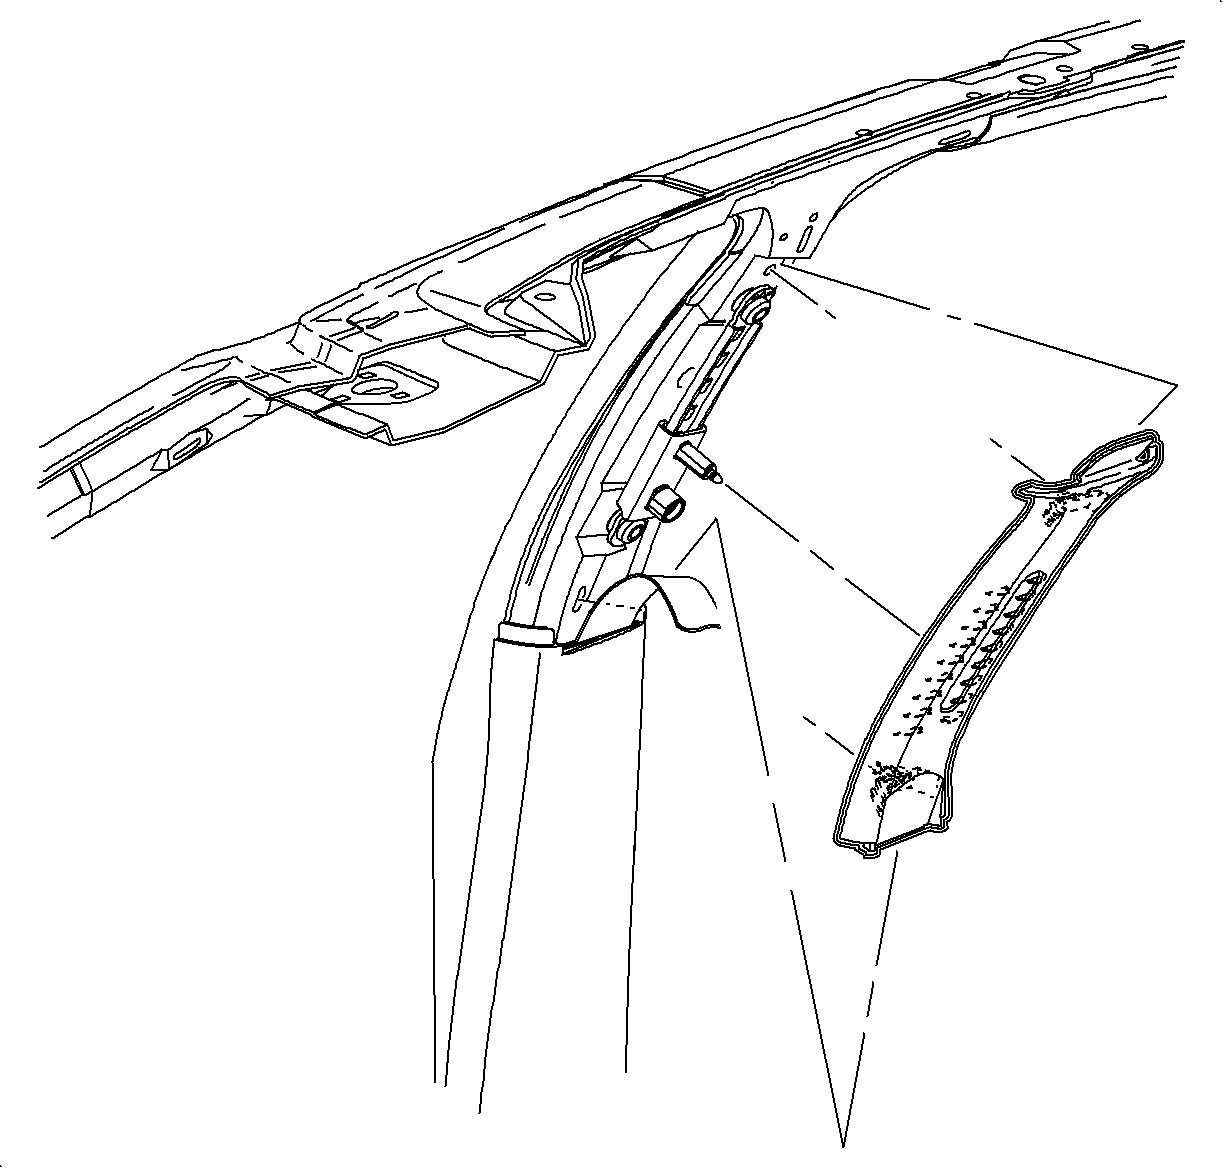
- Pull firmly at the clip locations to disengage.
- Slide the center pillar upper trim up and out to remove.

- Slide the top tab of the center pillar upper trim underneath the headliner edge and align the clips at the sheet metal hole locations.
- Press firmly at the clip locations to engage.
- Slide the center pillar upper trim down slightly to be sure the interlocking tabs at the bottom are properly seated beneath the center pillar lower trim finish panel.
- Install the shoulder belt bolt ensuring the seatbelt webbing is not twisted.
- Snap the shoulder belt bolt cover.
- Install the shoulder belt adjuster knob.
- Check the function of the shoulder belt.

Important: On sunroof equipped vehicles, ensure that the sunroof wiring is not being pinched.

Caution: Apply Loctite 242® Threadlocker US P/N 12345382 (Canadian P/N 10953489), or equivalent, on all restraint bolts/nuts before installation. Failure to use such threadlocker correctly may result in personal injury.
Tighten
Tighten the front shoulder belt bolt to 50 N·m (37 lb in).
Center Pillar Garnish Molding Replacement Sedan/Wagon
Removal Procedure
Caution: If energy absorber is removed or damaged it must be replaced with a new part. If omitted, the vehicle will not meet federal motor vehicle safety standards (FMVSS), subjecting the retailer to possible civil penalties for making the vehicle inoperative to the FMVSS, and increasing the risk of injury to the vehicle occupants.
- Move the front seat to the full forward position.
- Starting at the center pillar pull firmly on the front and rear lower garnish/sill moldings to partially remove them.
- Remove the rear carpet retainer.
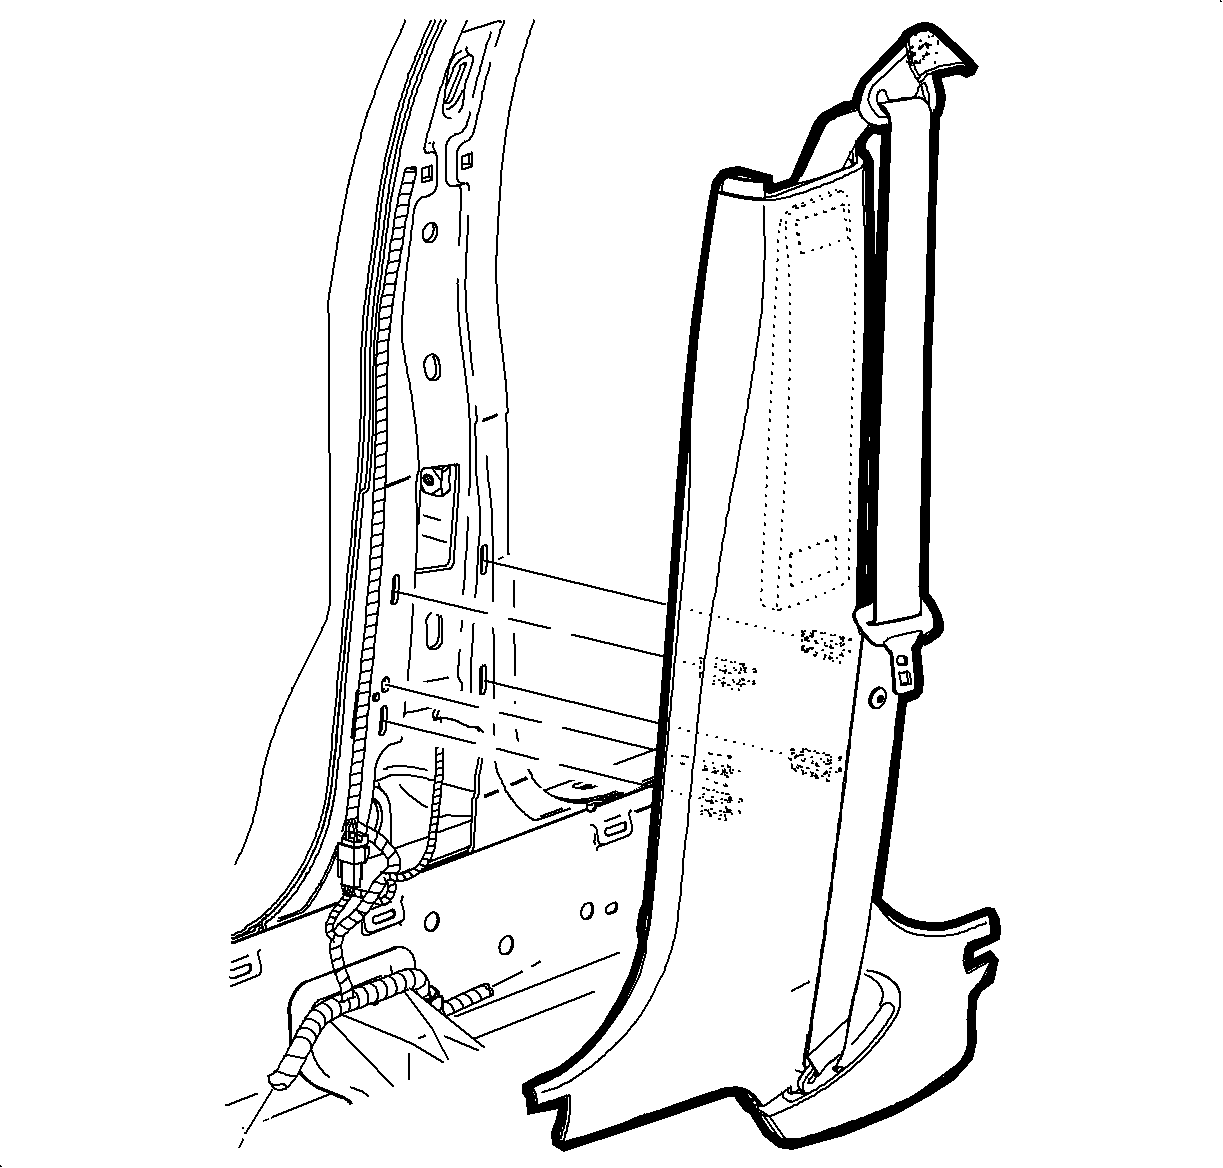
- Pull firmly at the clip locations to disengage the center pillar molding.
- Remove the center pillar lower trim finish panel.

Installation Procedure
- Route the shoulder belt into the center pillar lower trim finish panel.
- Install the center pillar lower trim finish panel by guiding in the molding at the attaching points and pushing firmly at the clip locations.
- Press firmly at the clip locations to install the front and rear lower garnish/sill moldings.
- Install the rear carpet retainer.
- Check the shoulder belt operation after the center pillar lower trim installation.
Important: The outboard tabs of molding must be positioned under the weather-strip after installation.
