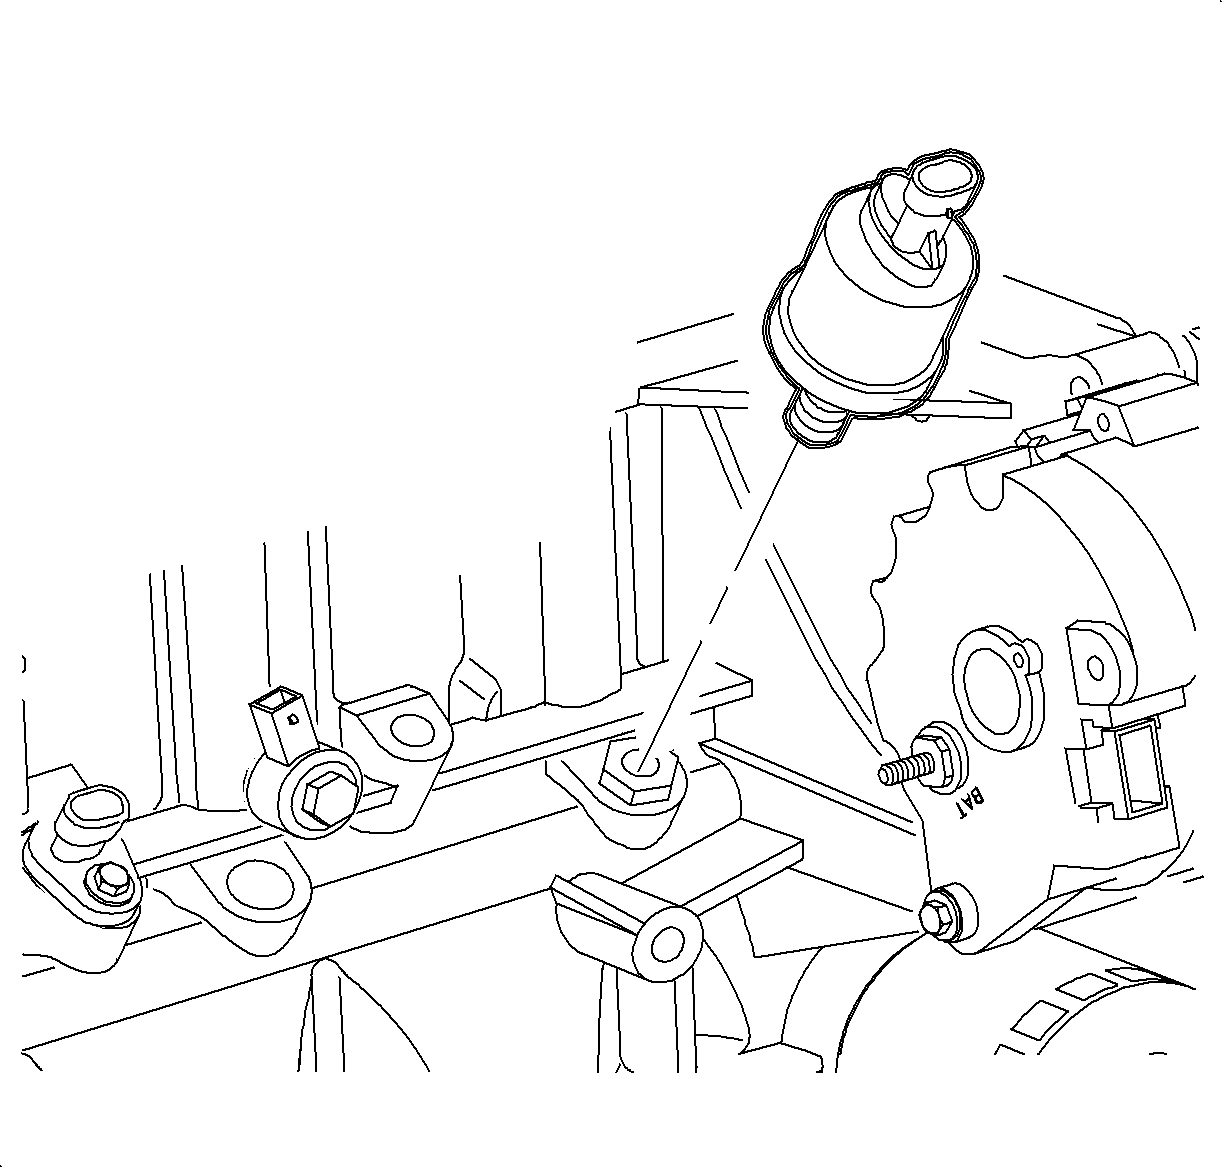
For 1990-2009 cars only
Removal Procedure
- Turn the ignition Off.
- Raise the vehicle.
- Disconnect the engine oil pressure (EOP) switch harness connector.
- Remove the EOP switch.

Caution: Ensure that the vehicle is properly supported and squarely positioned. To help avoid personal injury when a vehicle is on a hoist, provide additional support for the vehicle on the opposite end from which the components are being removed.
Important: A 19 mm (3/4 in) crowfoot and 3/8 in. wobble drive extension 3 inches long, will allow access to the EOP switch for removal and torquing.
Installation Procedure
- Apply RTV sealant or equivalent to the EOP switch threads.
- Install the EOP switch.
- Connect the EOP switch harness connector. Push in the connector until a click is heard and pull back to confirm a positive engagement.
- Lower the vehicle and run the engine.
- Check for leaks.

Tighten
Tighten the oil pressure sending unit to 45 N·m (33 lb ft).
