Crankshaft Rear Oil Seal Replacement Two Piece Design
Tools Required
SA9121E Rear Crank Seal Replacer
Removal Procedure
- If the rear oil seal carrier is removed from the cylinder block, use a screwdriver and hammer to tap out the oil seal.
- If the rear oil seal carrier is not removed from the cylinder block, use the pry tangs provided in the carrier to remove the seal with a screwdriver and hammer.
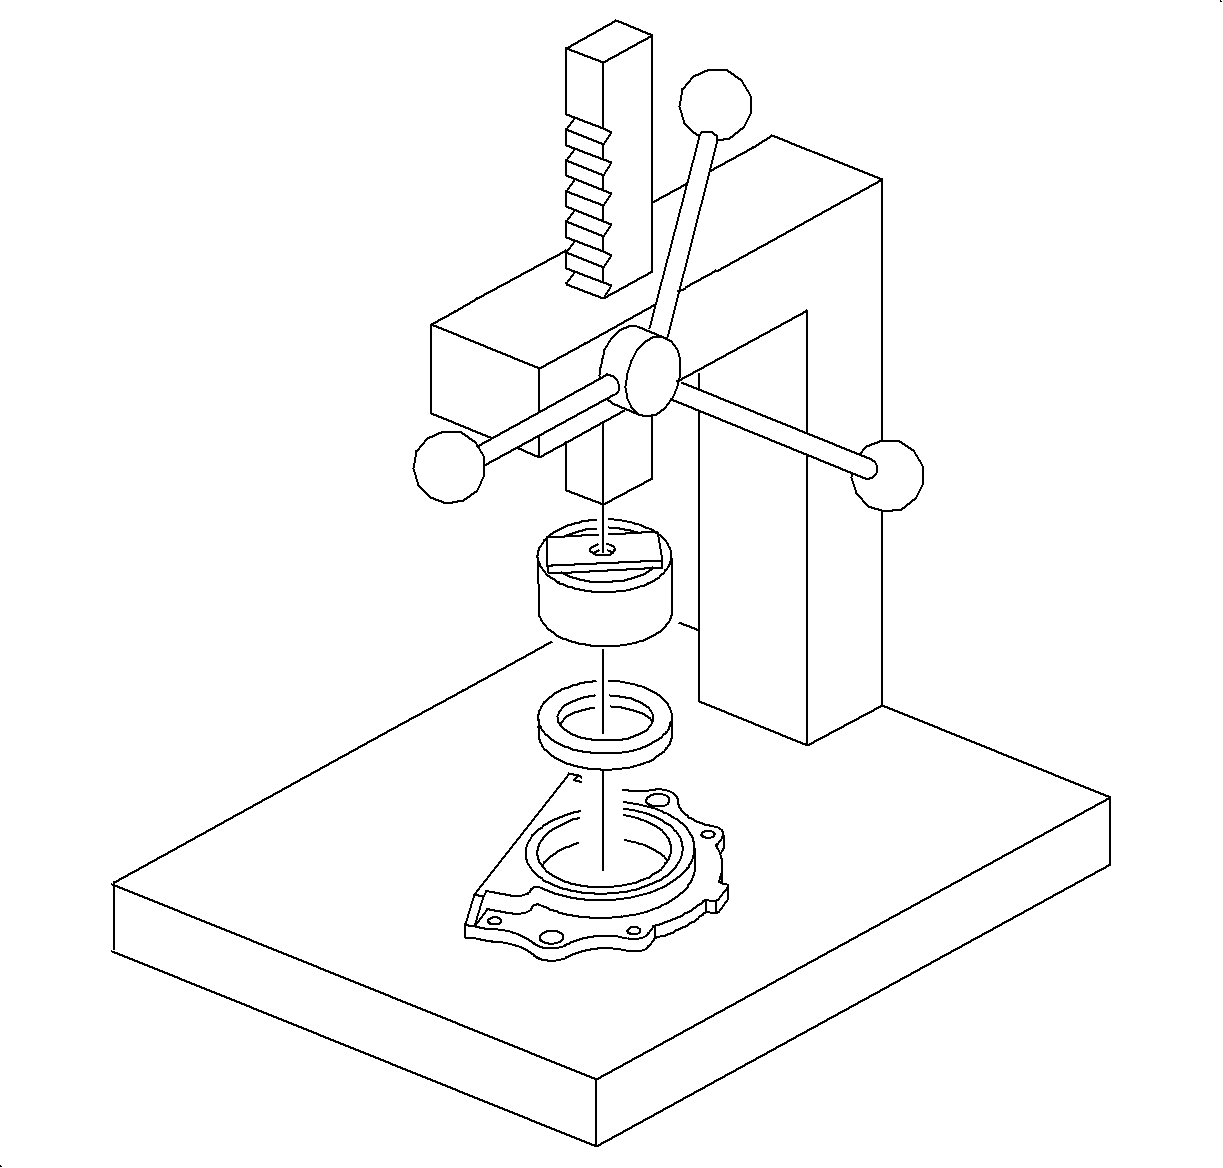
Important: The SA9121E installs the seal 1 mm (0.04 in) deeper into the carrier than the factory. Installing the seal 1 mm (0.04 in) will make sure the seal lip contacts a different surface area on the rear crankshaft flange.
Important: Do not allow the screwdriver blade to contact the crankshaft flange seal surface.
Installation Procedure
Carrier Installed
- Check the oil seal lip contact surface of the crankshaft for scratches or damage. If rust is present, remove using a Scotch-Brite® pad. Do not use emery cloth, sandpaper, or other abrasive materials. Rust removal is necessary to prevent seal lip damage during installation.
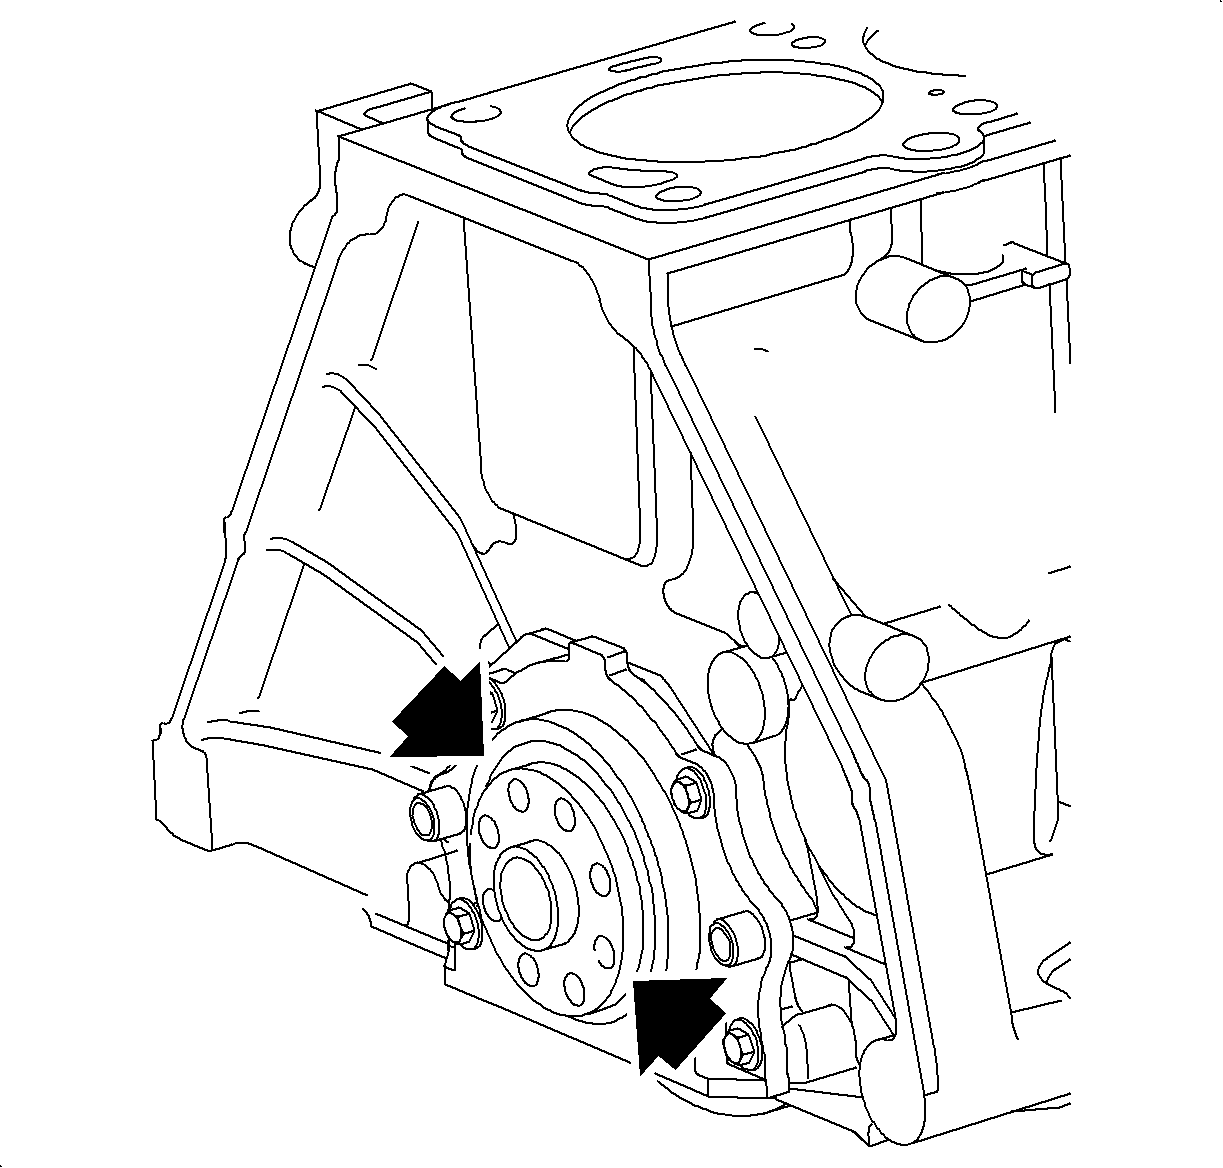
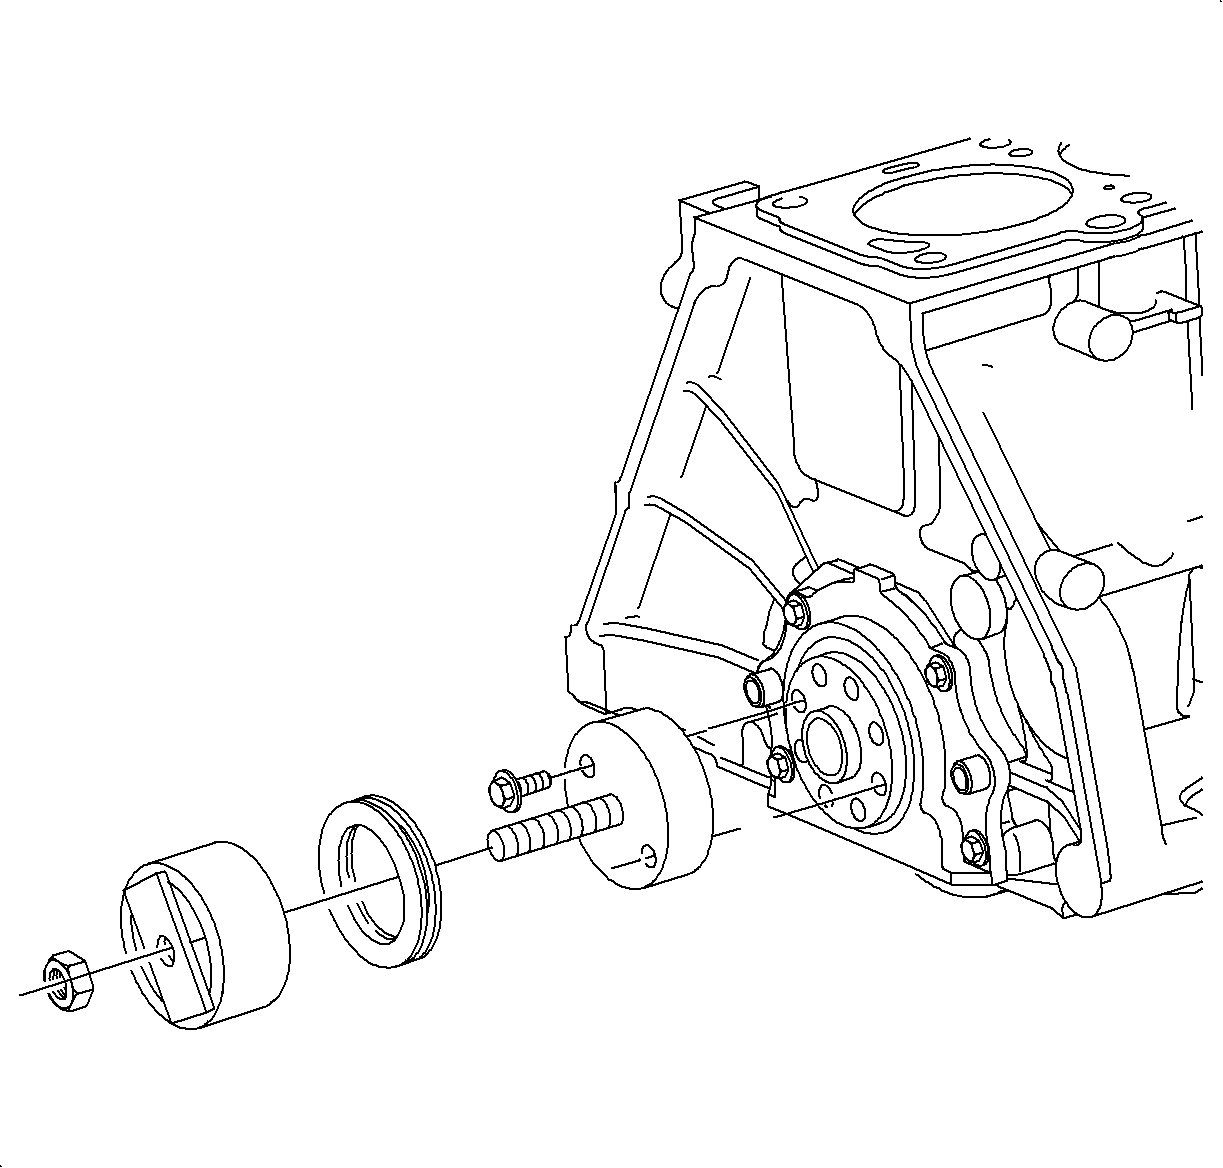
- With the crankshaft and rear carrier installed on the cylinder block, use the SA9121E to install a new oil seal. The service tool prevents rolling the seal's lip. Never tap on the seal or the seal installer with a hammer.
- Apply a film of oil to the seal lip and inside diameter of the carrier.
Carrier Removed
- If the rear crankshaft oil seal carrier is not installed on the cylinder block, apply a light coat of engine oil to the seal lip and inside diameter of the carrier.
- Using the SA9121E and an arbor press, push the oil seal into the carrier. Never tap on the seal or seal installer with a hammer.
- Apply a 2 mm (0.08 in) diameter bead of RTV to the carrier.
- Install the four rear crankshaft seal assembly bolts.

Important: The rear crankshaft oil seal should be installed with the crankshaft and carrier assembled in the cylinder block whenever possible. The SA9121E is designed to pull the seal into place and make sure it is properly seated.
Important: The SA9121E is designed to guide the seal over the rear crankshaft flange. The service tool prevents rolling the seal lip.
Important: Assemble within 3 minutes, while the RTV is still wet. Do not wait for the RTV to skin over.
Tighten
Tighten the crankshaft rear oil seal assembly-to-block to 11 N·m
(97 lb in).
Crankshaft Rear Oil Seal Replacement One Piece Design
Removal Procedure
- Remove engine oil pan. Refer to "Oil Pan - In Chassis" removal procedure in the General Information section of this service manual.
- Remove rear oil seal assembly bolts and discard bolts. New bolts are supplied with seal kit and will be used for installation.
- Pry the outside edges of rear oil seal carrier away from engine block and remove seal carrier.
- Remove original RTV from engine block and oil pan using scraper or 3M Scotch-Brite® pads, or equivalent.
- Clean the engine block sealing surface with a chlorinated solvent, such as brake cleaner Saturn P/N 21007432, alcohol, or equivalent.
- Check the oil seal lip contact surface of the crankshaft for rust, scratches, or damage. If rust is present, remove using a fine 3M Scotch-Brite® pad and clean thoroughly.
Notice: To prevent oil leaks and seal damage, the engine's oil pan must be removed if the rear oil seal carrier requires replacement.
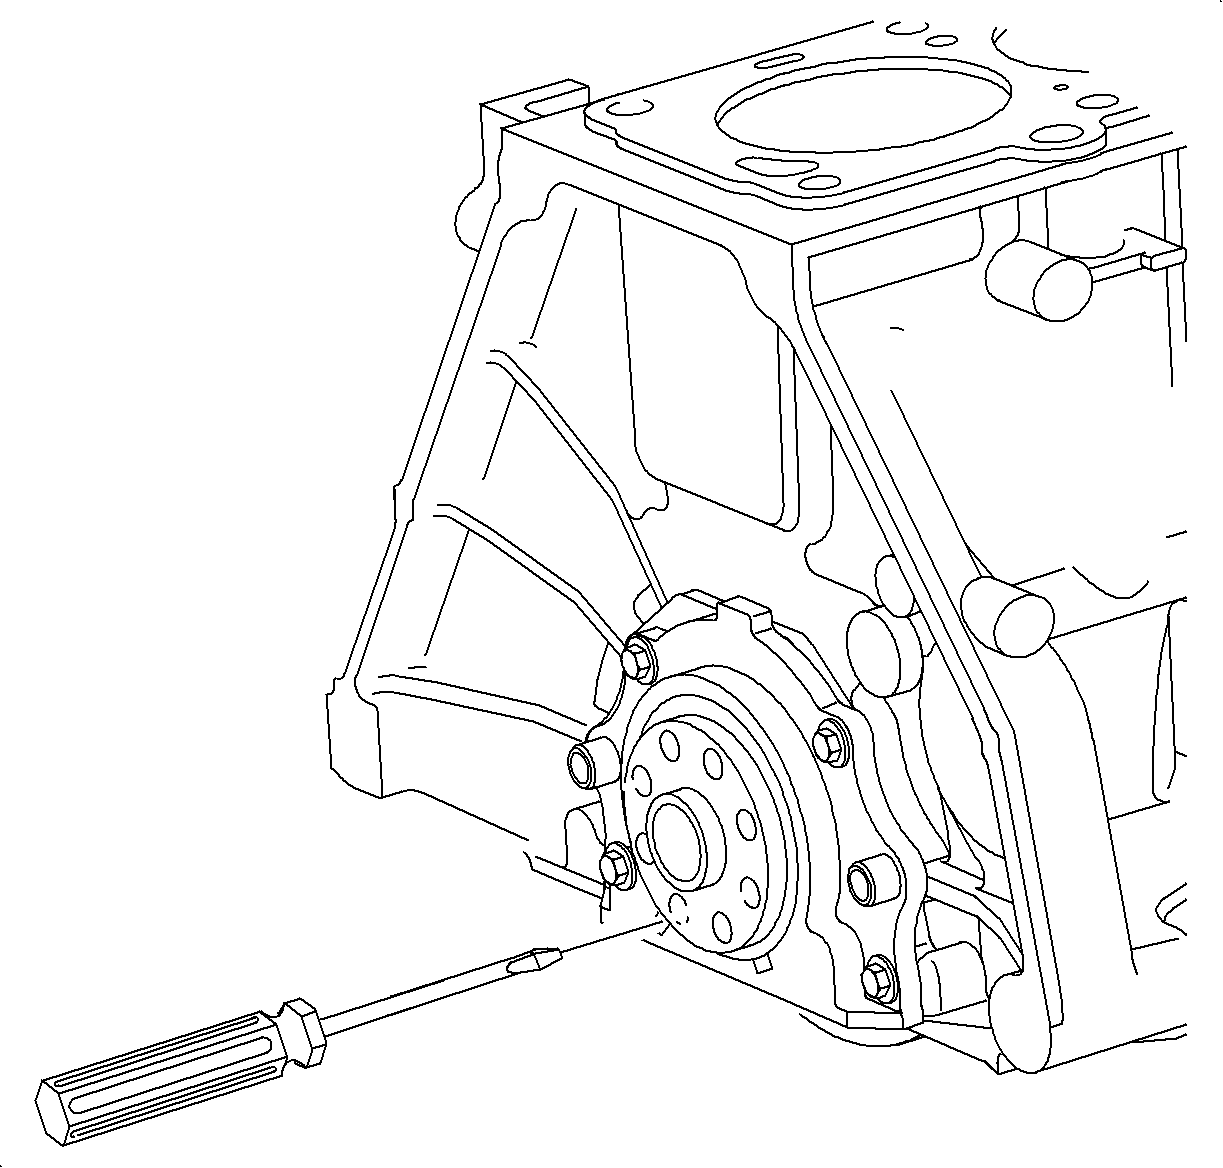
Notice: Do not pry in the area of the crankshaft flange sealing surface.
Notice: Do not use petroleum cleaners such as mineral spirits. They leave a film onto which RTV will not stick.
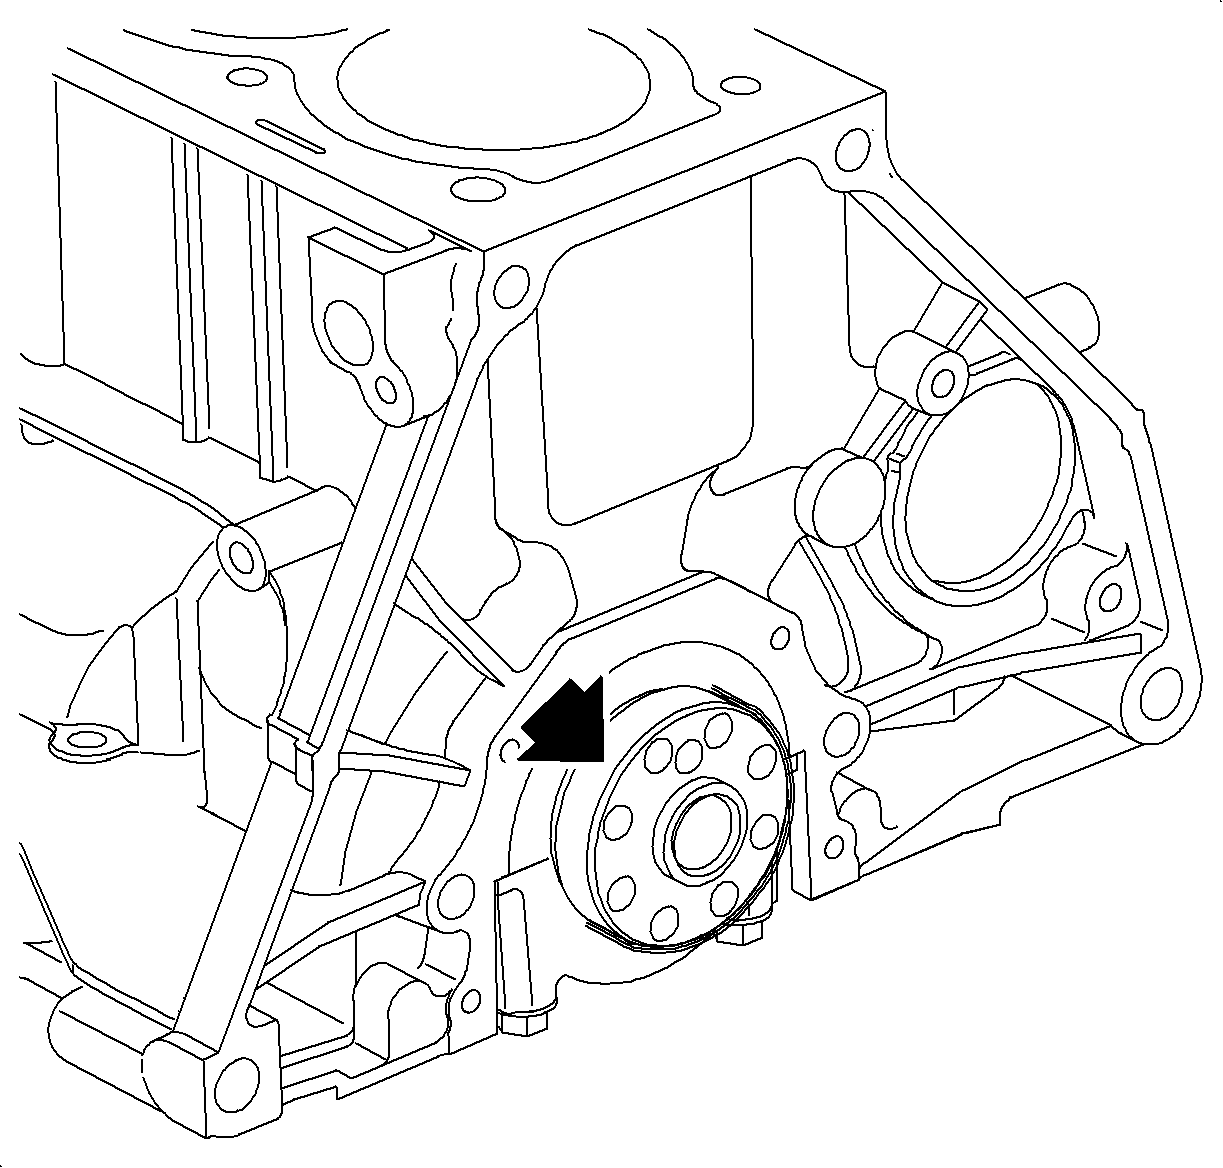
Installation Procedure
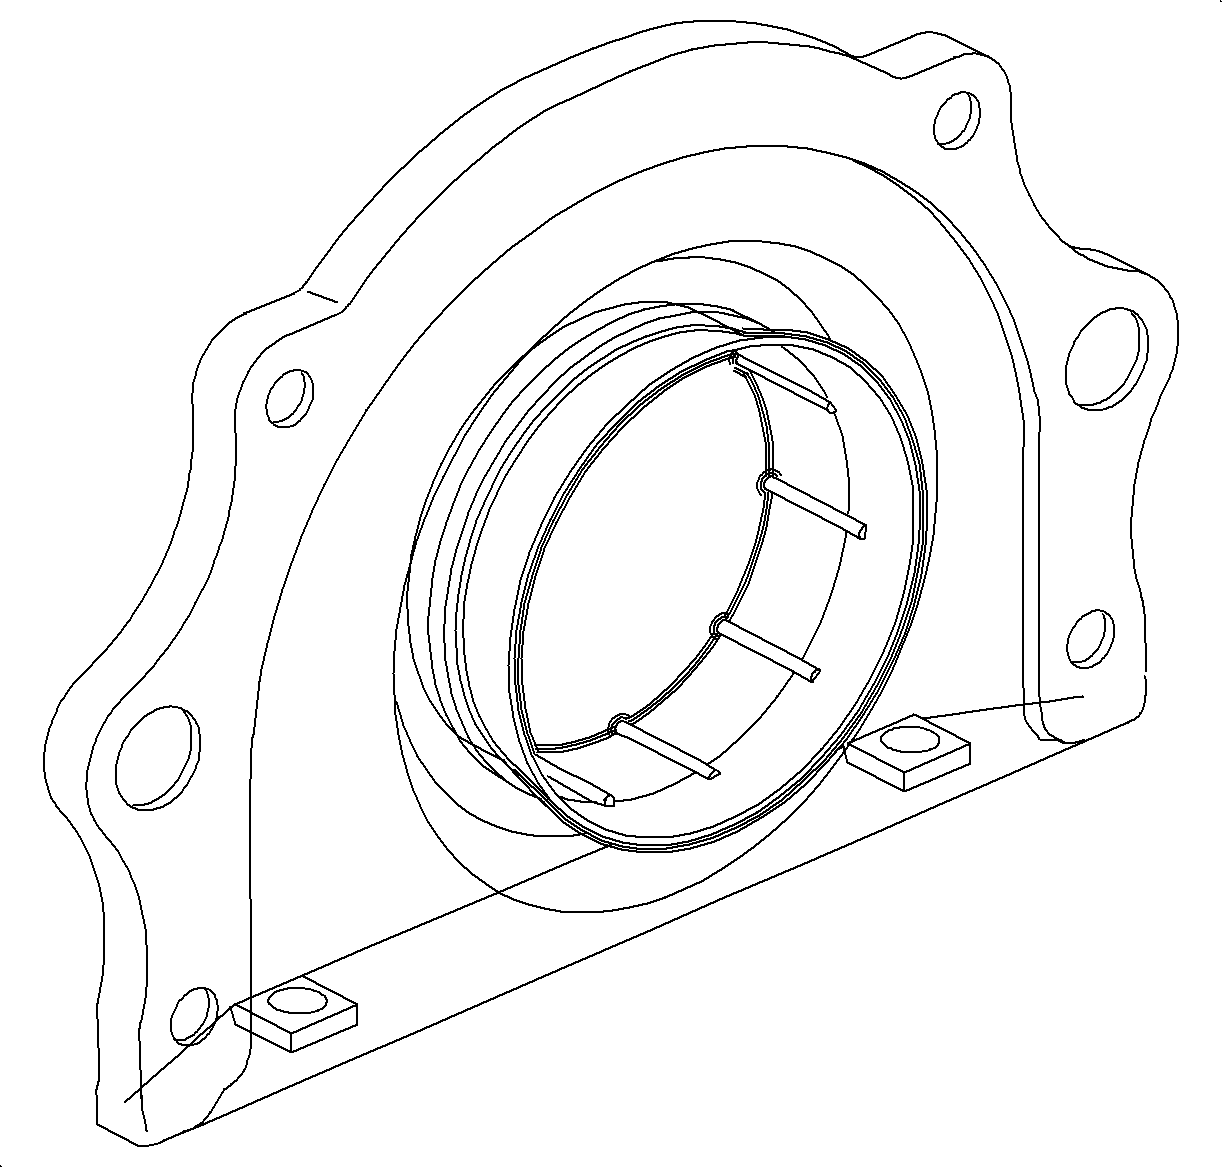
- Do not remove the sleeve from the seal assembly until after installation to the engine block.
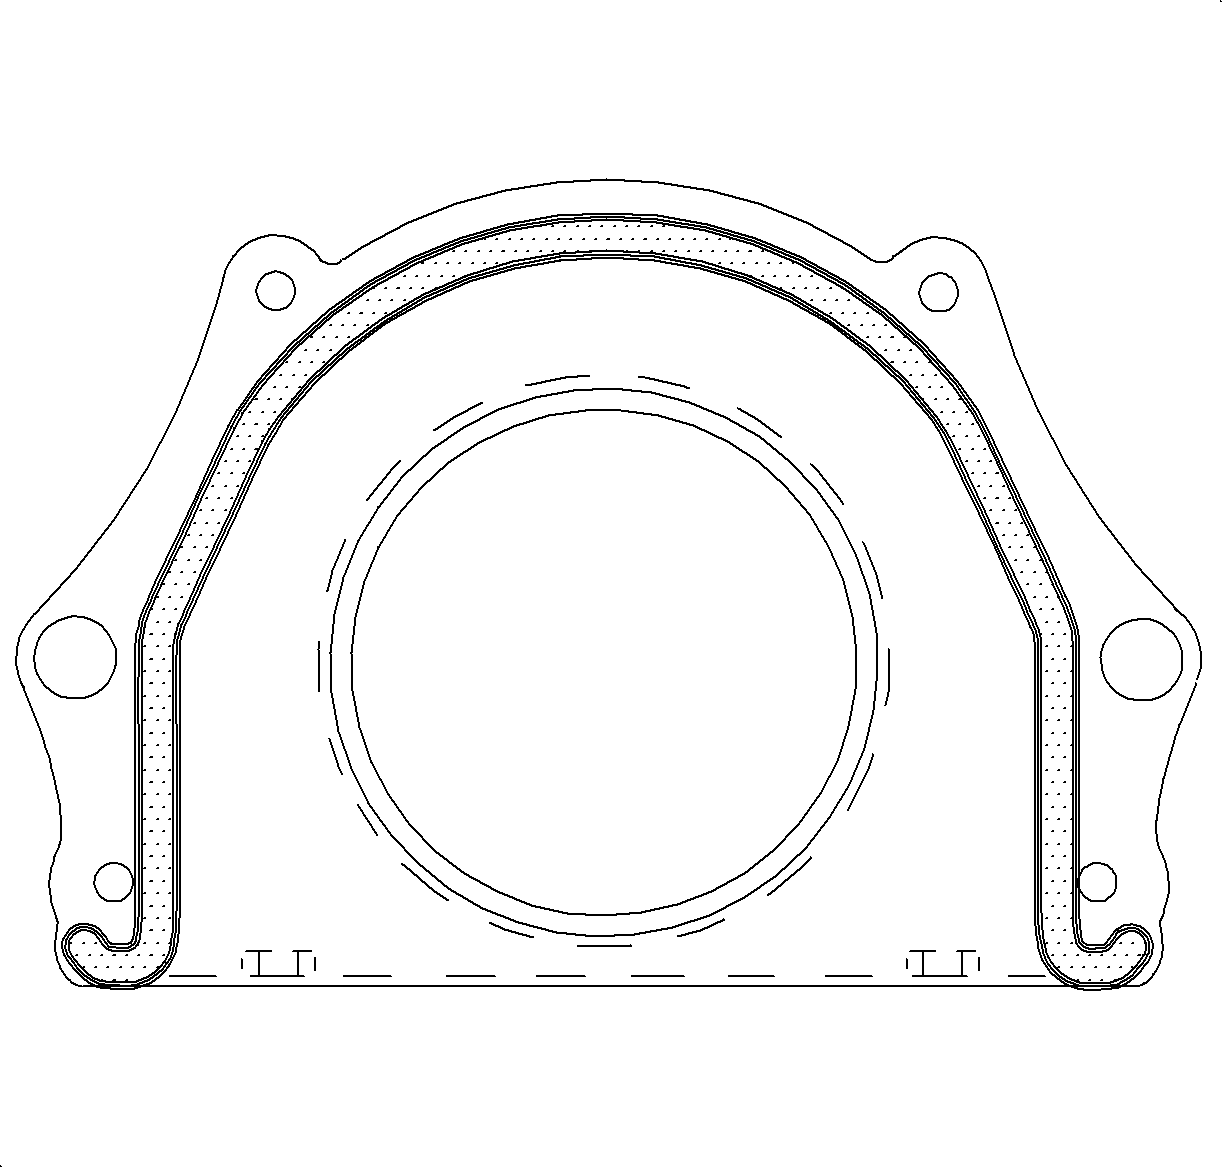
- Apply a 5 mm (0.2 in) diameter bead of RTV to the stamped metal seal assembly as shown.
- Apply a film of oil on the crankshaft scaling surface where the seal rides.
- Install the seal assembly to engine block and crankshaft with installation sleeve still in place in seal assembly.
- Install the four new (17 mm) rear crankshaft seal assembly bolts provided with seal kit.
- Remove installation sleeve and discard.
- Install engine oil pan. Refer to "Cylinder Block Assembly" procedures in this section.

Important: The rear crankshaft oil seal assembly comes with a plastic installation sleeve. The installation sleeve prevents the oil seal from rolling during assembly.
Important: Assemble while RTV is still wet, within 3 minutes. Do not wait for RTV to skin over.
Tighten
Tighten the crankshaft rear oil seal assembly-to-block
to 11 N·m (97 lb in).
