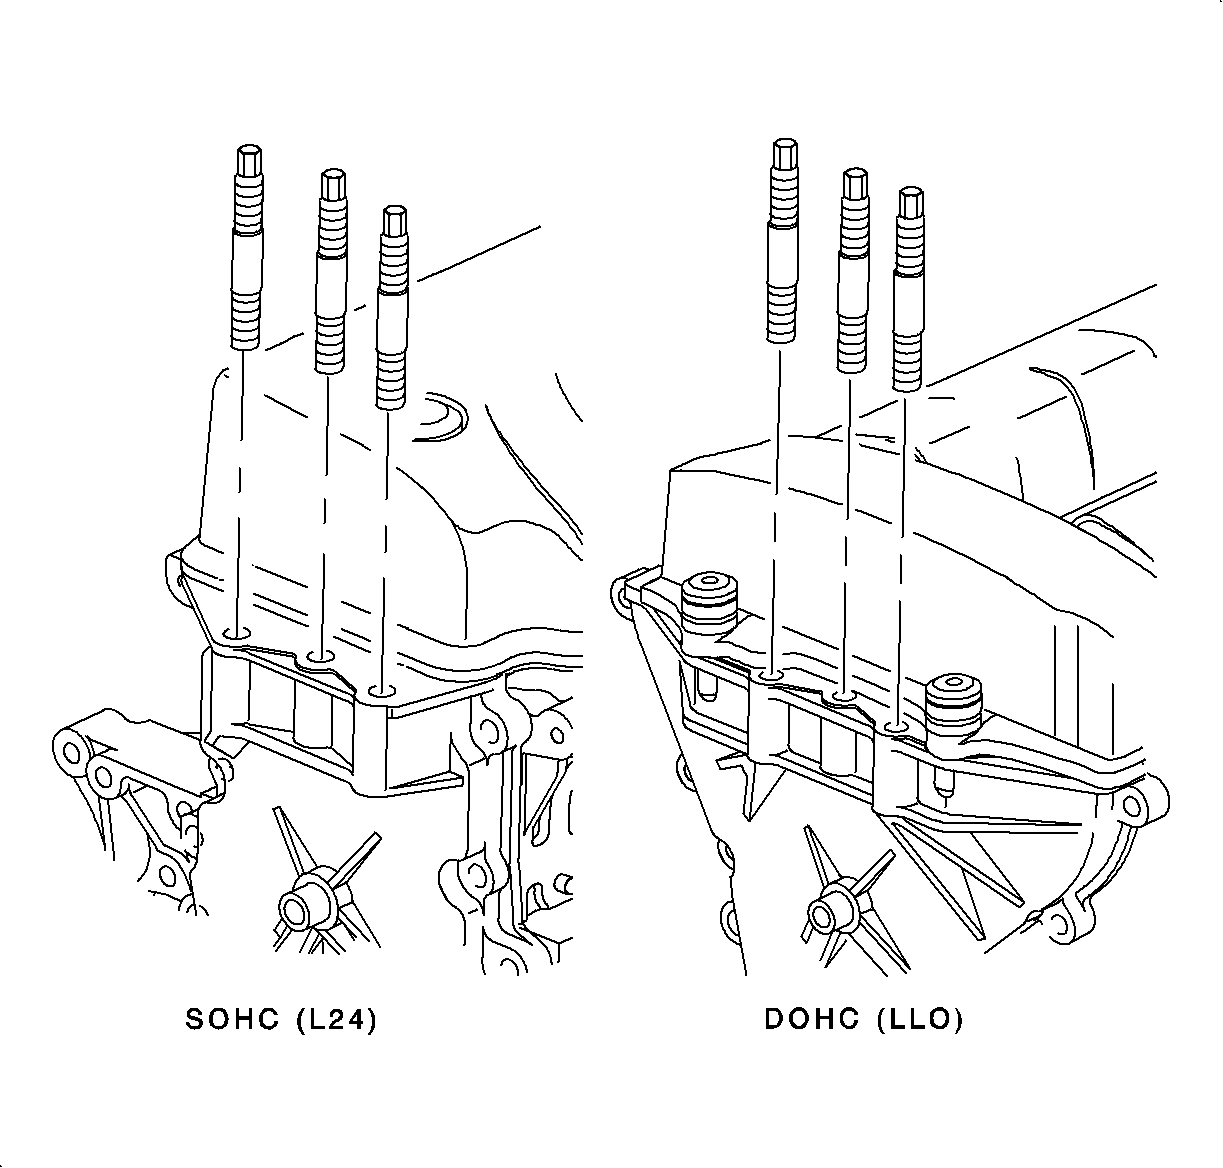
Removal Procedure
- Remove the engine mount. Refer to Engine Mount Replacement
- Remove the engine mount front cover studs.

Notice: If the engine mount front cover stud turns or comes out during nut removal, the stud must be fully installed prior to installing the mount and/or nut. Damage to the front cover may occur if the stud is driven with the nut and does not sufficiently engage the front cover threads.
Installation Procedure
- Apply Loctite 242® or equivalent to 6-8 middle threads of clean front cover studs.
- Apply Loctite 242® or equivalent to the threads of the holes in the engine front cover using a cotton tipped applicator keeping the top 2 threads clean.
- Install the studs into the front cover.
- Clean the excess threadlocker from the front cover and studs.
- Install the engine mounts. Refer to Engine Mount Replacement .

Important: If reinstalling a previously installed stud, the threads must be thoroughly cleaned before applying threadlocker. If installing a new stud, the stud may or may not have a pre-applied threadlocker. The front cover stud hole must be thoroughly cleaned using a 10 mm x 1.5 tap to clean the threads and compressed air to remove particles from the stud hole.
Notice: Refer to Fastener Notice in the Preface section.
Notice: Do not over apply threadlocker or allow to accumulate in bottom of hole. The front cover could be damaged when the stud is installed.
Tighten
Tighten the engine mount front cover studs to 25 N·m (18 lb ft).
