For 1990-2009 cars only
Tools Required
J 45400 Strut Spring Compressor
Disassembly Procedure
- Mount J 45400 Strut Spring Compressor (or equivalent) in holding fixture.
- Place strut/spring assembly into spring compressor. Fasten strut with a strut-to-knuckle bolt and nut through the lower strut mounting hole.
- Compress spring enough to completely unload the upper strut mount.
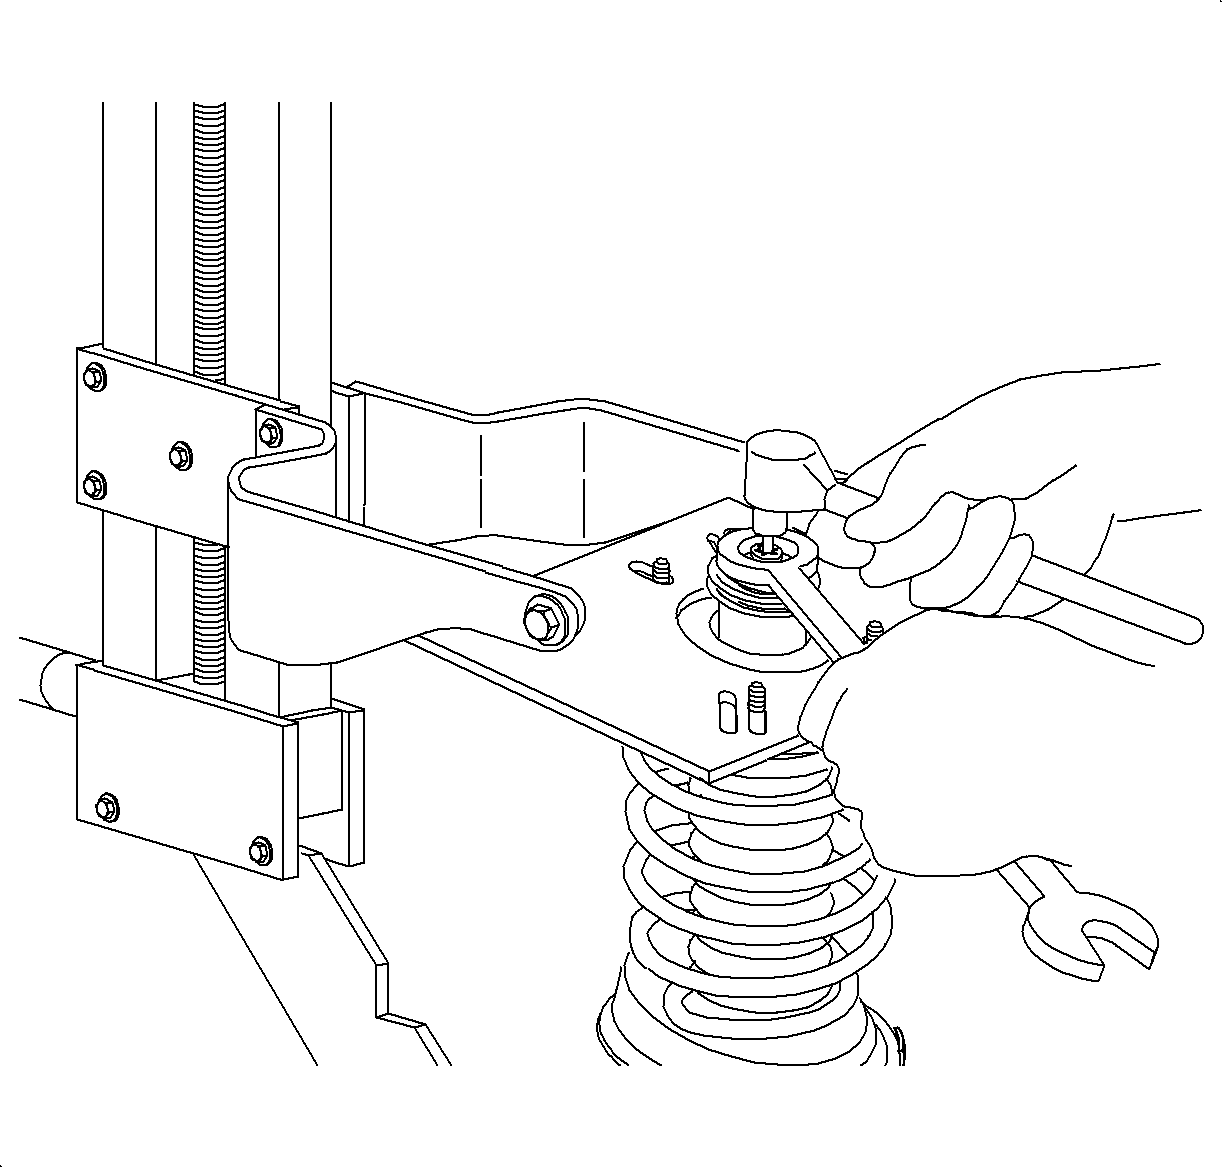
- Remove the strut shaft nut, while holding the strut shaft stationary with a TORX™ socket wrench.
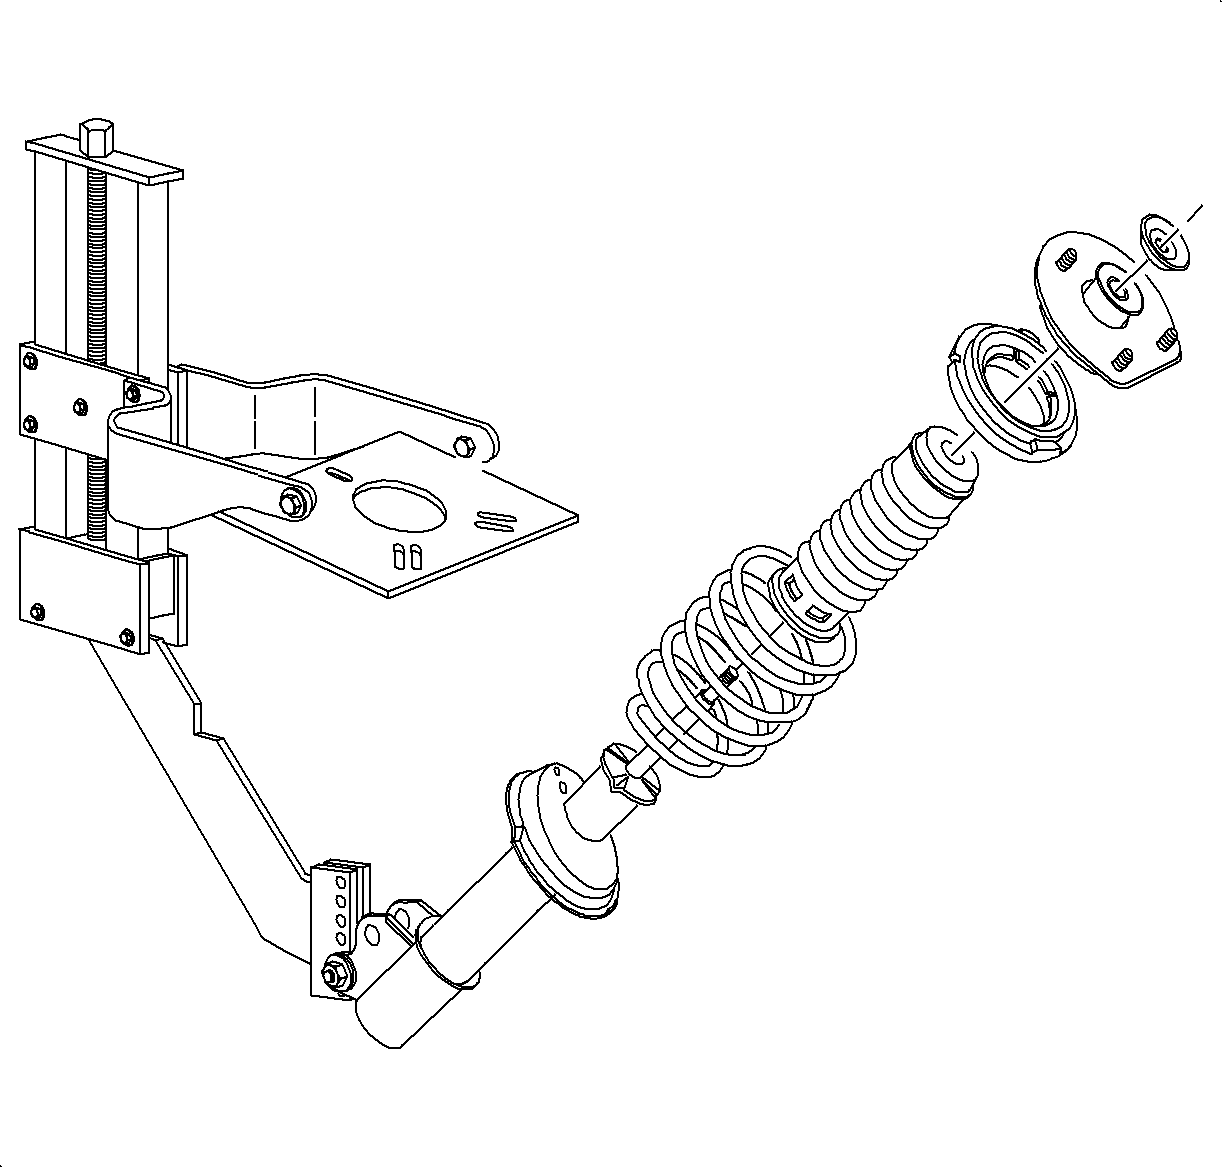
- Release spring compressor and tilt strut assembly outward.
- Remove upper strut mount assembly. Inspect rubber for cracks or deterioration. Rotate upper support bearing by hand and check for smooth operation.
- Remove spring from strut. Inspect spring for damage.
- Remove dust shield assembly. Inspect for cracks or deterioration.
- Remove strut from compressor. Extend and retract strut shaft and check for smooth, even resistance.
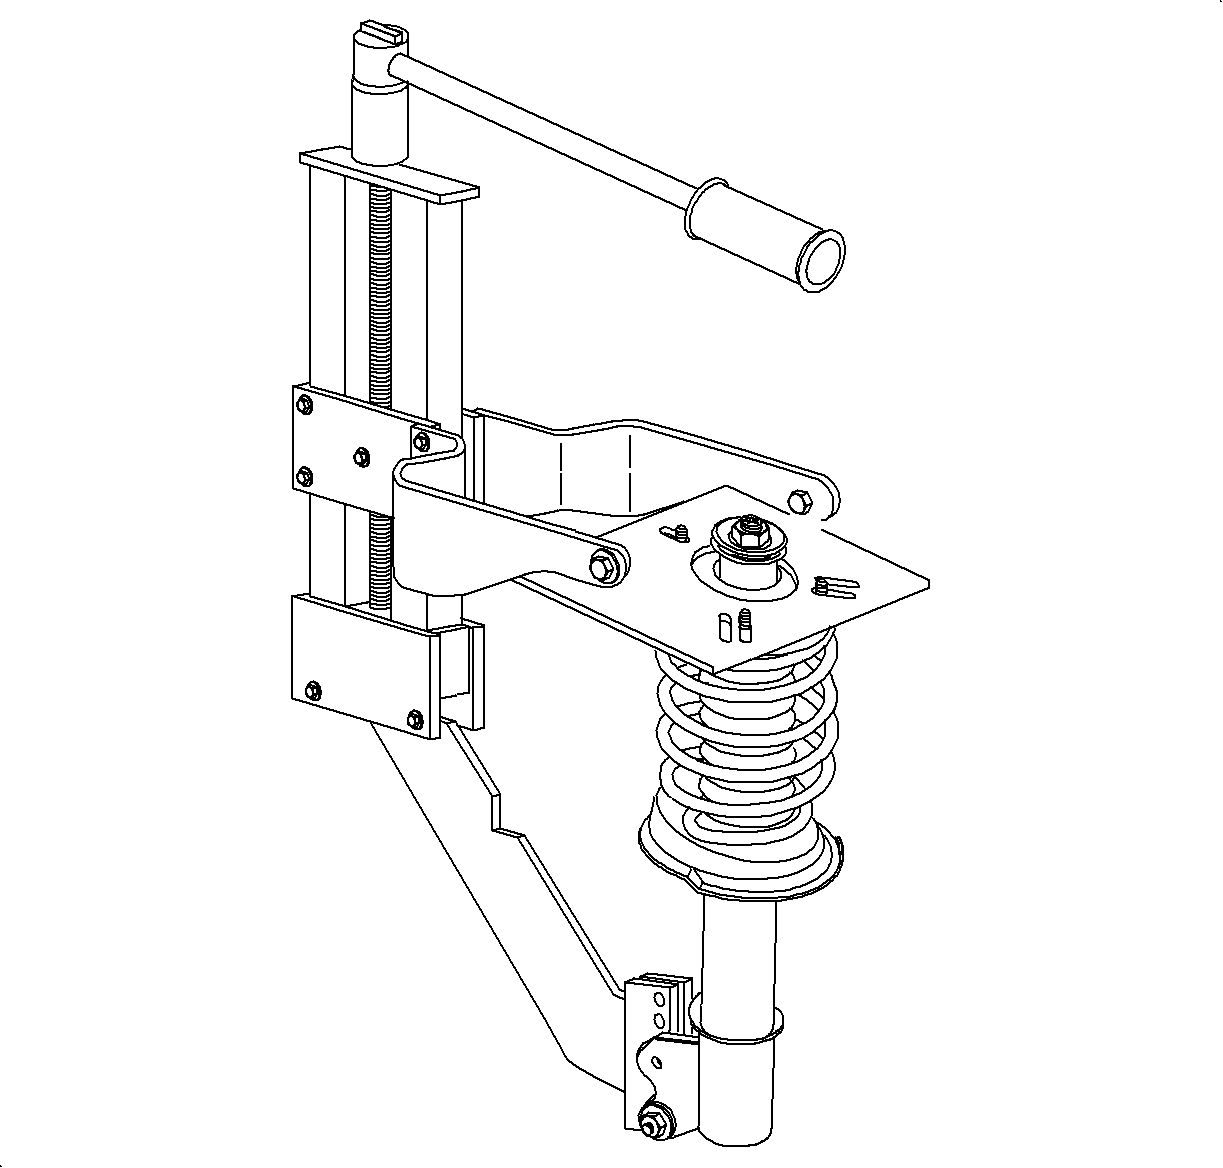
Caution: Strut spring is under a high compressive load. Do not remove the strut shaft to upper support nut without first relieving the upper and lower spring supports of spring pressure, using the proper spring compressing tool.
Assembly Procedure
- Place strut into spring compressor. Fasten strut with a strut-to-knuckle bolt and nut through the lower mounting hole.
- Extend the strut shaft to the limit of its travel.
- Place dust shield assembly onto strut.
- Install spring onto strut.
- Install spring isolator and strut mount.
- Compress the spring, guiding the strut shaft through the upper strut mount assembly until the upper washer and shaft nut can be installed onto the shaft. Do not over compress the spring.
- Tighten the shaft using a TORX™ wrench while holding the shaft nut with a wrench.
- Release the spring compressor tool.
- Remove strut from compressor.
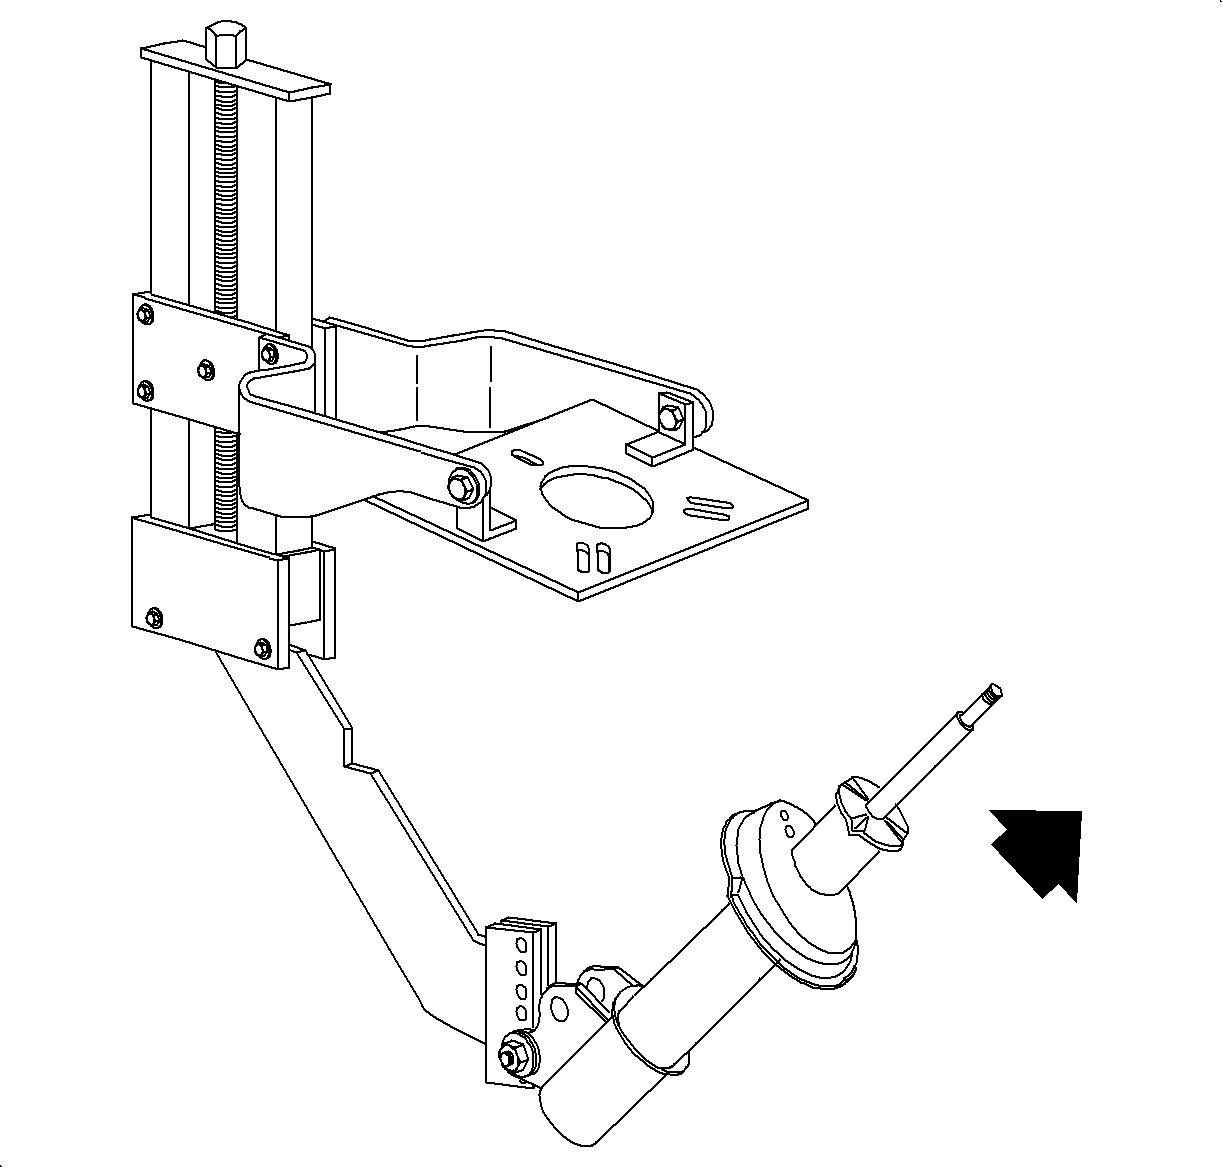
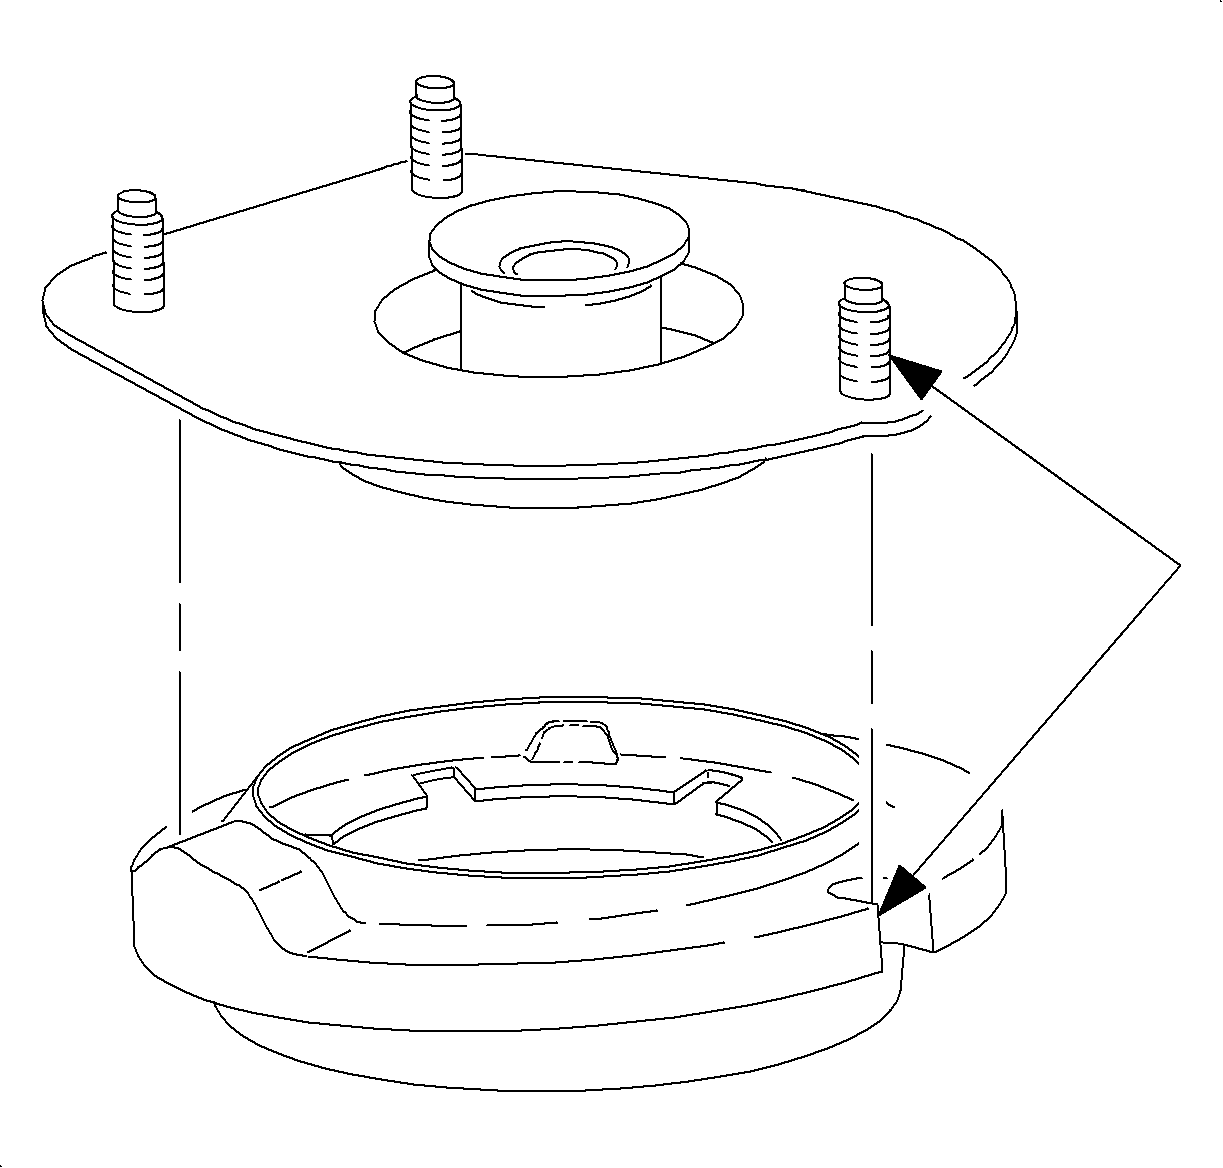
Important: Make sure that spring is correctly positioned in spring seat and isolator.

Tighten
Tighten Upper Strut Shaft Nut 50 N·m (37 lb ft).
