Identifying Refrigerant Purity
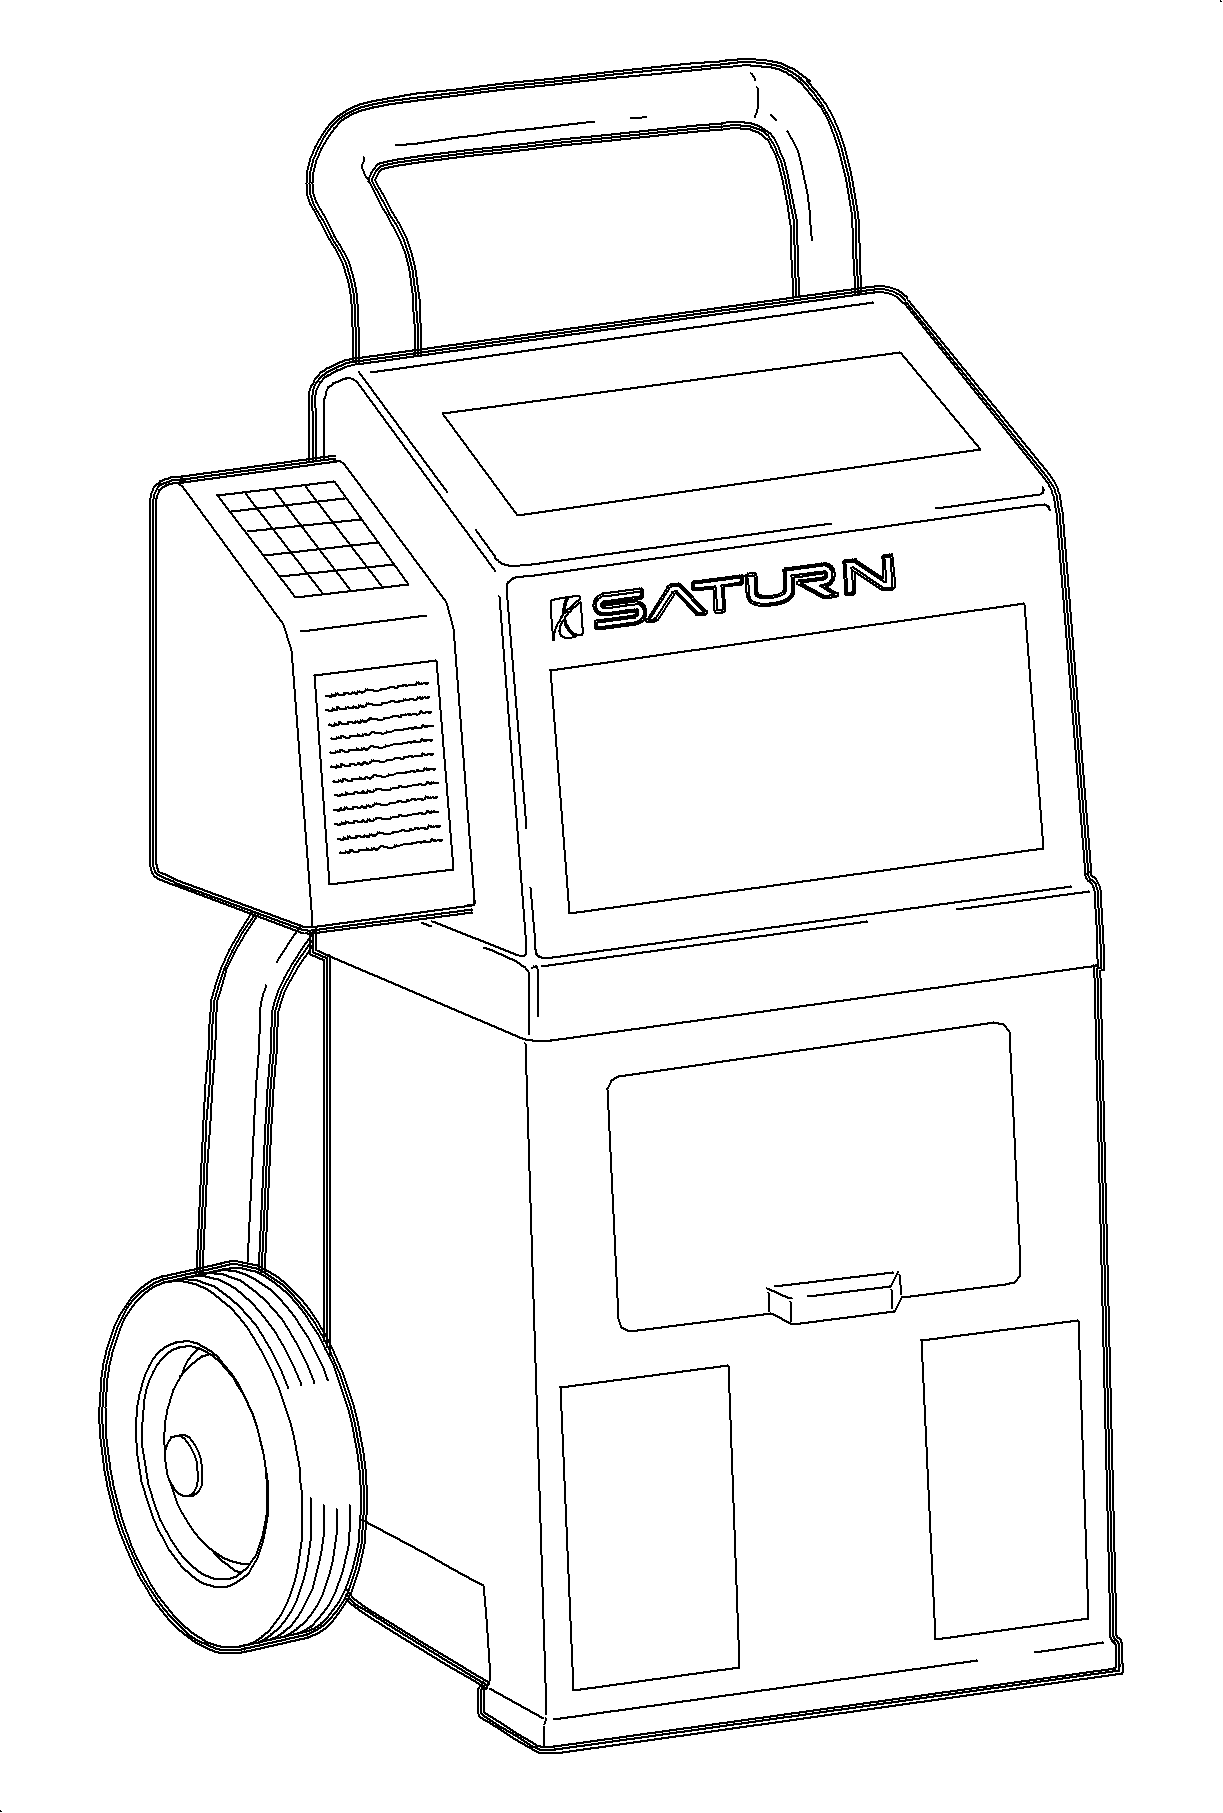
- Turn On the refrigerant identifier and let it reach operating temperature, 3-5 minutes.
- When the display reads HOSE, and with the vehicle turned Off, attach the hose to the low side suction port and open the service valves.
- Press the ENTER button.
- The display will read GAS as a sample of refrigerant is taken and analyzed.
- When analysis is complete, the display will show, by percentage, the make-up of the gas.
- If the refrigerant is less than 98 percent pure the temperature/pressure charts will not be accurate for system diagnosis. If the refrigerant is pure but contains air, the system should be recovered and recharged with virgin refrigerant before proceeding.

Notice: The purity of the system refrigerant should be confirmed before any other diagnostics are begun. The RI-2002DS refrigerant identifier has the ability to identify R-12, R134a, R-22, potentially dangerous hydrocarbons, and non-condensable gases (NCG) such as air. If the A/C system contains anything less than 98 percent pure refrigerant, the refrigerant is considered contaminated and the temperature/pressure charts will not be valid. Contaminated refrigerant should not be recovered as it will contaminate the recovery machine and refrigerant supply tank. Air is not considered a contaminate as it can be purged.
Installing Manifold Gage Set

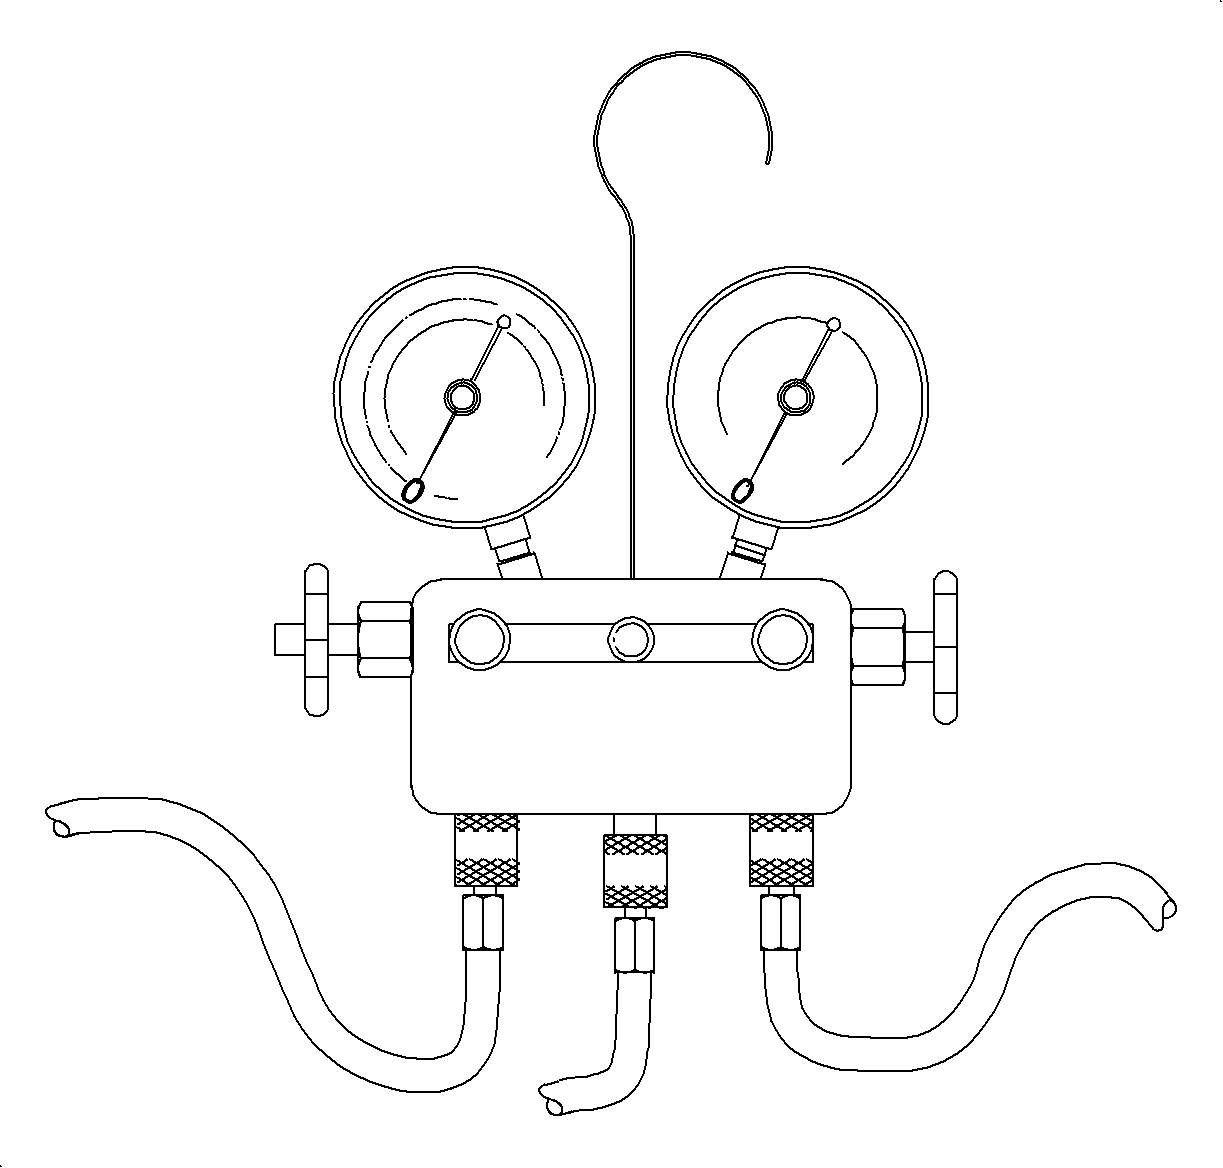
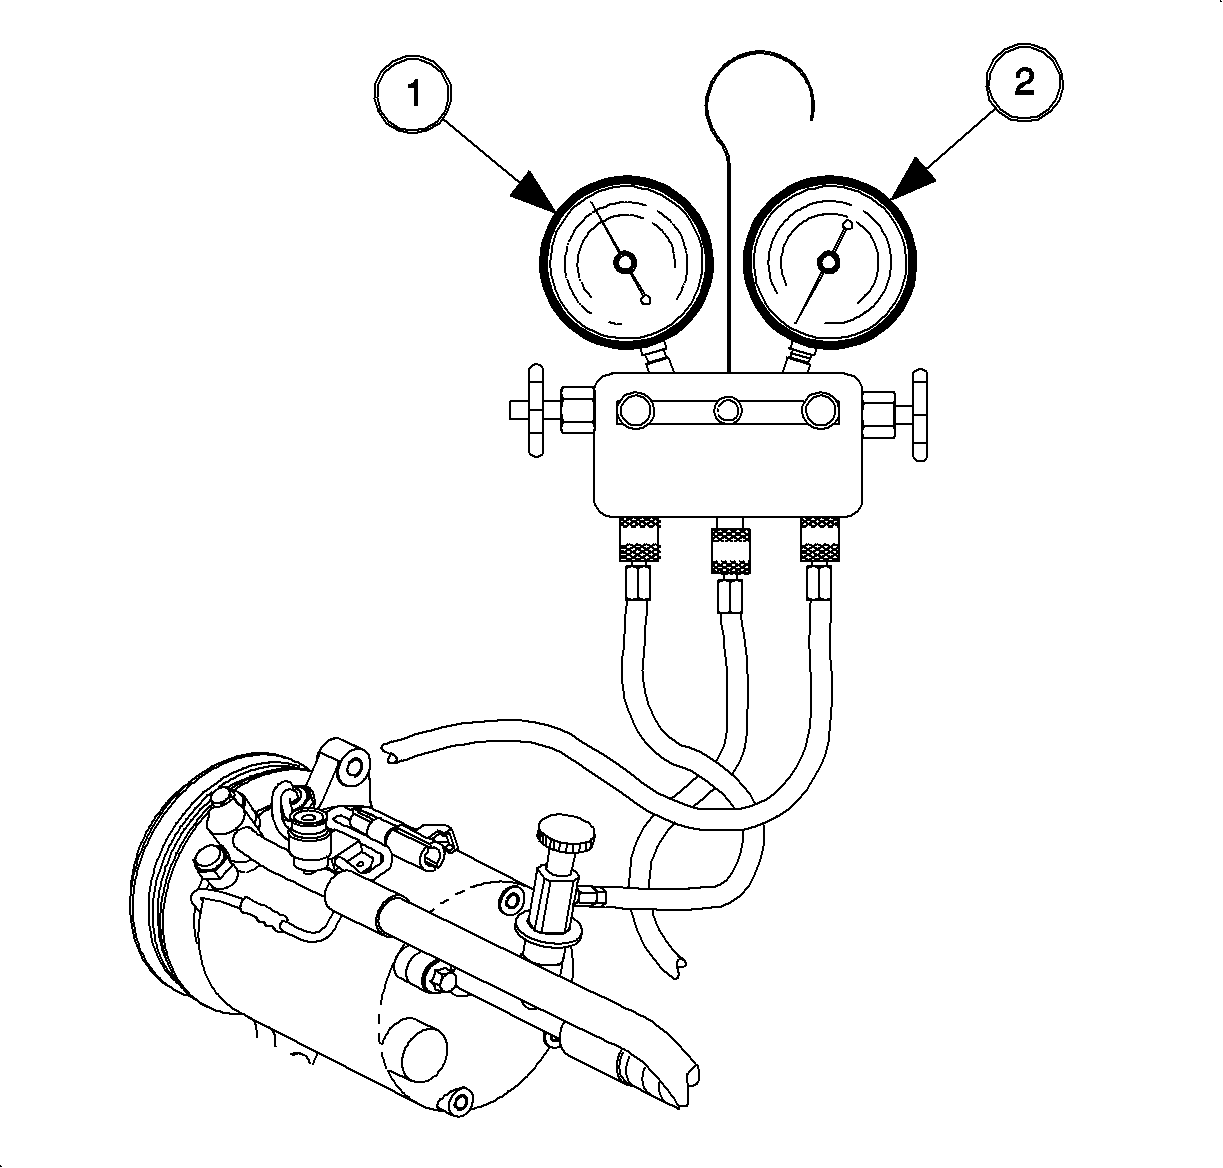
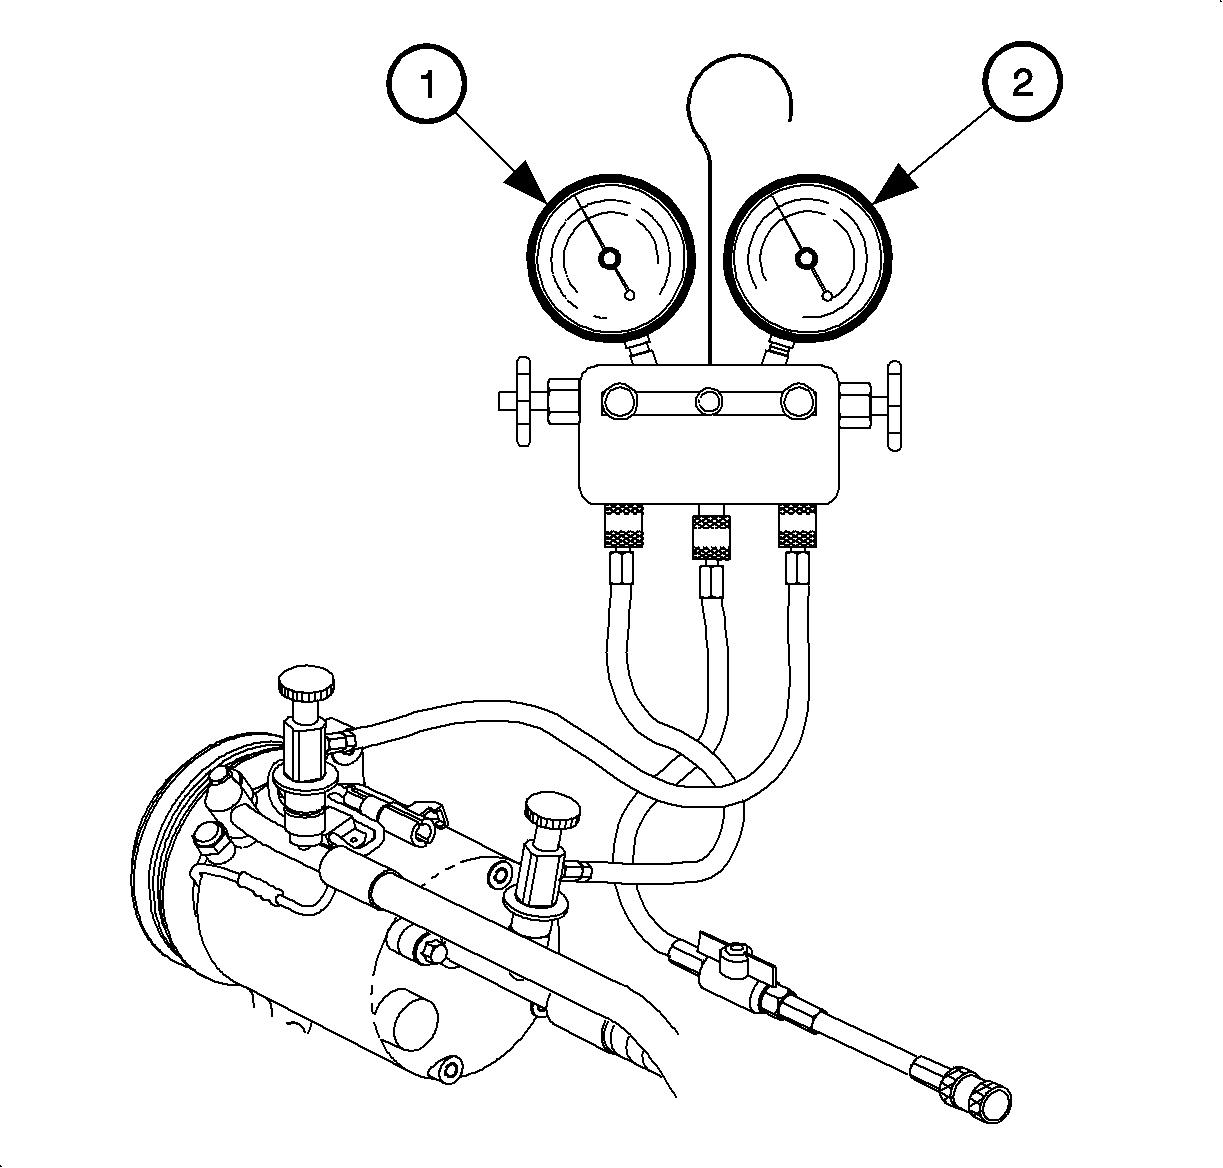
If an A/C system problem still exists after you have completed the preliminary checks, more diagnostic tests must follow. These include manifold gage set readings. Follow the steps listed below for installing a manifold gage set.
- Close both hand valves of the manifold gage set.
- Connect the low pressure blue gage hose to the suction service port located on the suction pipe. Pull the valve assembly collar up, and place the valve assembly over the service port and release the collar.
- Open the service valve.
- Connect the high pressure red gage hose to the discharge service port located on the discharge pipe. Pull the valve assembly collar up, and place the valve assembly over the service port and release the collar.
- Open the service valve.

Caution: Always wear goggles and wrap a clean cloth around fittings, valves, and connections when performing work that involves opening the refrigerant system.
Caution: Beware of the danger of carbon monoxide fumes by running the engine in closed or improperly ventilated garages.
Important: Check to make sure gages read zero before installing manifold gage set.
Low side gage (1)
High side gage (2)

Performance Test - Service Stall
- Start the engine and warm to the operating temperature.
- Install the thermometer in the right center outlet.
- Open the doors and windows to stabilize the interior temperature with the outside ambient air temperature.
- Depress the recirc button.
- Set the temperature knob to full cold.
- Select the 3rd blower speed.
- Depress the A/C button.
- Run the engine at 2,000 RPM.
- Continue running until teh system pressures and outlet temperature stabilizes. Usually 5 to 7 minutes.
- Record the A/C system pressures and outlet temperatures every 5 minutes.
- Compare the readings to the normal system performance charts then continue down the diagnostic flow chart.
Important: If the ambient air temperature is lower than 5°C (40°F), the A/C compressor will not be enabled.
Important: This test must be performed in a service stall environment that protects the vehicle from wind that could cause incorrect pressure/temperature readings.
Performance Test - 72 km/h (45 mph)
- Start engine and warm to operating temperature.
- Install thermometer in right center outlet.
- Recirc Off (Outside Air).
- Set temp to full cold.
- Select 3rd blower speed.
- Depress A/C button.
- Drive vehicle at 72 km/h (45 mph).
- Record A/C system pressure and outlet temperatures every minute for 5 minutes.
- Compare readings to system performance charts and perform additional diagnostics as required.
Important: If the ambient air temperature is lower than 5°C (40°F), the A/C compressor will not be enabled.
