Repair Versus Replace
Damage Level | Description | Repair |
|---|---|---|
Level 1 | Paint scratch | Finesse or refinish |
Level 2 | Gouge in plastic | Fill and refresh |
Level 3 | Crack or puncture | Reinforce, fill and refinish |
Level 4 | Severe or multiple damage | Replace and finish |
The decision to repair versus replace will depend on the severity of the damage, regional labor rates, seasonal work volume, and OEM parts costing. It is the intent of Saturn Service Parts Operation (SSPO) to provide crash parts at a cost which will allow cost effective replacement of all level 4 and most level 3 damage.
GTX and Pulse Rigid Plastic
GTX and Pulse are lightweight corrosion-resistant materials which stand up well to most minor impacts and dents. These materials, however, require special consideration with regard to repair and refinish processes. Standard resins such as fiberglass and polyester have failed to demonstrate adequate adhesion to these plastics during comprehensive testing. Recommendations for grades of sandpaper must be followed to prevent the possibility of further damage to the panel. Curing and sealing must be performed to ensure lasting appearance of the repair.
Level 1
Refer to refinish section for detailed instructions.
Level 2
Cosmetic damage, minor scratches and gouges
- Clean repair area with soap and water followed by an isopropyl cleaner. Wipe dry.
- Grind approximately 1-½ inch around the actual damage with grade 80 on a D-A sander to obtain a taper for best adhesion. If the gouge is very deep, a grade 36, 3 inch 3M ® ROLOC disc may be used. However, be sure to go over the area with grade 80 to remove heavy grind scratches.
- Featheredge the paint around the repair and sand the repair area itself with grade 180A STIKIT gold disc and wipe off with a clean, dry rag. Testing has determined that epoxy or urethane based plastic fillers have greater adhesion to smooth surfaces rather than rough.
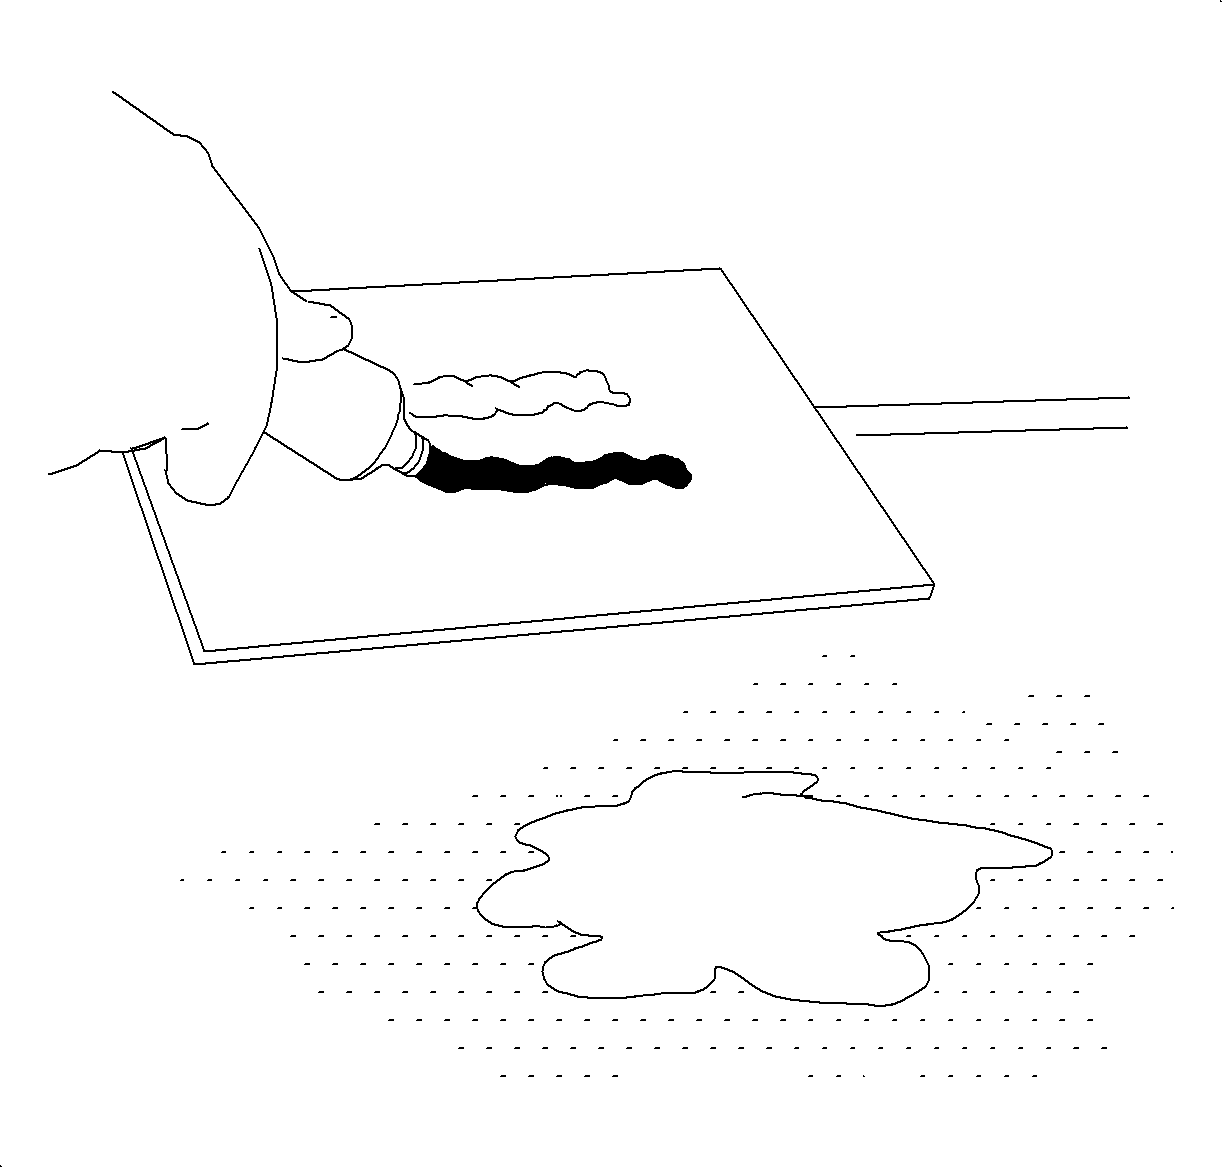
- Mix 3M ® Pro Fill/Bond Rigid Parts Repair, or equivalent, according to the instructions and apply to the repair area with a squeegee or plastic spreader. Build the material slightly higher than the undamaged surface. Allow repair material to cure 20-30 minutes at 16-27°C (60-80°F).
- When the material is cured, sand with grade 180A STIKIT gold disc followed by grade 240A STIKIT gold disc.
- Fill the scratches and pin holes with a skin coat of 3M ® RPRM and sand as in Step 5.
- Apply 1-2 coats of PPG DCP-21 Urethane Primer or equivalent over the repaired area. Air dry for 1-2 hours at 16-27°C (60-80°F), or bake at 61°C (140°F) for 30 minutes. Lightly scuff sand with grade 320A STIKIT gold disc. Wipe with a dry cloth.
- Apply primer surfacer as outlined in panel refinish and block sand.
Level 3
Damage in the form of small cracks or punctures:
When minor holes or punctures are large enough to allow repair filler to escape, apply autobody repair tape to the underside of the repair. If holes, punctures or cracks are extensive and require permanent reinforcement, structural strength may be restored as follows:
Important: For damage with cracks, drill 1/8 inch hole at each end of crack to prevent further cracking.
- Clean the backside of the repair area with soap and water followed by grease and wax remover. Wipe dry.
- Scuff the backside with a 180 grit abrasive.
- Cut a fiberglass cloth large enough to overlap the damage 38 mm (1 1/2 in).
- Thoroughly mix a quantity of 3M ® Pro Fill/Bond Rigid Parts Repair Material or equivalent and apply a layer around the damaged area the approximate size of the fiberglass patch.
- Lay the fiberglass cloth on a clean surface and use a squeegee or plastic spreader to force the adhesive into the fiberglass cloth.
- Apply the fiberglass cloth patch to the backside of the area to be repaired.
- Apply additional structural adhesive over surface of fiberglass cloth patch. Allow 20-30 minutes cure time at 16-27°C (60-80°F).
- Repair the face of the panel as outlined in Level 2 repair.
TPO Flexible Plastic (Front and Rear Bumper Covers)
TPO is a soft thermoplastic used for exterior applications where flexible characteristics are required in order to absorb minor impacts without sustaining damage. Special attention must be given to materials as well as procedures when repairing TPO. Among these are the need for adhesion promoters and epoxy based repair materials.
Level 1
Refer to refinish procedures in this section for detailed instructions.
Level 2
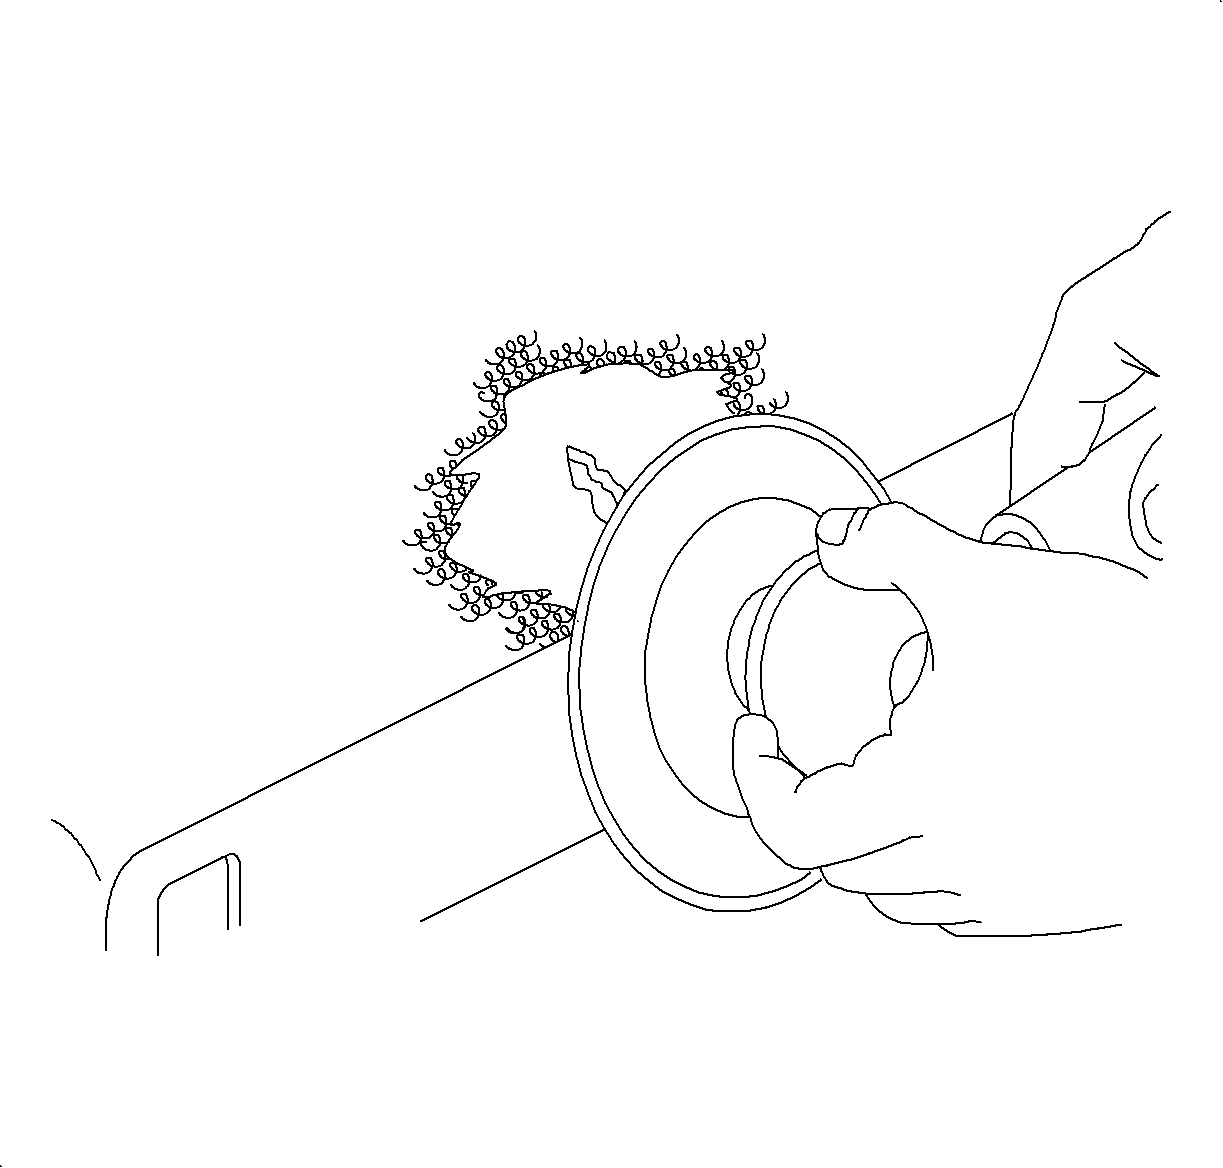
Cosmetic damage, minor scratches and gouges:
- Clean the repair area with soap and water followed by grease and wax remover. Wipe dry.
- Use a 2 or 3 inch 50 grade disc to enlarge the damaged area.
- With a random orbital sander fitted with a 180 grade disc, remove the paint film from the surrounding area to be filled. The repair material should not overlap the painted surface.
- Apply a double wet coat of 3M ® Polyolefin Adhesion Promoter-5907 or equivalent to the entire exposed area.
- Mix 3M ® Flexible Parts Repair Material-5900 or equivalent according to the instructions and apply to the repair area with a squeegee or plastic spreader. Build the material slightly higher than the undamaged surface. Allow the repair material to cure 20-30 minutes at 16-27°C (60-80°F)
- When the material is cured, shape the repair material with a curved tooth body file. Sand with grade 180A STIKIT gold disc followed by grade 240A STIKIT gold disc.
- If low areas or pin holes remain, first apply 3M ®Polyolefin Adhesion Promoter 5907 or equivalent, then mix and spread additional repair material as in Step 5.
- Apply one coat of PPG DPX-800 Polypropylene Primer over the exposed bare substrate. Allow to dry 10-15 minutes.
- Apply the primer surfacer with flex as outlined in Flexible Parts Refinishing, and block sand.
Level 3
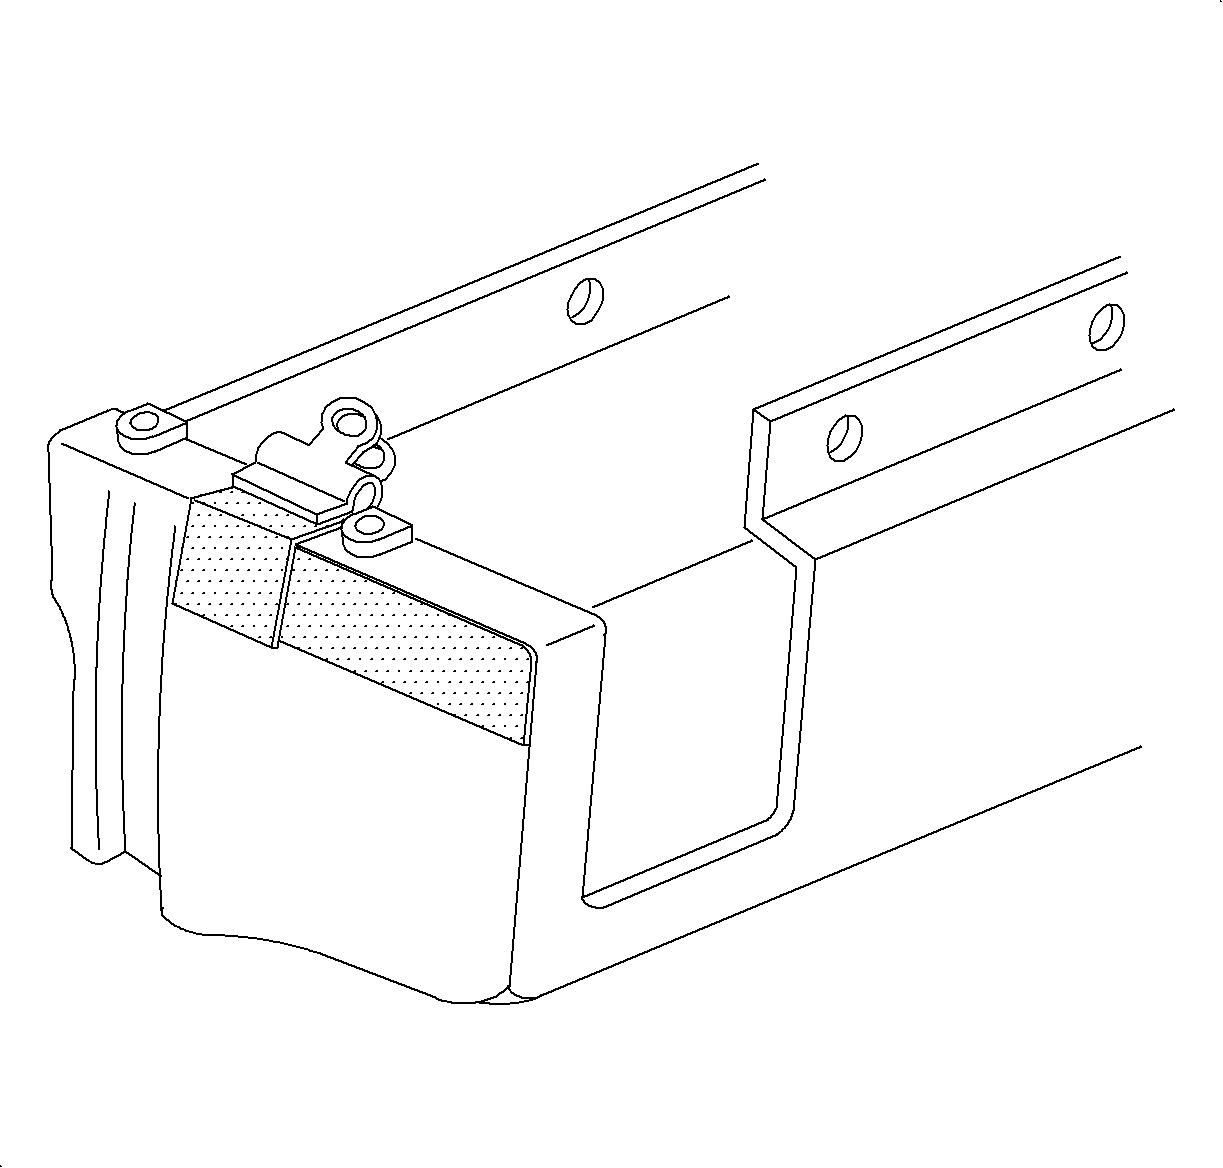
Damage in the form of small cracks or punctures:
Due to the flexible characteristics of TPO, it is necessary to reinforce all cracks and punctures which penetrated the substrate with the following recommended procedure. This process is also useful for repairing attaching surfaces which are cracked or broken away.
- Clean the backside of the repair area with soap and water followed by grease and wax remover. Wipe dry.
- Align and secure the piece on the face side with body tape and a clamp.
- Sand the backside of the damaged area with a 50 grade disc and scuff the surrounding area with 180 grade abrasive.
- Apply a double wet coat of 3M ® Polyolefin Adhesion Promoter-5907 or equivalent to the prepared area of backside.
- Cut a piece of fiberglass cloth large enough to overlap the damage 38 mm (1 1/2 in).
- Thoroughly mix a quantity of 3M ®Flexible Parts Repair Material-5900 or equivalent and apply a layer around the damage area the approximate size of the fiberglass cloth.
- Lay the fiberglass cloth on a clean surface and use a squeegee or plastic spreader to force the repair material into the weave of the cloth.
- Apply the fiberglass cloth patch to the backside of the repair area.
- Apply additional adhesive over the surface of the fiberglass cloth patch. Allow 20-30 minutes cure time at 16-27°C (60-80°F).
- Remove the body repair tape from front side and grind a V-groove along the damaged area with a 50 disc.
- Repair the front as outlined in Level 2 repair.
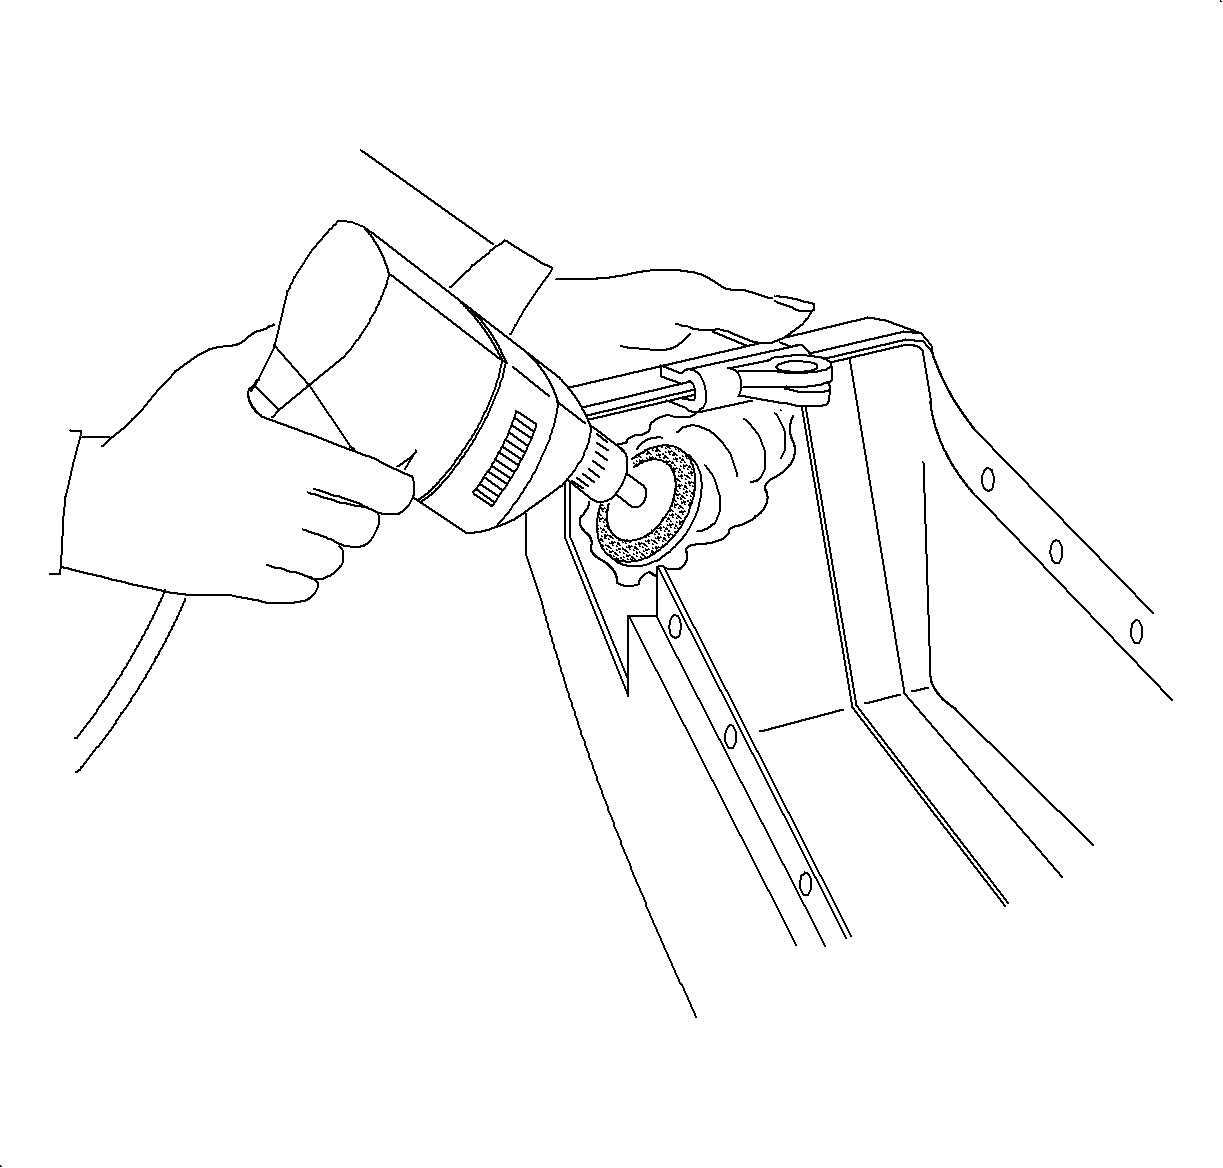

Structural Repairs
Damage to the body panels, such as cracks or holes that pass completely through the panel is referred to as structural damage. This type of damage generally affects the strength and structural integrity of the SMC plastic. All structural repairs require the use of backing strips or patches to provide the strength, rigidity, required to restore structural integrity. The patch also provides a foundation to build and form the exterior surface to match the original contour.
Structural adhesives should be used to prevent cracking under stress produced by vehicle movements.
Structural Backing Strips Or Patches
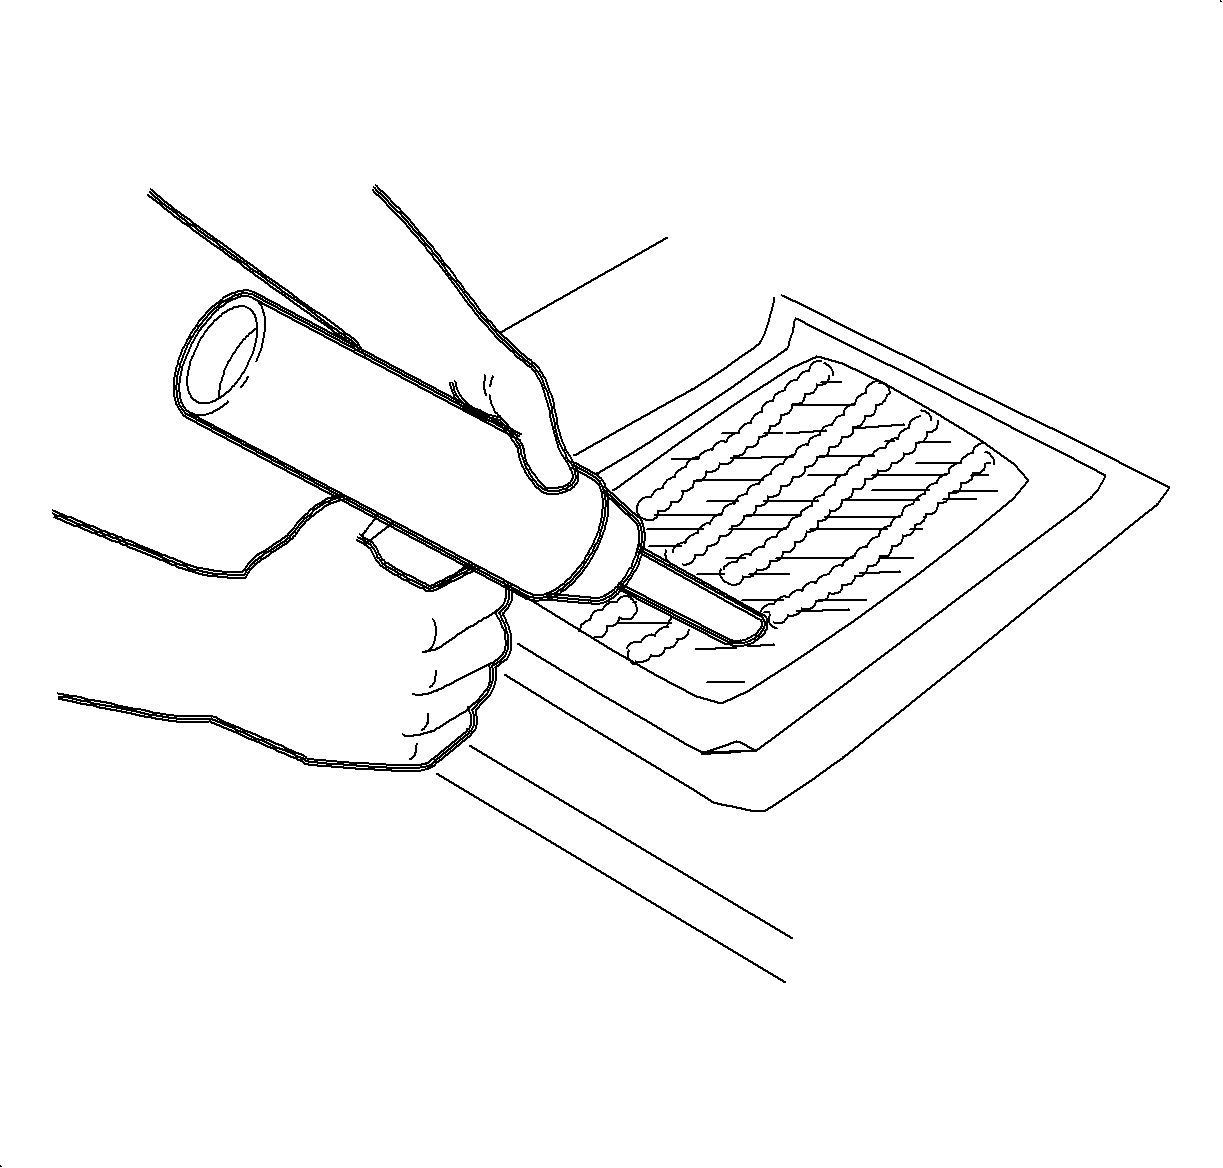
Backing strips or patches can be scrap pieces of panel, or layers of glass cloth, saturated with the recommended structural adhesive.
- When using scrap pieces of SMC as backing, cut the patch to allow for 2 or 3 inches overlap all the way around the damage.
- Follow the manufacturer's recommendations for cleaning the SMC panels, as some solvents may affect the bonding ability of the adhesive after the repair has been made.
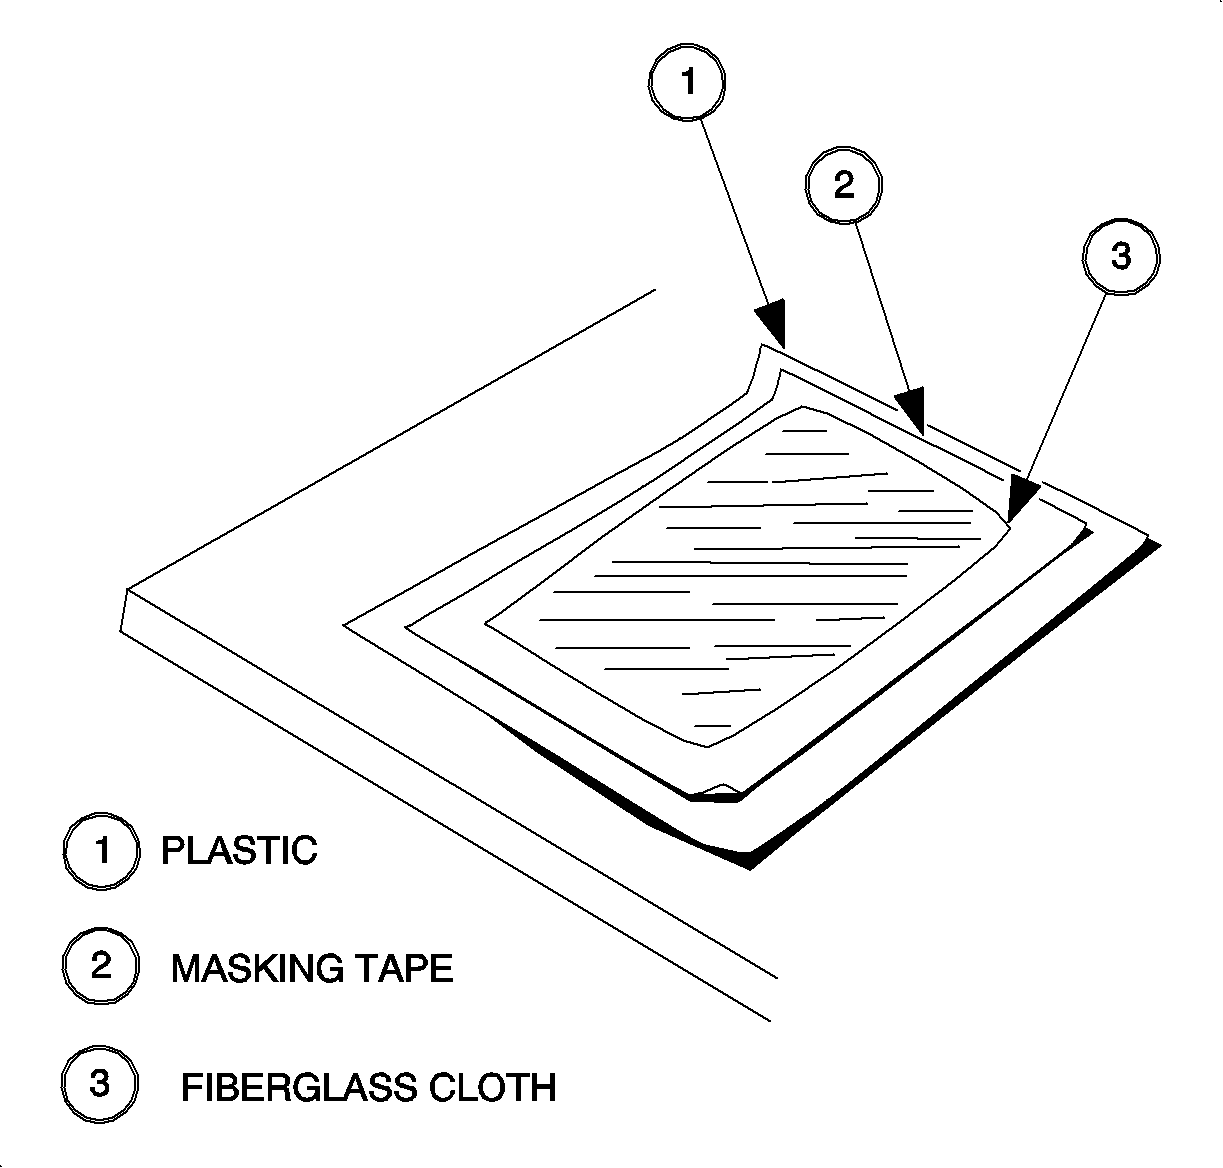
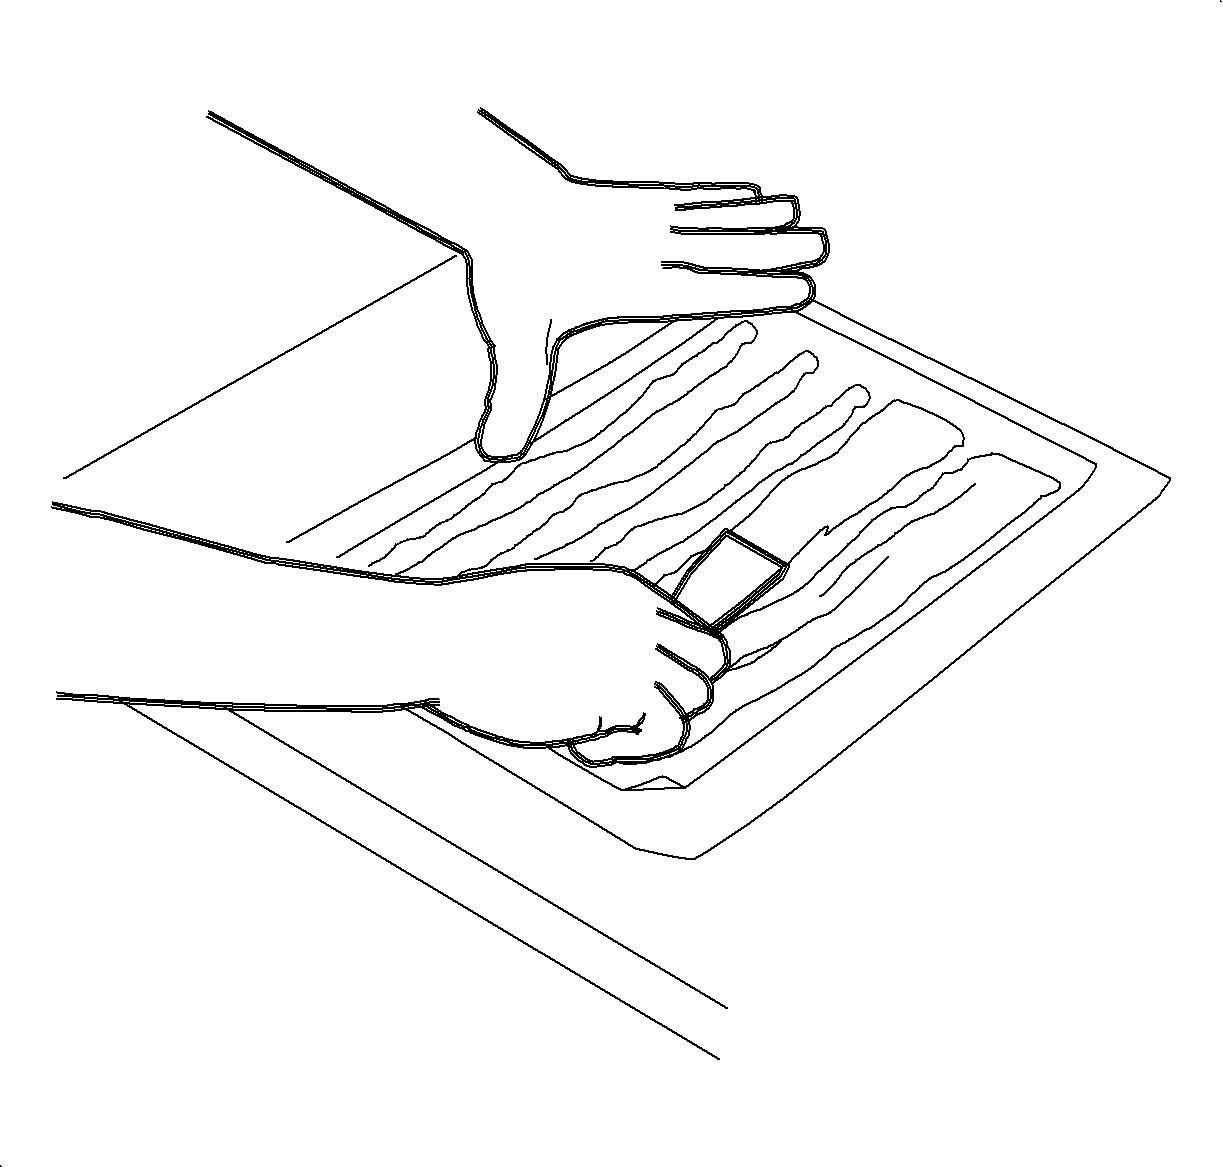
- When using glass cloth as backing, allow 2 or 3 inches overlap on all sides. Spread the cloth on an oversized piece of polyethylene film (plastic foodwrap) as shown.
- Lay the cloth on a flat surface and saturate it with the adhesive.
- Use a putty knife or similar tool to force adhesive into the cloth fibers. Overlay 3-5 layers of cloth in this manner.
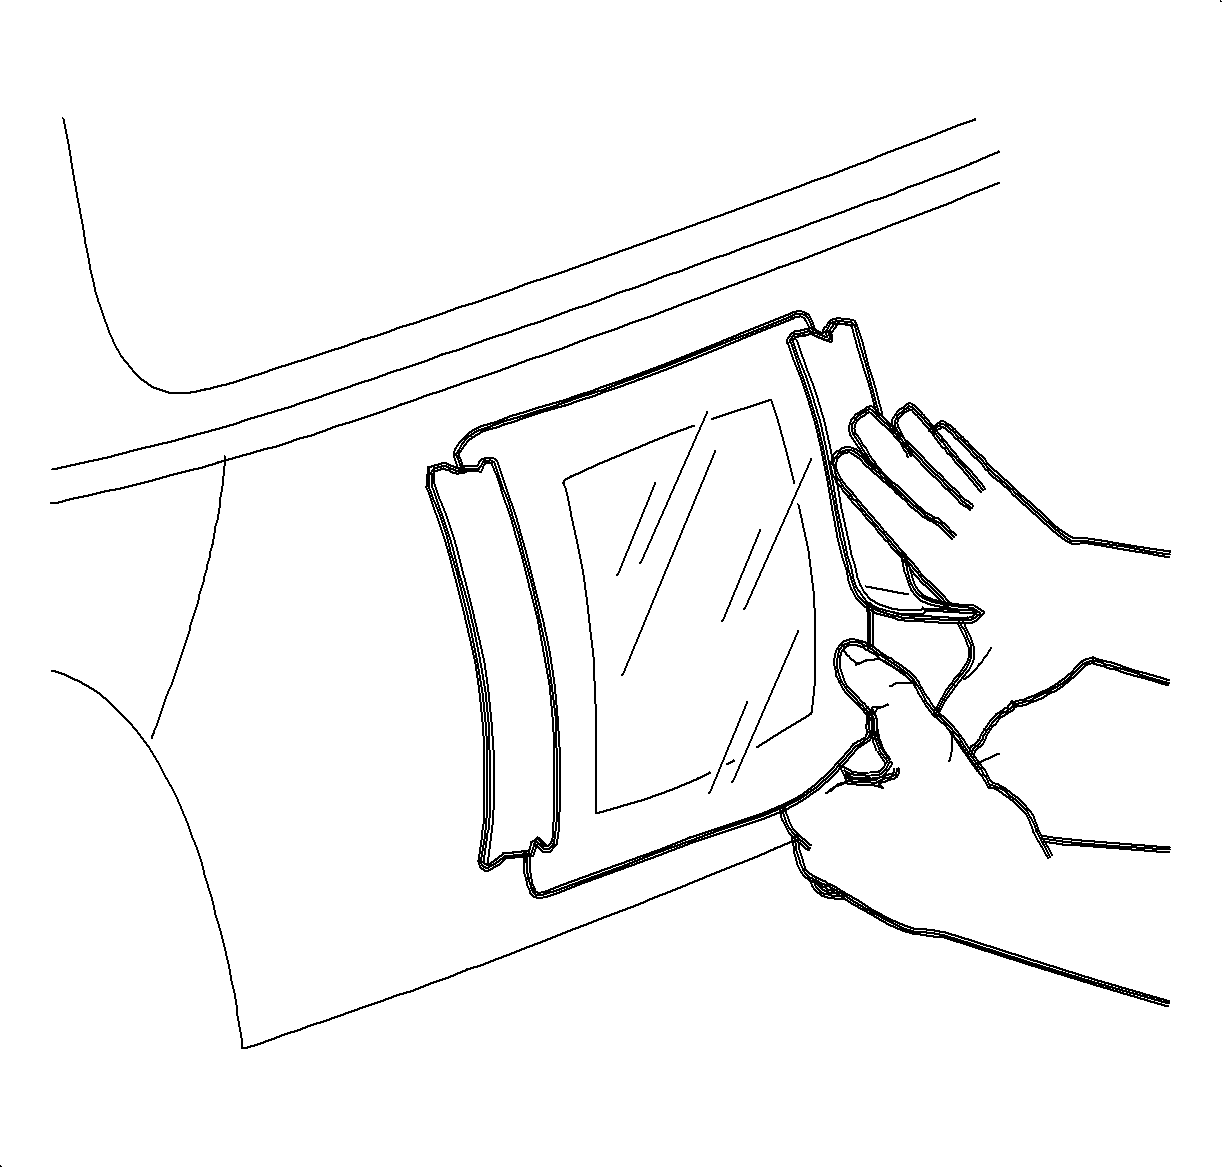
- Tape the polyethylene film over the exterior of the damaged area. Smooth out wrinkles and make sure that the contour of the body is maintained.
- Allow the adhesive to cure according to manufacturer's recommendations. After the patch has cured, pop it off and remove the polyethylene film.
- Finish the repair by grinding, sanding and painting in the usual manner.
Important: Be sure to sand and clean the entire area to provide a good bonding surface before applying the structural adhesive.
Cracks Or Holes With Rear Of Panel Accessible
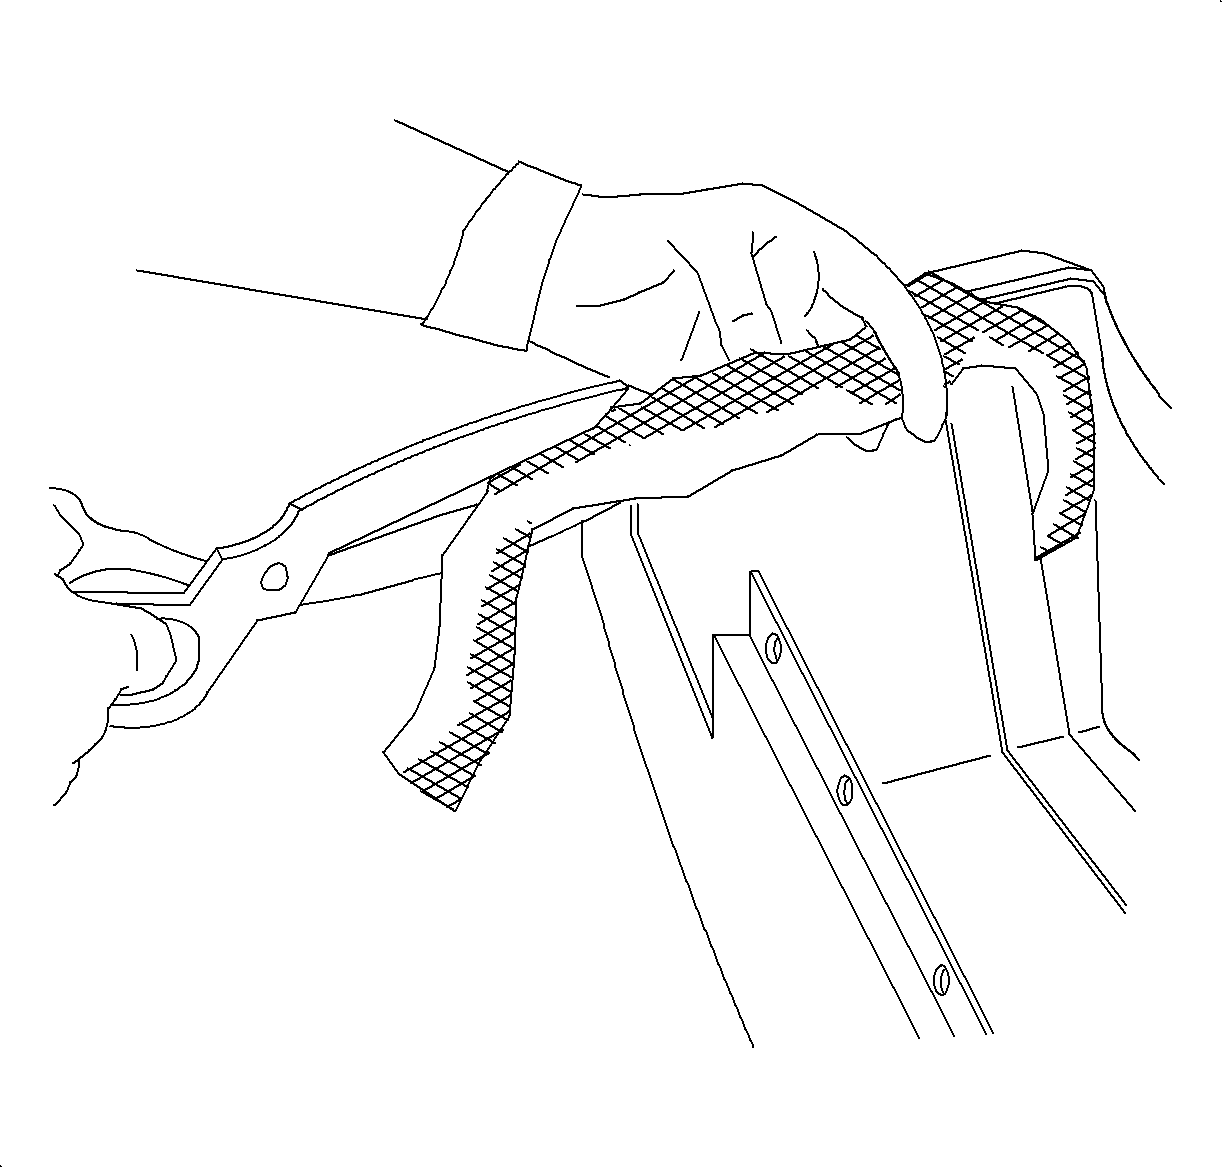
- Cut away damaged material using tin snips or a similar tool.
- Sand paint from around the damaged area. Inspect the area again for signs of other damage.
- Grind or file a taper at the edge of the damaged area. The taper should have a shallow pitch for maximum bonding surface. A disc grinder with a vacuum attachment will minimize the dust problem.
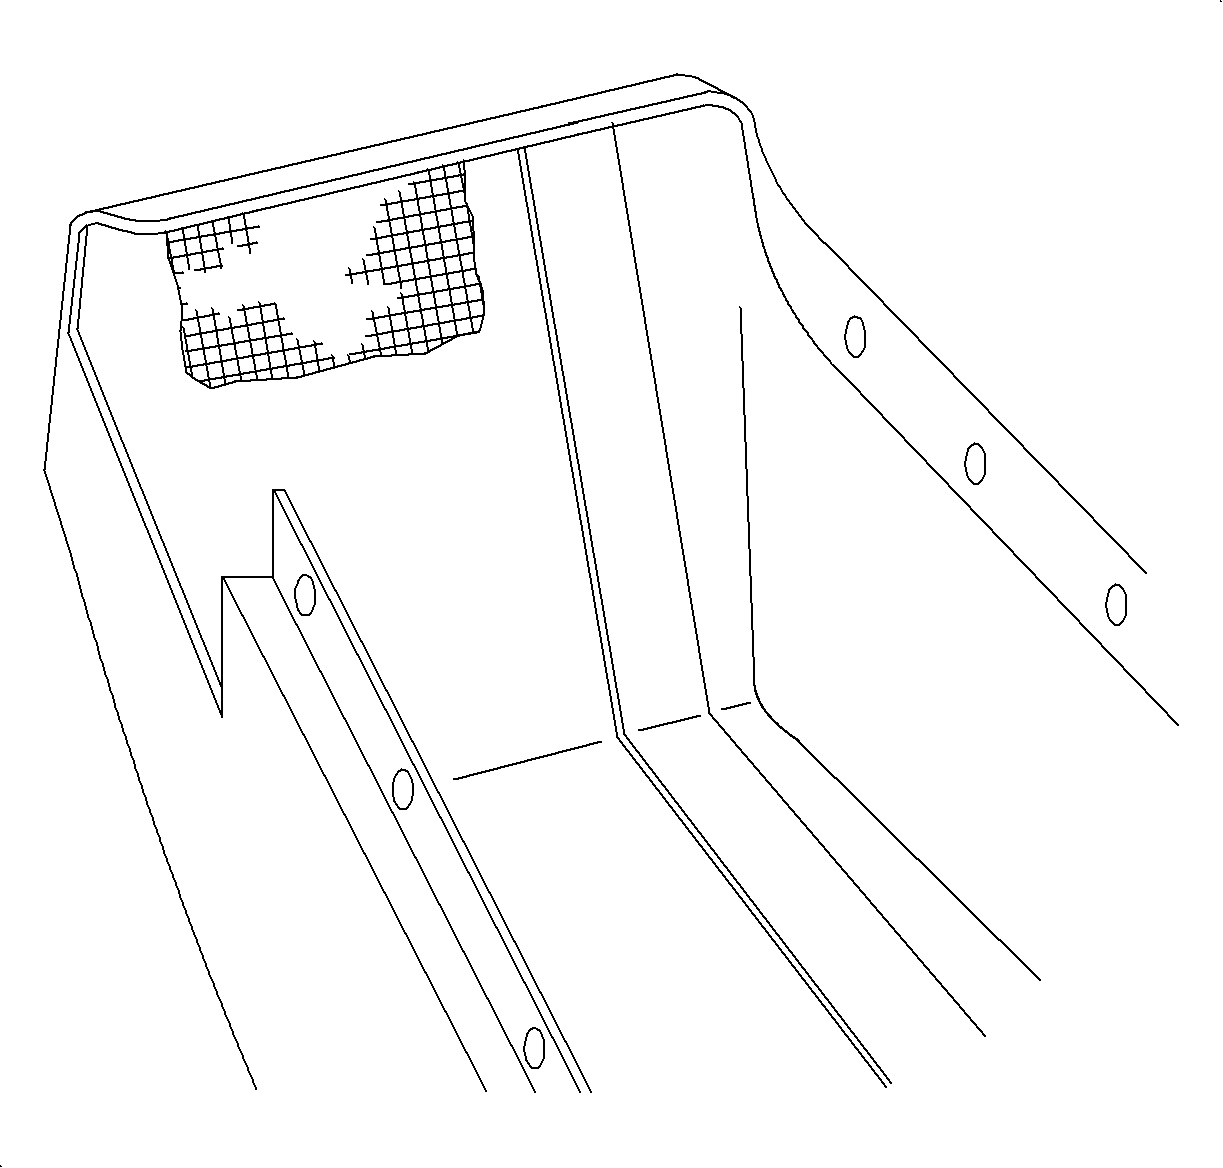
- Reach through the hole, clean and sand the back side of the damaged area to provide a good bonding surface for the backing patch. Cleaning solvent should not leave any deposit on the bonding surface. Follow the manufacturer's instructions for SMC clean-up as some solvents leave a residue that could negatively affect the structural integrity of the adhesive after the repair has been made.
- Prepare the patch as previously described Structural Backing Strips or Patches.
- Drill 2 holes in the center of the patch approximately 19 mm (3/4 in) apart. Thread a piece of waxed wire through the holes to assist holding the patch in place after installation.
- Apply an 8-10 mm bead of bonding adhesive to the edge of the patch. Slip the patch through the hole, then pull the patch into place using the wire. Pull firmly to spread the adhesive evenly.
- Allow the adhesive to cure according to the manufacturer's directions.
- When the adhesive is fully cured, fill the exterior of the damaged area with 2 part epoxy filler.
- Finish the repair by grinding, sanding and painting in the usual manner.
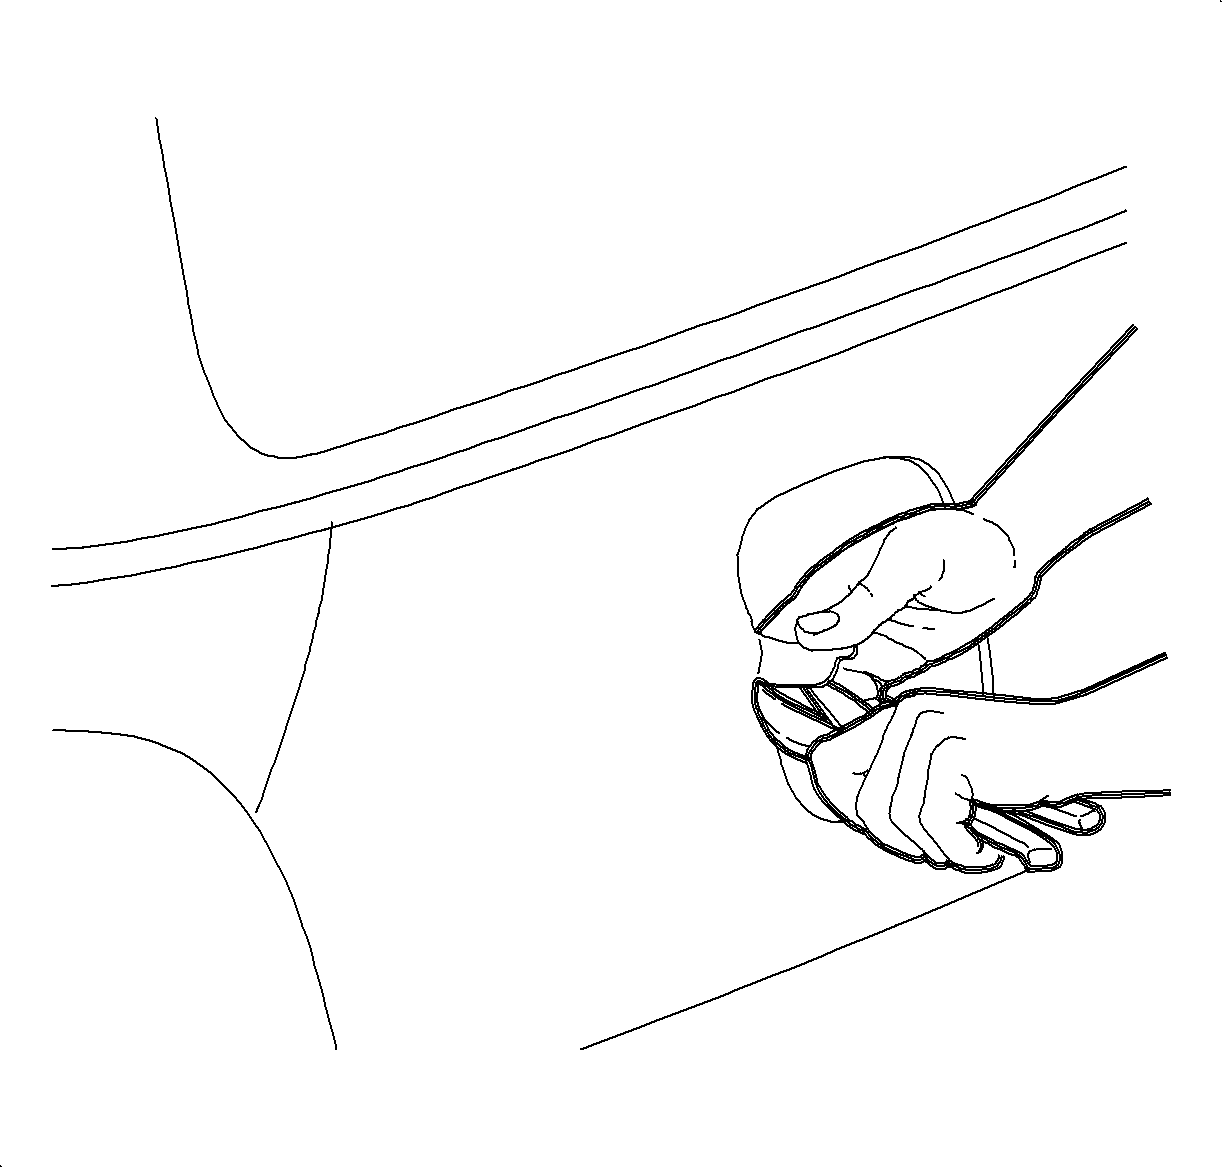
Trim loose fiberglass strands.
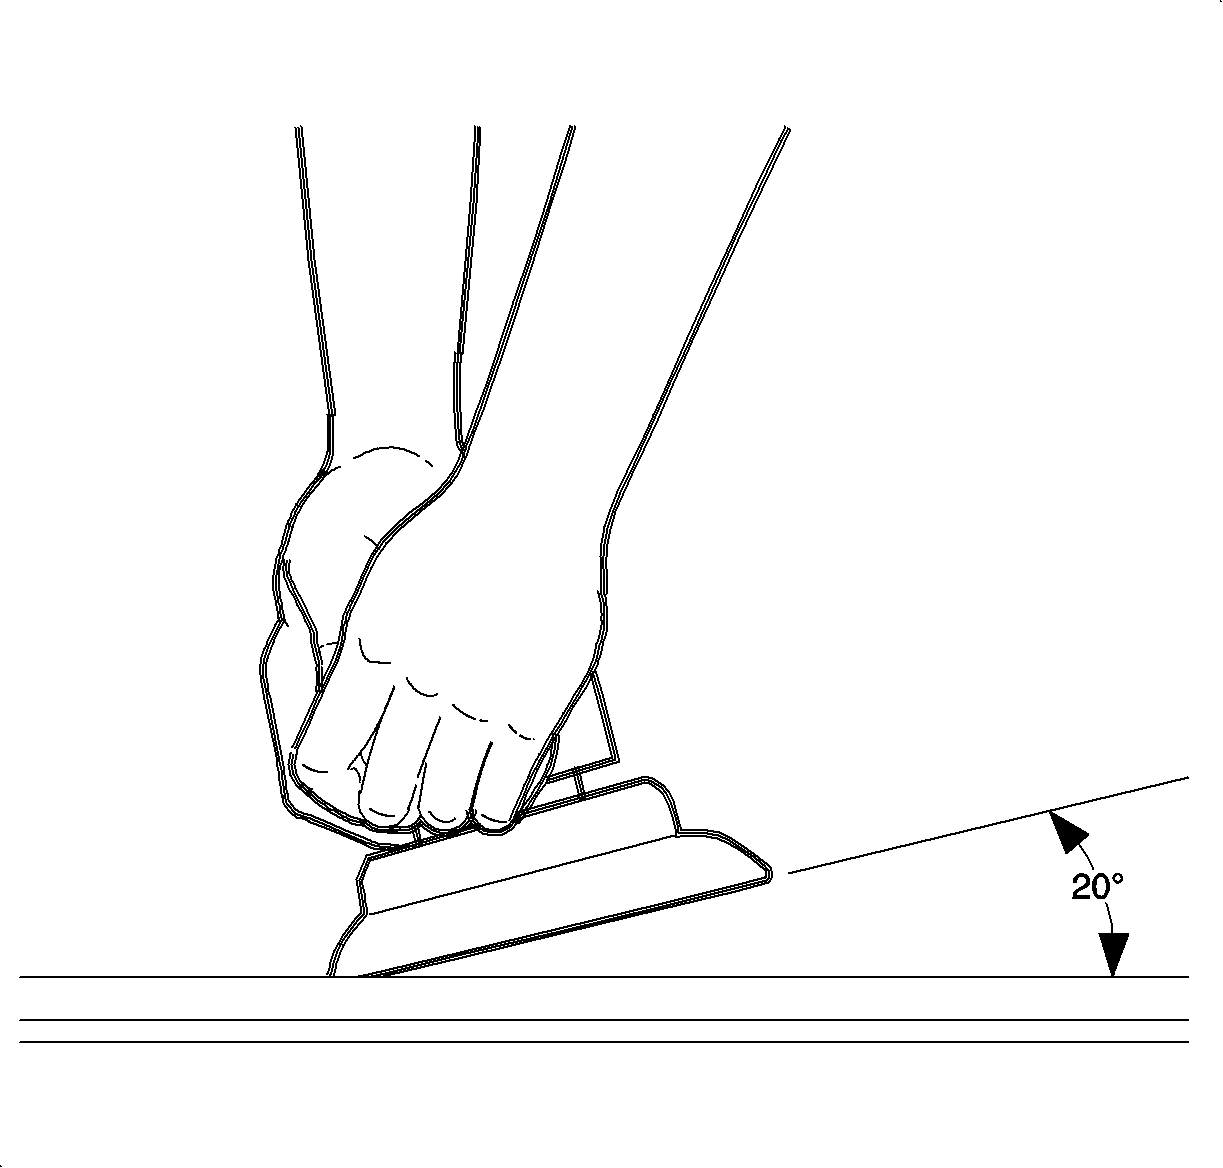

Cosmetic Repairs
Scratches
In many cases, a scratched panel will involve only a paint refinishing job, in which case the following procedure should be used:
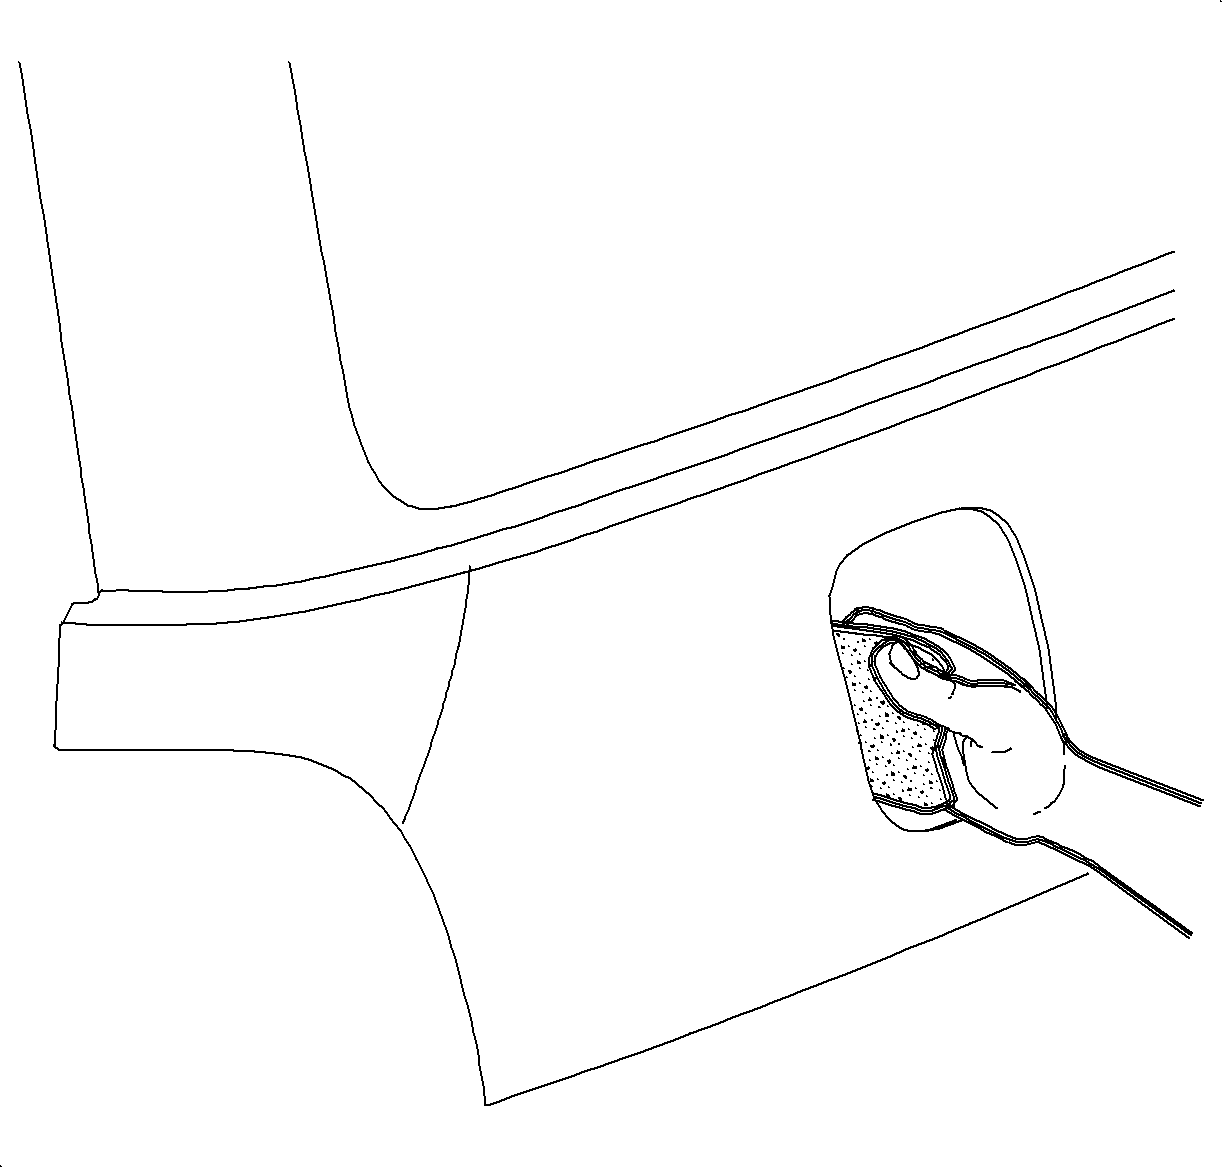
- Feather edge the repair area with 220 wet or dry sandpaper and finish block sand with 320 wet or dry sandpaper.
- Clean the repair area using a cleaning solvent.
- Protect the surrounding panels by masking before performing paint refinishing operations. Use only non-staining type masking tape on SMC panels.
- Refinish the panel in the usual manner.
Gouges
In some cases, the damaged area requires a plastic build-up to establish the original contour of the body. If the SMC is not pierced through, the repair procedure is as follows:
- Remove all paint from the surrounding area by sanding.
- Scuff sand the area surrounding the damage to provide a good surface.
- Clean the repair area using a cleaning solvent.
- Mix 2 part epoxy filler according to the manufacturer's instructions.
- Apply the filler using a plastic or rubber squeegee.
- Allow the filler to cure according to the manufacturer's directions.
- Finish the repair by grinding, sanding and painting in the usual manner.
