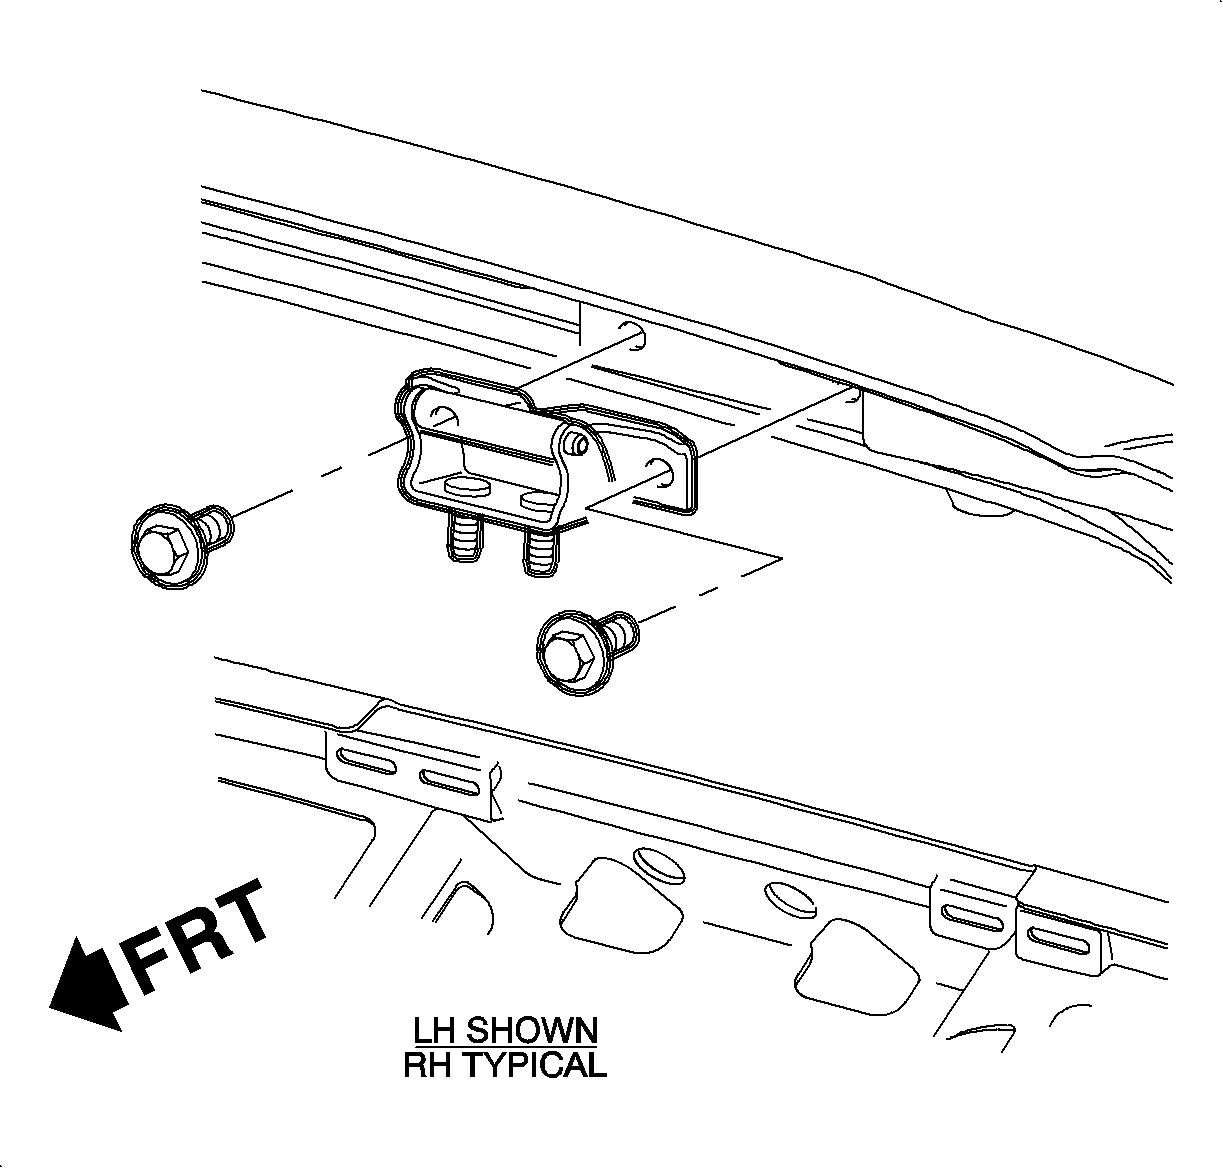
For 1990-2009 cars only
Removal Procedure
- Support the lift gate.
- Protect the rear of the roof and the top edge of the lift gate with a drop cloth or a suitable padding to prevent damage to the paint.
- Using a paint stick or suitable marker, mark the location of the hinge on the body and the lift gate surface.
- Remove the upper lift gate opening interior trim molding.
- Disconnect the struts from the lift gate strut anchors.
- Allow the struts to rest alongside the primary seal.
- Remove the hinge to the lift gate bolts.
- Remove the hinge to the body nuts.
- Remove the hinge and the gasket.
- Replace the inner sill trim.

Important: The lift gate must be supported when removing 1 or both hinges and/or struts. Remove 1 hinge at a time.
Important: Do not use a scratch-awl.
Installation Procedure
- Align the hinge with the gasket to the reference marks on the body and tighten.
- Align the hinge with the gasket to the reference marks on the lift gate and tighten.
- Connect the struts to the strut brackets.
- Install the upper lift gate opening interior trim molding.
- Remove the support and the protective padding.
- Carefully close the lift gate observing for proper alignment.
- Verify the alignment to the gap specification and adjust accordingly. Refer to "Lift Gate Adjustment.".
Notice: Refer to Fastener Notice in the Preface section.
Tighten
Tigten the lift gate hinge-to-body bolts to 10 N·m (89 lb in).
Tighten
Tighten the lift gate hinge-to-lift gate bolts to 10 N·m (89 lb in).
