For 1990-2009 cars only
Removal Procedure
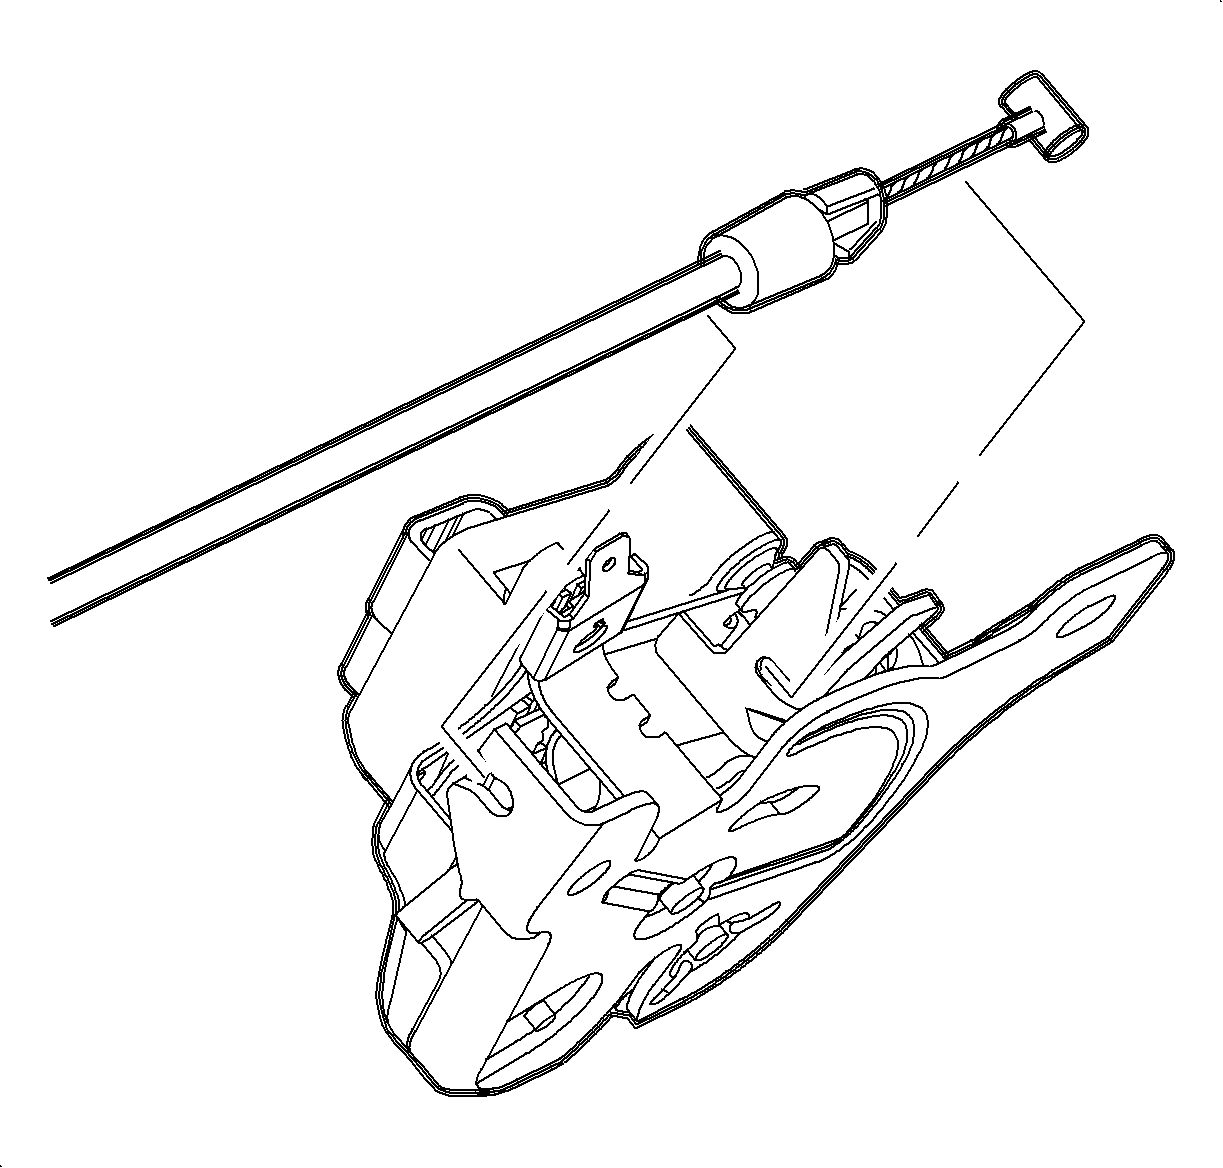
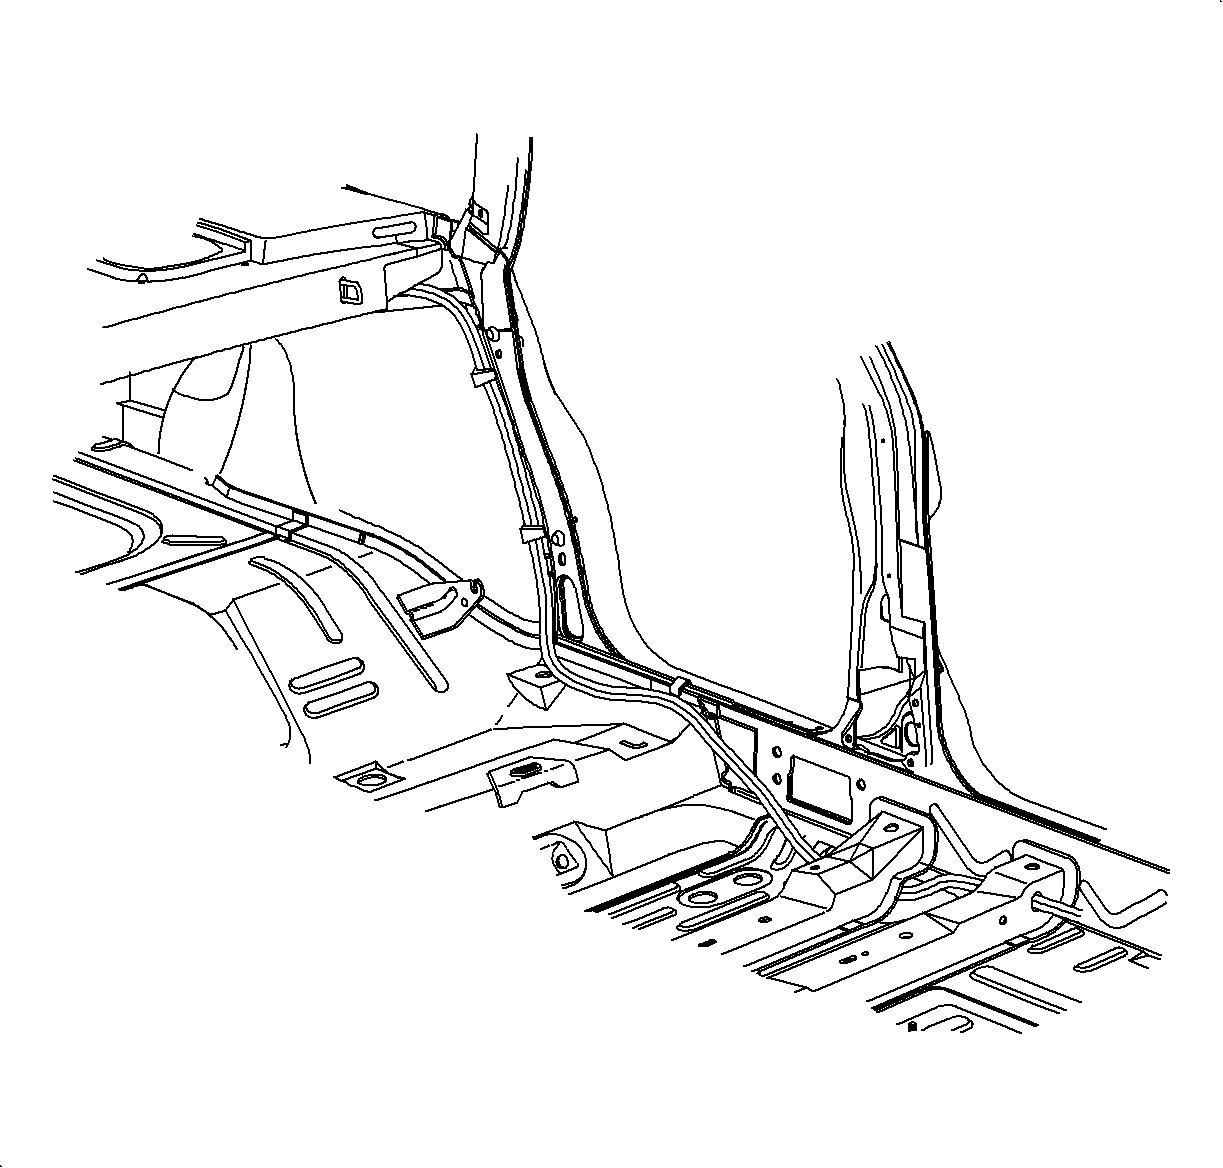
- Disconnect the release cable from the rear compartment latch. Remove the cable from between the panels.
- On the driver side, remove the connector position assurance (CPA) retainer and disconnect the seat belt electrical connector.
- Remove the seat belt from the guide loop on the seat.
- Remove the 4 seat adjuster-to-vehicle attaching bolts and remove the seat from the vehicle.
- Remove the screws and the left end cap assembly from the instrument panel.
- Remove the hinge pillar lower garnish molding. Refer to Garnish Molding Replacement - Hinge Pillar in Interior Trim.
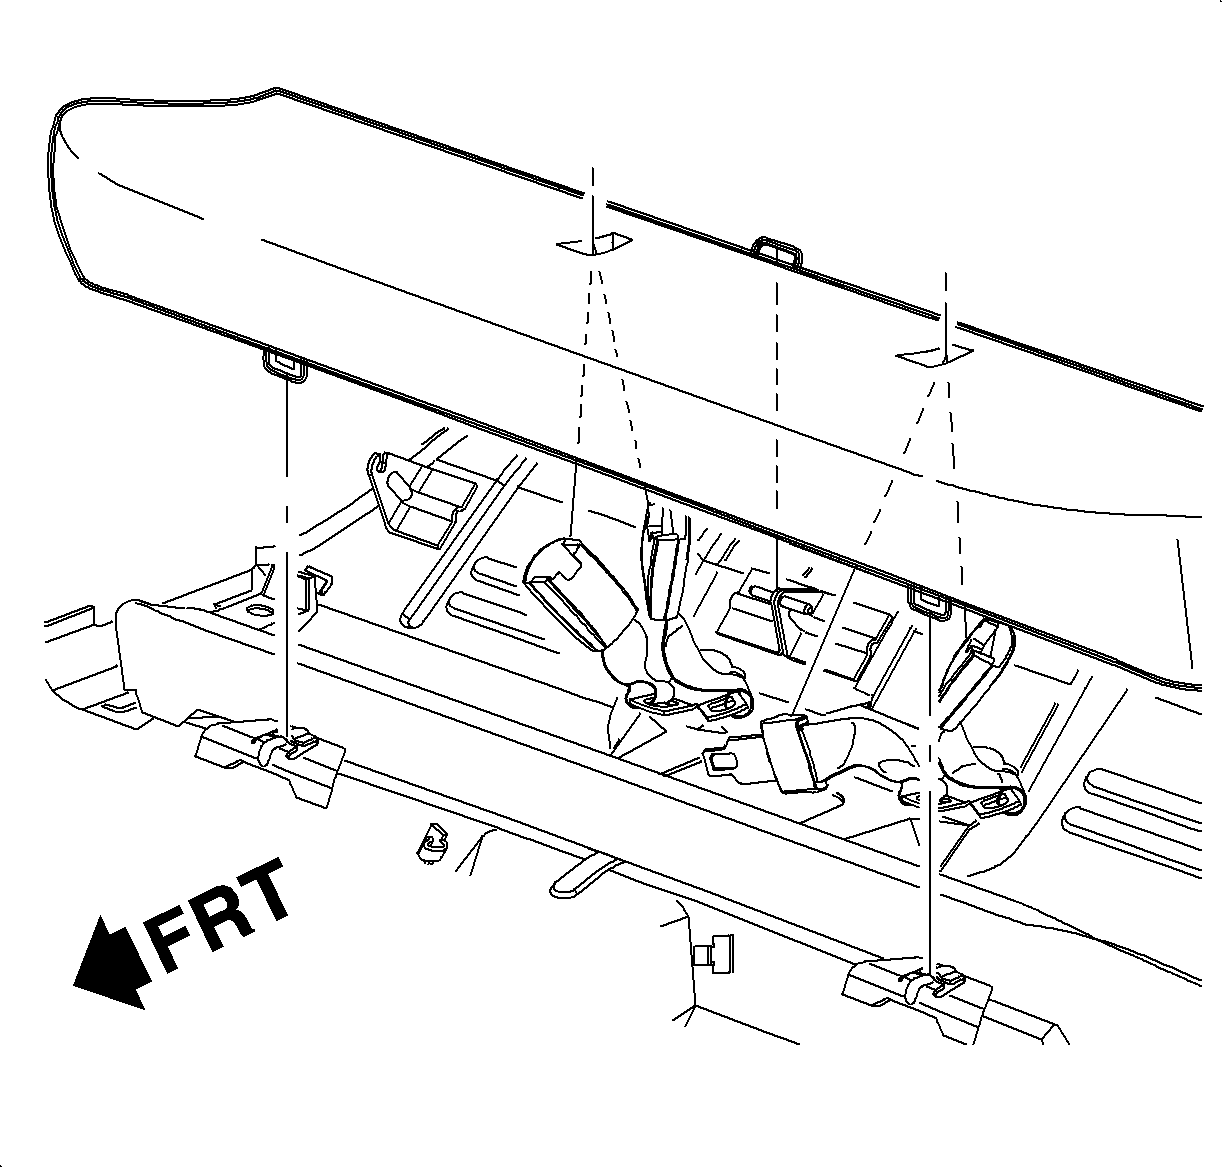
- Remove the rear seat cushion. Refer to Rear Seat Cushion Replacement in Seats.
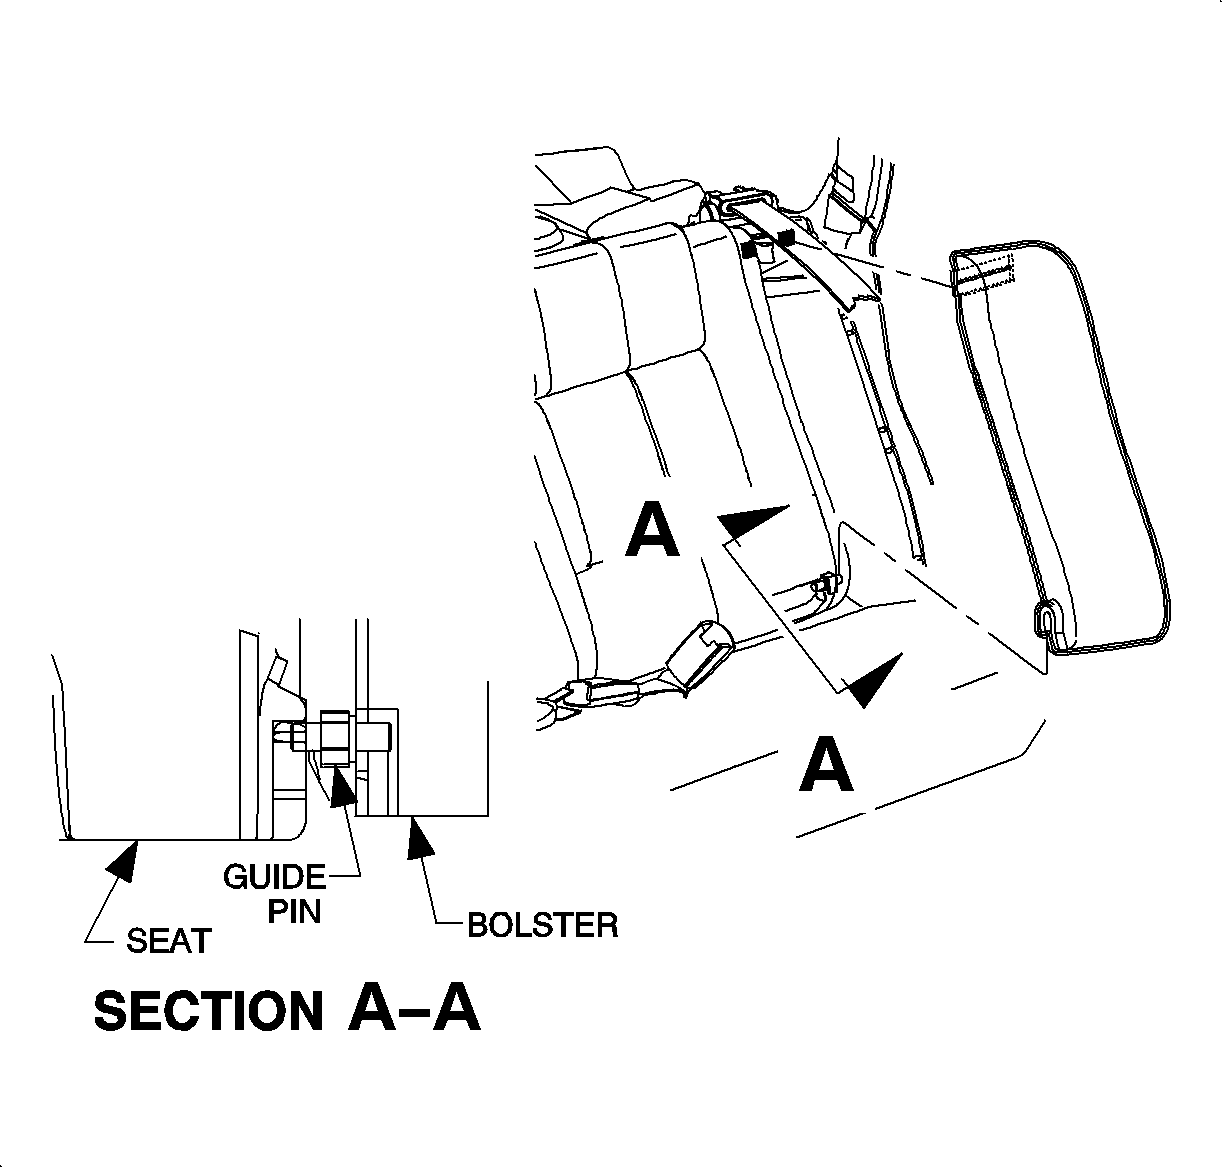
- On the Sedan, remove the left side bolster by pulling on the top of the bolster to disengage the upper fasteners. Lift the bolster off of the lower guide pins to remove.
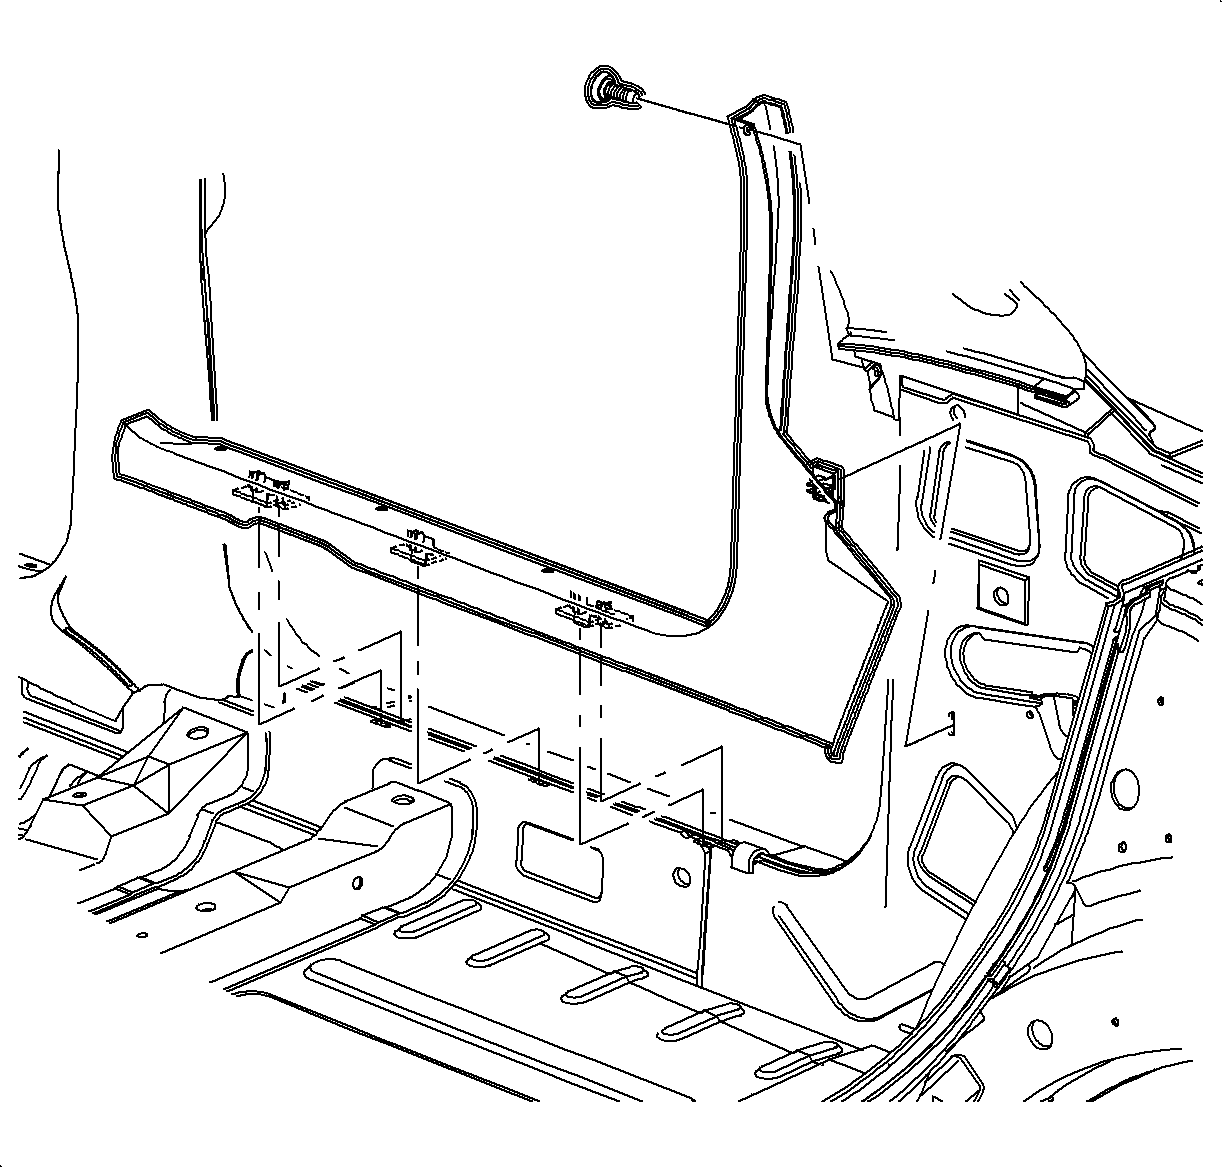
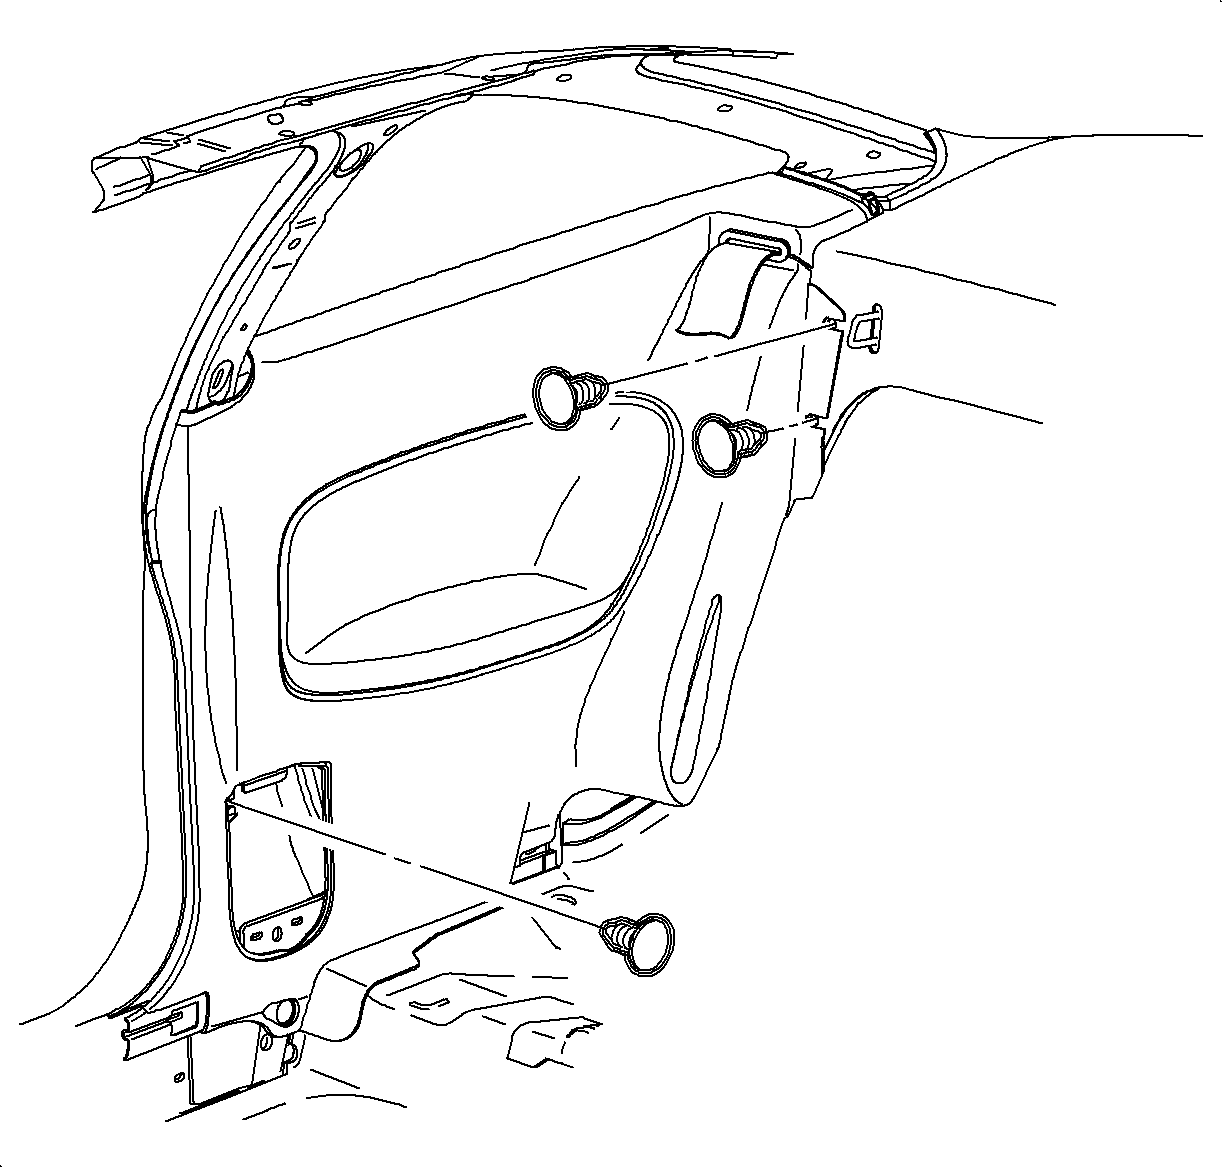
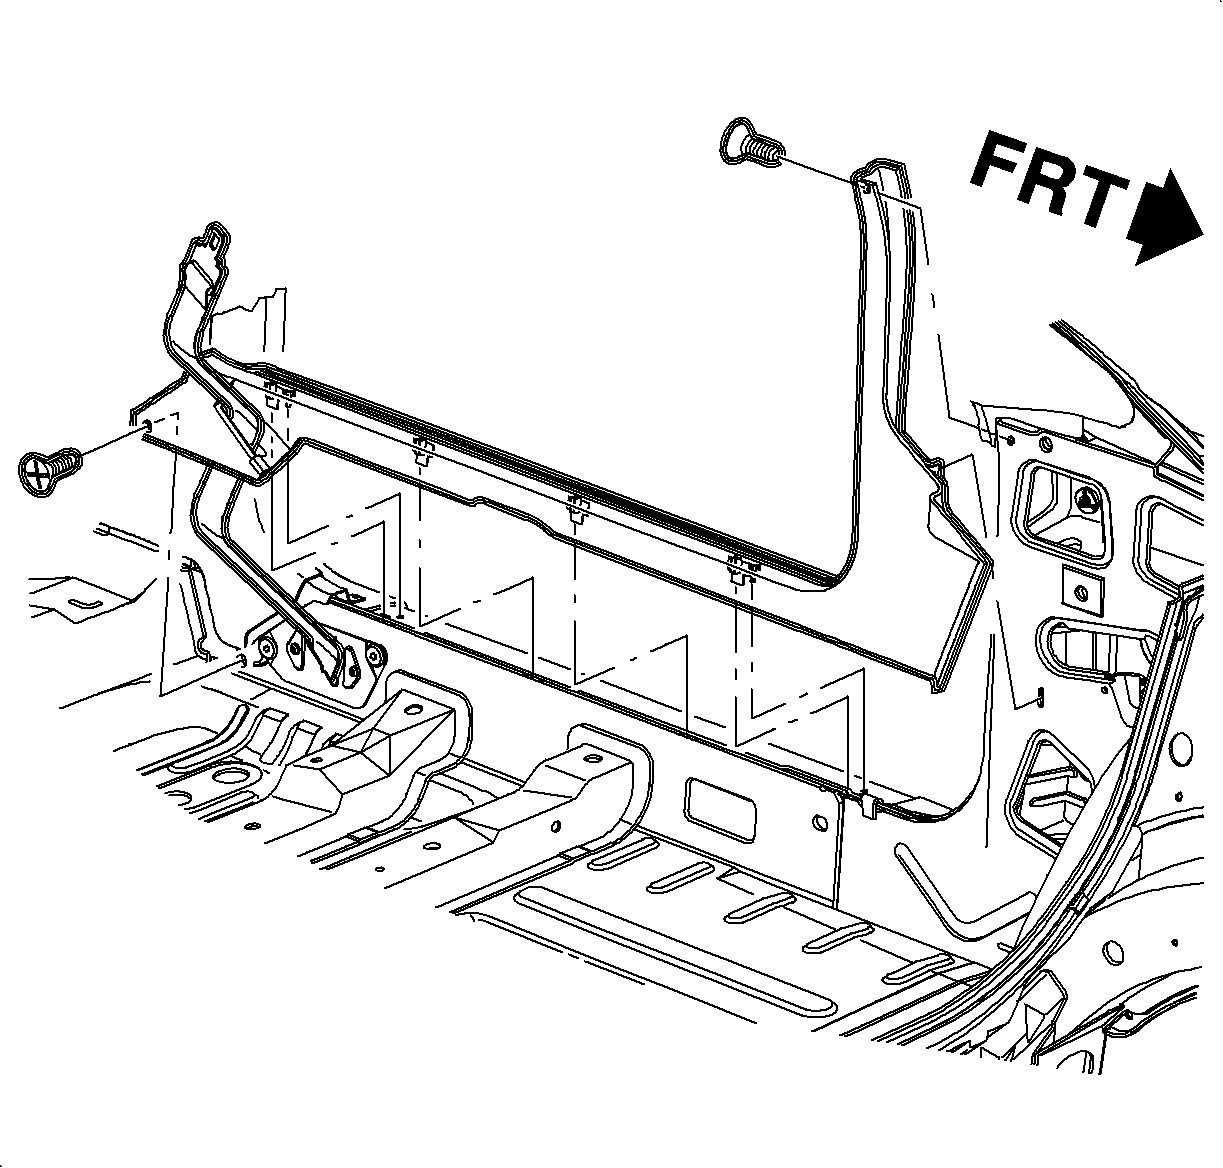
- On the Sedan, remove the rear lower garnish molding retainers. Remove the garnish molding by pulling up to disengage the attaching clips and remove the molding.
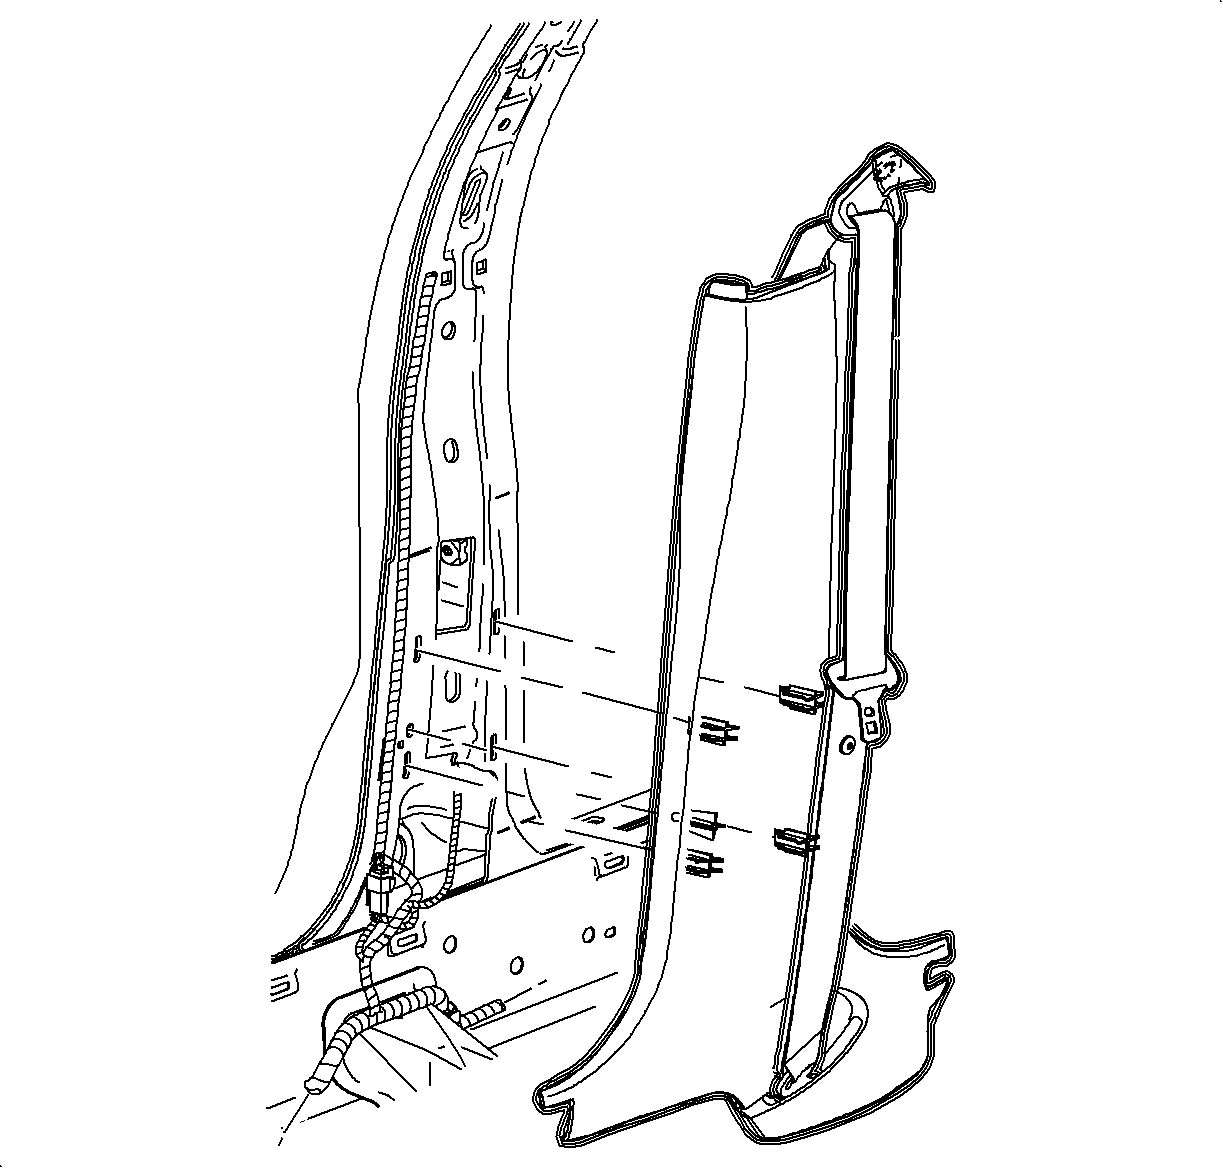
- On the Sedan, starting at the bottom, pull up on the center lower trim panel to remove from tthe body flanges. Disengage the seat belt from the center pillar lower molding.
- On the Coupe, remove the quarter lower trim panel. Refer to Rear Quarter Trim Panel Replacement - Left Side in Interior Trim.
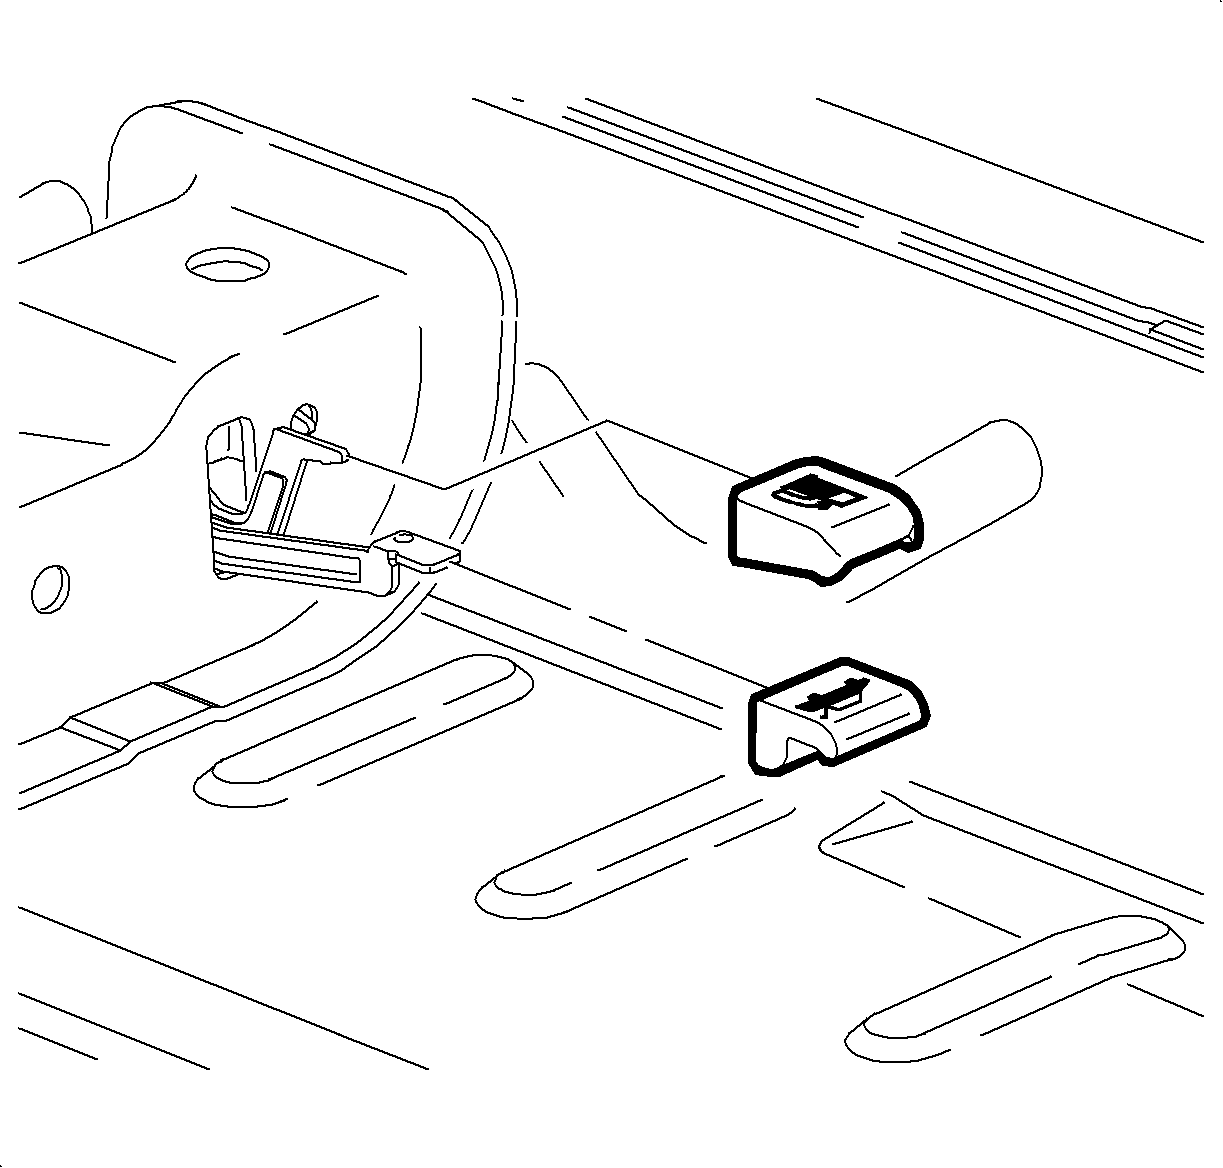
- Remove the release handle knobs by placing 1 end of a long flat tool behind the knob and while holding opposite end, strike the tool near the knob with a hammer.
- Fold the carpet back to provide access to the release handle assembly.
- Disconnect the harness cover retainers from the floor reinforcements.
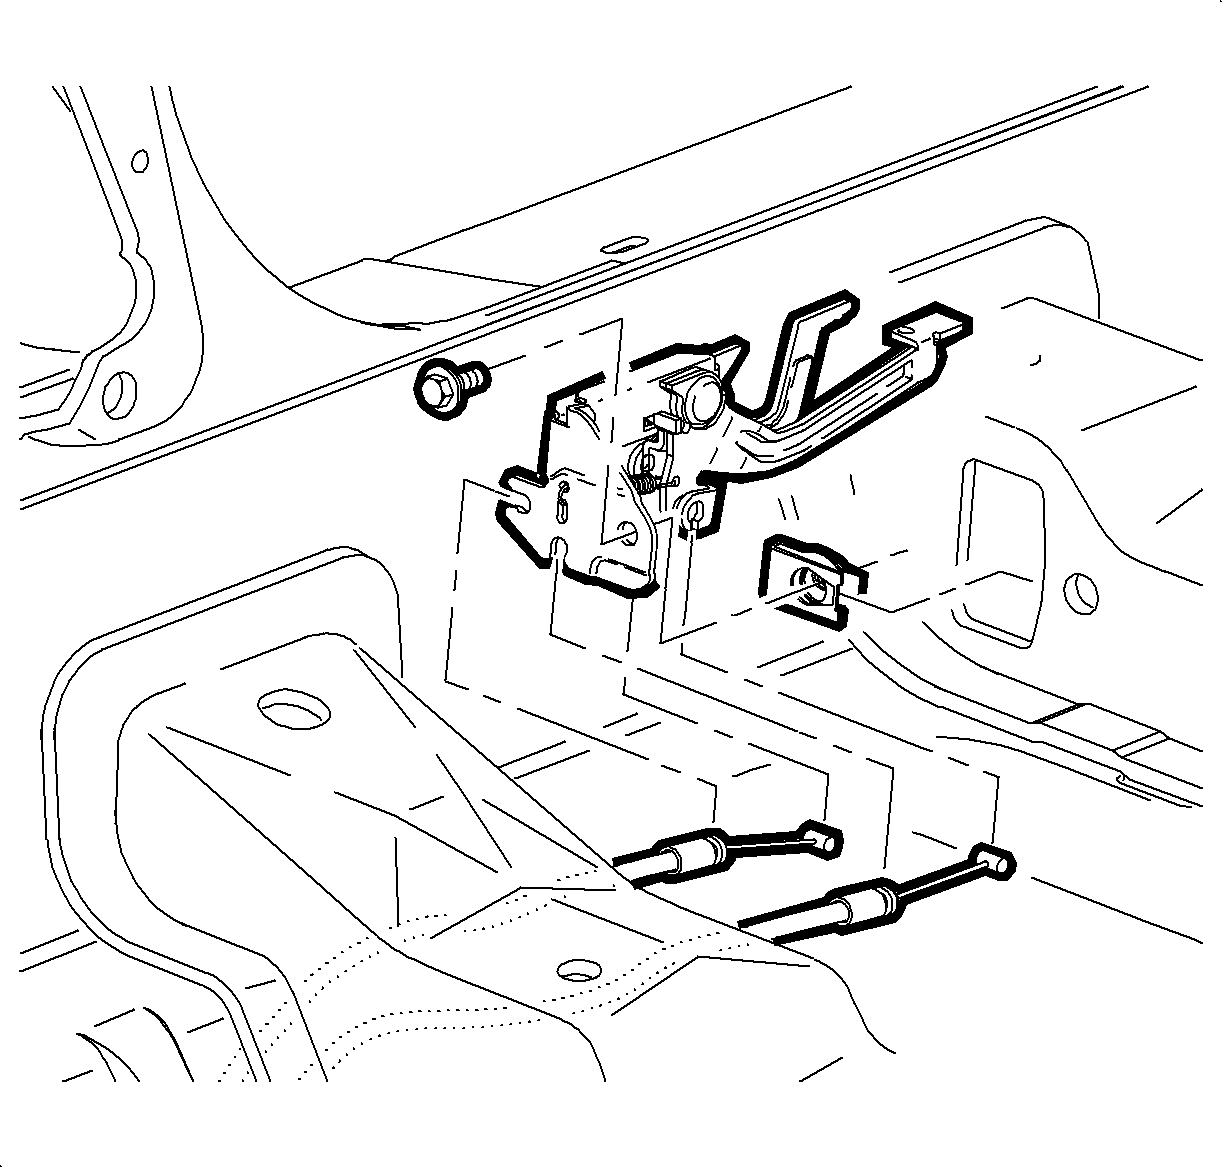
- Remove the screw and pull the release handle assembly out of the floor reinforcement.
- Disconnect the cable from the release handle assembly.
- Pull the cable from under the floor reinforcement out of the cable retainers and remove the cable.
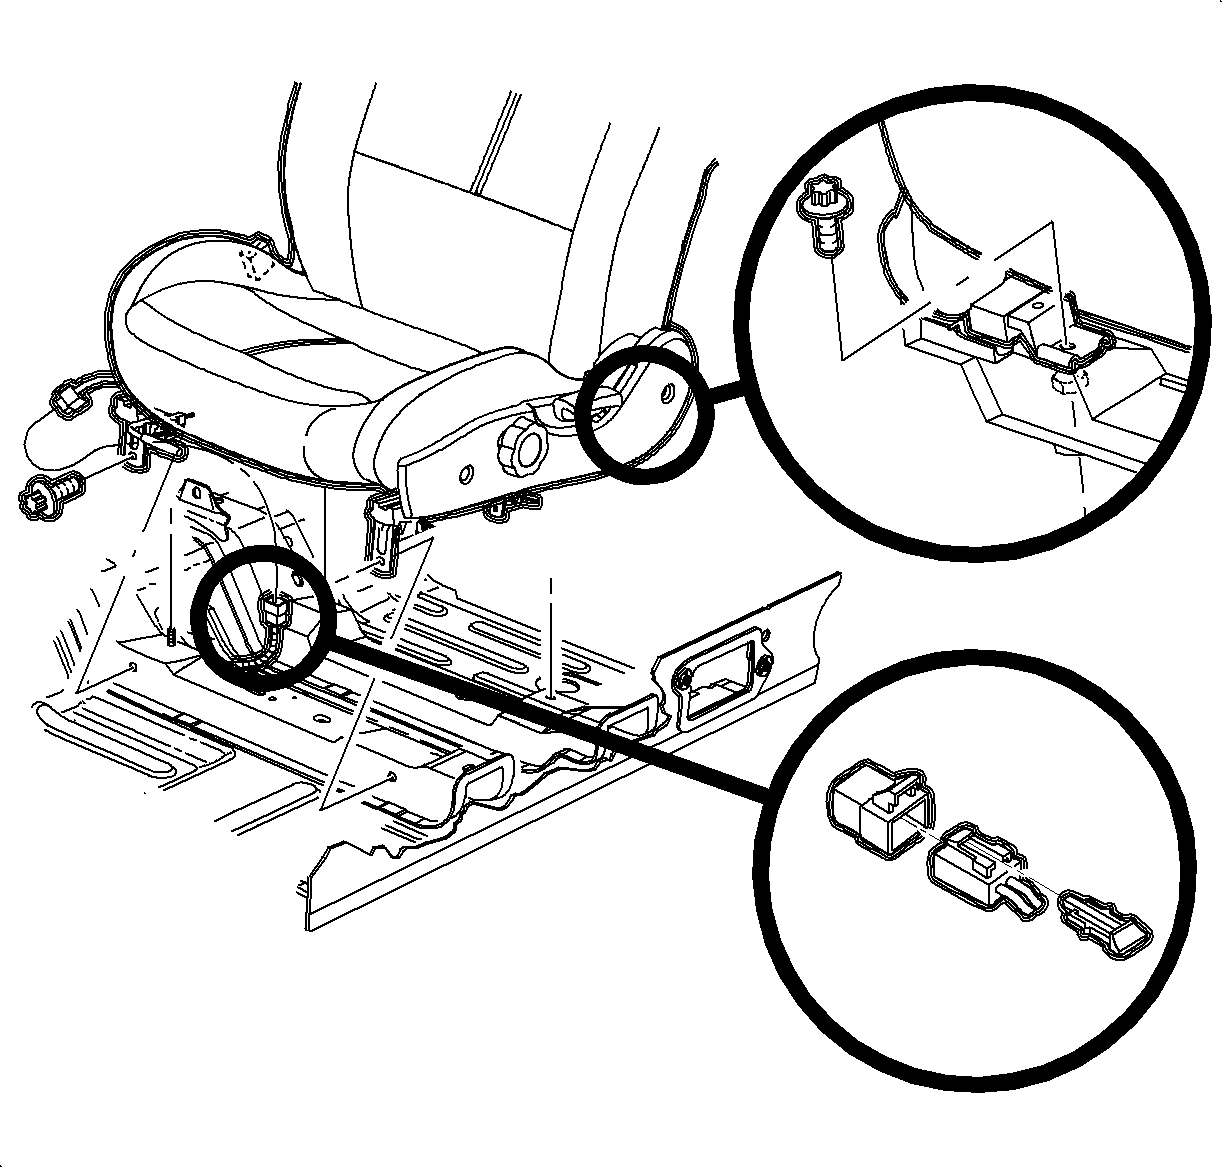
Important: Place the seat on a clean protected work surface.
Installation Procedure
- Install the cable into the retainers and under the floor reinforcement.
- Install the cable between the rear compartment inner and outer panel and connect the cable to the latch.
- Connect the cable to the release handle assembly.
- Install the release handle assembly into the floor reinforcement.
- install and tighten bolt.
- Inspect the cable operation by closing the rear compartment lid and pulling up on the handle to release.
- Install the harness cover retainers to the floor reinforcements.
- Position the carpet to the floor pan and the release handle assembly.
- Install the release handle knobs to the levers with a soft faced hammer.
- On the Sedan, install the seat belt into the center pillar lower trim panel. Snap the seat belt into the retaining tab.
- On the Sedan, install the center pillar lower trim by placing over the body flanges. Verify that the seat belt is not twisted.
- On the Sedan, install the rear lock pillar molding with the fasteners by pushing firmly at the retaining clip locations.
- On the Sedan, install the rear seat bolster by engaging the retainers.
- On the Coupe, install the quarter trim. Refer to Rear Quarter Trim Panel Replacement - Left Side in Interior Trim.
- Install the rear seat cushion by engaging the rear hooks, aligning the front clips, and pushing at the clip location to secure onto the dome stops.
- On the Sedan, install the hinge pillar garnish molding by pressing at the clip locations and securing with the retaining screw.
- On the Coupe, install the hinge pillar garnish molding with the front retaining screw.
- Route the seat belt into the hinge pillar garnish molding and snap the locking feature.
- Install the rear fastener.
- Install the left end cap assembly and the retaining screws.
- Apply Loctite 242® Threadlocker, or equivalent, to all 4 seat adjuster-to-vehicle attaching bolts.
- Position the seat in the vehicle. Refer to Front Seat Replacement - Bucket in Seats.
- Install the seat belt into the guide.
- Snap the guide closed on the vehicles with the locking feature.
- Connect the seat belt electrical connector and insert the CPA retainer.


Notice: Refer to Fastener Notice in the Preface section.
Tighten
Tighten the rear compartment interior release handle-to-floor bolt to 10 N·m
(89 lb in).


Tighten
Tighten the seat adjuster-to-vehicle bolts to 35 N·m (26 lb ft).
