For 1990-2009 cars only
Tools Required
SA9179NE Dial Indicator
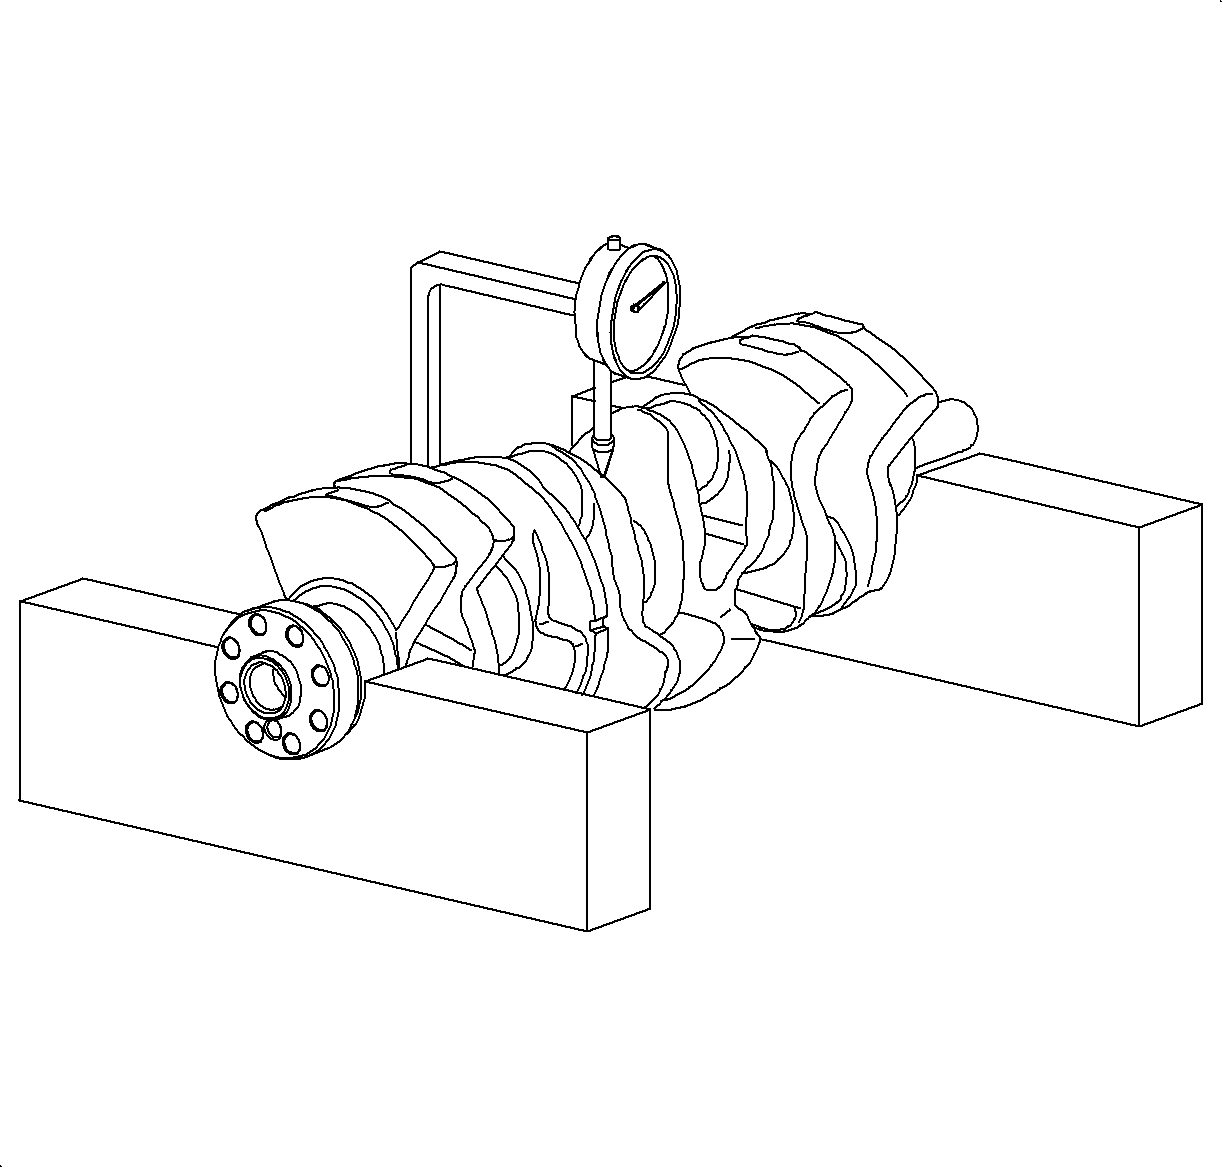
Inspect the crankshaft for runout:
- Place the crankshaft on V-blocks.
- Using a SA9179NE or equivalent, measure the circle runout at the center journal.
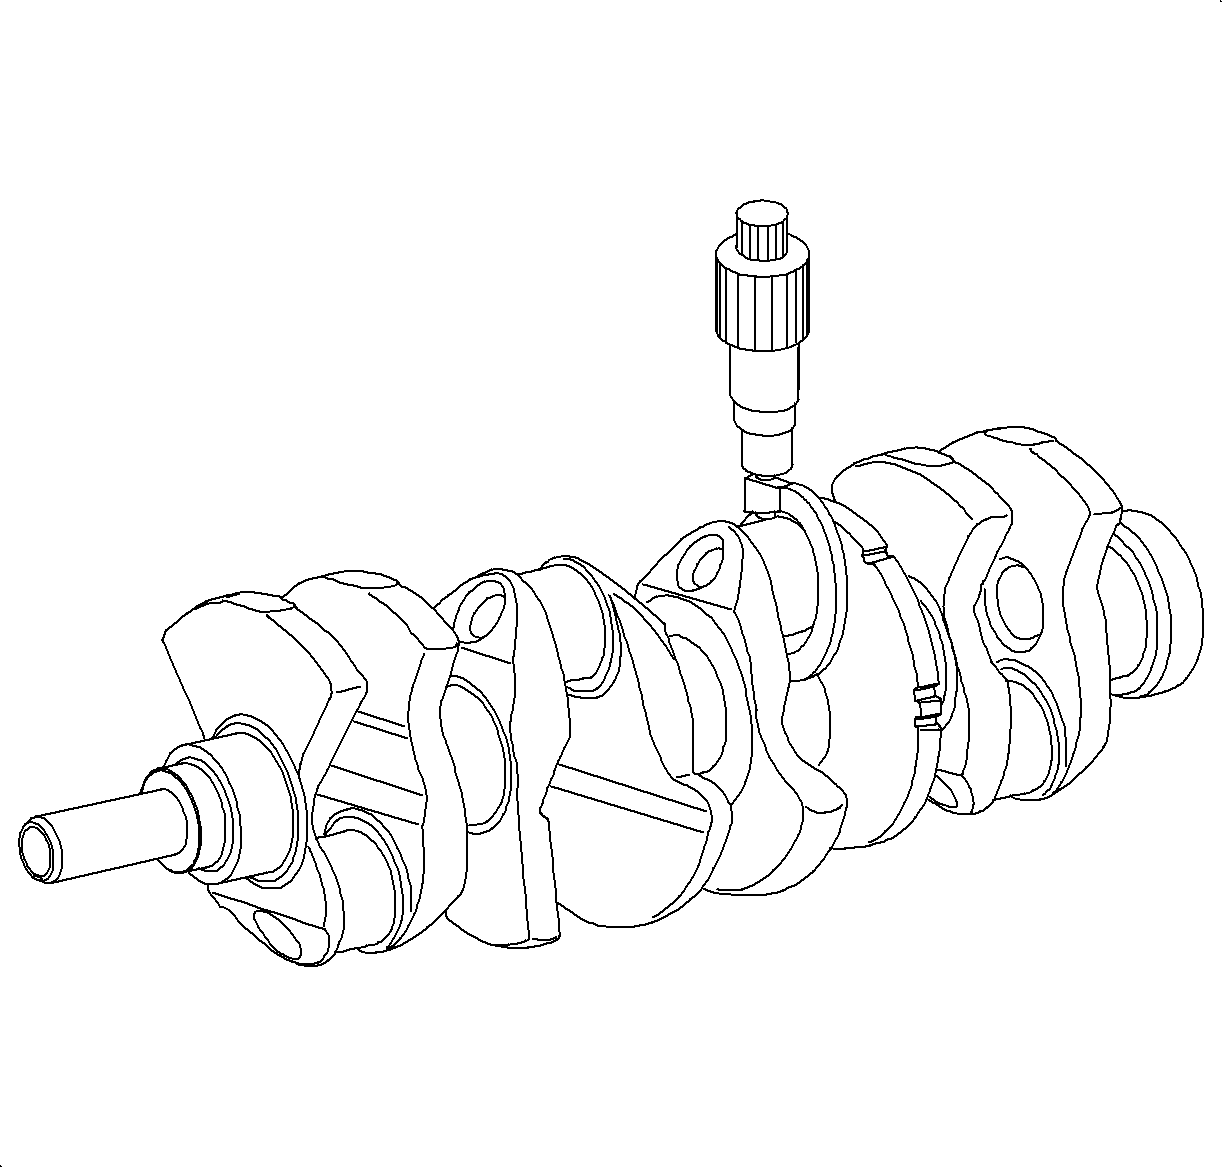
- Using a micrometer, measure the diameter of each main journal and crank pin.
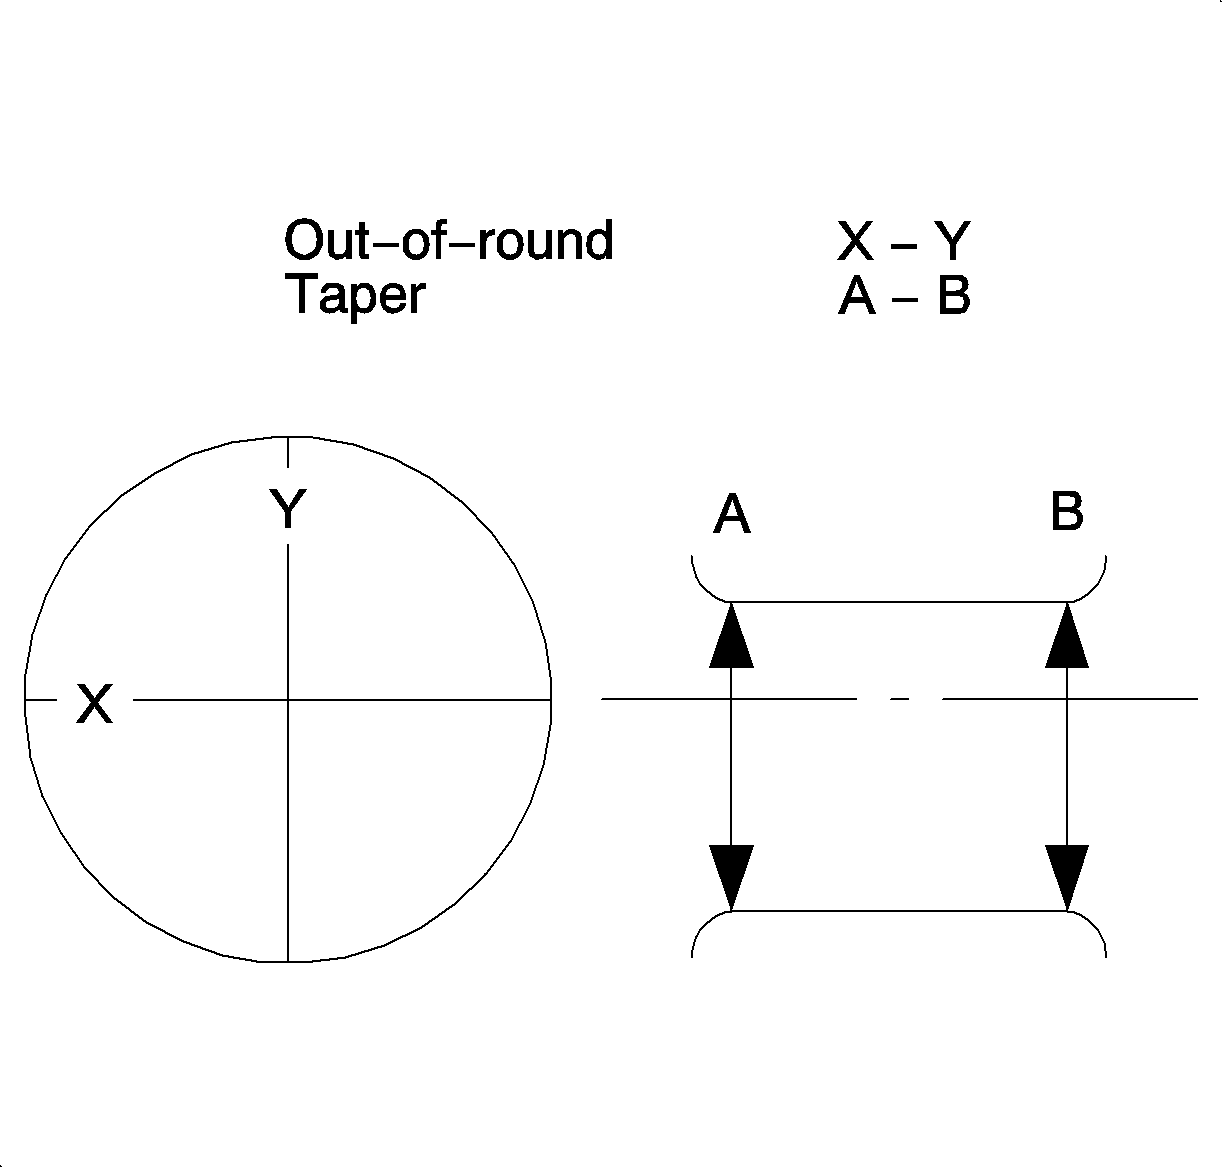
- Check each main journal and crank pin for taper (A-B) and out-of-round (X-Y) as shown.

Maximum circle runout: 0.050 mm (0.002 in) max.
If the circle runout is greater than maximum, replace the crankshaft.

Important: 0.012 mm (0.0005 in) and 0.025 mm (0.001 in) undersized main and thrust bearings are available to adjust for correct main journal oil clearance.
Main Journal Diameter
| • | Standard: 56.993-57.007 mm (2.2438-2.2444 in) |
| • | Service Limit: 56.99 mm (2.2437 in) min. |
Rod Journal Diameter
| • | Standard: 46.99-47.01 mm (1.85-1.8508 in) |
| • | Service Limit: 46.99 mm (1.85 in) min. |
Main Journal Oil Clearance
| • | Standard: 0.006-0.05 mm (0.0002-0.002 in) |
| • | Service Limit: 0.06 mm (0.0024 in) max. |
Rod Journal Oil Clearance
| • | Standard: 0.003-0.053 mm (0.0001-0.0021 in) |
| • | Service Limit: 0.063 mm (0.0025 in) max. |

Important: If taper and out-of-round are greater than maximum, grind or replace the crankshaft. Crankshaft journals can be ground to a maximum of 0.25 mm (0.01 in). Journals must be fitted with 0.25 mm (0.01 in) undersized bearings.
Taper
Service Limit: 0.01 mm (0.0004 in) max.
Out-of-Round
Service Limit: 0.01 mm (0.0004 in) max.
