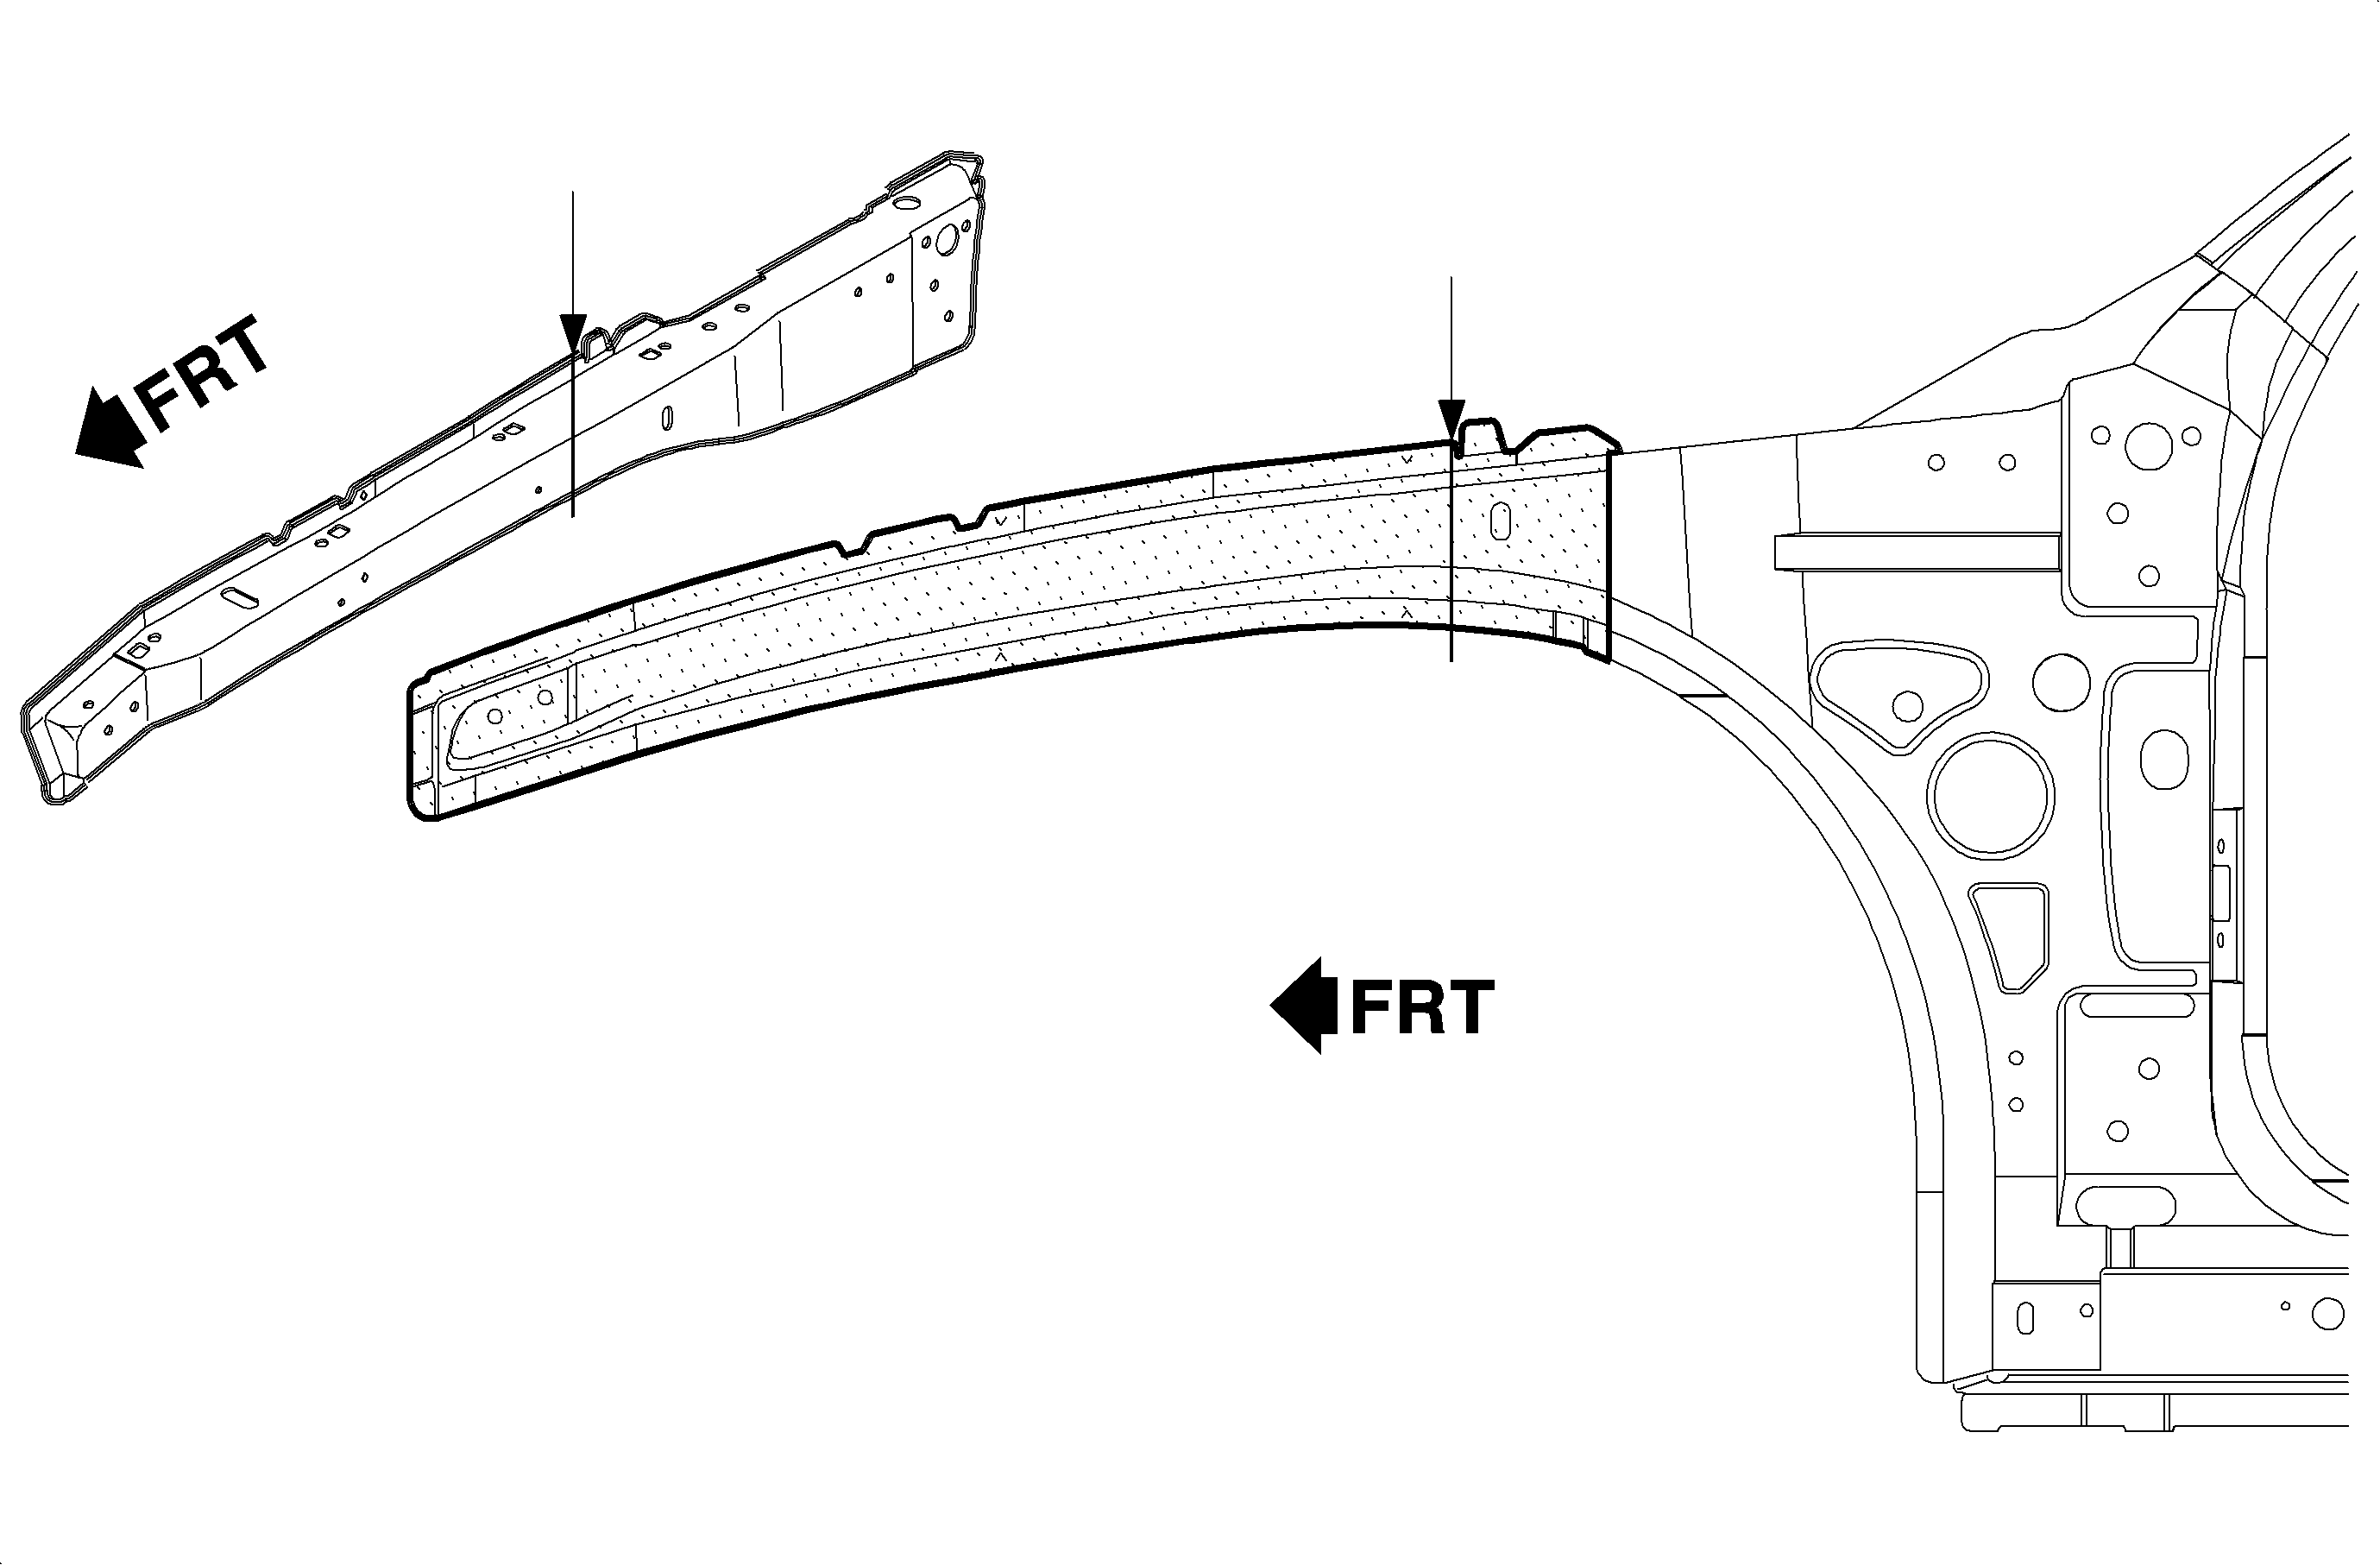
For 1990-2009 cars only
- Note the amount and location of the spot welds.
- Remove the sealer and drill spot welds from:
- Clean all of the weld seams with a wire brush, prime, and seal all repair areas.
- Apply a permanent underbody sealant.
- Prime with a 2-part catalyzed primer.
- Apply sealers and corrosion protection materials according to the information in the Body Paint section of this service manual or the paint manufacturer's recommendations.
- Cut at the arrows and remove.
- Clean the surface for welding and grind the primer off of the new part at the connecting points. Apply 3M® Weld-Thru Coating P/N 05913, or equivalent, to all areas to be welded.
- Cut the new part allowing an additional 20 mm (0.79 in) length for the section joint.
- Punch holes for plug welding as required. Use the old part as a guide. Punch plug weld holes in the original portion of the upper rail assembly at the section joint.
- Before installing the new part, apply 3M® Ultrapro Urethane Seam Sealer P/N 08361, or equivalent, around the baffle.

Important: Section as required from 127 mm (5 in) forward of the rail assembly upper outer to the hinge pillar joint.
| 2.1. | The engine compartment assembly side |
| 2.2. | The rail engine compartment upper inner |
Important: Ensure that proper corrosion protection processes are used on all repair areas.
Important: A new service part will be installed inside of the remaining portion of the original upper rail assembly.
