For 1990-2009 cars only
Windshield Washer Solvent Container and Pump Replacement 1st Design
Removal Procedure
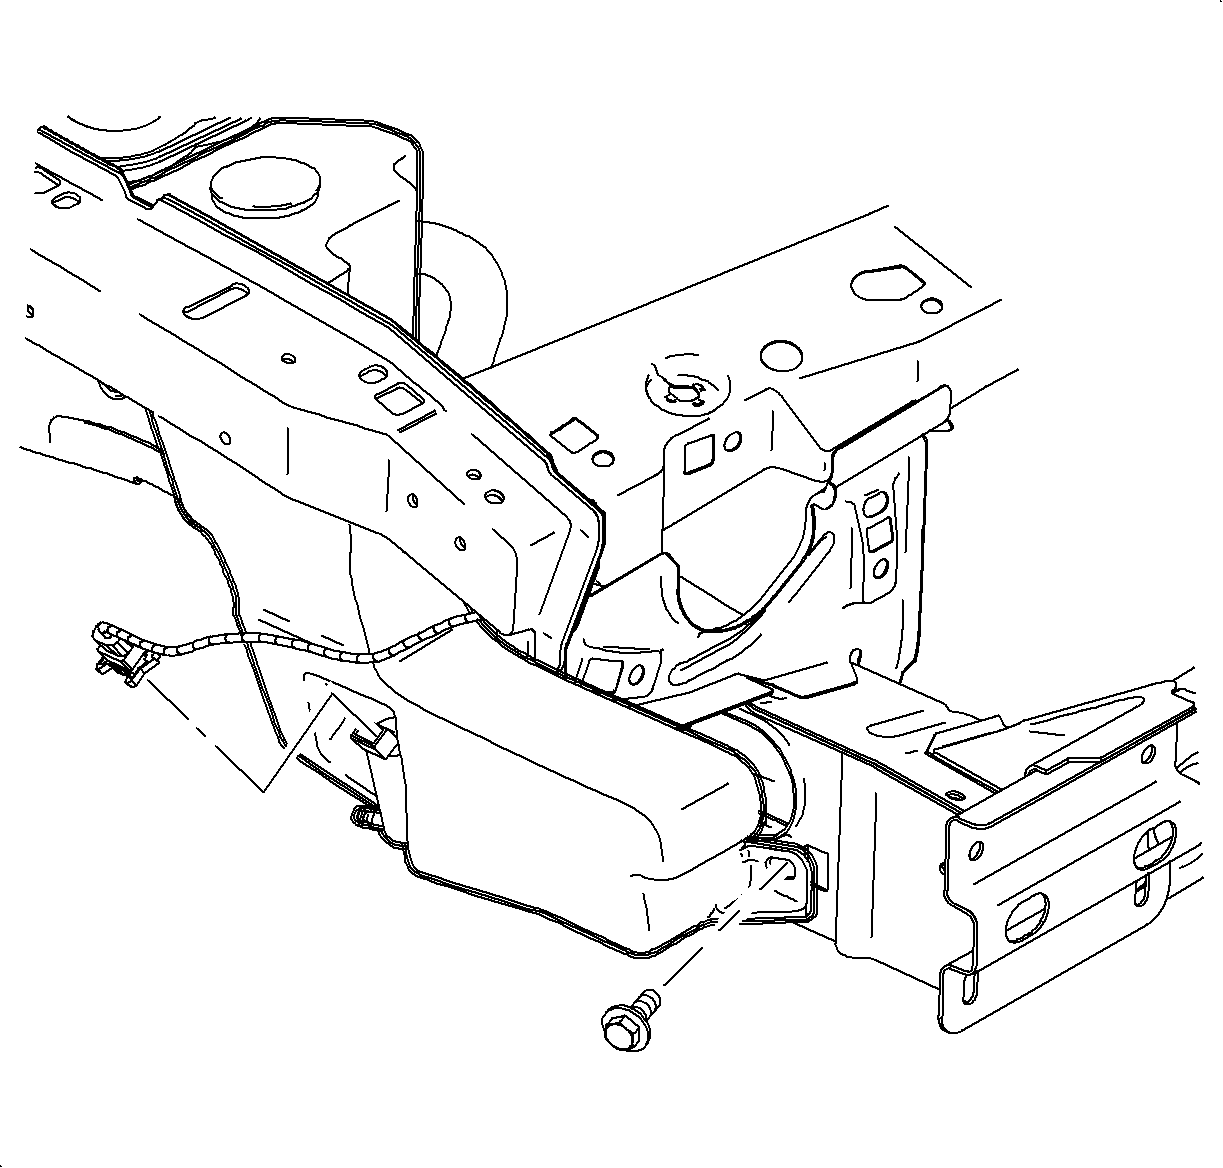
- From under the car, disconnect the wiring harness from the pump and remove the lower fastener.
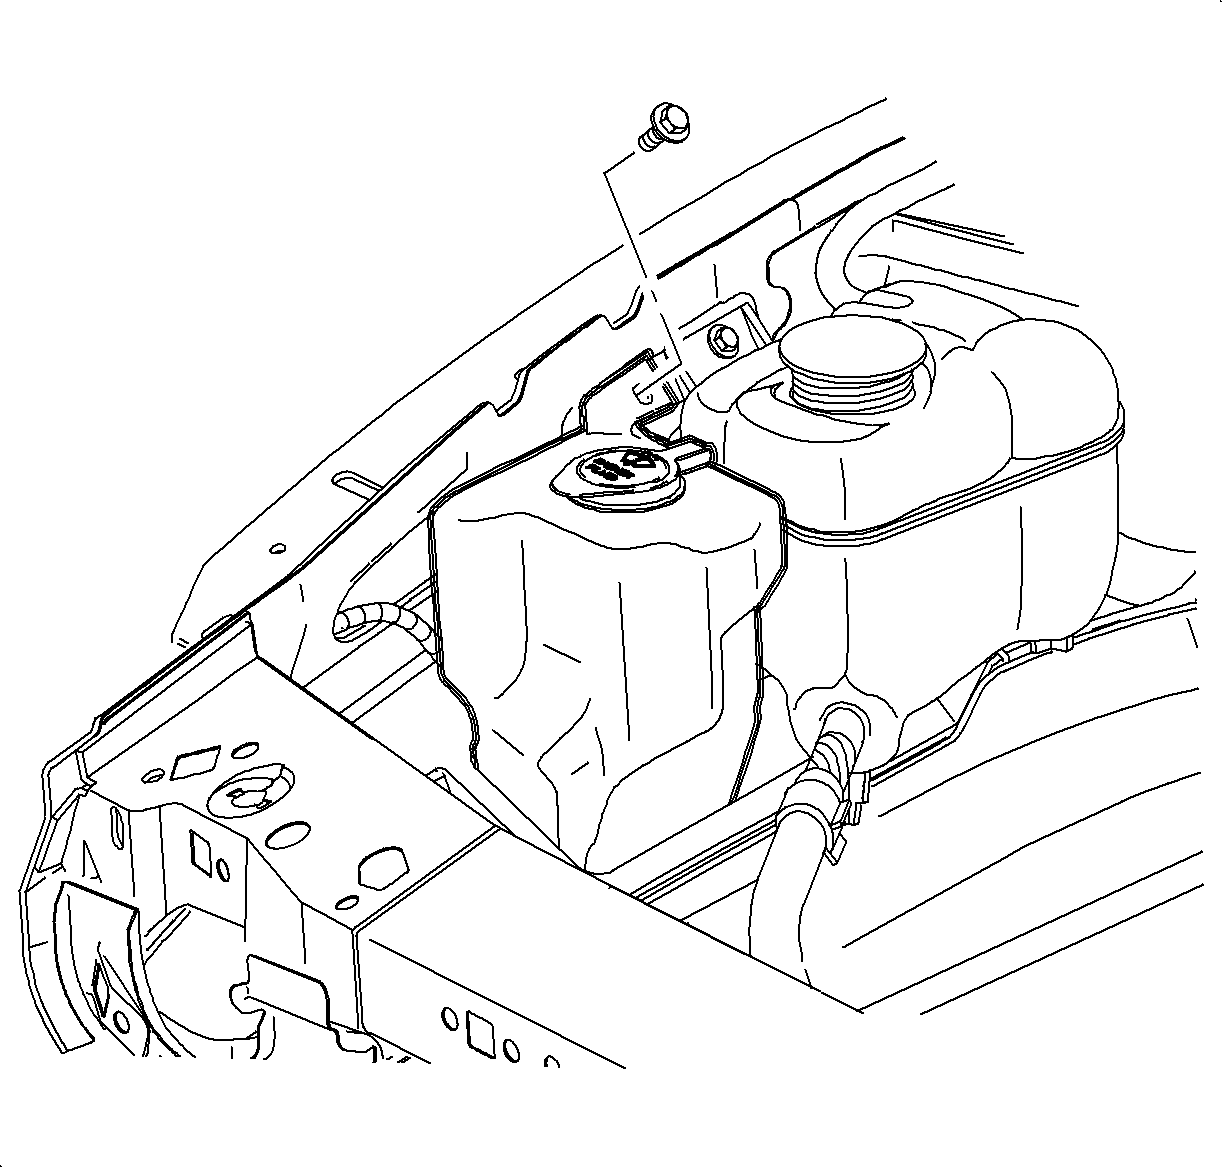
- Remove the upper solvent container fastener.
- Lift the solvent container and remove the fluid hose from the pump, making sure to capture the spilling solvent.
- Remove the solvent container from the vehicle.
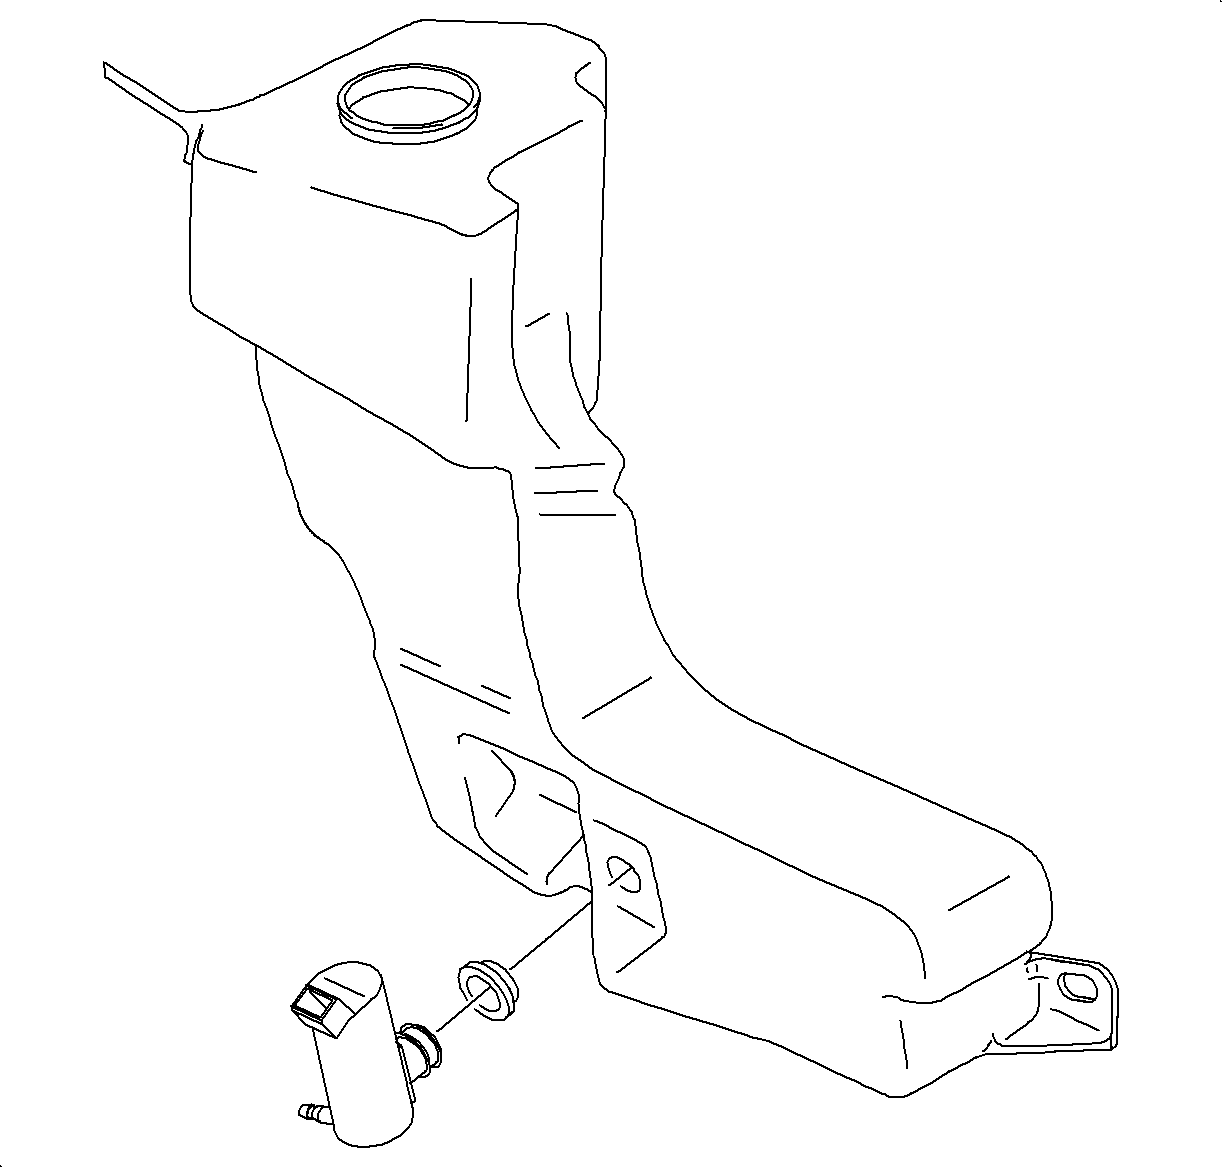
- Empty the fluid into the holding container and remove the pump from the solvent container by pulling firmly on the pump.
Notice: Use caution when removing hoses from washer system components to avoid spilling washer fluid on painted surfaces.
Notice: Do not reuse washer fluid as debris may clog the system.
Installation Procedure
- Install the pump to solvent container.
- Install the fluid hose to the pump.
- Apply Loctite® 242 Threadlocker, or equivalent, to the solvent container fasteners.
- Install the solvent container to the vehicle and install the upper fastener.
- From under the vehicle, connect the wiring harness to the pump and install the lower fastener.
- Fill the solvent container with windshield washer solvent.
- Check that the pump operates properly.


Windshield Washer Solvent Container and Pump Replacement 2nd Design
Removal Procedure
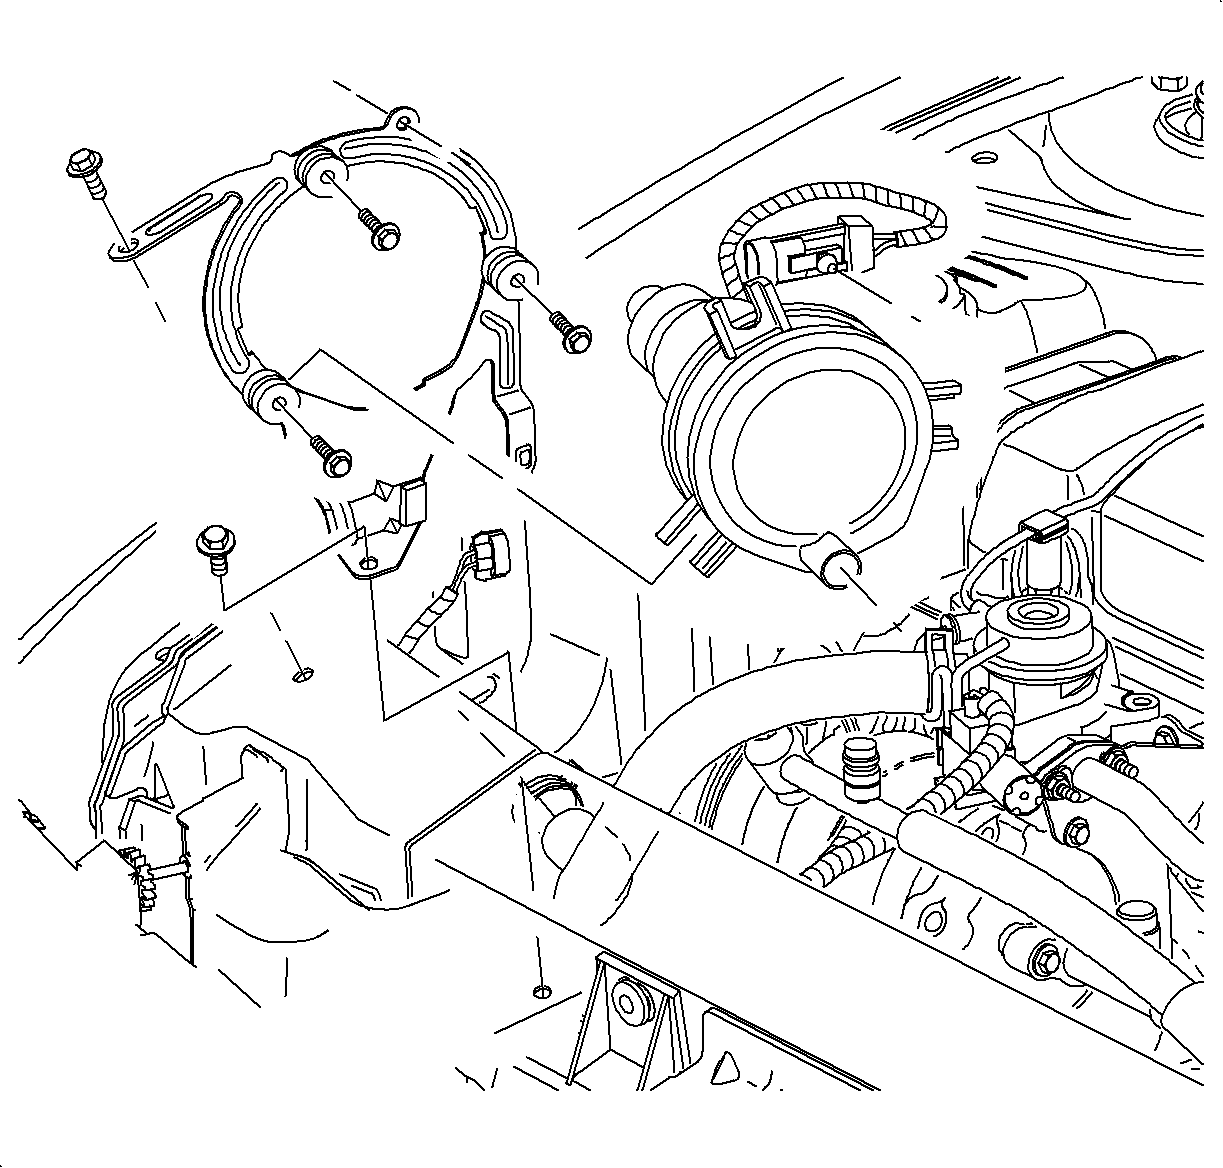
- Disconnect the air pump wiring harness terminal.
- Remove the air pump wiring harness terminal from the bracket.
- Remove the air pump outlet air hose.
- Remove the air pump bracket bolts.
- Remove the air pump/bracket assembly from the vehicle.
- Remove the air pump mounting bolt.
- Remove the air pump from bracket.
- From under the vehicle, disconnect the wiring harness from the pump and remove the lower fastener.
- Remove the upper solvent container fastener.
- Lift the solvent container and remove the fluid hose from the pump, making sure to capture the spilling solvent.
- Remove the solvent container from the vehicle.
- Empty the fluid into a holding container and remove the pump from the solvent container by pulling firmly on the pump.


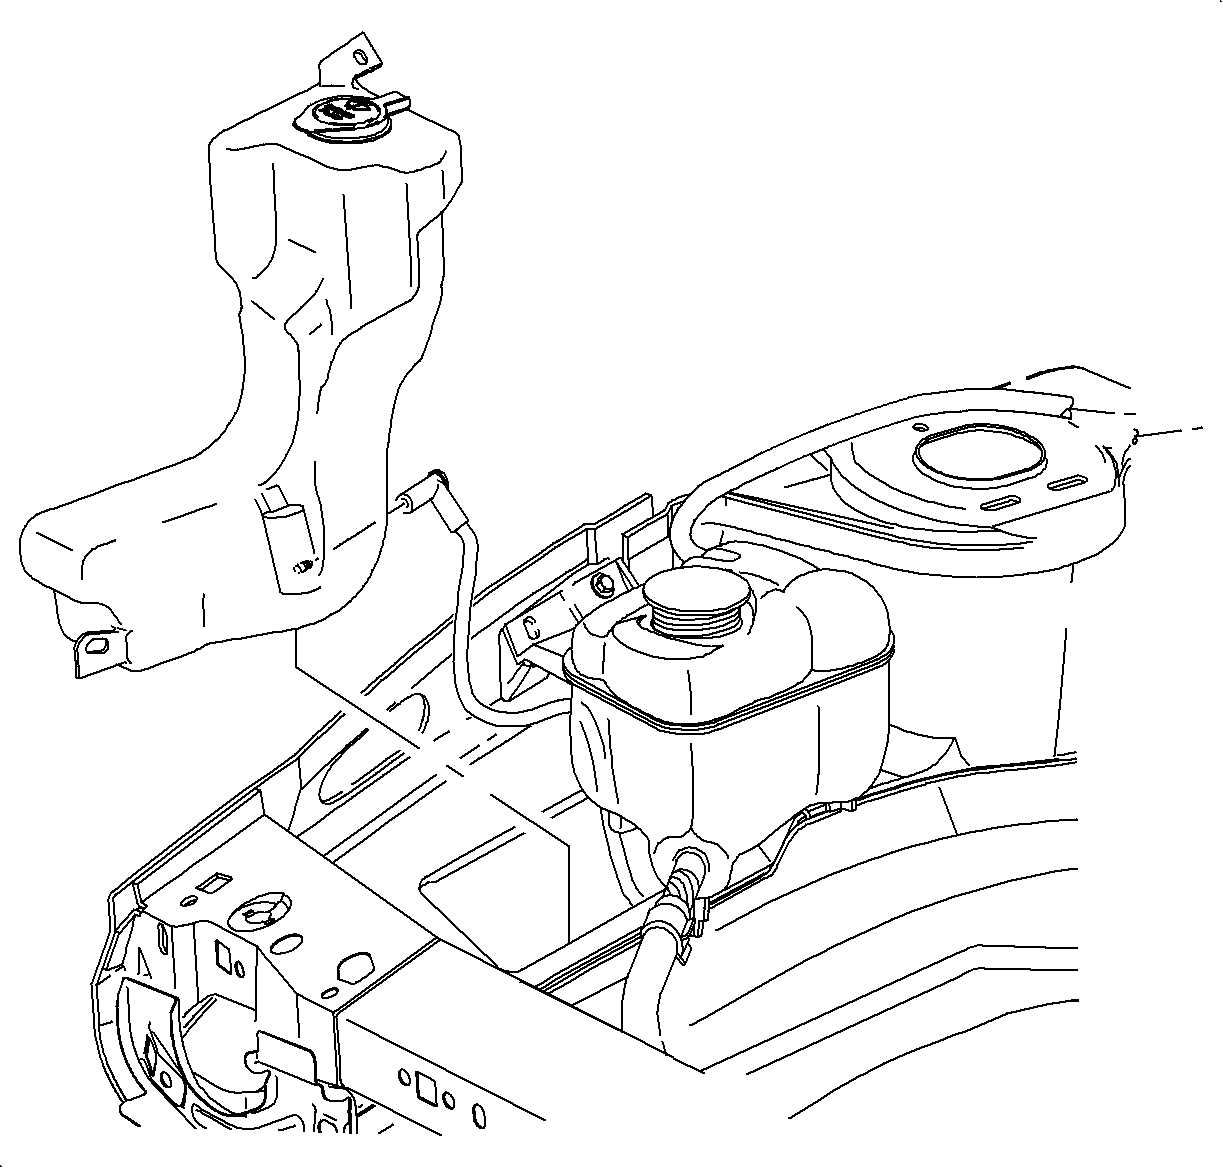
Notice: Use caution when removing hoses from washer system components to avoid spilling washer fluid on painted surfaces.

Notice: Do not reuse washer fluid as debris may clog the system.
Installation Procedure
- Install the pump to the solvent container.
- Install the fluid hose to the pump.
- Apply Loctite® 242 Threadlocker, or equivalent, to the solvent container fasteners.
- Install the solvent container to the vehicle and install the upper fastener.
- From under the vehicle, connect the wiring harness to the pump and install the lower fastener.
- Fill the solvent container with windshield washer solvent.
- Check that the pump operates properly.
- Install the air pump into the air pump bracket.
- Install the nut.
- Install the air pump/bracket assembly into the vehicle.
- Install the bracket bolts.
- Connect the air pump wiring harness terminal.
- Install the air pump wiring harness terminal on the bracket.


Notice: Refer to Fastener Notice in the Preface section.
Tighten
Tighten the air pump-to-bracket nut to 8 N·m (71 lb in).

Important: Make sure the gaskets are installed correctly or a leak will occur. If the gaskets are removed from the studs, replace with new gaskets.
Tighten
Tighten the air pump bracket-to-tie bar bolts to 25 N·m (19 lb ft).
