Updated Service Information for Sectioning Rear Side Door Ring Lower Section and/or Outer Rocker Panel

| Subject: | Updated Service Information for Sectioning Rear Side Door Ring Lower Section and/or Outer Rocker Panel |
| Models: | 1991 -- 1999 Saturn S-Series Sedans |
| 1993 -- 1999 Saturn S-Series Wagons |
Purpose
The purpose of this bulletin is to provide updated service information to be used when sectioning the rear side door ring lower section and/or outer rocker panel.
REAR DOOR RING PANEL SECTIONING
- Remove rear door. (Refer to "Rear Door -- All" removal procedure in the Doors section of the appropriate model year Body/Repair service manual.
- Remove rear door ring sill plate.
- Remove the rear carpet retainer.
- Remove rear body primary weatherstrip. (Refer to "Rear Door Primary Weatherstrip -- Sedan/Wagon" removal procedure in the Doors section of the appropriate model year Body/Repair service manual.)
- Remove rocker panel molding. (Refer to "Rocker Panel Molding -- Sedan/Wagon" in the Vehicle Interior Systems section of the appropriate model year Body/Repair service manual.)
- Remove rear seat lower cushion. (Refer to "Rear Seat Cushion -- Sedan/Wagon" in the Vehicle Interior System section of the appropriate model year Body/Repair service manual.)
- Cover rear carpet for protection.
- Position service rear door ring lower section to vehicle. (Obtained with proper kit depending on model year and side of vehicle being repaired.)
- Align with holes in rocker inner panel and make sure holes are centered.
- Trace edges of service part onto door ring. (Note amount and location of spot welds.)
- Remove sealer and drill spot wields in lower section of door ring.
- Cut section out on existing door ring at trace marks made from new part.
- Remove cut lower section of existing door ring from vehicle.
- Clean or refinish rocker outer panel if necessary.
- Clean surfaces for welding and grind ELPO® primer off new service part.
- Drill new holes for spot welds at connecting points and apply 3M® Weld-Thru Coating, P/N 05913 (or equivalent) to all areas to be welded.
- Place service part on vehicle and clamp into place to ensure that no movement will occur while welding service part to vehicle.
- Use MIG to plug weld all drilled spot welded areas. Front and rear joints will be butt-welded. (Refer to "Space Frame Sectioning -- General Notes" in the appropriate model year Body/Collision service manual.
- Apply corrosion protection through access holes at bottom of "B" pillar inner and through access hole at the rear of the repaired area from inside vehicle. This is to ensure coverage on bottom of seam weld.
- Remove rear carpet protection and install rear seat lower cushion. (Refer to "Rear Seat Cushion -- Sedan/Wagon" in the Vehicle Interior System section of the appropriate model year Body/Repair service manual.)
- Install rocker panel molding. (Refer to "Rocker Panel Molding -- Sedan/Wagon" installation procedure in the Roof, Rocker Panels and attaching Components section of the appropriate model year Body/Repair service manual.)
- Install rear body primary weatherstrip. (Refer to "Rear Door Primary Weatherstrip -- Sedan/Wagon" installation procedure in the Doors section of the appropriate model year Body/Repair service manual.)
- Install rear carpet retainer.
- Install rear door. (Refer to "Rear Door--All" installation procedure in the Doors section of the appropriate model year Body/Repair service manual.)
- Install rear door ring sill plate.
Notice: Grind smooth and clean all welded seams with a wire brush, then prime and seal all repair areas. Apply permanent underbody sealant. It is important that proper corrosion protection processes are used on all repair areas. Prime with two-part catalyzed primer. Apply sealers and corrosion protection materials according to information in the Body Paint section of the appropriate model year Body/Collision service manual or apply according to paint manufacturer's recommendations.
OUTER ROCKER PANEL SECTIONING
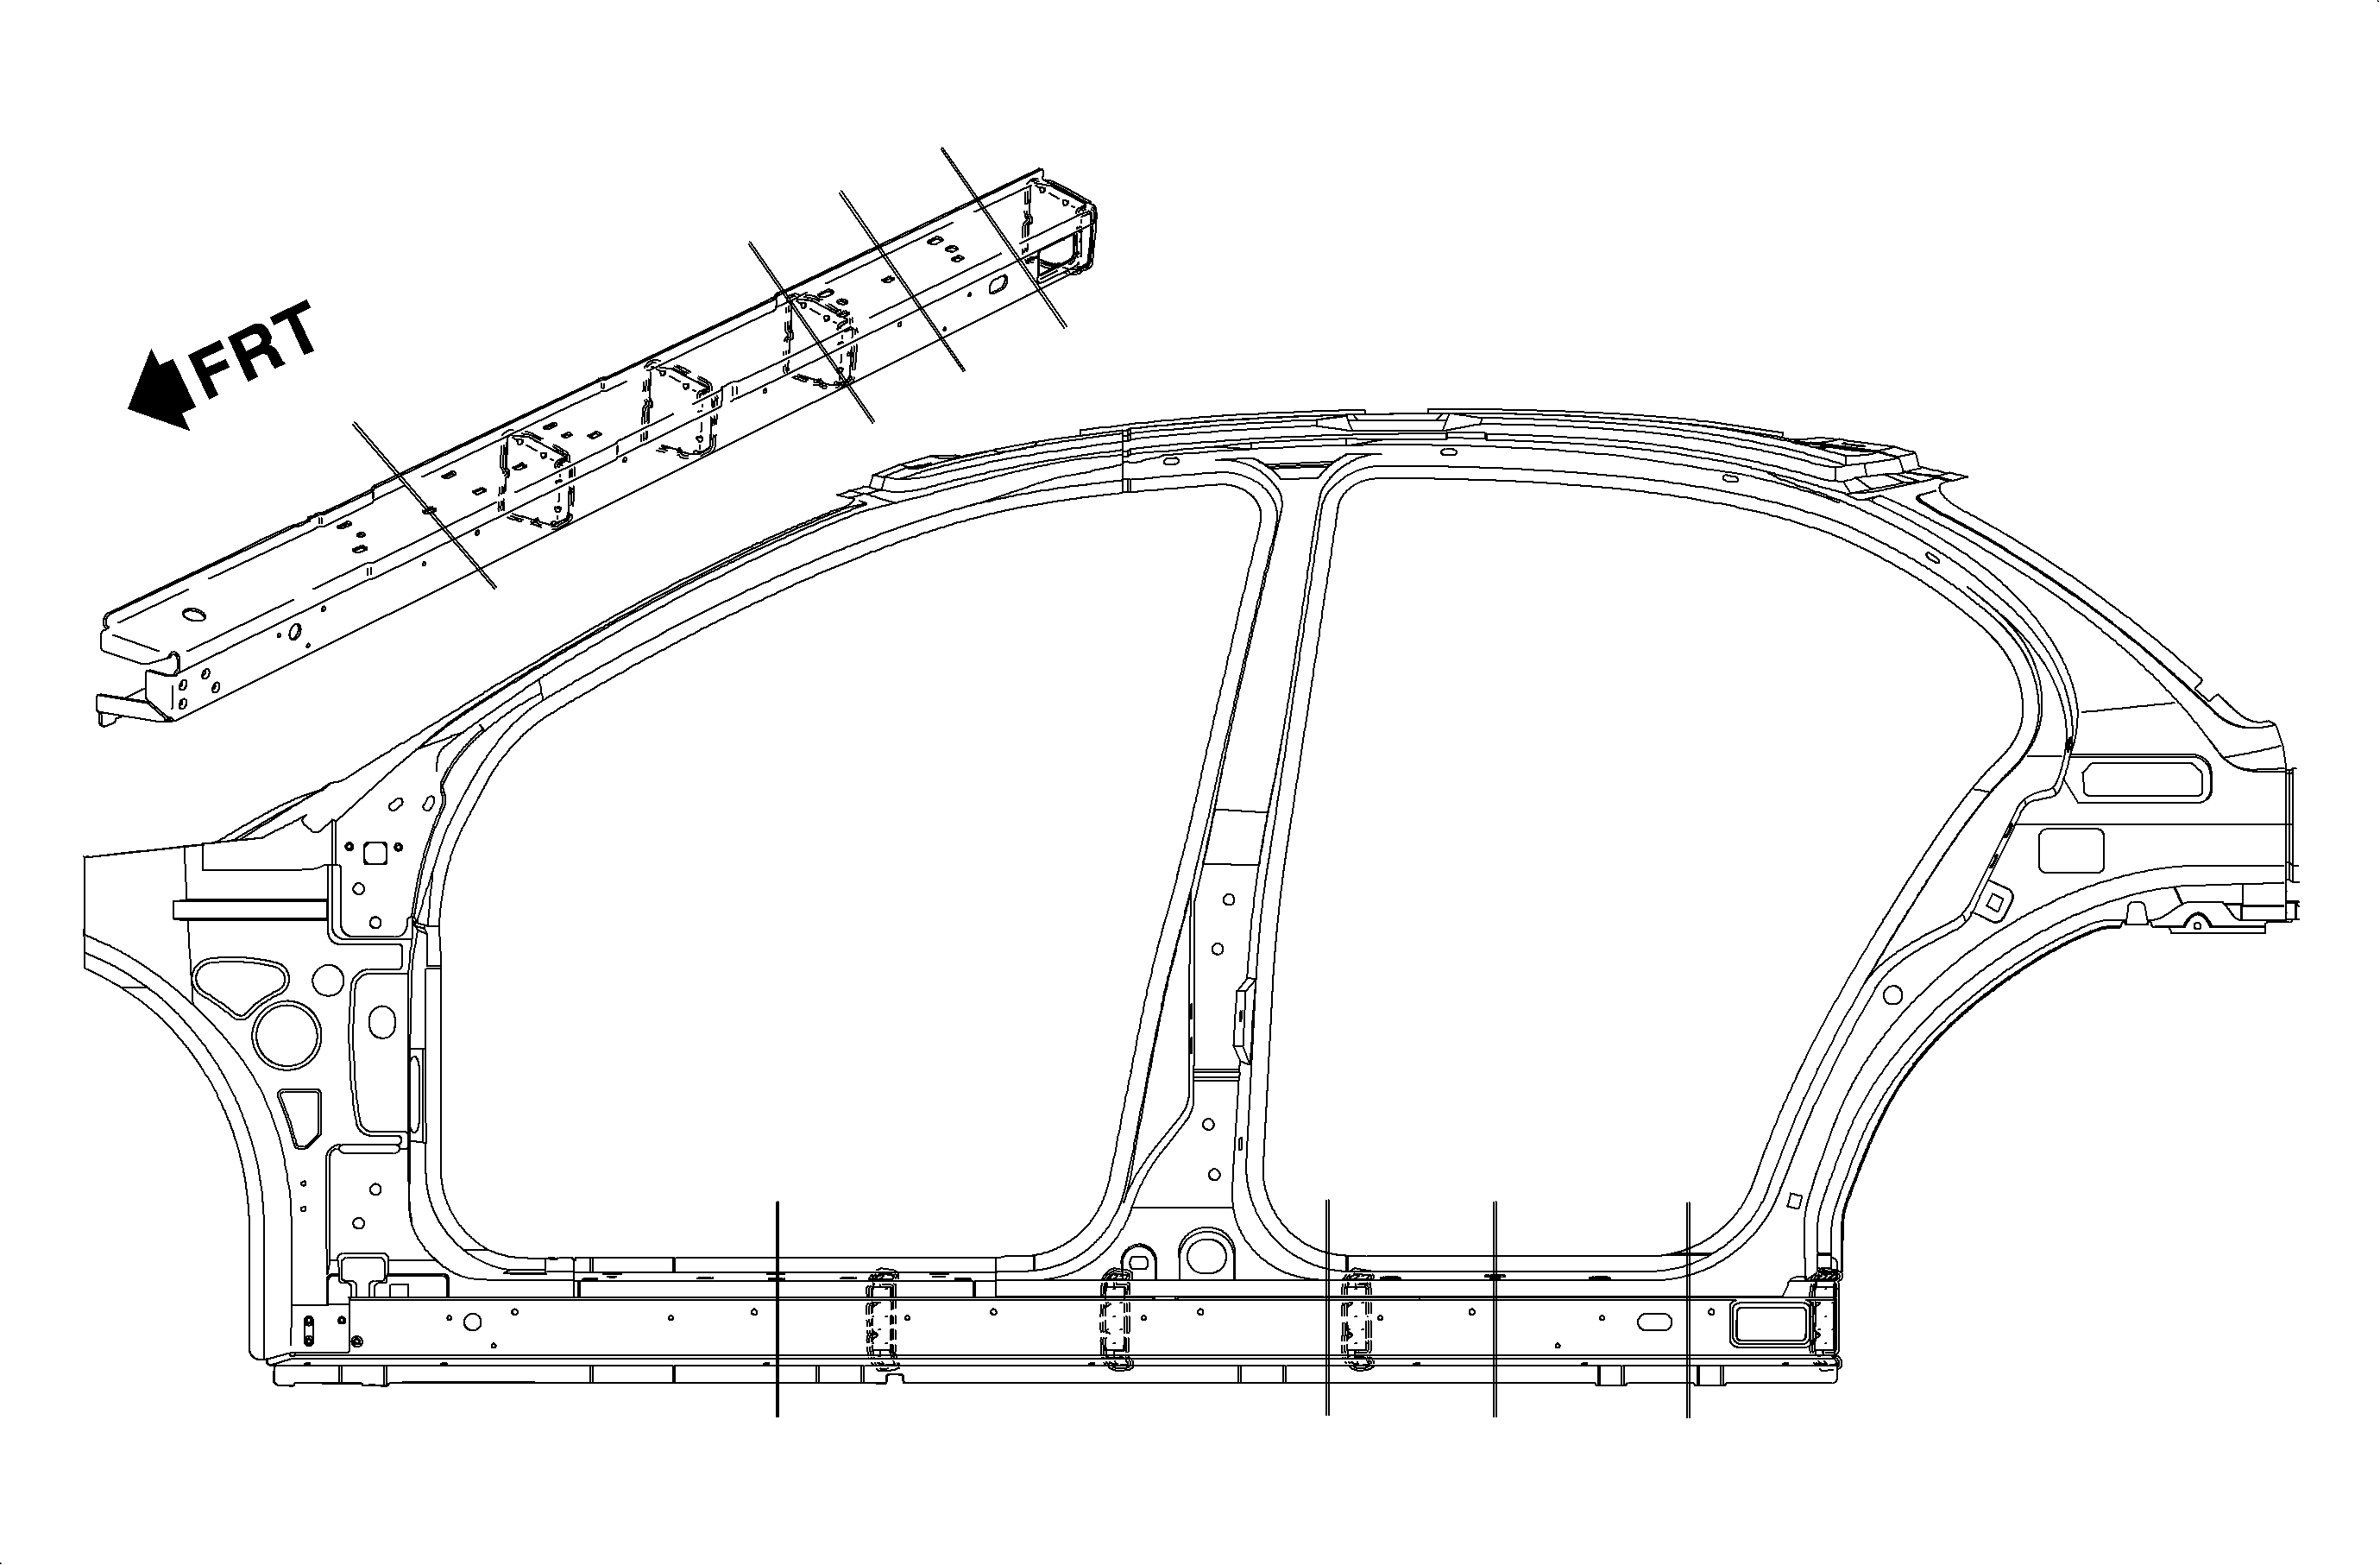
This illustration is provided to show the new recommended areas for sectioning the Sedan/Wagon outer rocker panel. For complete outer rocker panel sectioning procedure, refer to the appropriate model year Body/Collision service manual.

21124570 | Kit -- Rear Door Ring Lower Section 1991 -- 1995 Right |
21124571 | Kit -- Rear Door Ring Lower Section 1991 -- 1995 Left |
21124572 | Kit -- Rear Door Ring Lower Section 1996 -- 1999 Right |
21124573 | Kit -- Rear Door Ring Lower Section 1996 -- 1999 Left |
CLAIM INFORMATION
To receive credit for this repair during the warranty coverage period, submit a claim through the Saturn Dealer System as follows:
Case Type | Description | Labor Operation Code | Time |
|---|---|---|---|
VW | Replace Rear Door Ring Lower Section -- Right Side | Z4051 | 2.5 hrs |
Replace Rear Door Ring Lower Section -- Left Side | Z4052 | 2.5 hrs | |
INC: Time to align rear door. | |||
