Caution: Never charge the a/c system through the high pressure side of the system. Component damage and personal injury could result.
Notice: Never use alcohol to remove moisture from the refrigeration system. Damage to the system components could occur.
If the system has been opened for any repair, or the R-134a charge lost, the system must be evacuated prior to charging.
Evacuation and charging is a combined procedure and all gage lines must be purged with R-134a prior to charging.
A/C System R-134a Recovery
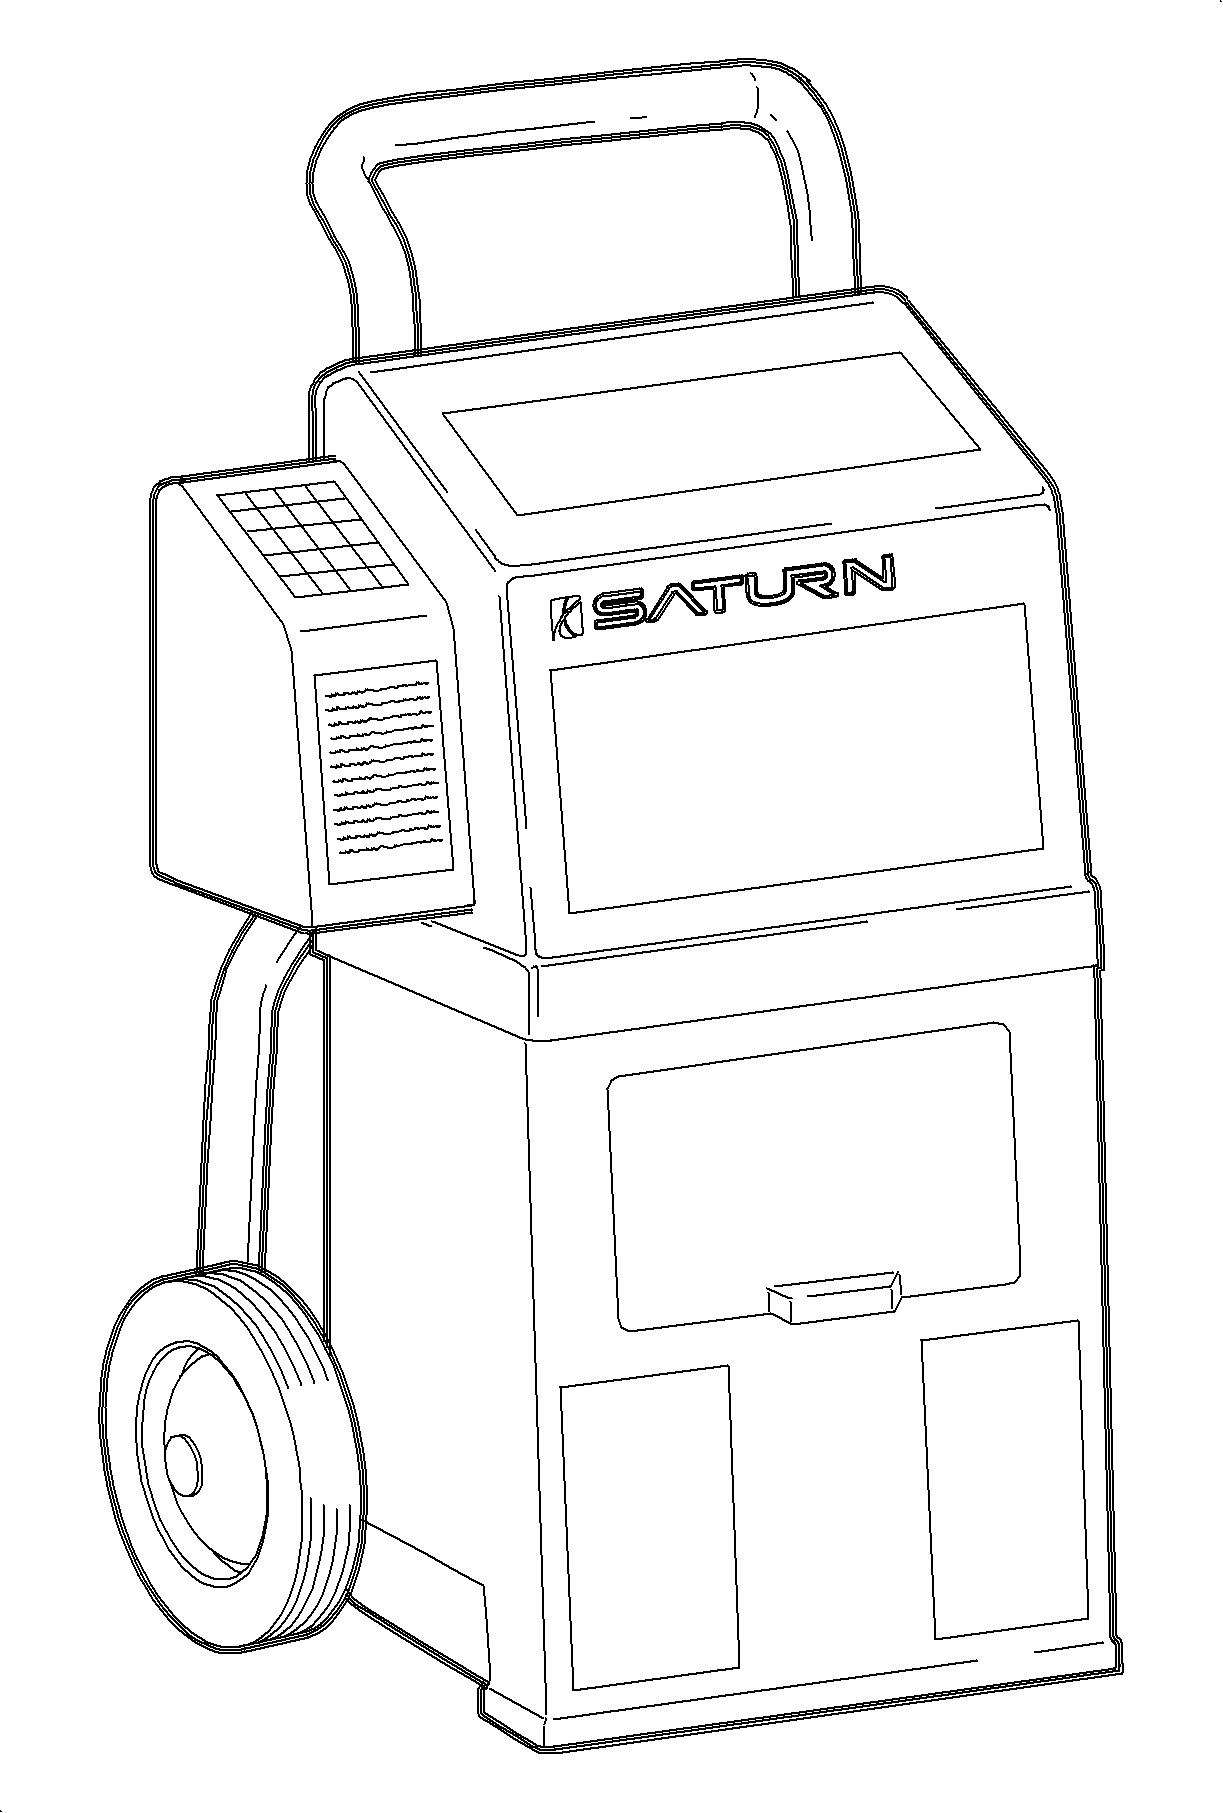
| • | Before removing or replacing any of the AC refrigerant lines or components, the refrigerant must be completely recovered. |
| Important: Verifying the purity of the refrigerant with a refrigerant purity identifier before recovery is recommended. |
| • | The refrigerant system must be discharged using an air conditioning refrigerant recovery and recycling system. Follow the manufacturer's operating instruction for the system being used. |
| Notice: The air conditioning refrigerant and recycling station must meet UL standards for moisture and contamination removal. Recovery systems which cannot meet these standards are not approved for warranty repairs. Reuse of moisture or particulate contaminated refrigerant will result in premature compressor and other component failure. |
| Notice: Failure to check for residual oil from the previous recovery can result in adding extra oil to the vehicle currently being serviced. This will also result in insufficient oil in the system previously worked on and could possibly contribute to premature compressor failure. |
| • | Always check the A/C system for pressure with a manifold gage set to determine if refrigerant is present in the system. Performing recovery on an A/C system which is open to atmosphere, as a result of a leak, would allow the recovery station to pull only air into the tank. |
Evacuating The System
- Connect the manifold gage set and vacuum pump to high and low side service ports. Turn on the vacuum pump and slowly open the high and low side service valves to the pump. Allow the system to evacuate for 20-30 minutes. Note the vacuum gage reading.
- Close the high and low side service valves. Shut off the vacuum pump.
- Watch the low side gage for vacuum loss for one to three minutes.
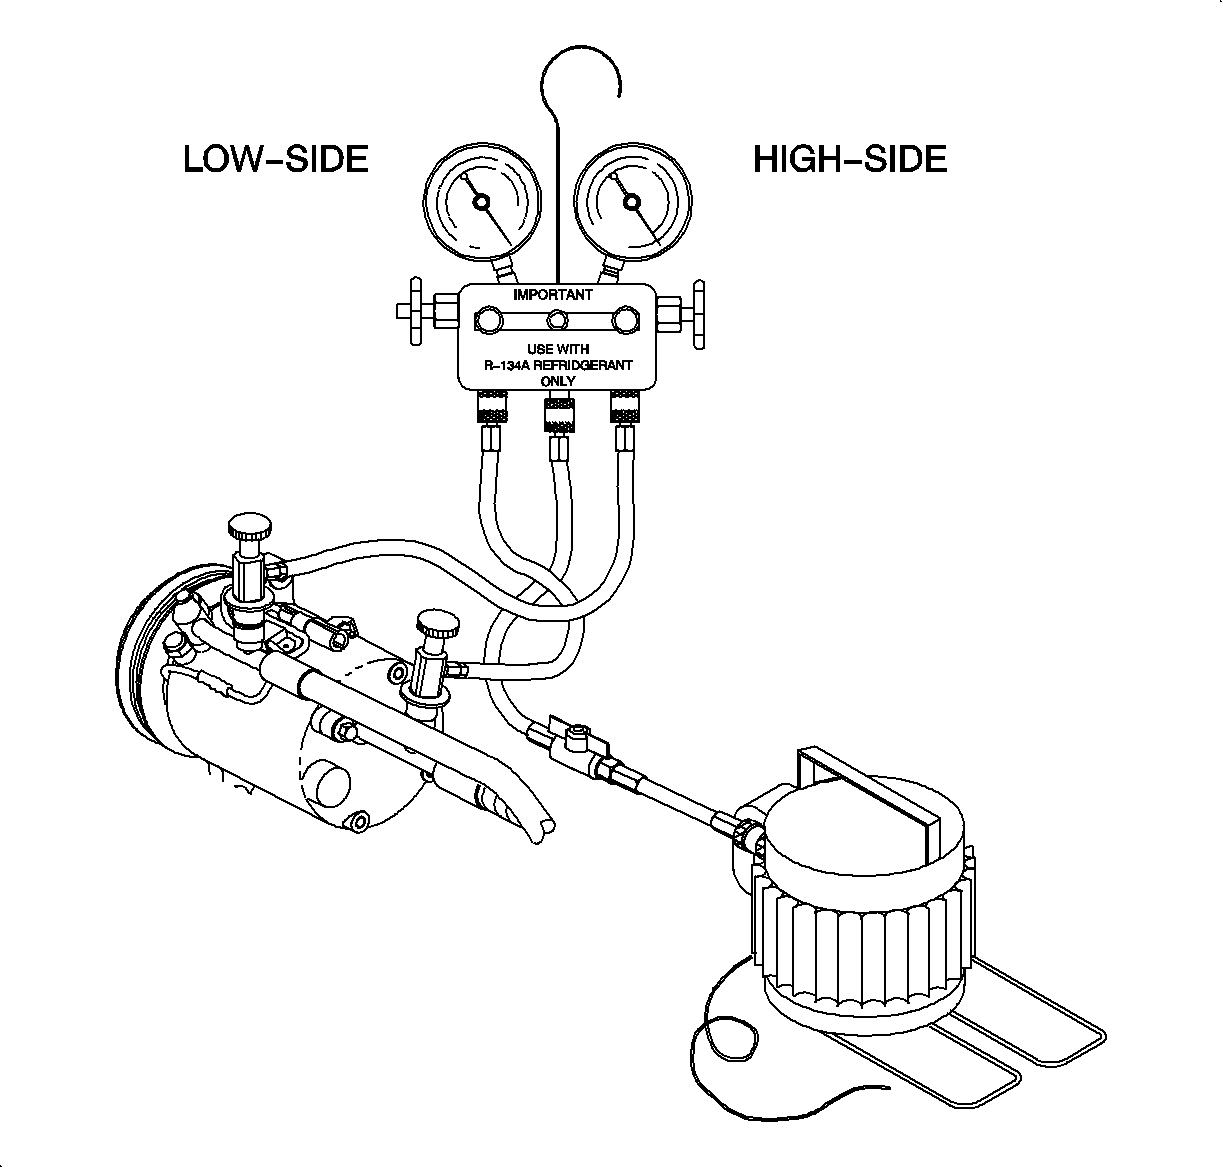
| • | If loss is less than 3.38 kPa (1 in Hg) from level recorded in Step 1, proceed to charging the A/C system. |
| Important: Disconnect the high side service valve from the service port and check for vacuum loss before leak testing. |
| • | If vacuum loss is greater than 3.38 kPa (1 in Hg) from level recorded in Step 1, charge with 0.23 kg (0.5 lb) R-134a. Perform the leak test, repair leaks, and re-test. |
Charging The A/C System
- Open the R-134a source valve(s) and allow 0.50 kg (1 lb) of liquid R-134a to flow into system through low side service fitting.
- As soon as 0.50 kg (1 lb) has been added to system, start the engine, set the mode control to vent, the temperature lever to full cold, the blower speed on high, and push the A/C compressor button to the On position (A/C control button light On). Slowly draw in the remainder of the refrigerant charge 0.23 kg (0.5 lb). The total system charge is 0.68 kg (1.5 lbs).
- Turn off the refrigerant source valve and run the engine for 30 seconds to clear the lines and gages.
- With the engine running, remove the low side service valve from the suction pipe service port.
- Install the protective caps on the service ports and tighten by hand.
- Turn the engine Off.
- Leak check the system with an electronic leak detector or equivalent.
- With the system fully charged and leak-checked, conduct a functional and performance test. Refer to HVAC Diagnostic Flowchart Example .
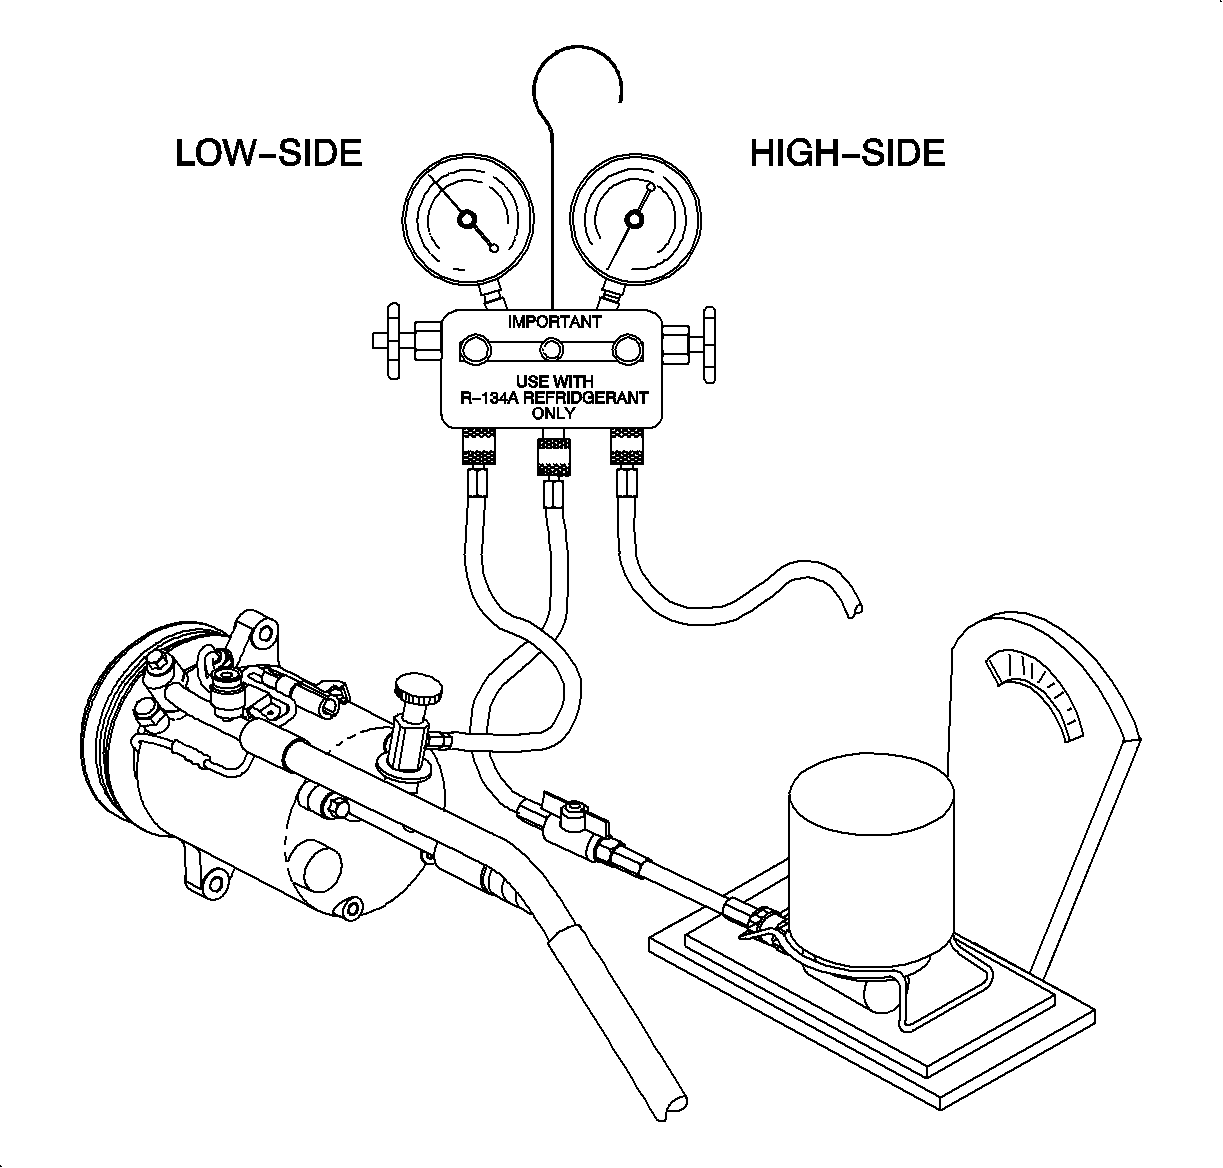
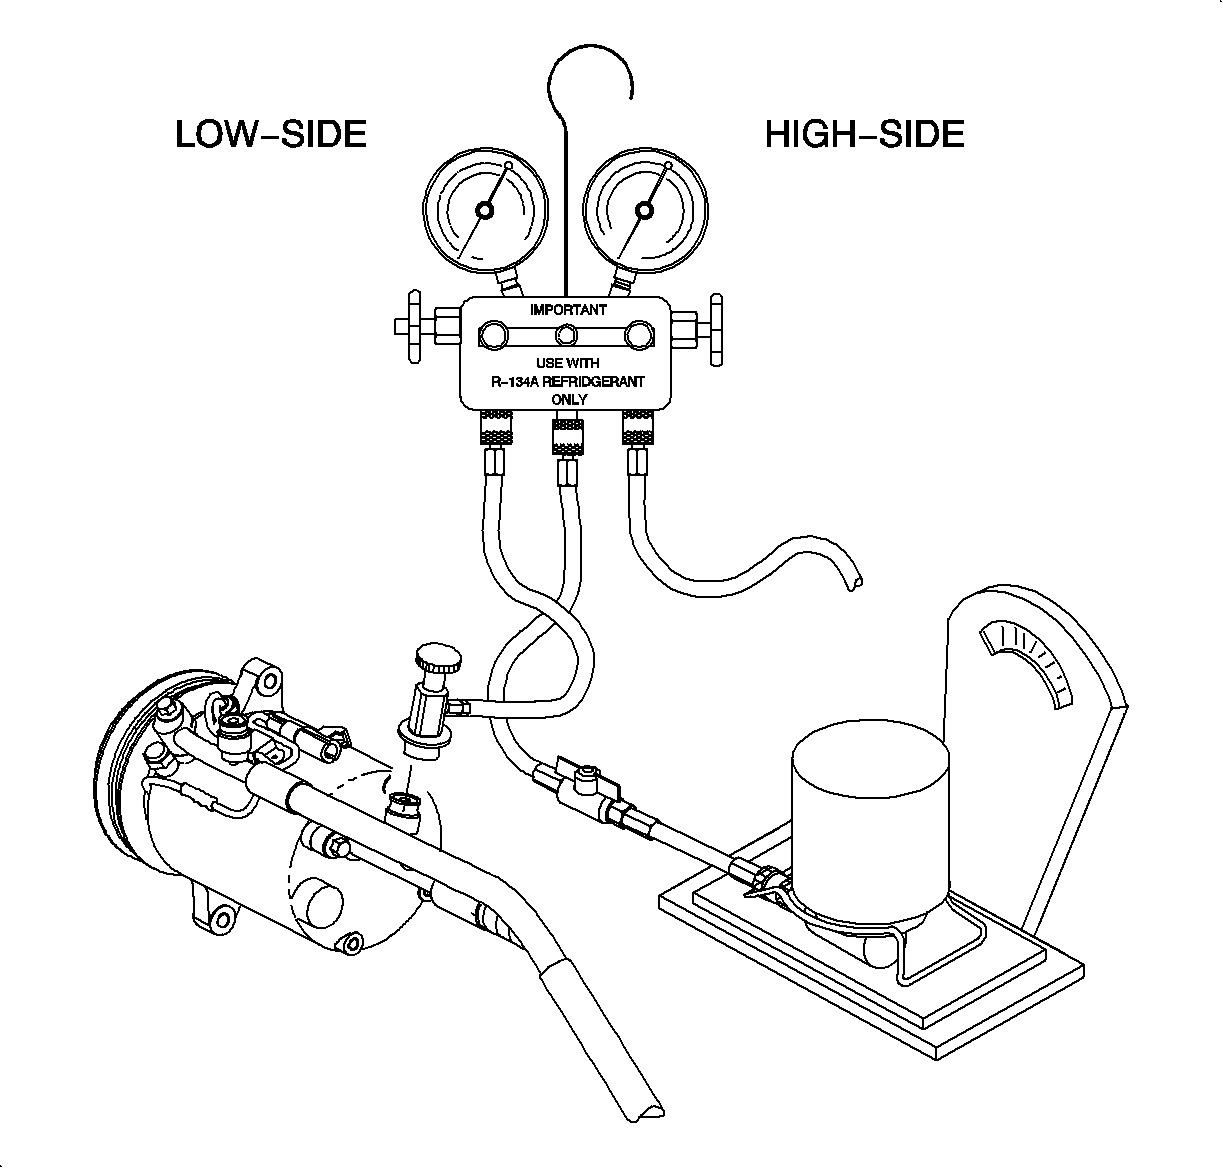
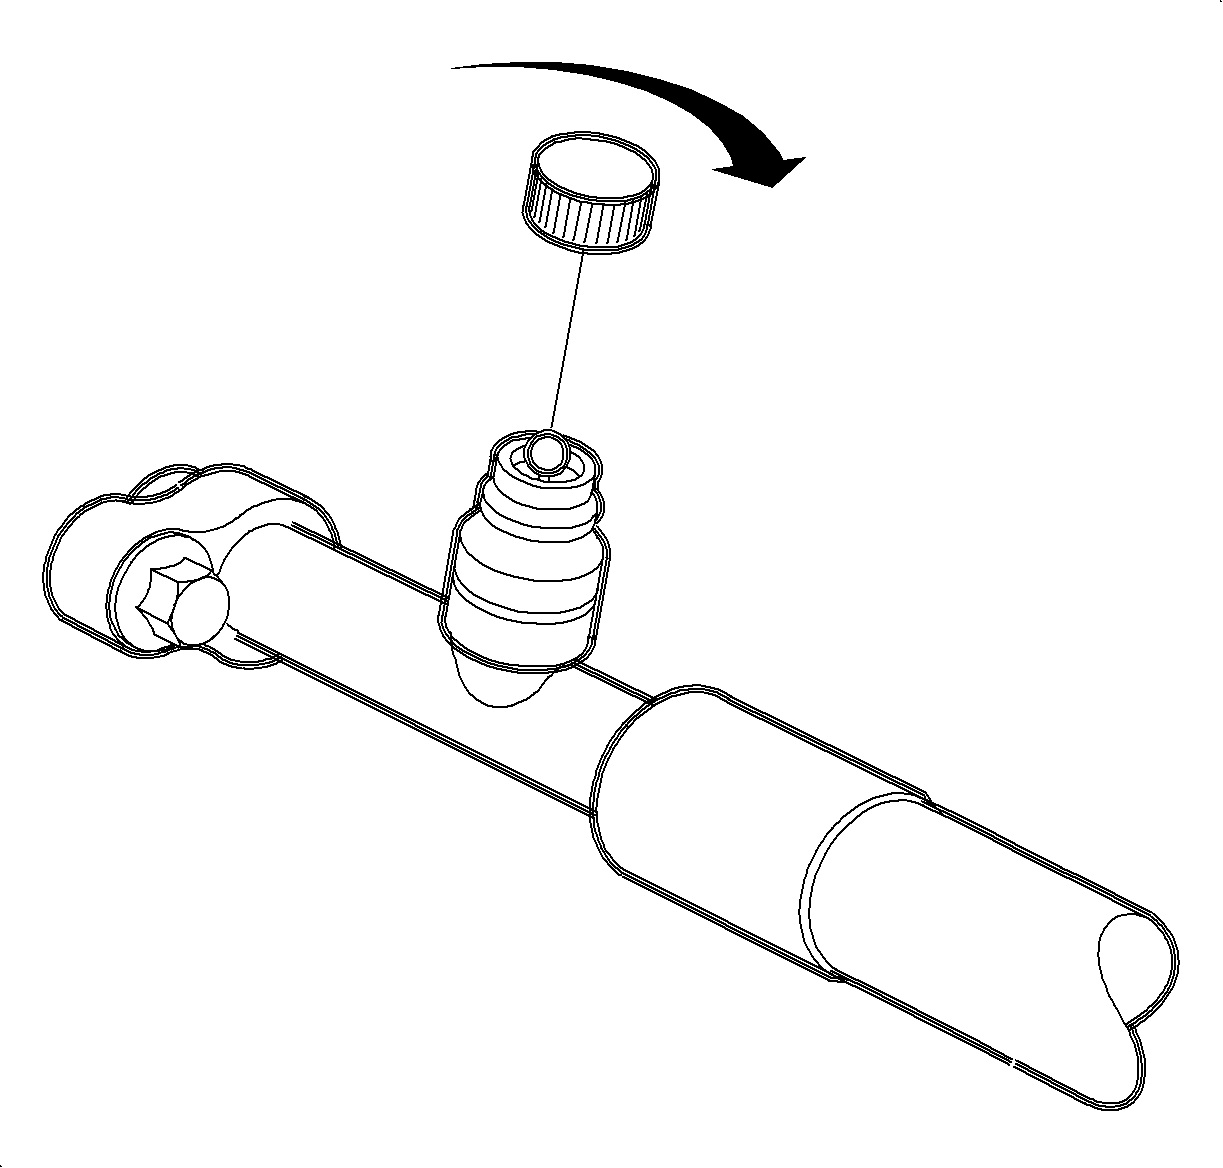
Important: Make sure there is an O-ring seal inside of the caps before installation because the cap is the primary seal for the A/C service fittings. Failure to tighten the cap will result in refrigerant leakage.
Refrigerant Drum Method
Important: Refer to the emissions certification label (Saturn Power Module) for proper amount of R-134a charge.
Important: Verifying the purity of the refrigerant with a refrigerant purity identifier before charging is recommended.
If the R-134a drum is used, place it on a scale and note the total weight before charging. Watch the scale during charging to determine the amount of R-134a used.Connect the manifold gage set as follows:
- The low pressure gage hose to the low pressure service port on the suction pipe at the rear of the compressor. Do not connect the high pressure line to the A/C system.
- The manifold gage set center hose connected to the R-134a source.
Charging Station Method

Follow the charging instructions provided with the charging station in use with the following exceptions:
- Do not connect the high side service valve to the air conditioning system.
- Keep the high pressure valve on the charging station closed at all times.
- Perform the entire charge procedure through the low side pressure service port on the suction pipe.
- Following these procedures will prevent accidental high side vehicle system pressure being subjected to the charging station in the event an error is made in the valve closing sequence during the compressor operation to pull in the R-134a charge.
