For 1990-2009 cars only
Windshield Wiper Arm Replacement 1st Design
Removal Procedure
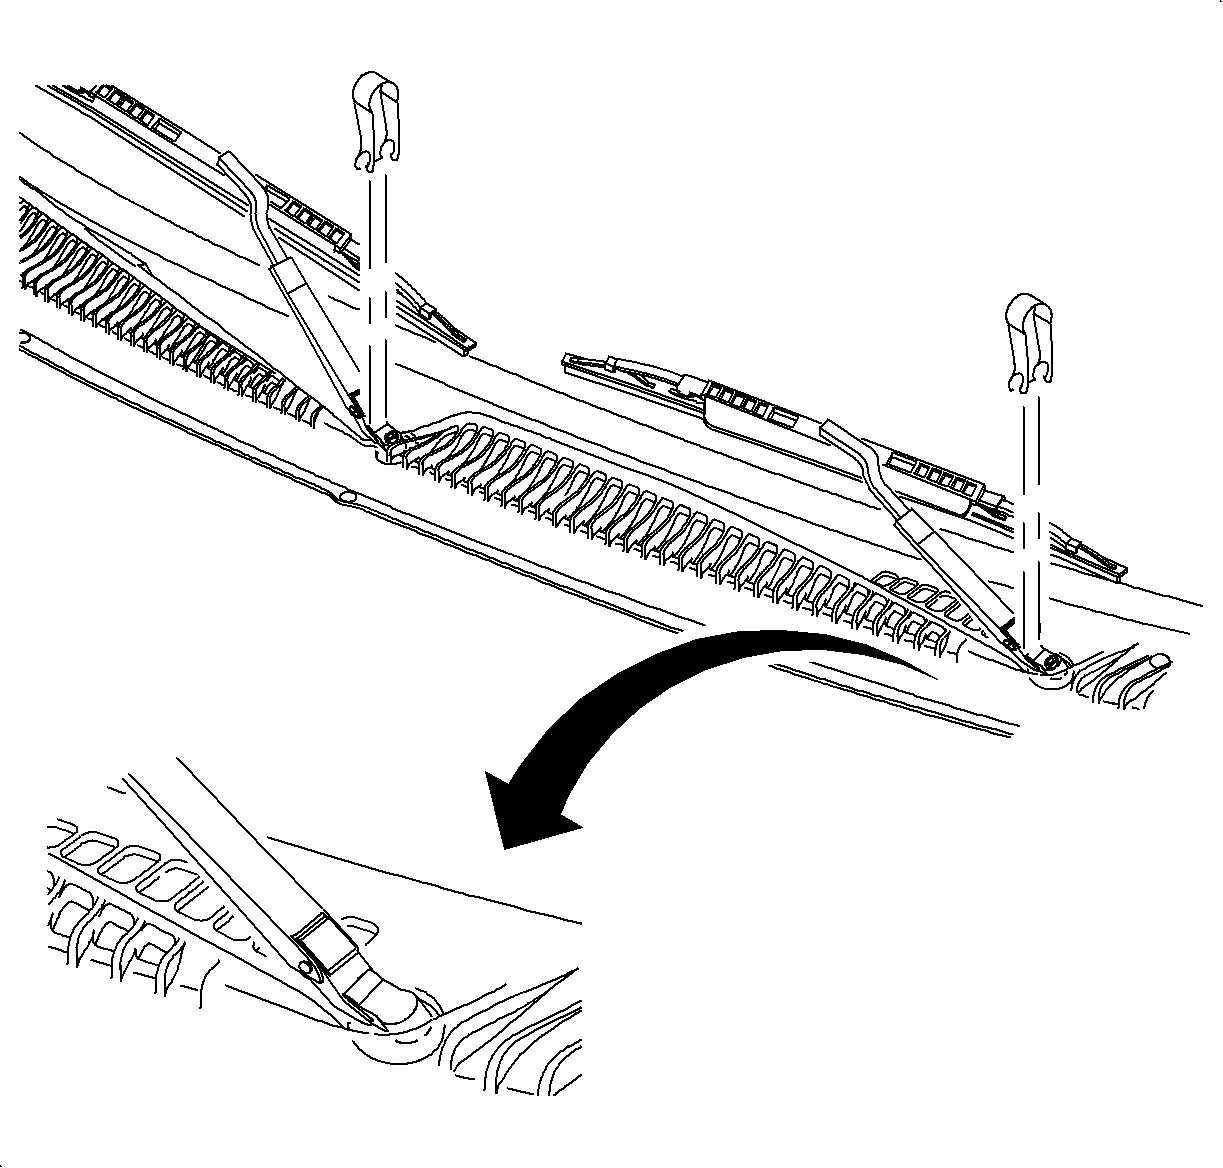
- Remove the wiper arm finish cap by pulling upward on the cap at the pivot location.
- Remove the wiper arm fastener.
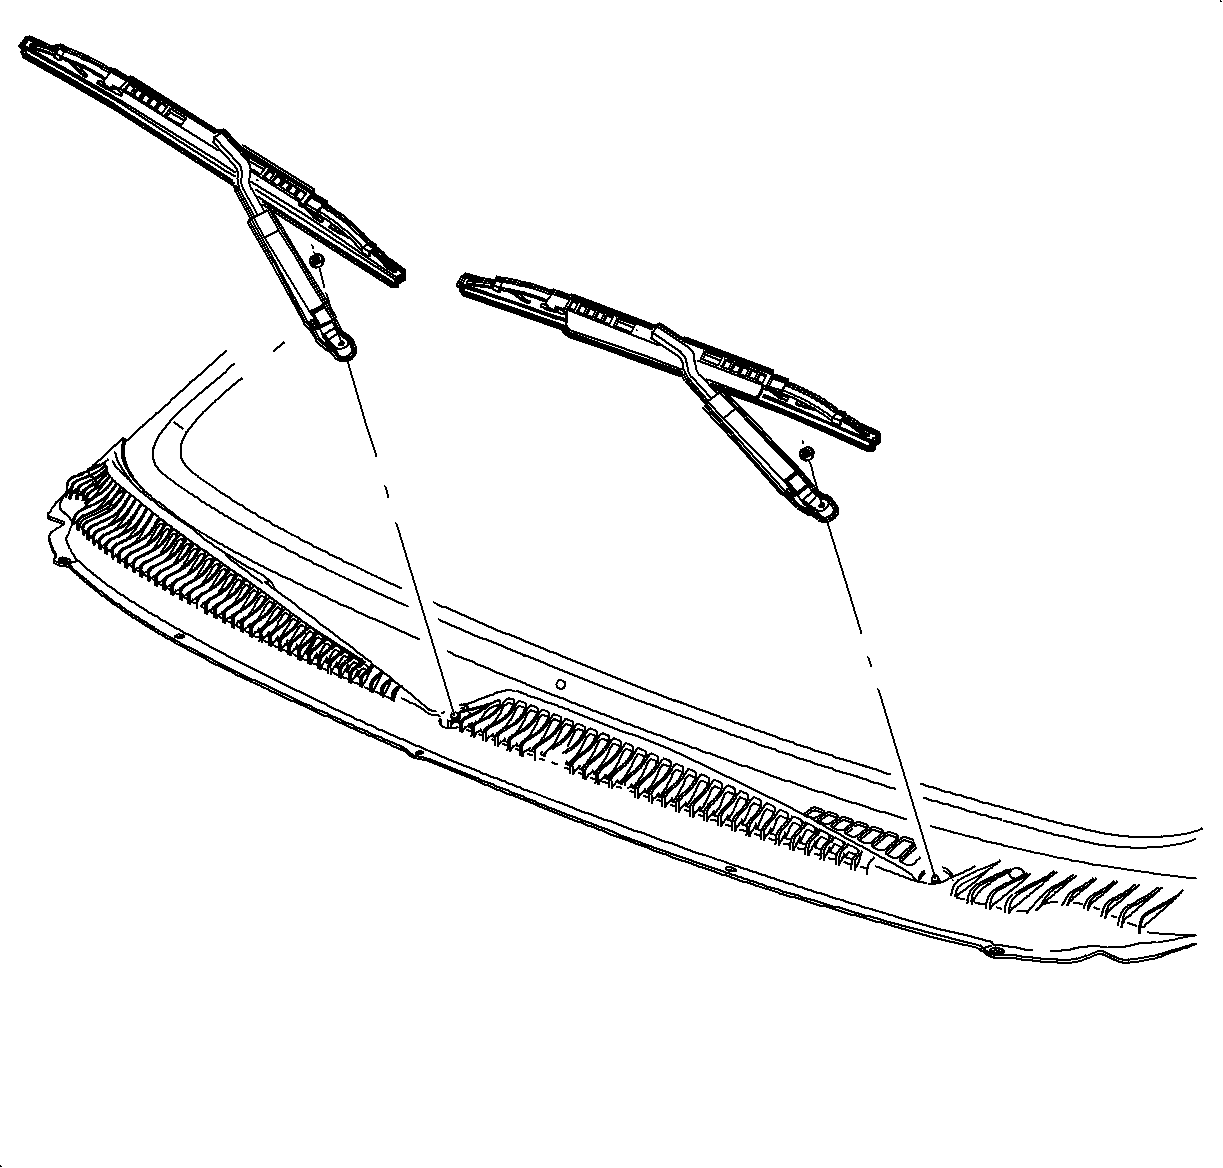
- Lift the wiper arm assembly away from the windshield and remove the wiper arm from the pivot shaft.
Installation Procedure
- On the drivers side, position the wiper blade assembly between the locator dot in the blocked out area of the windshield and the bottom of the dot matrix in the windshield.
- On the passengers side, position the wiper blade assembly at the locating line in the windshield.
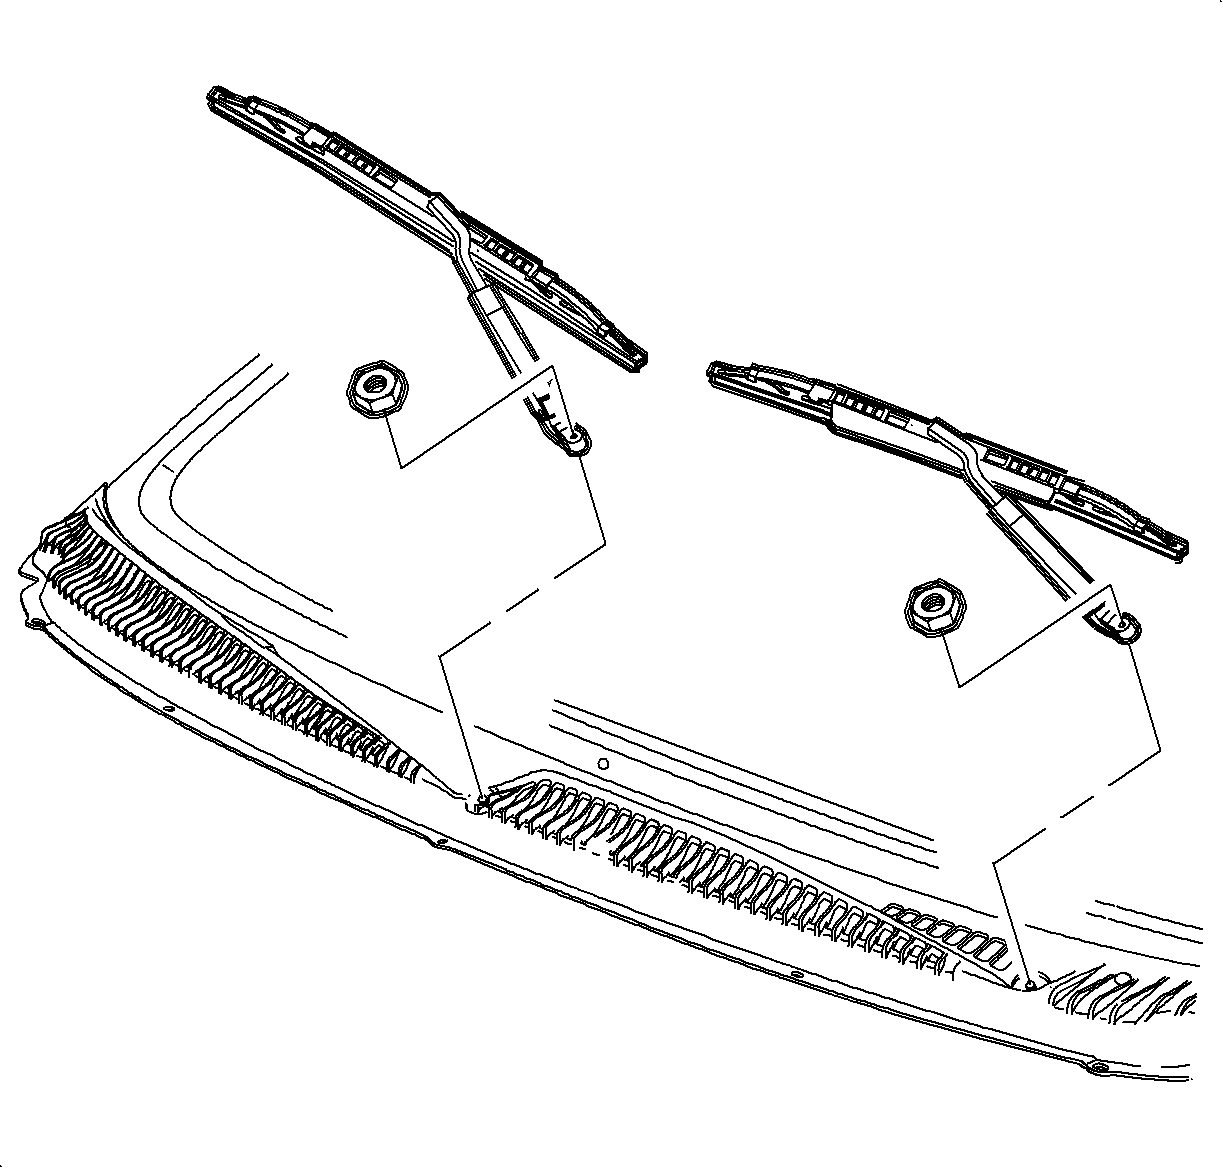
- Install the fastener.
- Install the wiper arm finish cap.
Notice: Refer to Fastener Notice in the Preface section.
Important: Use new nuts. Torque retention of the old nuts may not be sufficient.
Tighten
Tighten the wiper arm retaining nuts to 30 N·m (22 lb ft).

Windshield Wiper Arm Replacement 2nd Design
Tools Required
J 39822 Wiper Arm Puller Tool
Removal Procedure
- Remove the wiper arm finish cap by pulling upward on the cap at the pivot location.
- Insert the key into the ignition and rotate to the RUN position.
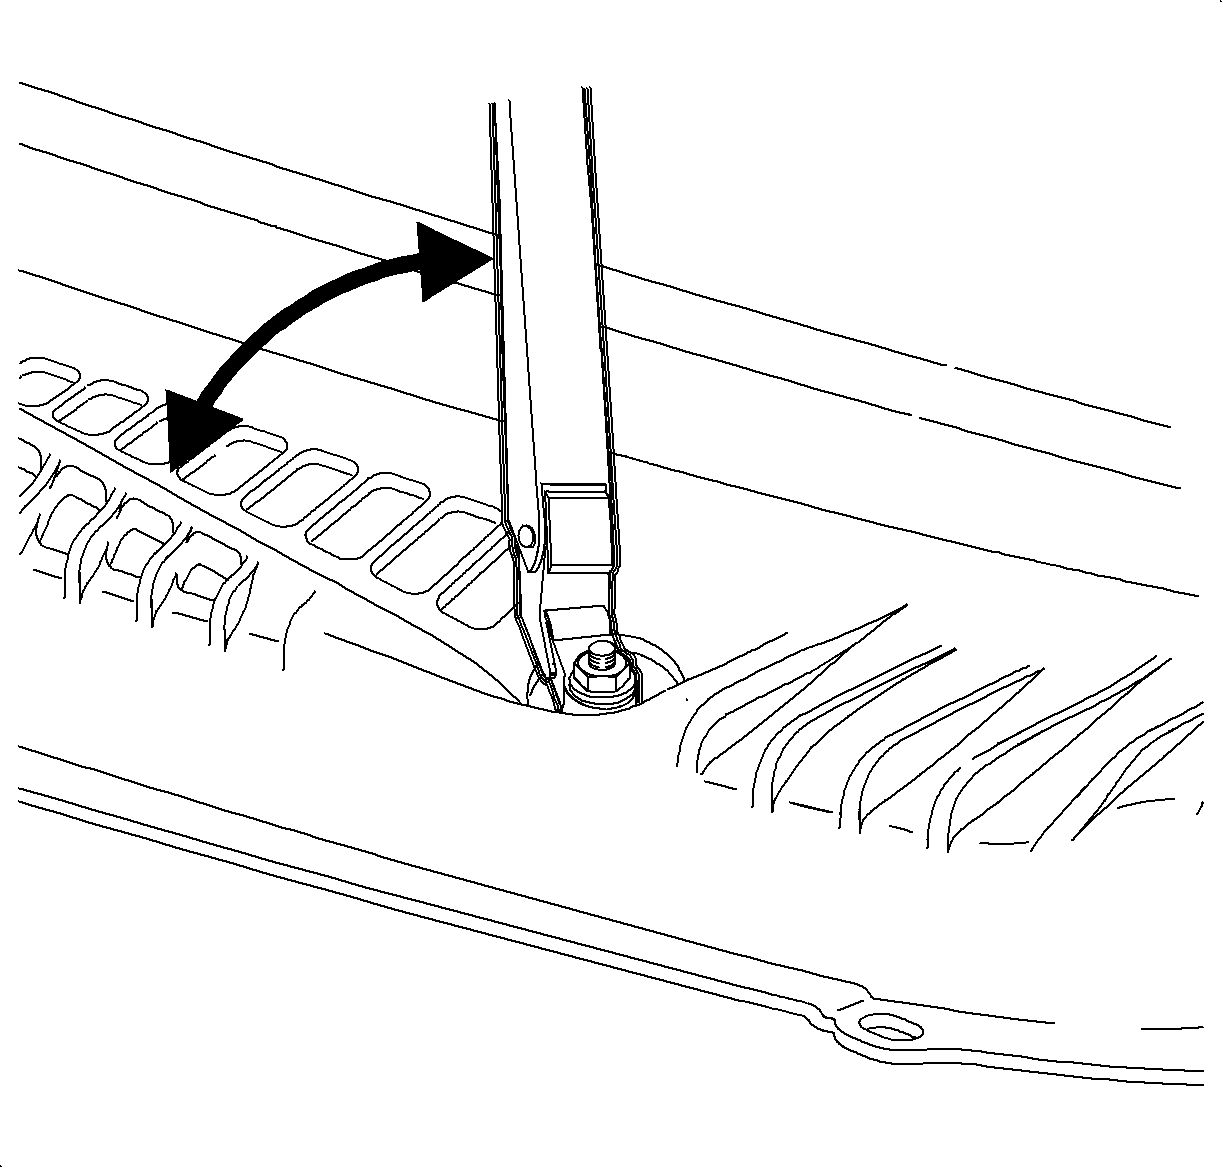
- Stop the wiper arm at the mid-wipe position, approximately 45 degrees, by putting the wiper system on low speed and turning the key to the OFF position when the wiper arm reaches the mid-wipe position.
- Remove the key from the ignition.
- Remove the wiper arm nut.
- Remove the wiper arm.

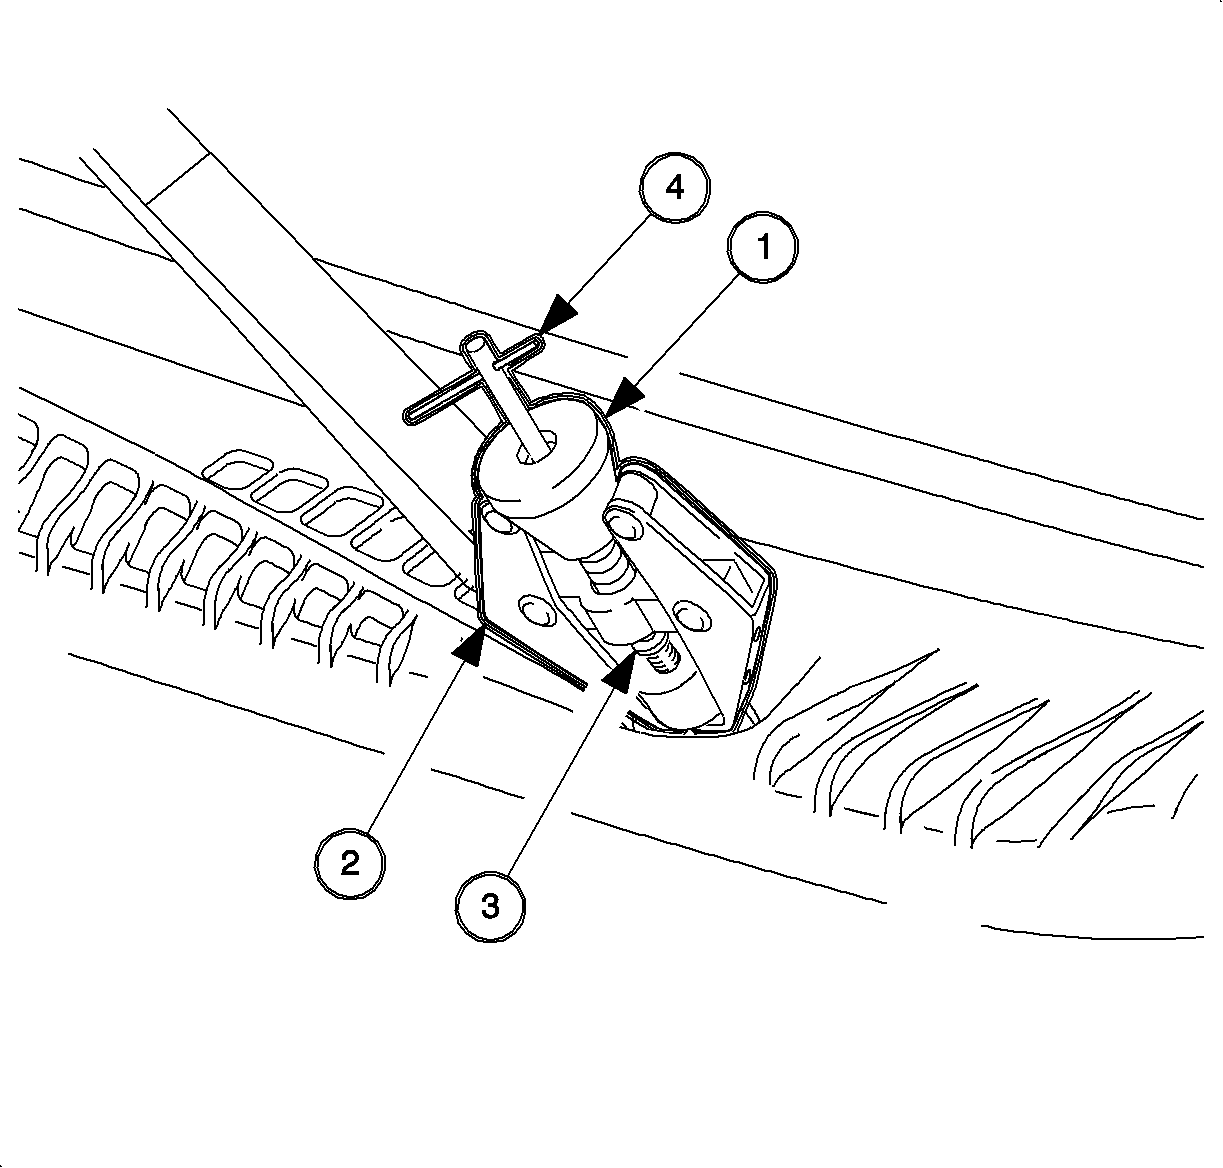
| 6.1. | Place the J 39822 over the wiper arm head. |
| 6.2. | Tighten the cone nut (1) to secure the puller jaws (2) under the wiper arm head. |
| 6.3. | Align the drive screw (3) over the wiper arm pivot shaft and tighten the T-handle (4) to remove the wiper arm. |
Installation Procedure
- Park the wiper system by turning the wiper switch ON momentarily. Once the wiper switch is turned OFF, the wiper system should be in the PARK position.
- On the passengers side, position the wiper blade assembly at the tick mark in the A-pillar portion of the windshield blackout strip.
- Install the wiper arm nut.
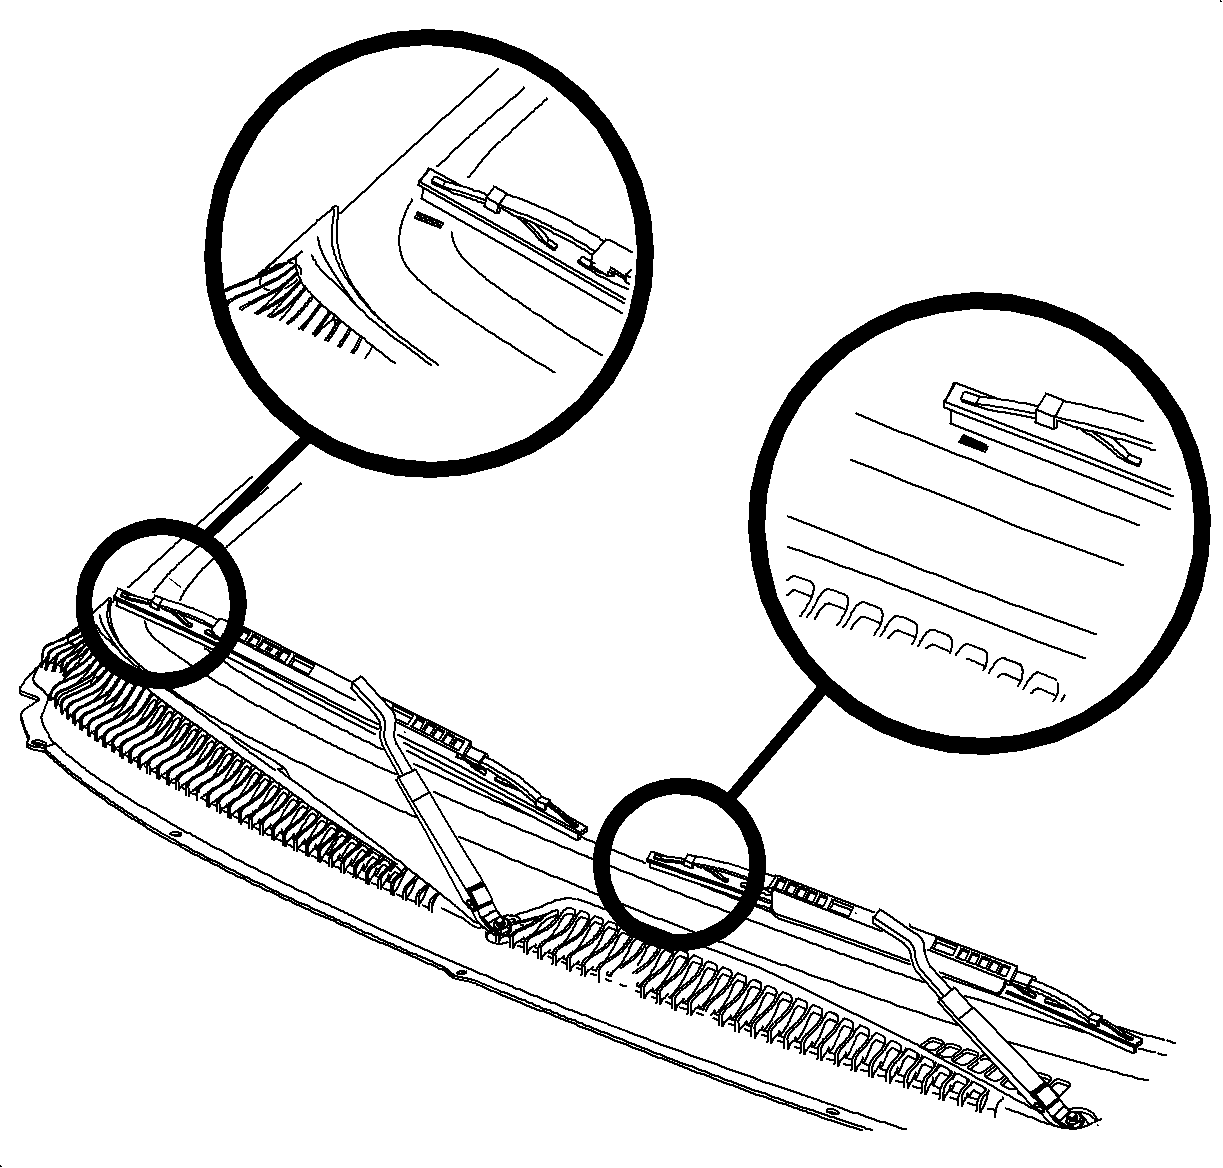
Notice: Wiper system must be put into the PARK position before arms are installed. If wiper system is not parked, arm may contact painted surfaces.
Notice: Refer to Fastener Notice in the Preface section.
Important: Use new wiper arm nuts. New wiper arm nuts have thread locking adhesive applied.
Tighten
Tighten the wiper arm retaining nuts to 30 N·m
(22 lb ft).
