Waterleaks into the Rear Luggage Compartment Area

| Subject: | Waterleaks into the Rear Luggage Compartment Area -- Identify the Area of the Waterleak and Repair -- Due to a revision under Models Affected, this bulletin supersedes bulletin 96-T-15, which should be discarded. |
| Models: | 1996-1999 Saturn Sedans |
Condition:
The rear luggage compartment carpet is wet and/or has a musty, mildew odor.
Cause:
This condition may be caused by voids in the body seam sealer at either the quarter/D-ring joint, rear seat-to-back window panel reinforcement joint, and/or tail panel/quarter joint.
Correction:
Identify the waterleak area and repair it according to the procedure in this bulletin.
Procedure
- Verify that the luggage compartment is wet or exhibits a musty mildew odor. Inspect for moisture under the rear floor compartment carpeting and at the acoustic material at the outside rear corners.
- Disengage the hook-and-loop fasteners attaching the rear compartment floor carpet-to-seat backs and remove the rear compartment carpet.
- Straighten out the retaining tabs, release the front hook-and-loop fastener attachments and remove the rear compartment side wall trim.
- Remove the spare wheel and jack.
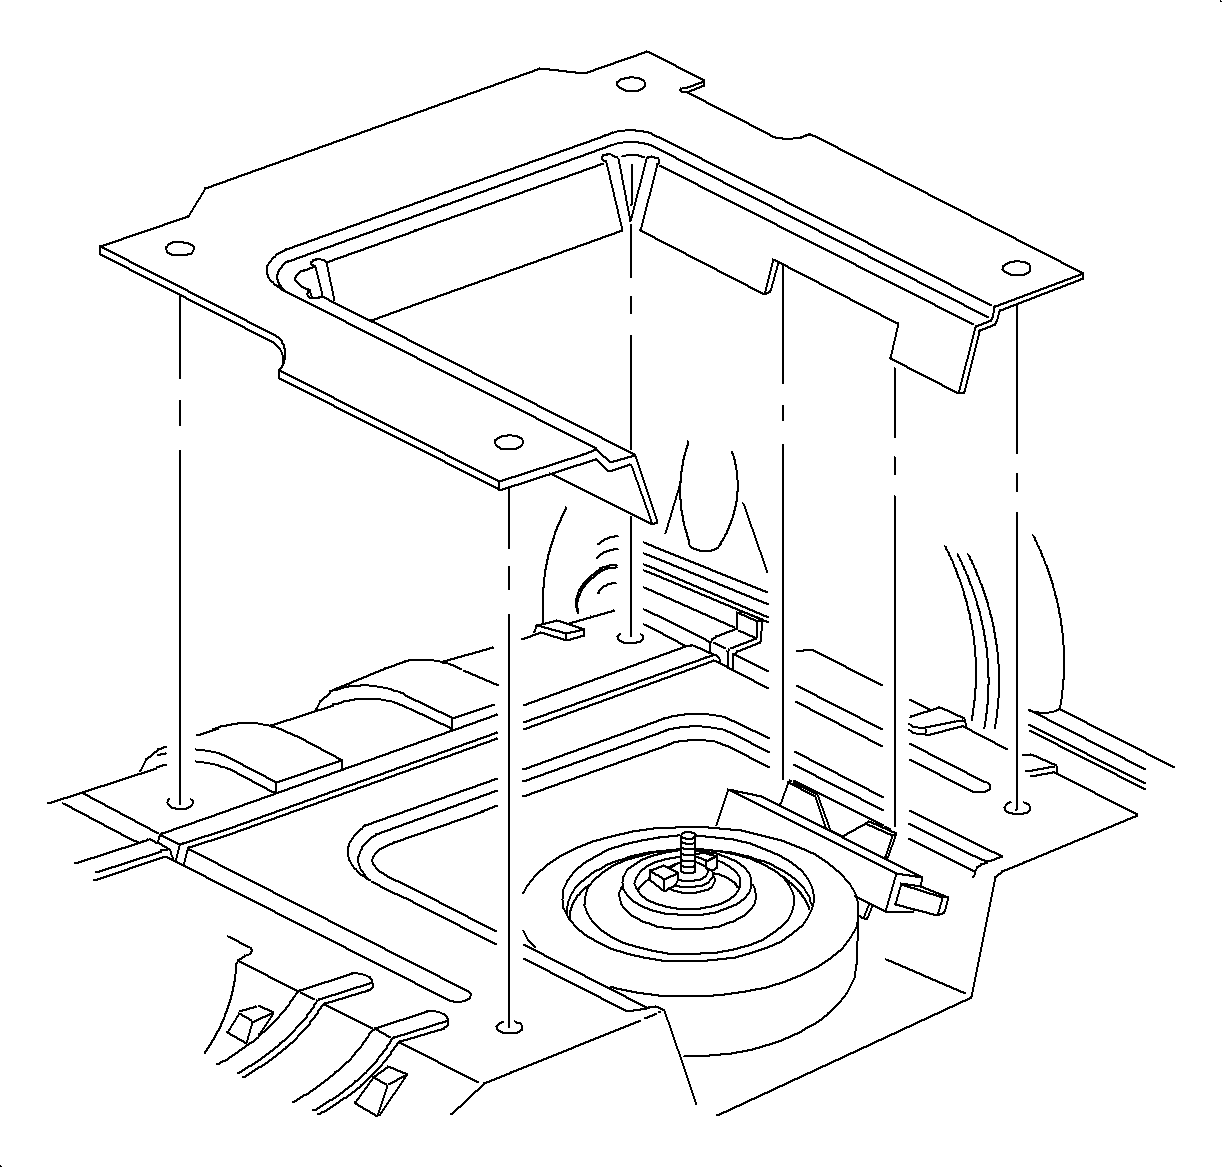
- Lift the acoustic material and separate it from the floor at the glued locations.
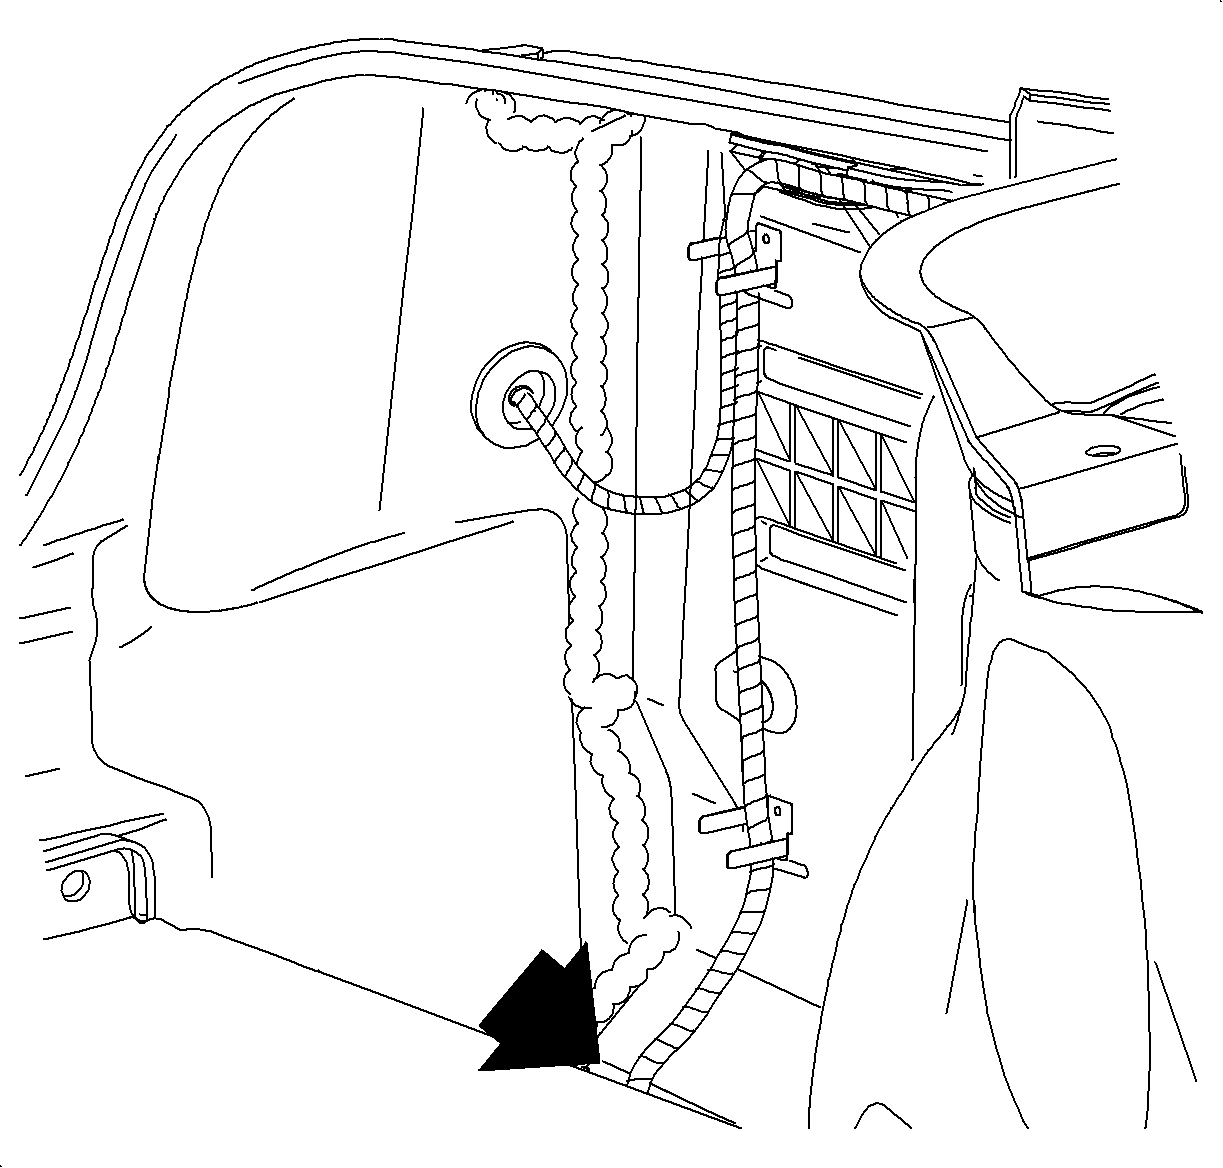
- Apply an unrestricted (no nozzle) water flow to the inside top of the rear quarters. The left side is shown, the right side is similar. Refer to the illustration.
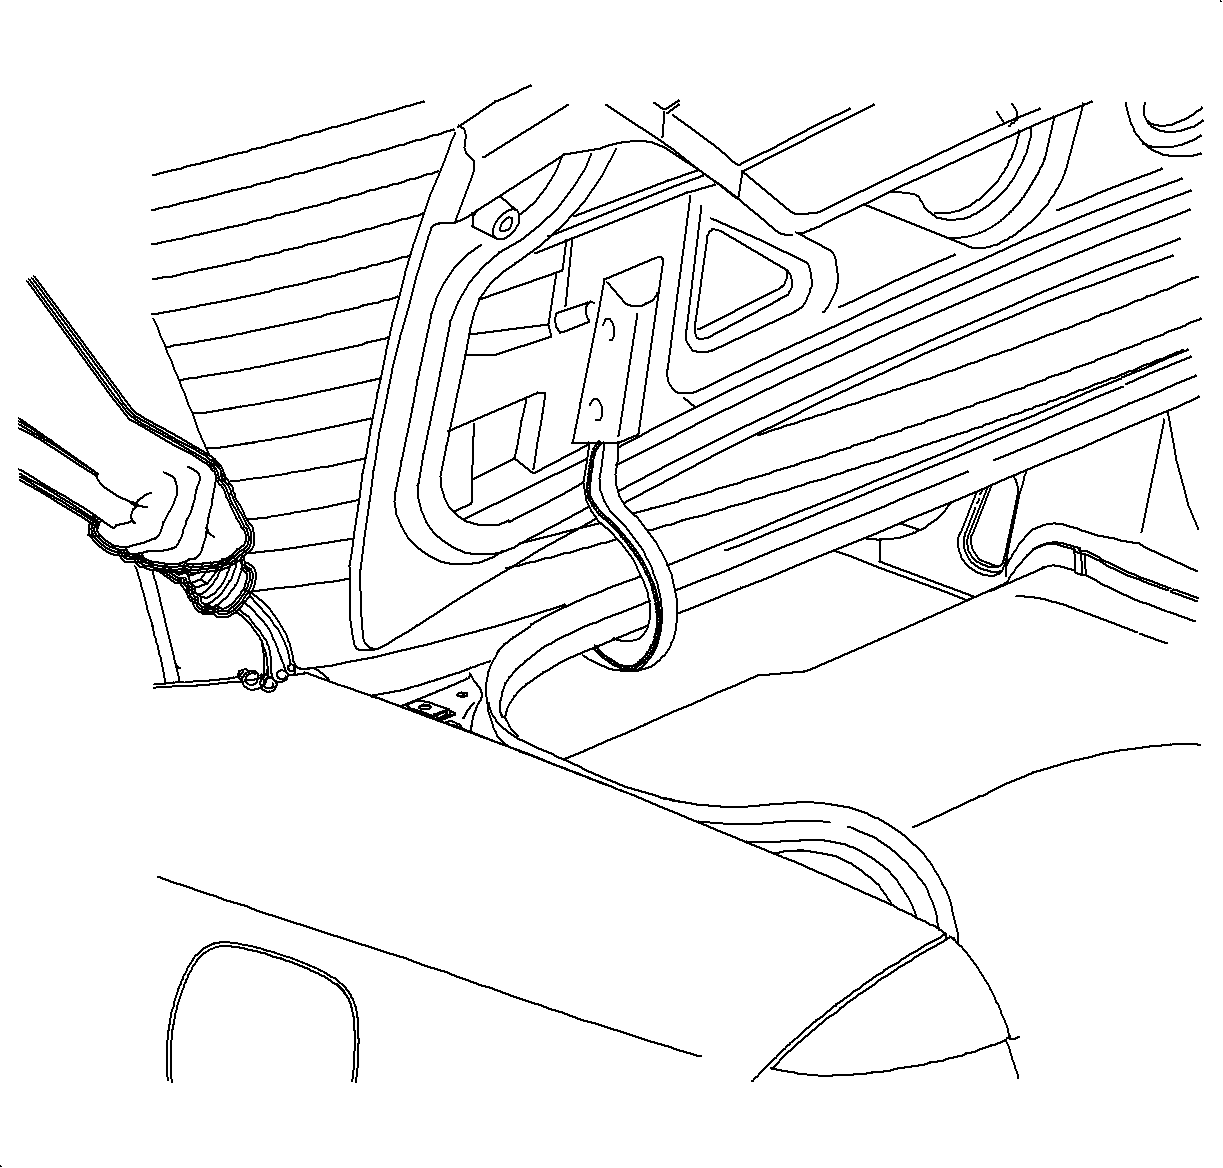
- Apply an unrestricted (no nozzle) water flow under where the rear compartment lid closes. The left side is shown, the right side is similar. Refer to the illustration.
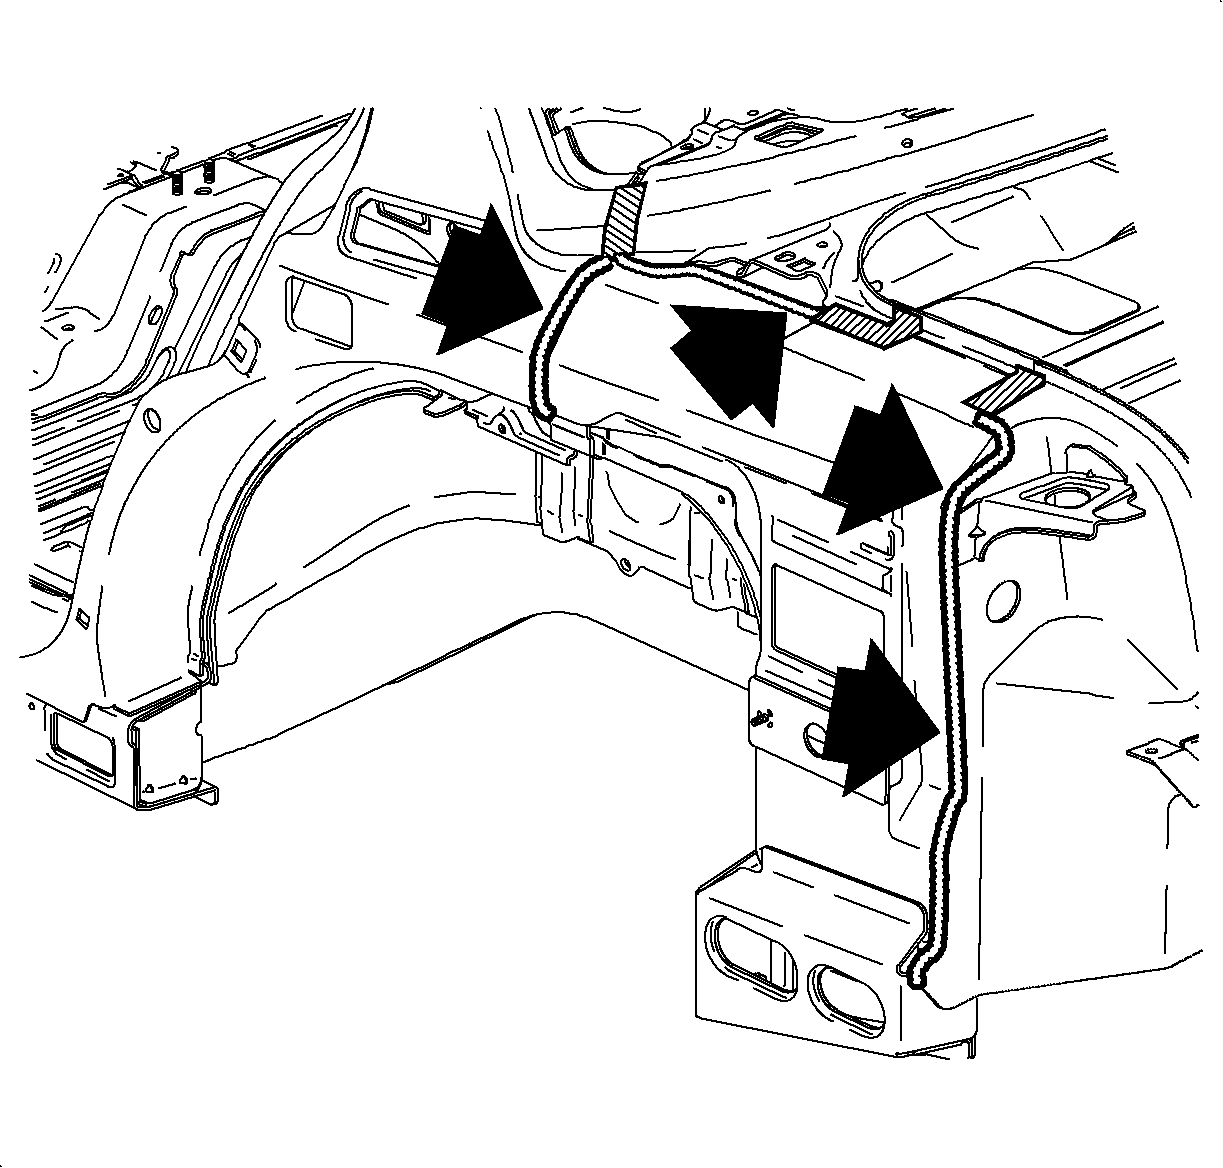
- Inspect for leaks from the inside of the quarter panel at the areas shown in the illustration. The left side is shown, the right side is similar.
- Spray the seams shown with a 50/50 mixture of soap and water.
- Blow compressed air at the back of the suspected seam, from inside the luggage compartment, and watch for bubbles to appear at the leak location.
- Mark the leak location with a wax marker. Make sure to apply the mark away from the area where the sealer is to be applied.
- Clean the area to be sealed with water, blow dry and wipe with a clean lint free cloth saturated wit isopropyl alcohol
- Seal the area using Kent Industries High Tech Leak Check P/N 10105 or equivalent.
- Water test to verify repair.
- Install the quarter panel. Refer to Quarter Panel installation procedure in the Rear End section of the appropriate year Body/Repair Service Manual.
- Apply hot melt glue or equivalent to the rear floor pan. Align the material to the floor at the jack bracket on the right side and install the rear floor acoustic material.
- Install the spare wheel and jack.
- Install the rear compartment side wall trim, engage the front hook-and-loop fastener attachments.
- Slide the tabs through the trim panel and bend them over to secure the trim panel.
- Install the rear compartment floor carpet and engage the rear compartment floor carpet hook-and-loop fasteners to the seat back.


- If a leak is detected in either of these areas, remove the quarter panel from the affected side, and proceed to the next step, to pinpoint the exact location of the leak. Refer to the Quarter Panel removal procedure in the Rear End section of the appropriate year Body/Repair Service Manual.

Caution: To prevent eye injury, safety glasses must be worn when using compressed air.


CLAIM INFORMATION | To receive credit for this repair, submit a claim through the Saturn dealer System as follows: | |||
|---|---|---|---|---|
-- | Case Type | Description | Labor Operation Code | Time |
-- | VW | Repair Waterleak In the Right Rear Luggage Compartment | T9706 | 1.60 hrs |
-- | VW | Repair Waterleak In the Left Rear Luggage Compartment | T9707 | 1.80 hrs |
