Tools Required
| • | J 42069 Timing Belt Alignment Kit |
| • | J 42098 Crank Hub Torx Socket |
Removal Procedure
- Remove the front timing belt cover. Refer to Timing Belt Front Cover Replacement .
- Rotate the crankshaft using the J 42098 until the #1 cylinder is at 60 degrees before top dead center (BTDC).
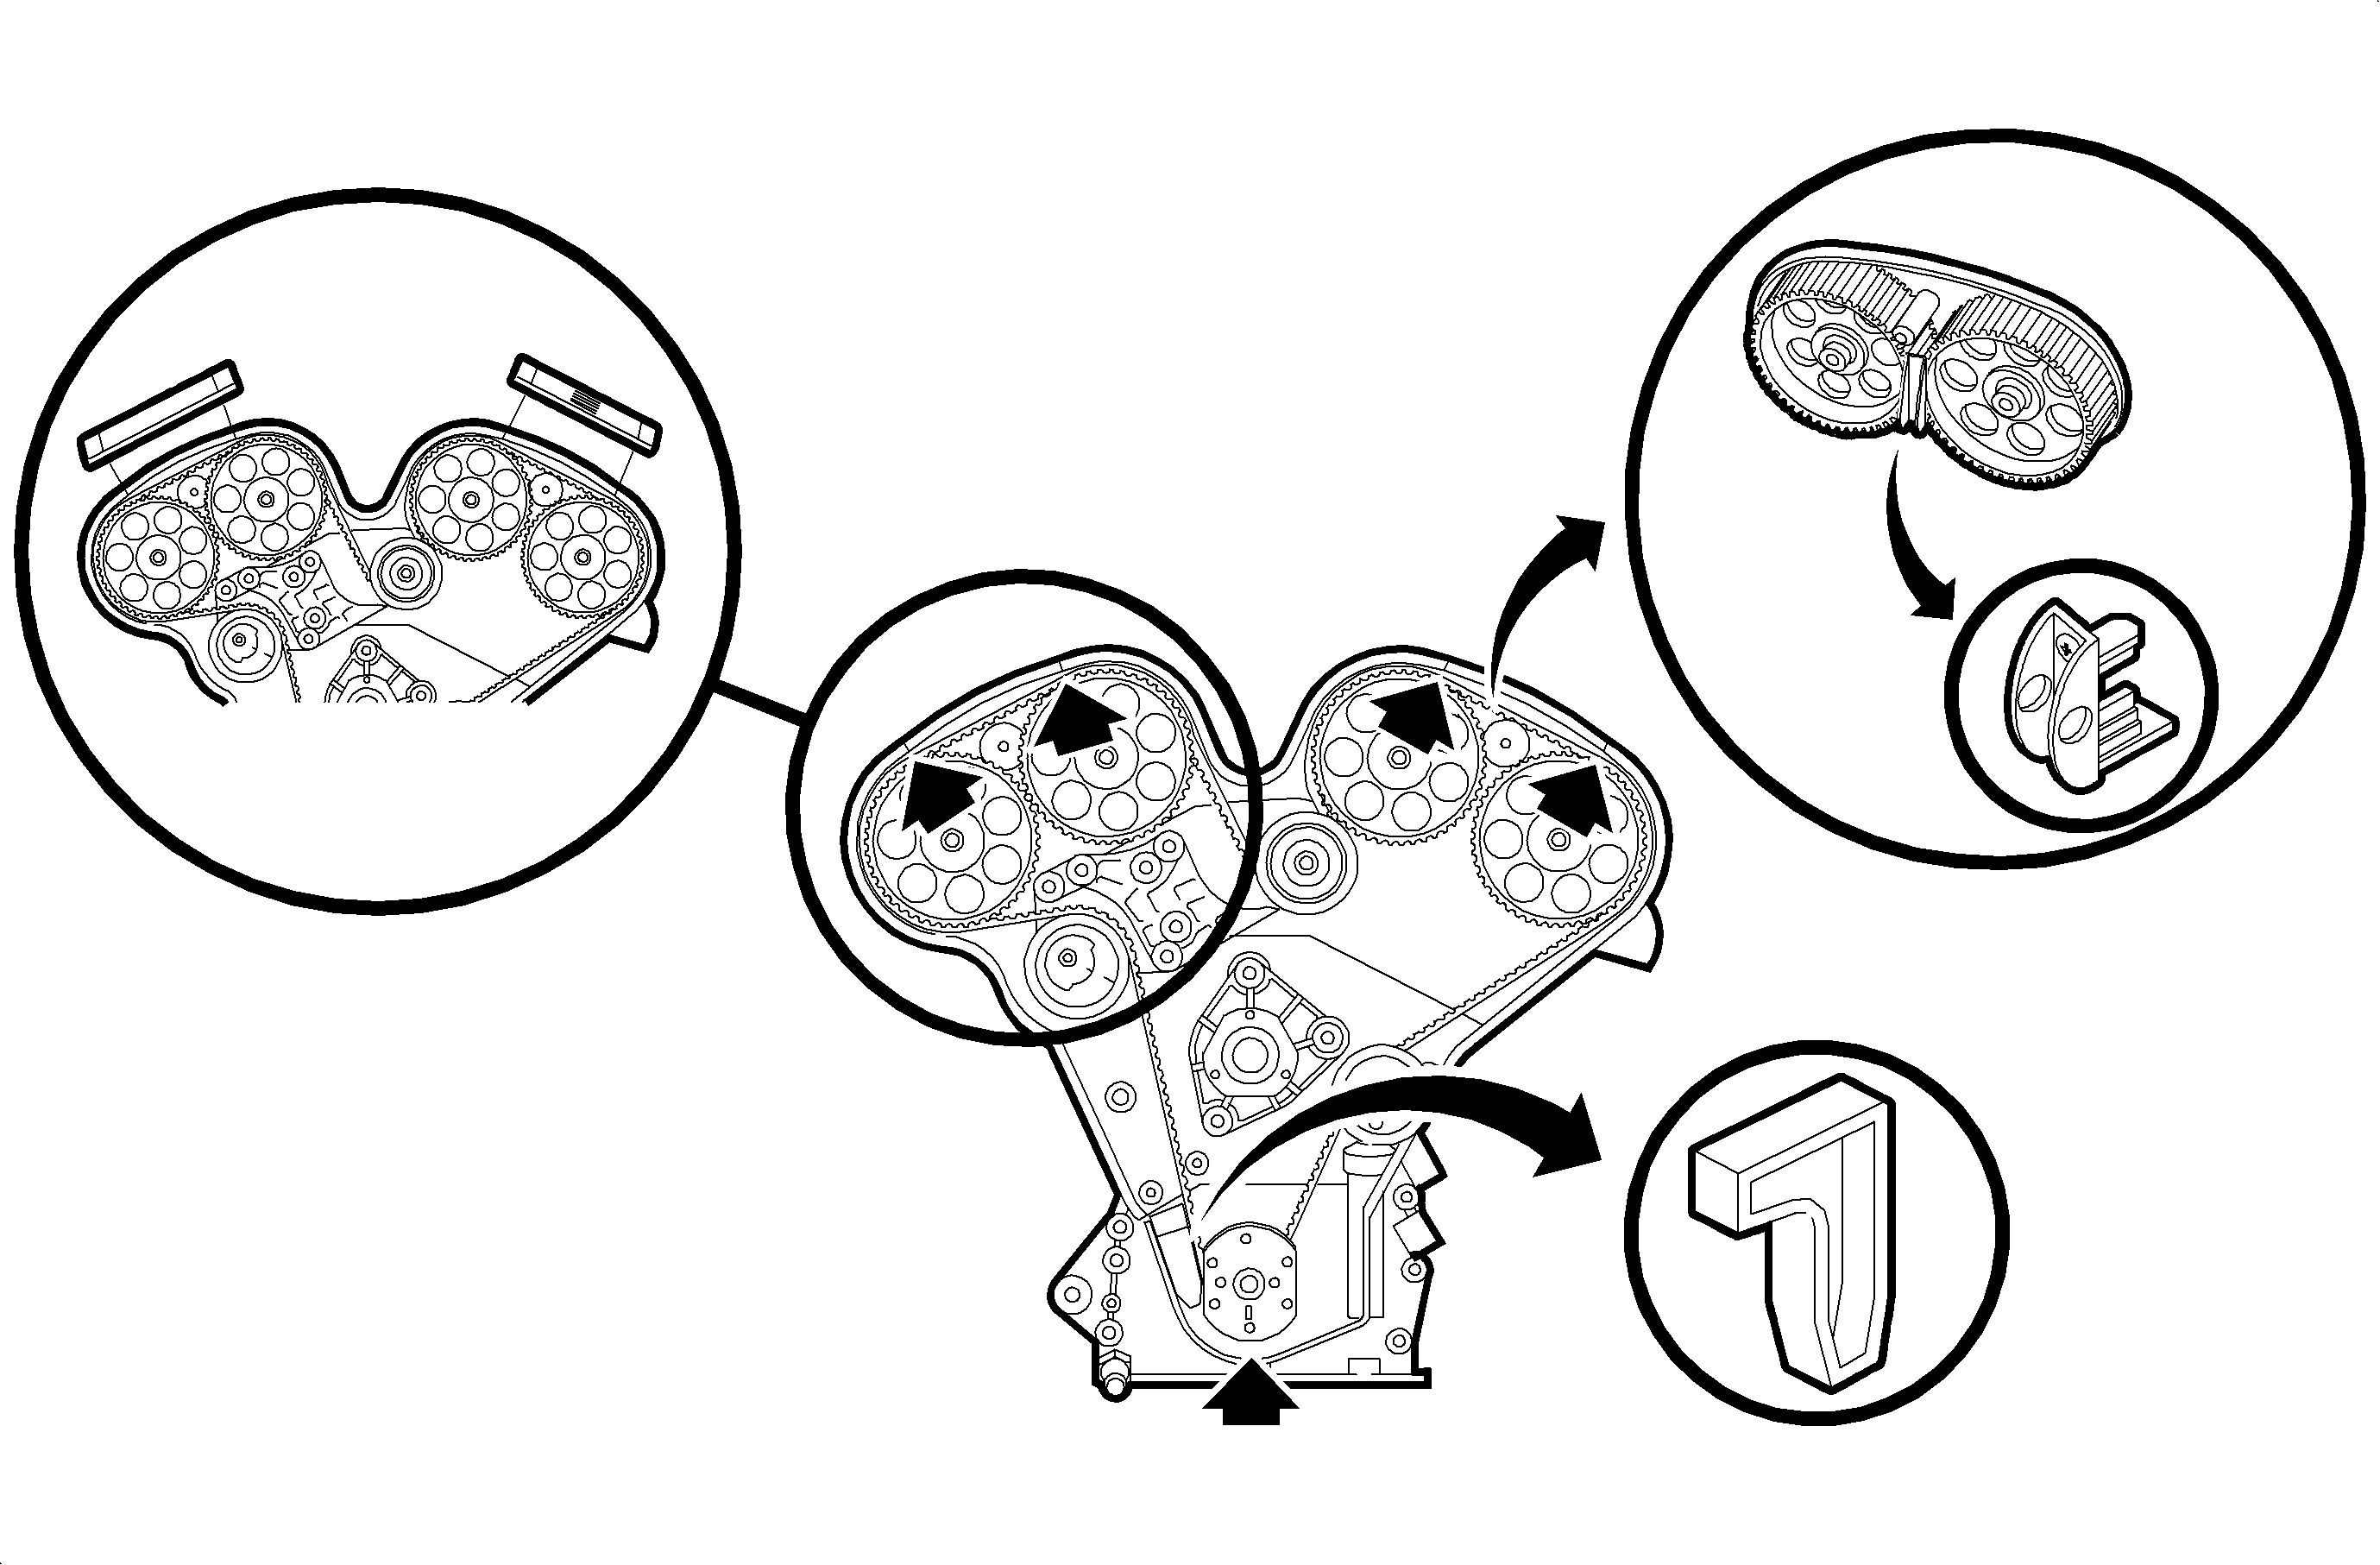
- Install theJ 42069 Crankshaft Locking Tool.
- Rotate the crankshaft in the engine rotational direction (clockwise) using the J 42098 until the #1 cylinder is at top dead center (TDC) and tighten the lever arm to the water pump pulley flange.
- Install the 1-2 and 3-4 camshaft locks, the J42069-1 Timing Belt Alignment Kit and the J42069-2.
- Loosen the tensioner pulley.
- Remove the timing belt.
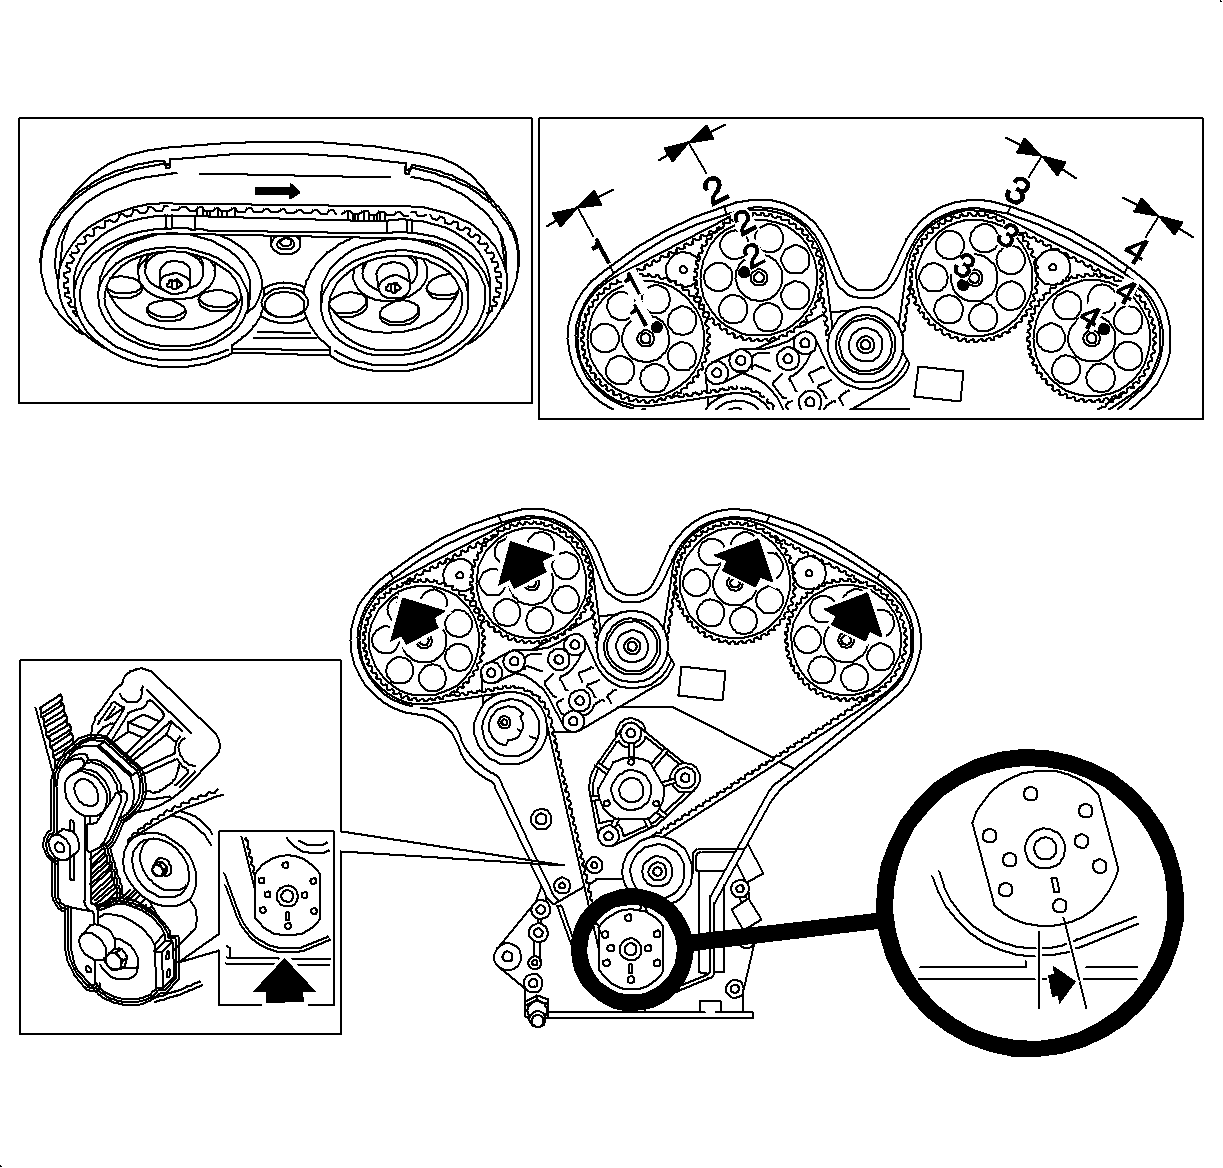
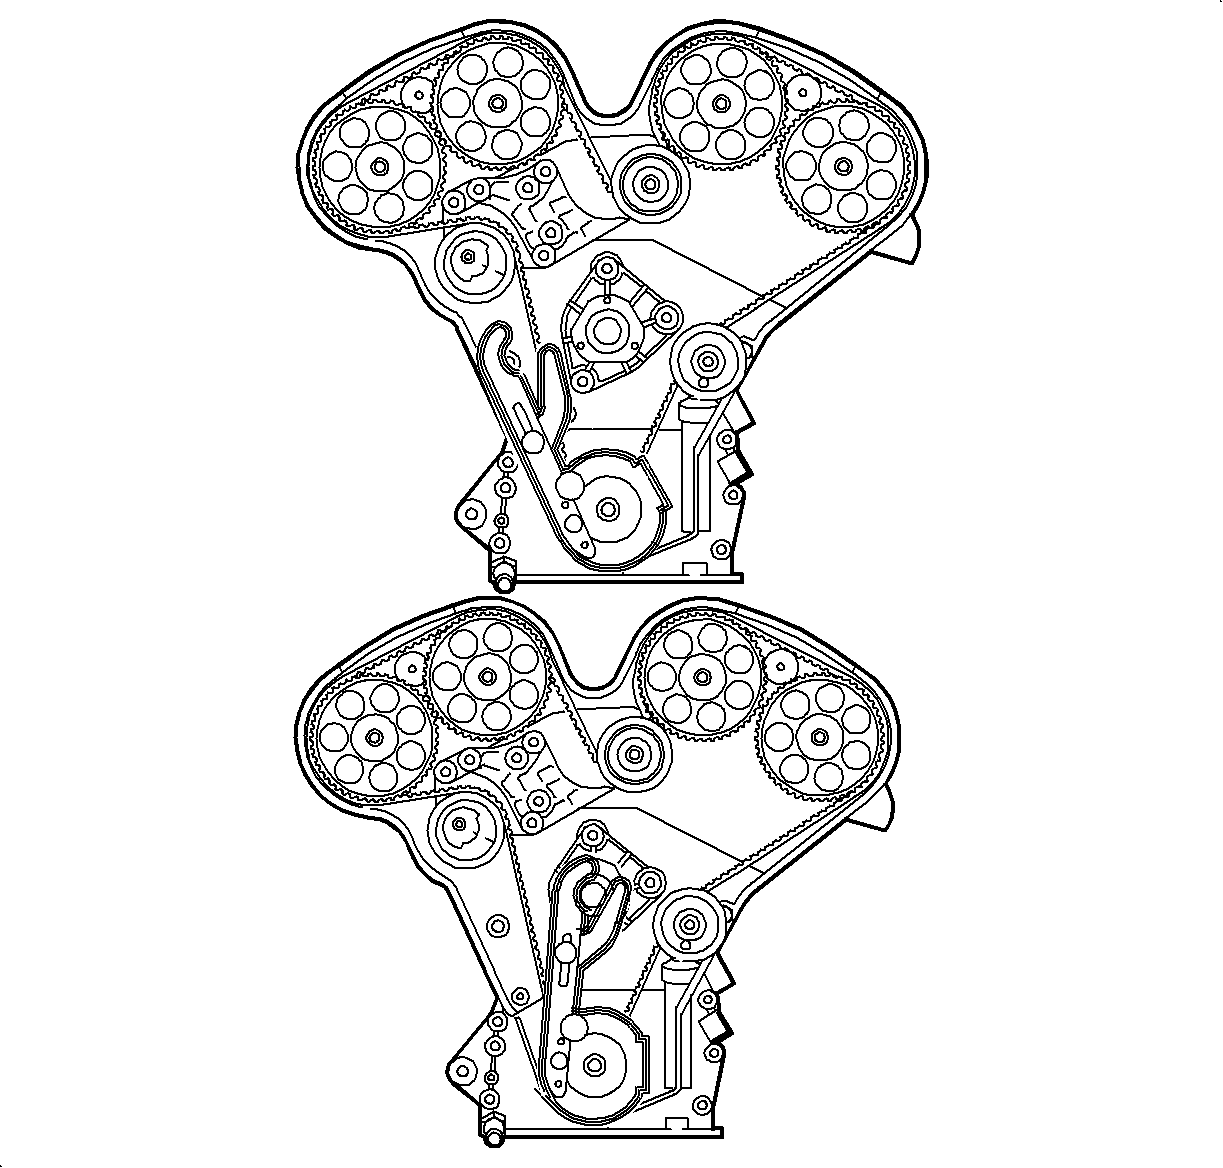
Important: Ensure that the alignment of the crankshaft is not 180 degrees off. The alignment mark must align with the corresponding notches on the rear timing belt cover.
Important: Do not rotate the crankshaft if the camshafts are not locked in place with the 1-2 and 3-4 camshaft locks (J42069-1 and J42069-2).
Important: Do not rotate the camshafts unless the crankshaft is at 60 degrees BTDC or the valves may contact the crankshaft.
Installation Procedure
- Position crank at 60 degrees before TDC.
- Install the lower idler pulley.
- Install the upper idler pulley and hand tighten bolt.
- Install the timing belt tensioner and hand tighten nut and washer.
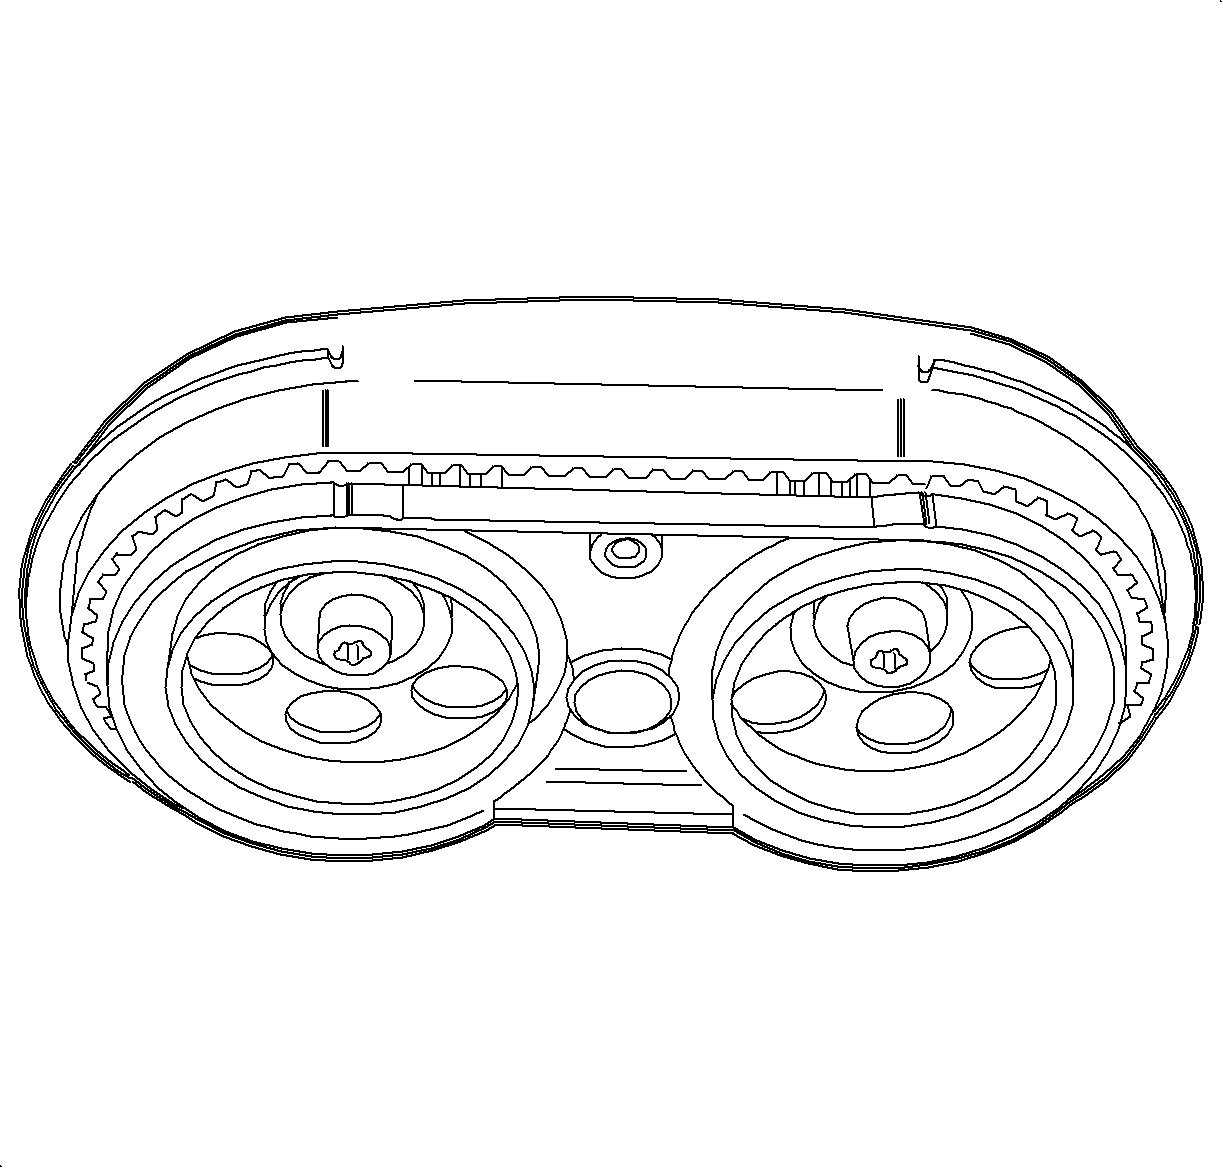
- Start #1 and #2 camshaft sprockets, route belt around #1 and #2 sprockets while aligning belt marks to marks on the sprockets and rear cover.
- Install the belt around the timing belt tensioner.
- Route belt around upper idler pulley.
- Route belt around #3 and #4 camshaft sprockets while aligning belt marks to marks on sprockets and rear cover.
- Route belt around crankshaft hub sprockets while aligning marks on belt to marks on the crankshaft hub sprocket.
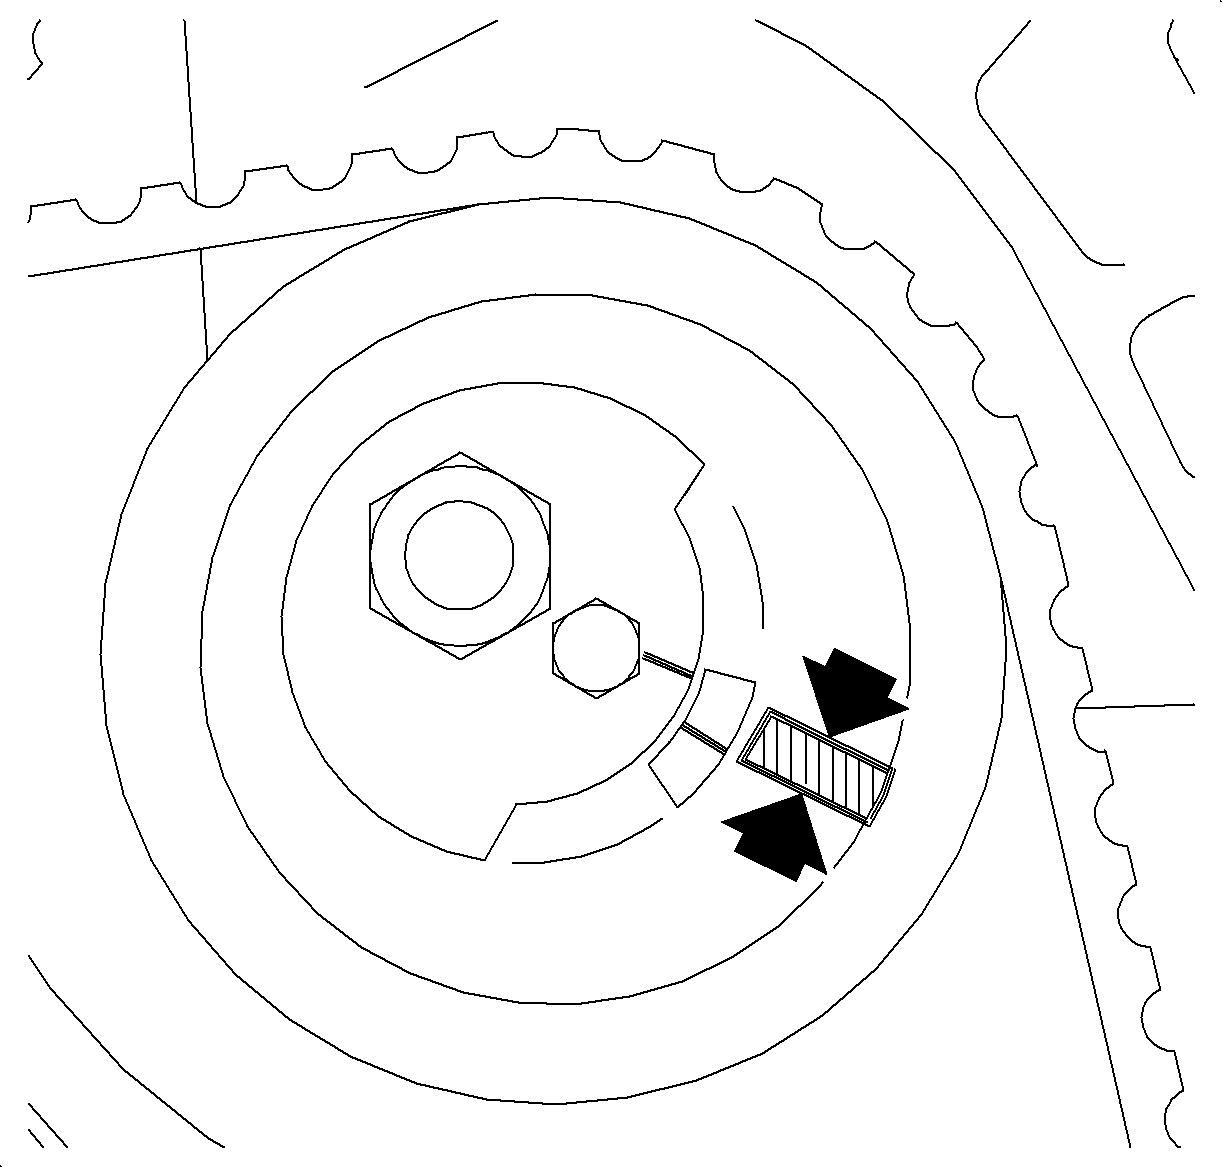
- Install the wedge tool J 42069-30 to lock the timing belt onto crankshaft hub sprocket.
- With belt firmly engaged on crankshaft hub, carefully rotate the crankshaft counterclockwise to get belt slack on lower idler pulley side.
- Route belt around the lower idler pulley.
- Remove the wedge tool J 42069-30.
- Re-install the crankshaft locking tool J 42069-10 and tighten the lever arm to the water pump pulley flange.
- Perform the following in sequence:
- Adjust the timing belt tensioner that the center alignment mark is approximately 3 mm (1/8 inch) above the alignment on the spring loaded idler.
- Remove the 1 and 2 and 3 and 4 camshaft locks.
- Remove the timing belt kit J 42069-1and J 42069-2.
- Remove the crankshaft locking tool J 42069-10.
- Rotate the crankshaft 1 3/4 turns clockwise, install the crankshaft locking tool J 42069-10, and stop at TDC.
- Tighten the lever arm to the water pump pulley flange.
- Install the checking gage J 42069-20 and verify the marks are 2 mm of each other.
- Adjust the timing belt tensioner that the center alignment mark is approximately 3 mm above the alignment mark on the spring loaded idler and tighten the timing belt tensioner nut.
- Remove the crankshaft locking tool J 42069-10 and the checking gage J 42069-20.
- Install the front timing belt cover. Refer to Timing Belt Front Cover Replacement .
- Lower the vehicle.
- Install the air cleaner assembly. Refer to Air Cleaner Assembly Replacement in Engine Controls - 3.0 L81.
- Connect the negative battery cable. Refer to Battery Negative Cable Disconnection and Connection in Engine Electrical.
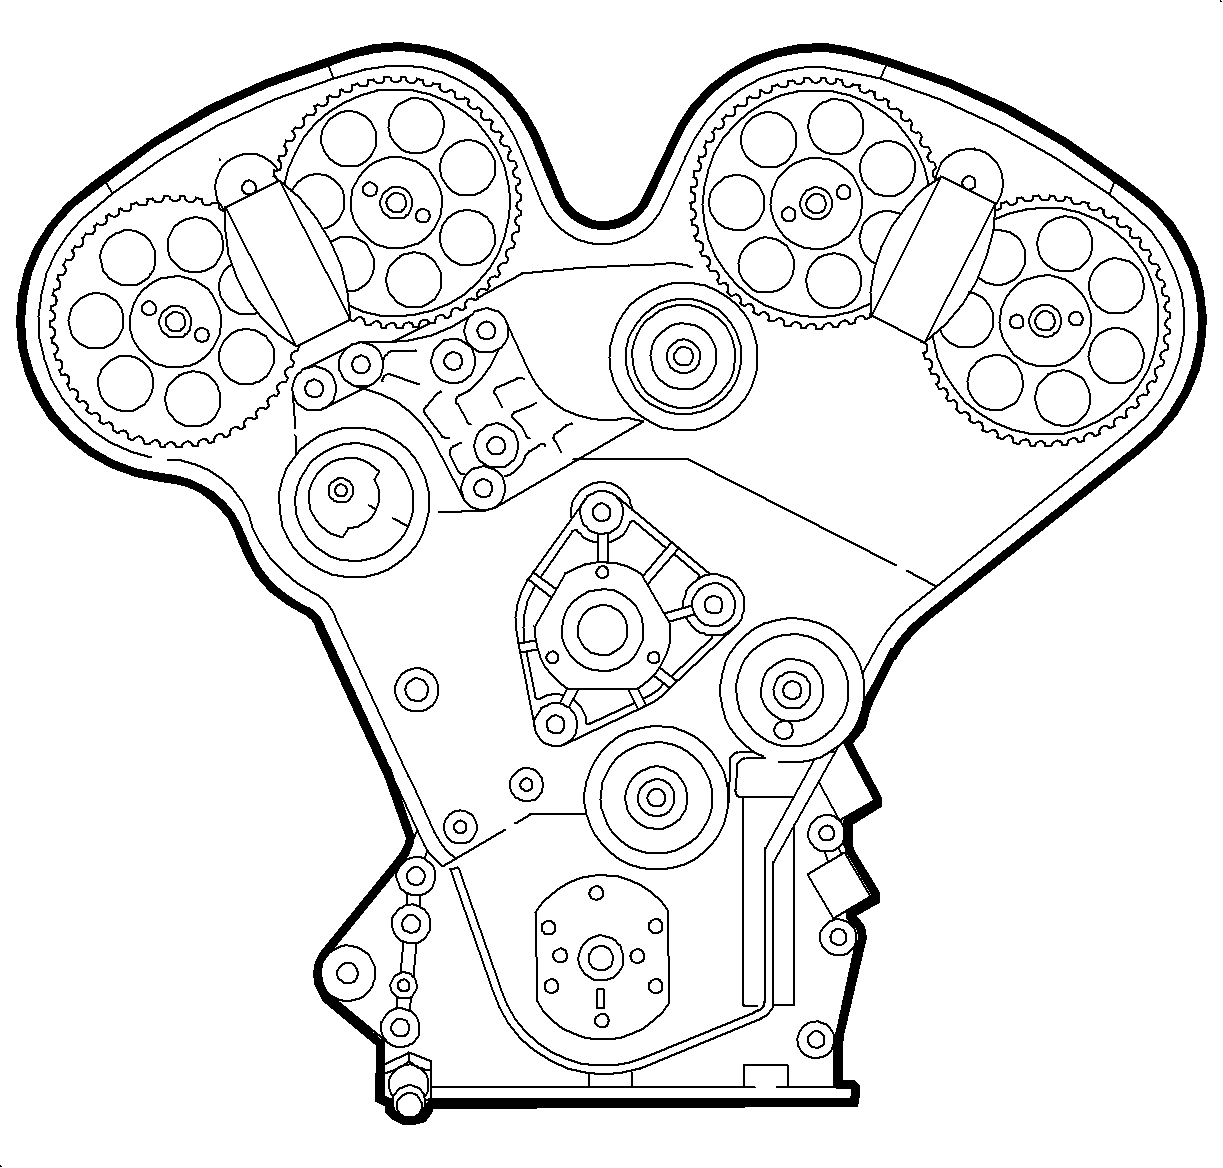
Notice: Refer to Fastener Notice in the Preface section.
Tighten
Tighten the lower idler pulley bolt to 40 N·m
(30 lb ft).
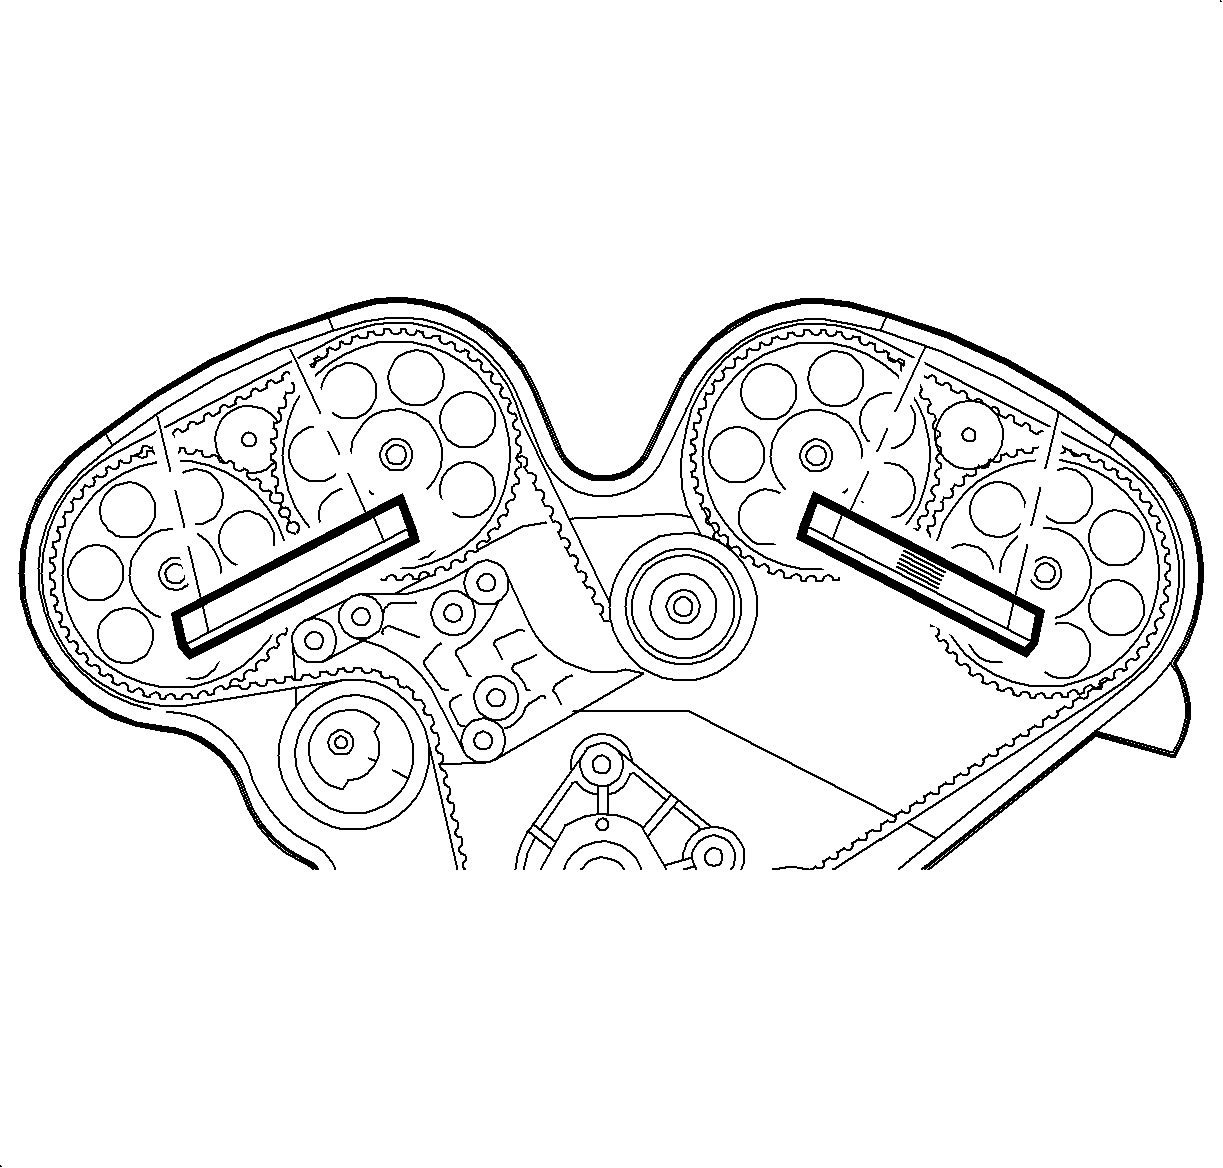

Important: With the camshaft locks installed, verify the distance between the camshaft sprockets with the Green Test Belt located in the Timing Belt Alignment Kit J 42069.

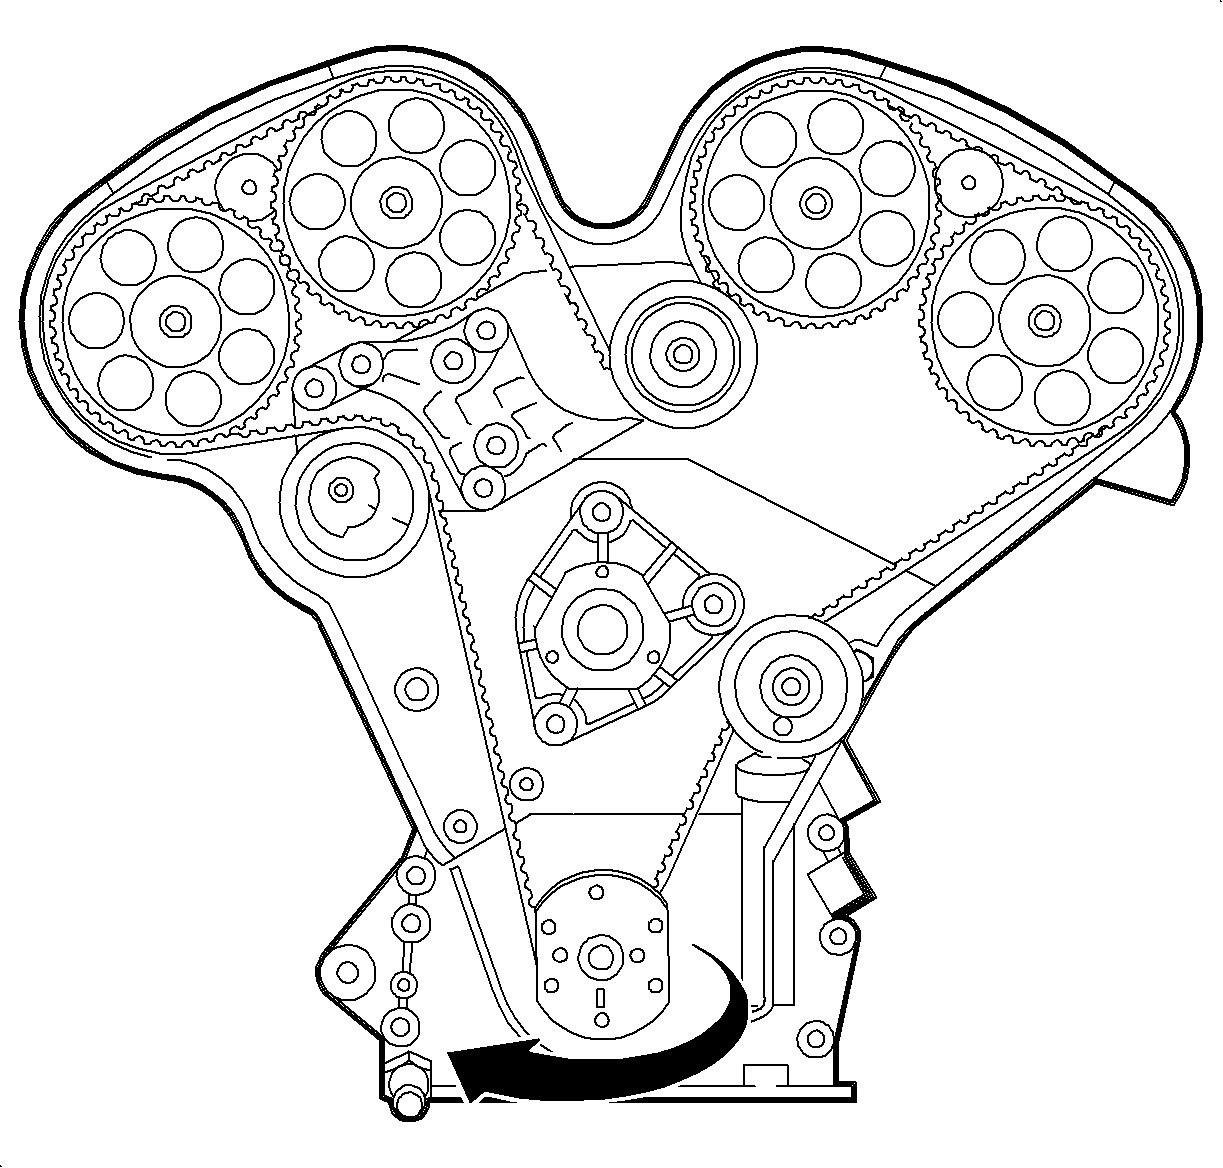
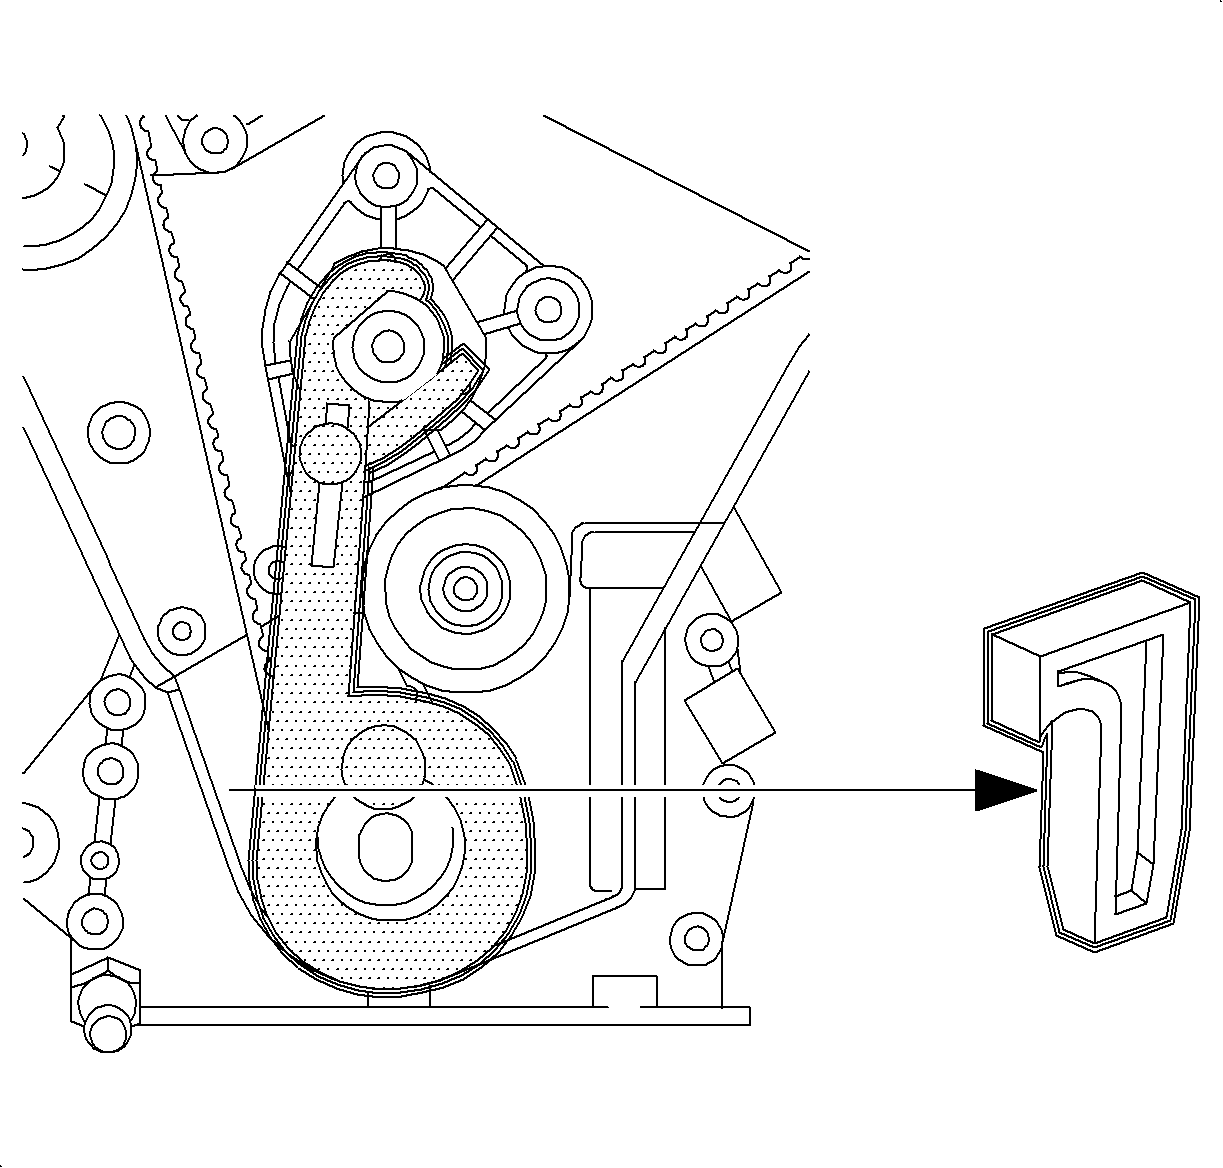

| 15.1. | Install the camshaft checking gage to cams 3 and 4 and verify alignment marks are within 2 mm of each other. |
| 15.2. | Install 3 and 4 camshaft locks if properly aligned. |
| 15.3. | Install camshaft checking gage to cams 1 and 2. |
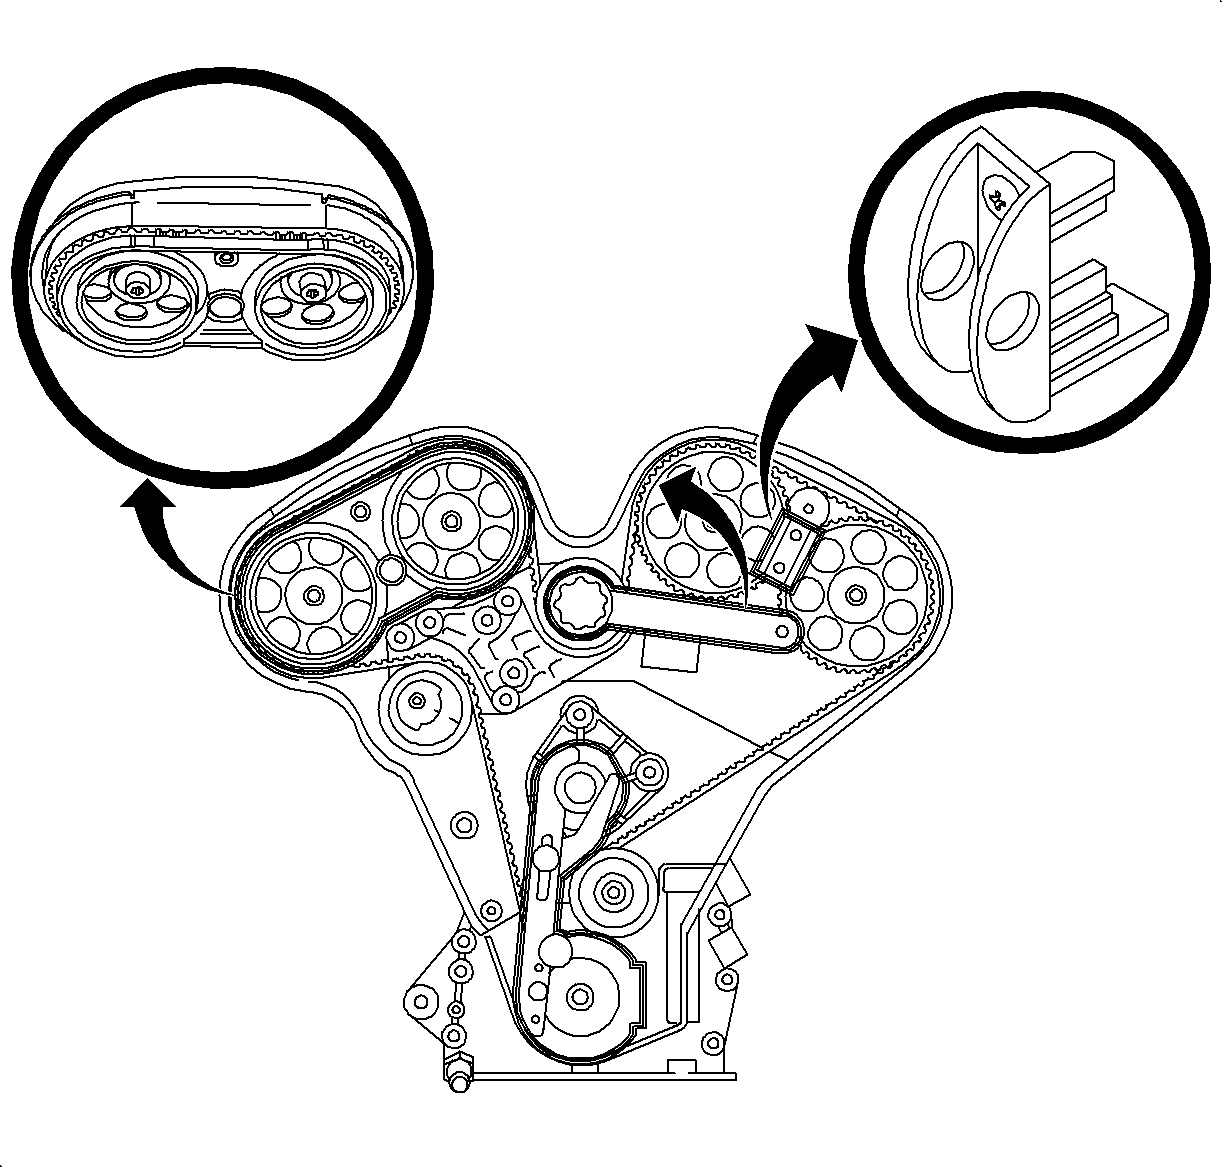
| 15.4. | Rotate #1 camshaft sprocket counterclockwise to remove slack between 1 and 2, and 3 and 4 cams. |
| Important: Ensure that the camshaft timing marks are to the left (retard) side of the checking gage. |
| 15.5. | Rotate the upper idler pulley counterclockwise until the marks are properly aligned within 2 mm of each other. |
| 15.6. | Install 1 and 2 camshaft locks when properly aligned. |
Tighten
Tighten the idler pulley bolt to 40 N·m
(30 lb ft).

Important: If the TDC is passed, do not rotate the crankshaft counterclockwise. This will not allow proper slack to be taken up between the timing belt tensioner and crankshaft sprocket. To correct, rotate the crankshaft two additional turns.


Tighten
Tighten the timing belt tensioner nut to 20 N·m
(15 lb ft).
Tighten
Tighten the battery terminal bolt to 17 N·m
(13 lb ft).
