For 1990-2009 cars only
- Raise the vehicle.
- Using a 24 mm wrench, loosen the oil filter cap while draining the oil into an approved container.
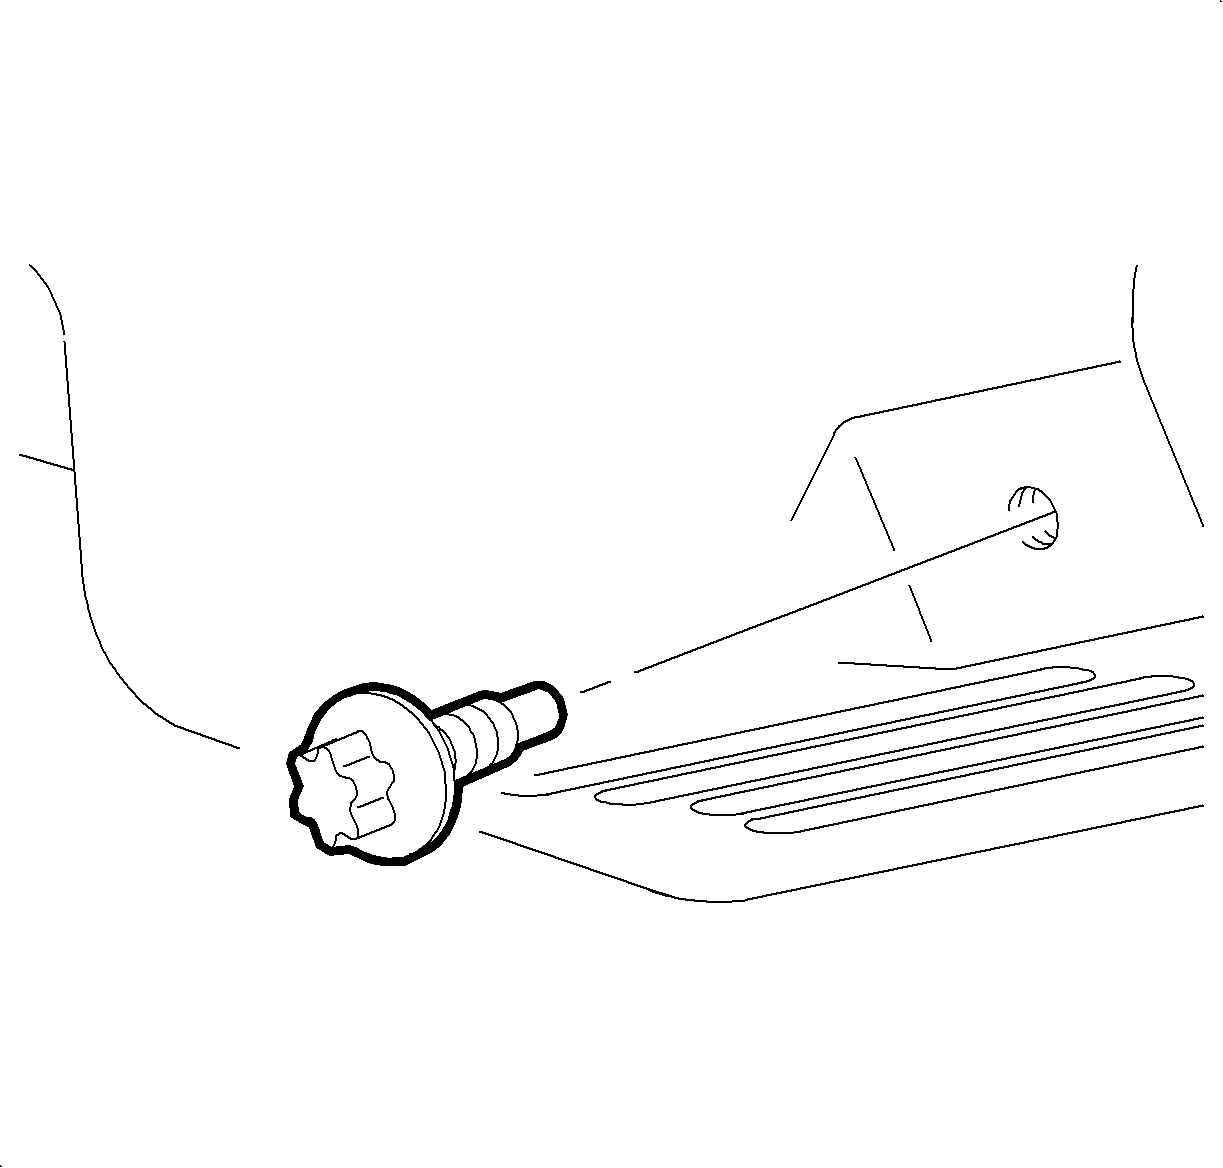
- Remove the oil drain plug and drain the oil into a container.
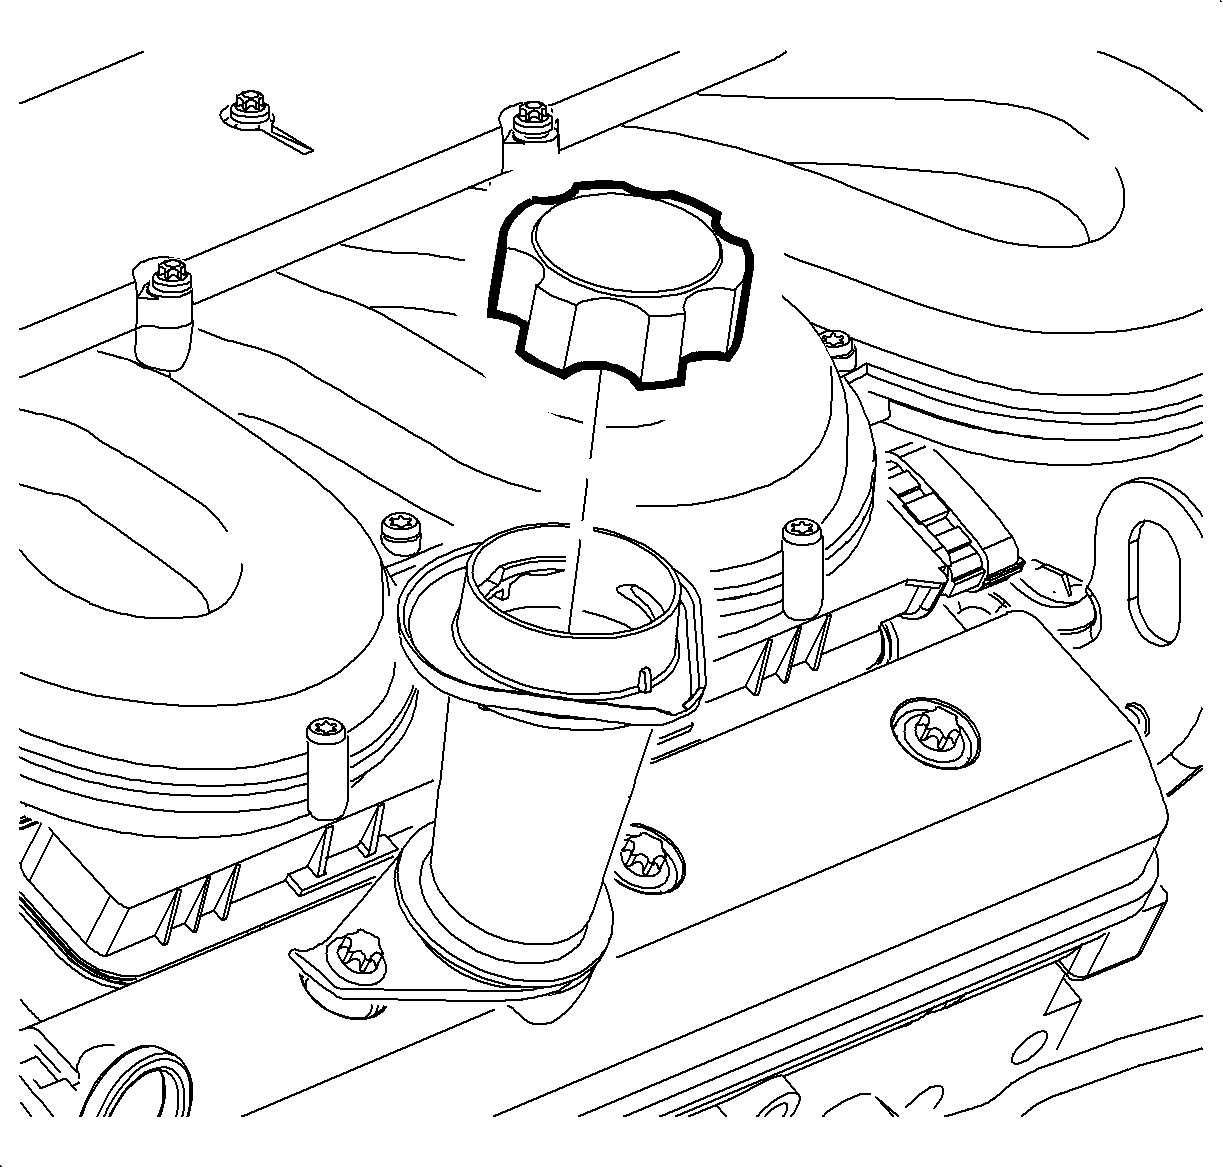
- Remove the oil filter cap and element.
- Grasp the cap and lightly tap the element into the recycling container or trash receptacle.
- Install the new element onto the oil filter cap.
- Inspect the oil cap seal for damage, replace if necessary.
- Lightly screw on the oil cap and filter element until resistance is felt.
- Using a 24 mm wrench, tighten the oil filter cap.
- Inspect the oil drain plug for damage, replace if necessary.
- Clean and install the oil drain plug.
- Lower the vehicle.
- Fill the engine with new engine oil.
- Start the engine and inspect for leaks.
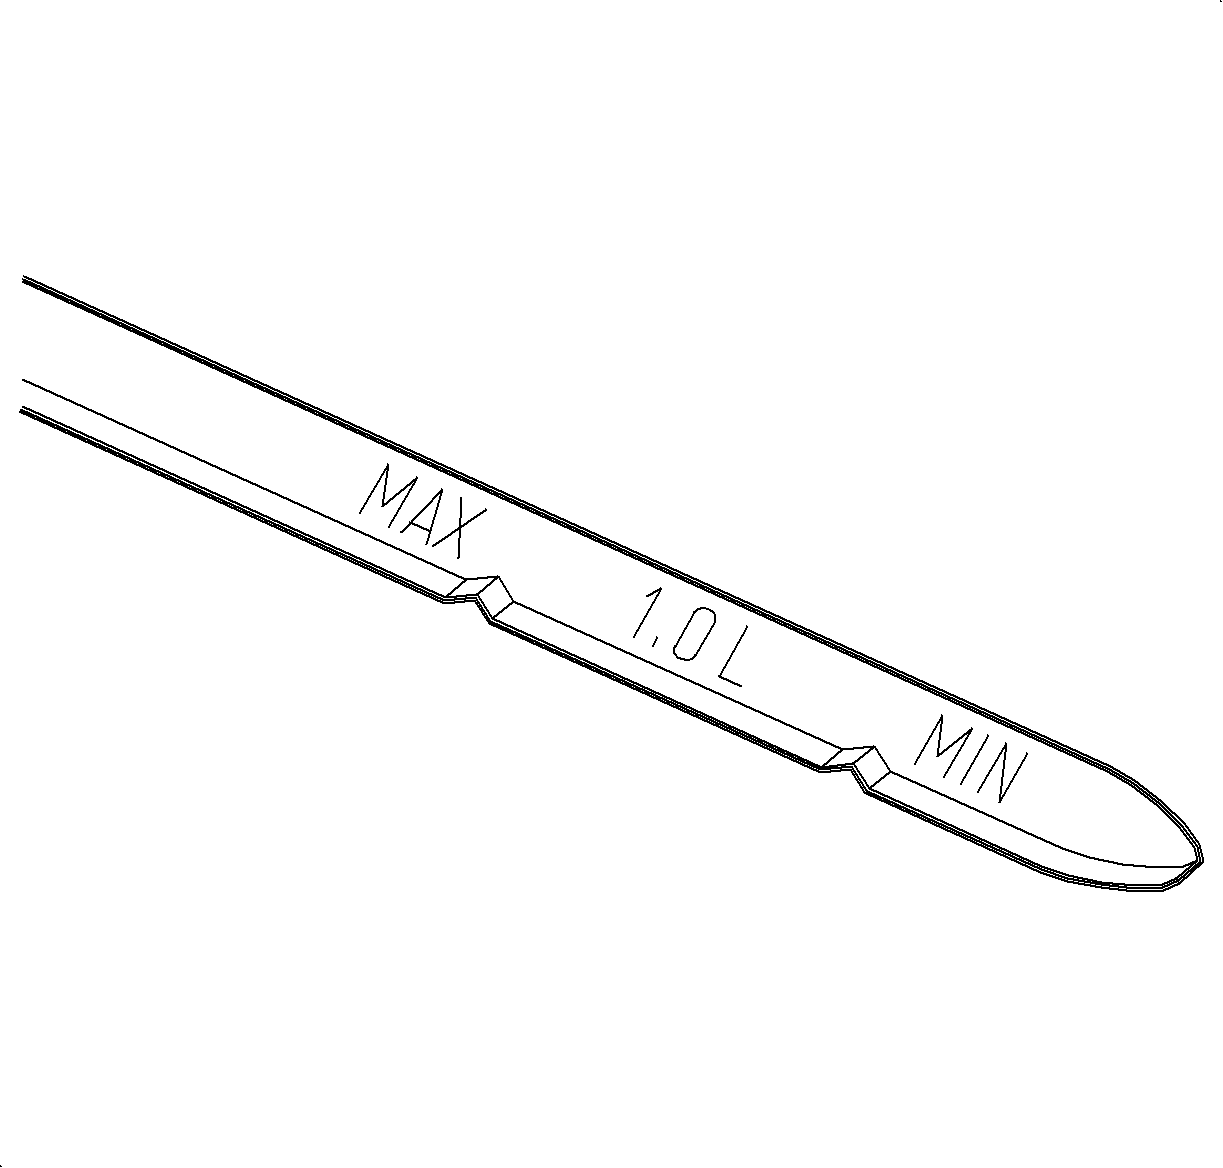
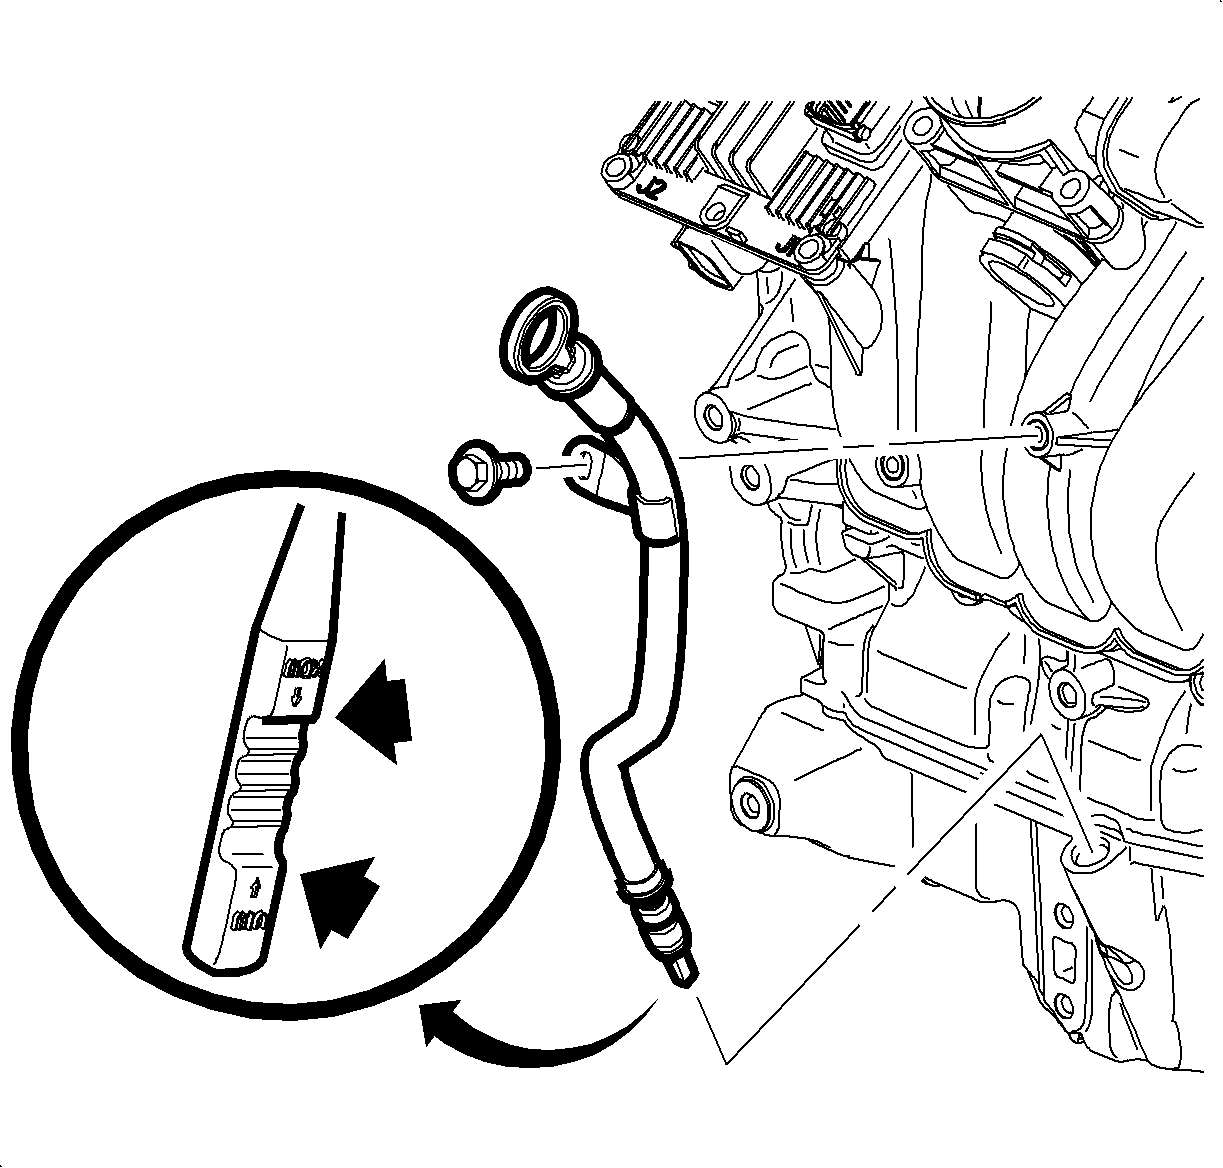
- Check the engine oil level after the engine is turned OFF for 2 minutes, add oil if necessary.
- Reset the Change Oil Soon telltale lamp. Refer to Change Oil Soon telltale procedure in this section of this service manual.
Caution: Ensure that the vehicle is properly supported and squarely positioned. To help avoid personal injury when a vehicle is on a hoist, provide additional support for the vehicle on the opposite end from which the components are being removed.
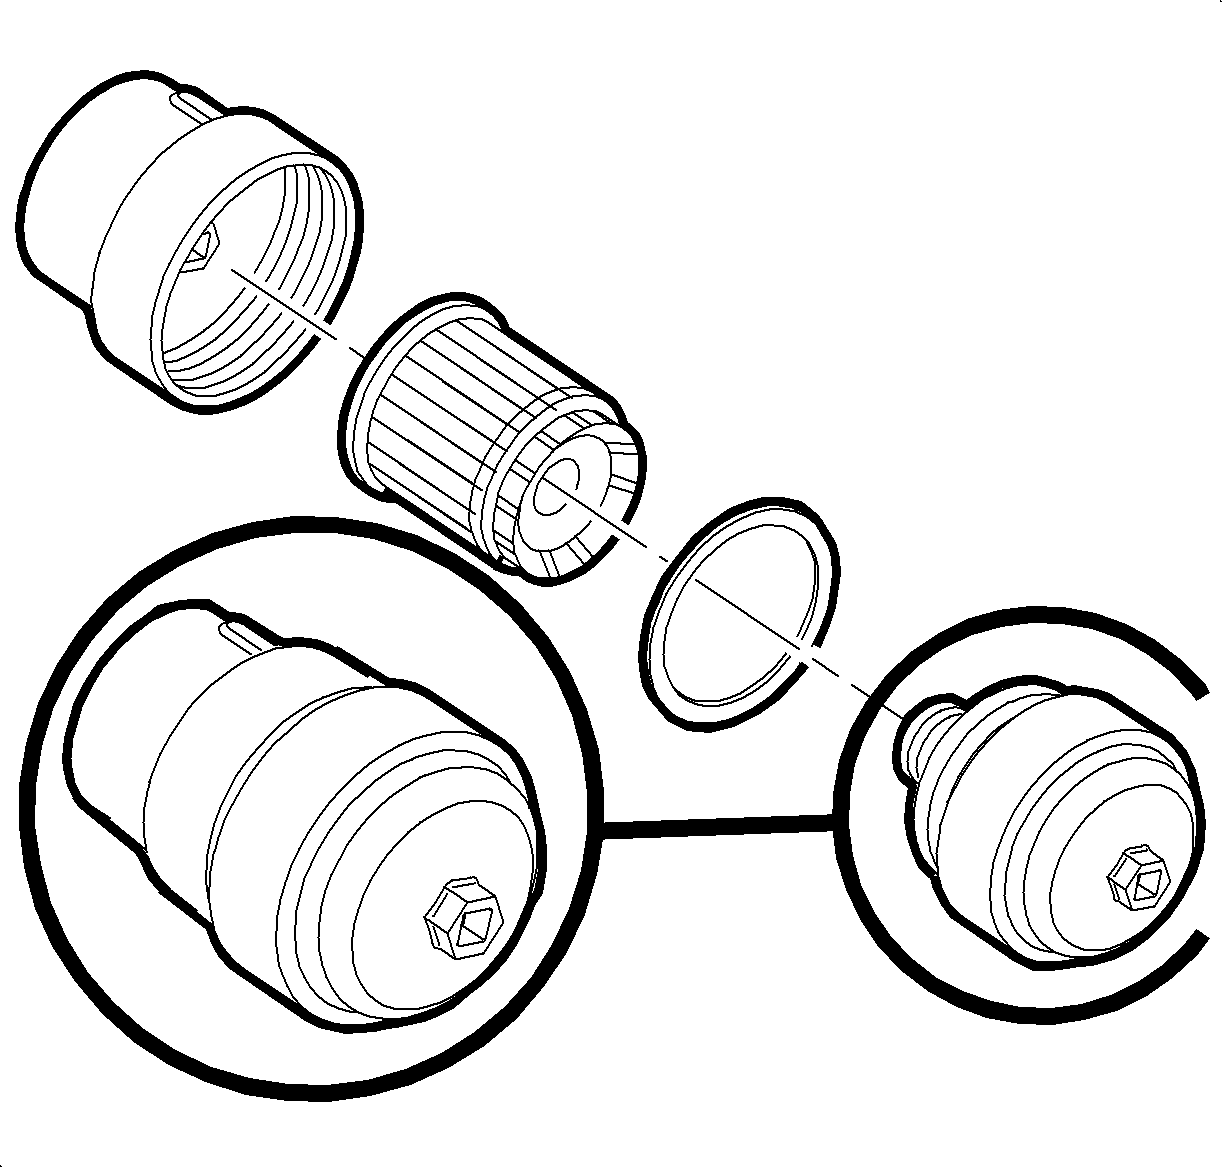
Important: Make sure the oil filter cap O-ring seal is not stuck on the oil filter housing.
Notice: Refer to Fastener Notice in the Preface section.
Tighten
Tighten the oil pan filter cap - L81 to 15 N·m
(11 lb ft).
Tighten
Tighten the oil drain plug - L81 to 25N·m
(18 lb ft).
Capacity
Engine oil - L81 4.7 L (5 qt).
