For 1990-2009 cars only
Removal Procedure
- Raise and support the vehicle. Refer to Lifting and Jacking the Vehicle in General Information.
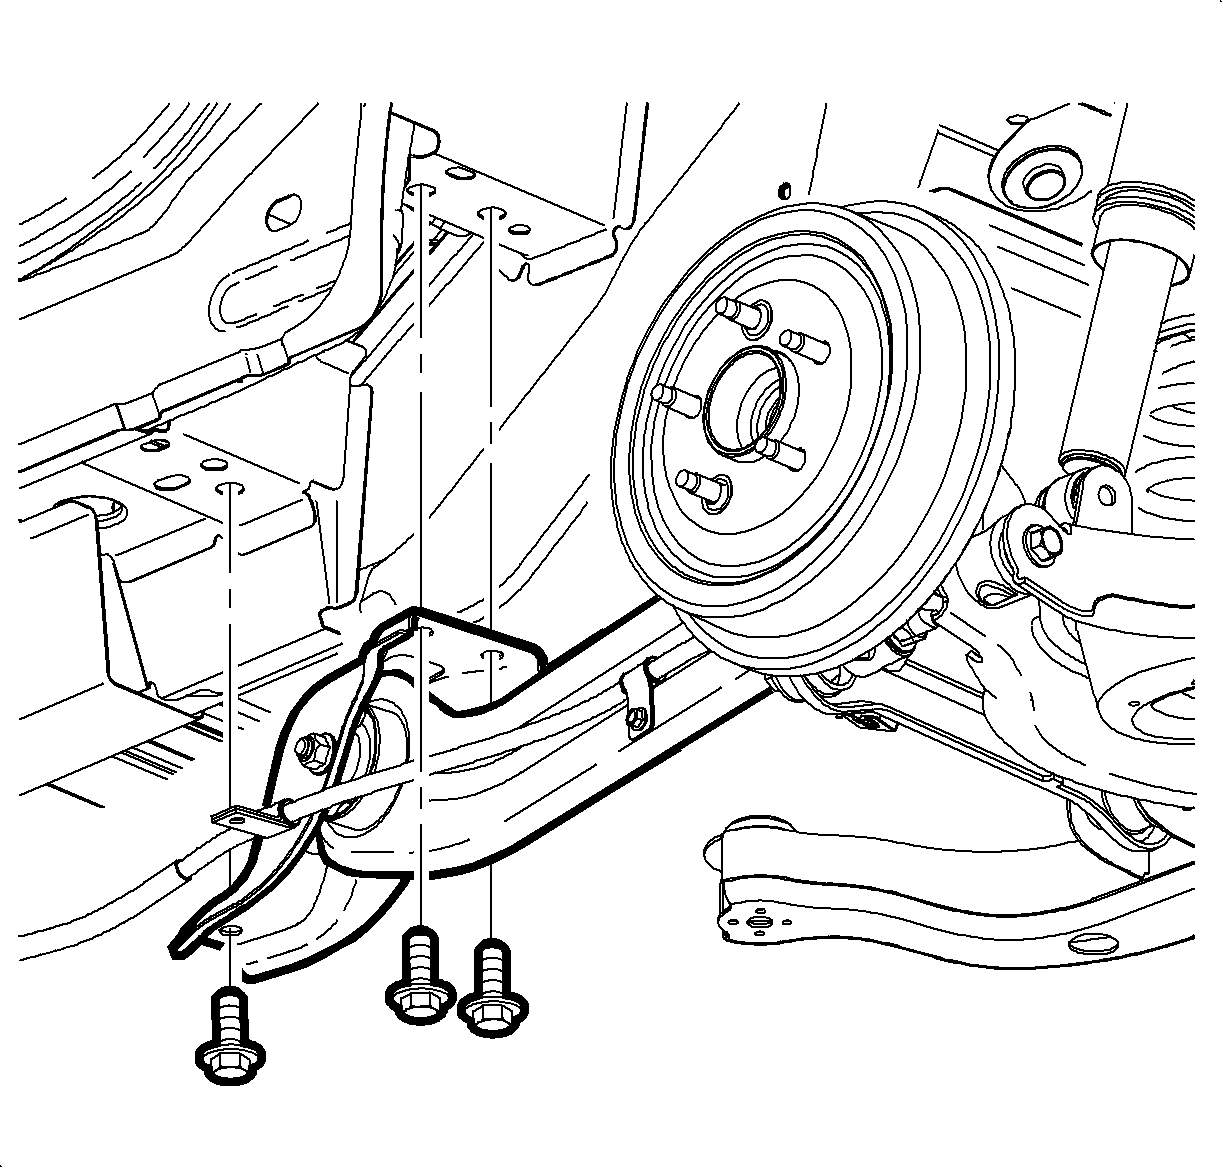
- Remove the trailing arm bracket to body bolts.
- Remove the trailing arm bushing to bracket nut and bolt.
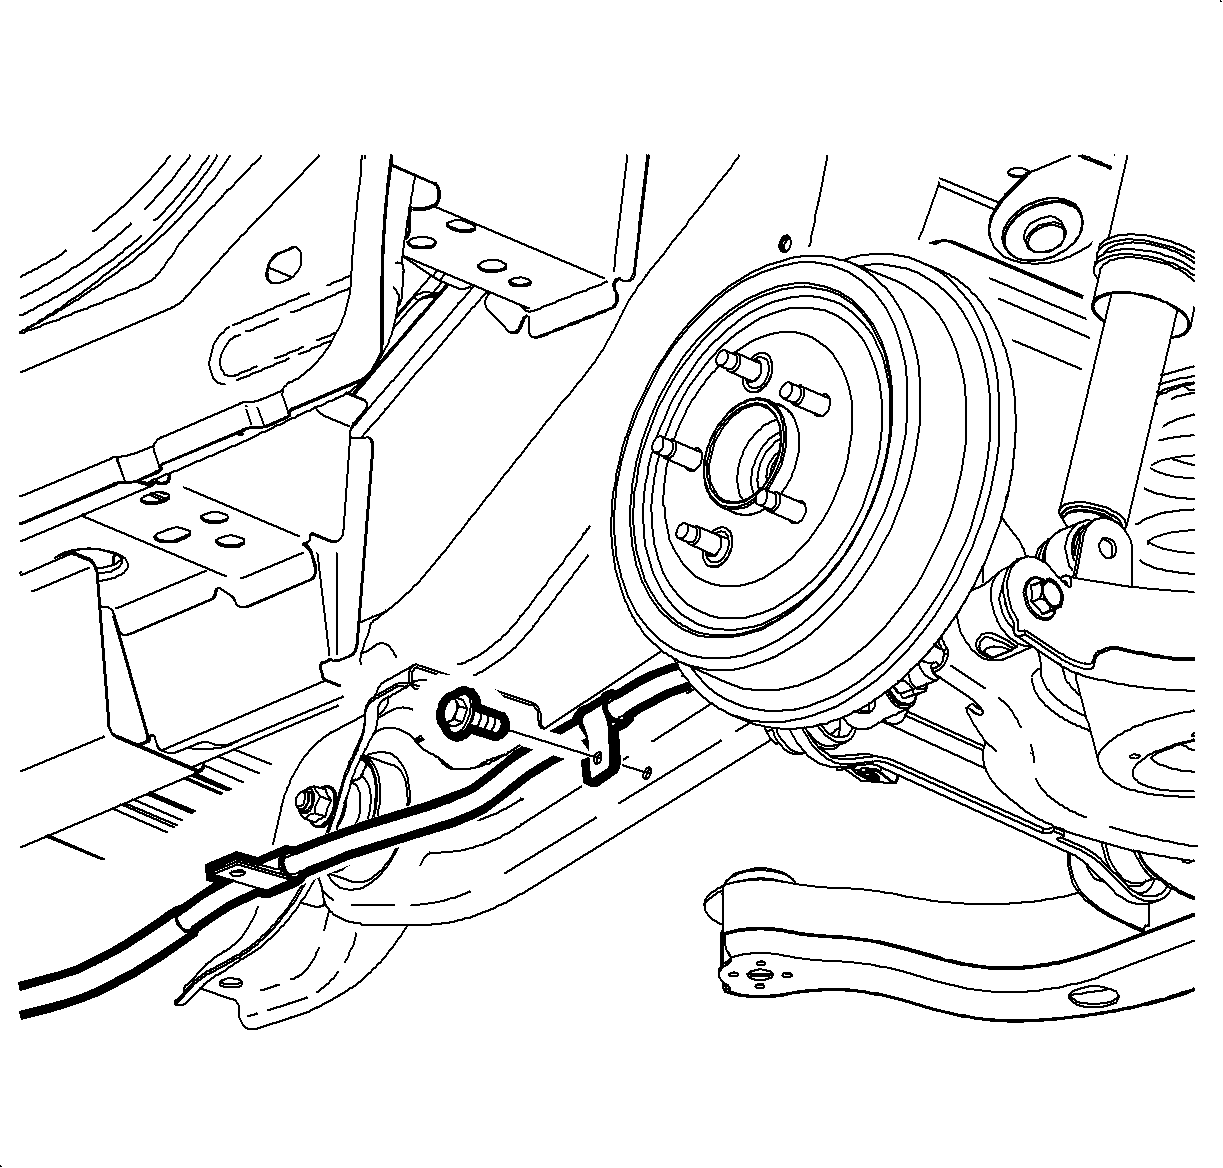
- Remove the park brake cable clip from the trailing arm.
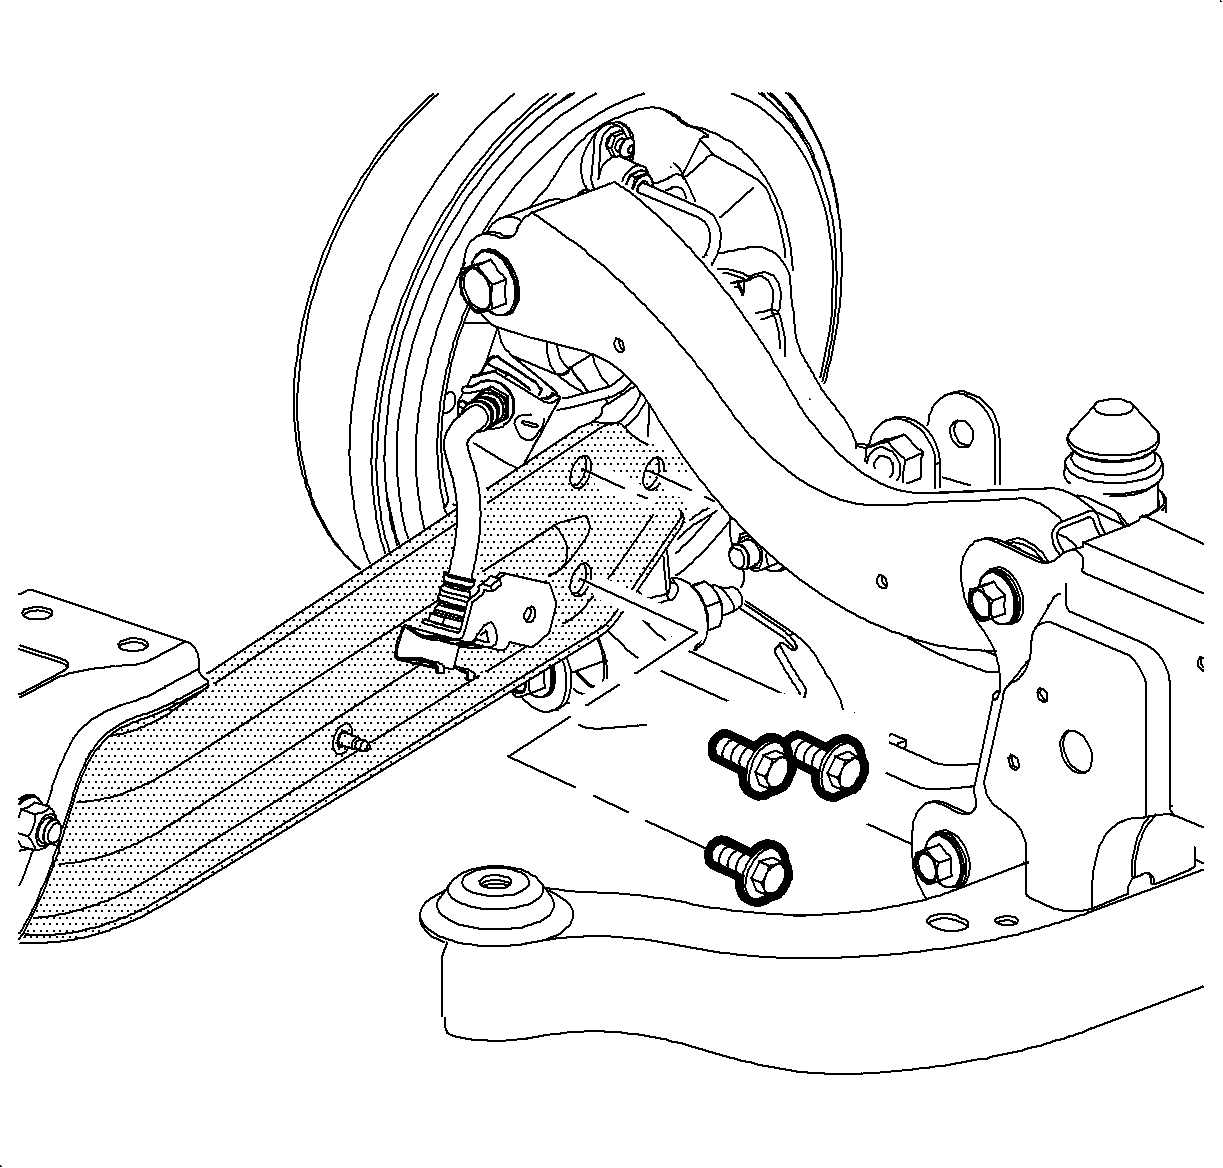
- Remove the trailing arm to knuckle bolts.
- Remove the trailing arm.


Installation Procedure
- Install the trailing arm to the knuckle.
- Position the trailing arm bracket to the trailing arm.
- Loosely install the trailing arm bushing to bracket nut and bolt.
- Push upward on the trailing arm and loosely install the front bolt.
- Use a drift to align the remaining bolts.
- Tighten the trailing arm bushing to bracket nut and bolt.
- If the bolt is a M12 bolt, tighten the bolt to 110 N·m (81 lb ft).
- If the bolt is a M14 bolt, tighten the bolt to 160 N·m (118 lb ft).
- Install the park brake cable clip.
- Lower the vehicle.
Notice: Refer to Fastener Notice in the Preface section.

Tighten
Tighten the bolts to 135 N·m (100 lb ft).

Tighten
Tighten the trailing arm bracket to body bolts to 110 N·m (81 lb ft).
Important: There are two different trailing arms and trailing arm bolts used on this vehicle. You must identify which is on the vehicle and use the corresponding torque value.
Tighten

Tighten
Tighten the bolt to 25 N·m (18 lb ft).
