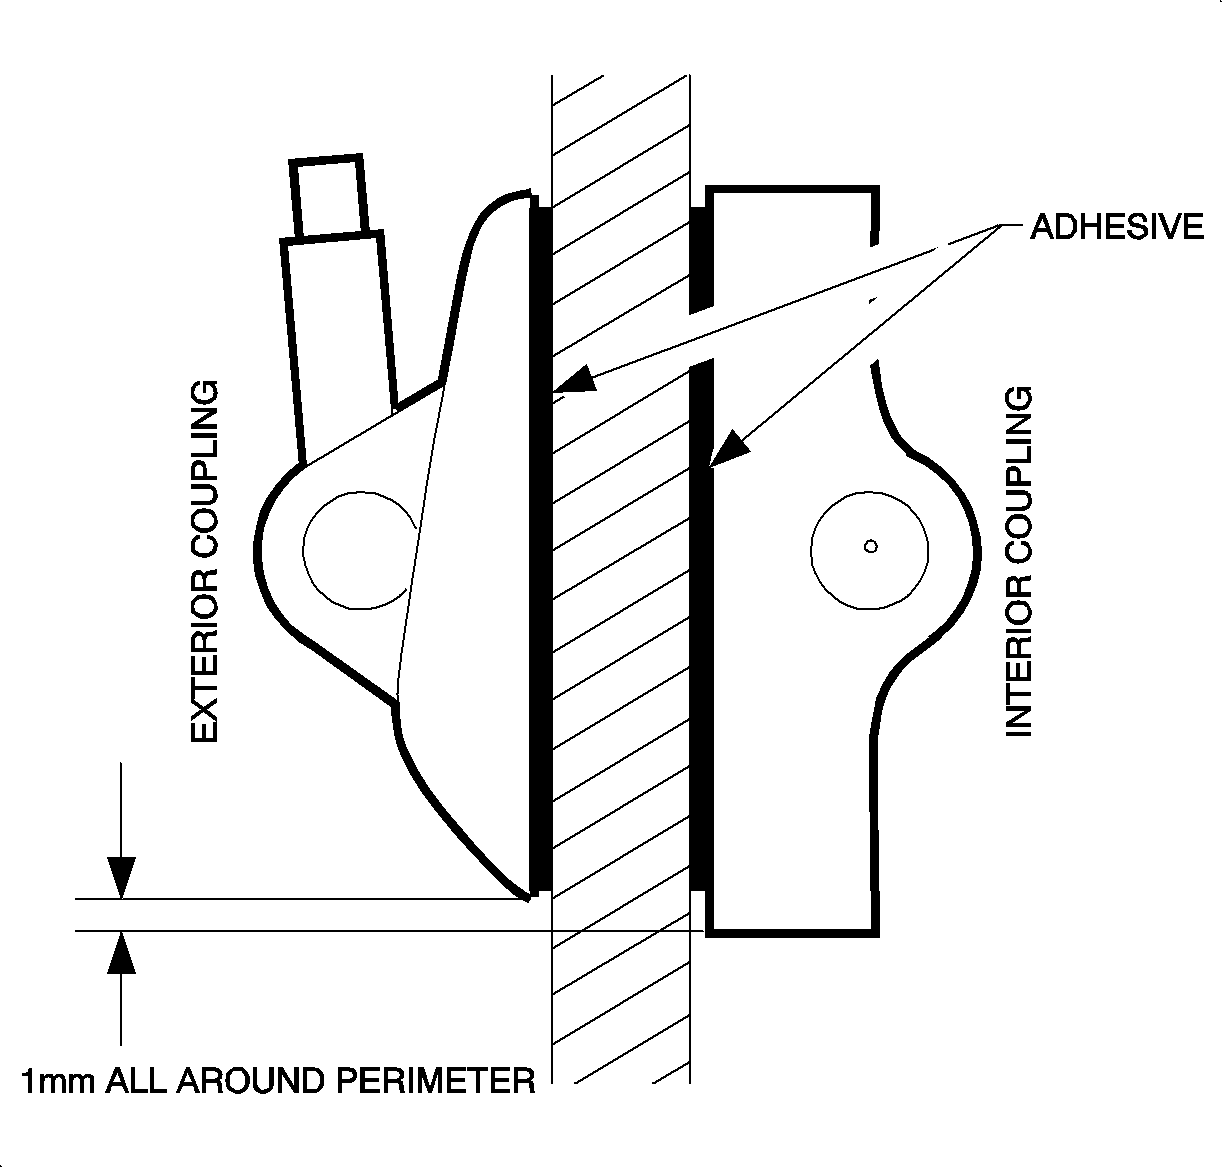
- If you need to remove the antenna coupling, use a small wide-bladed plastic tool to cut the double back tape.
- Verify that all components are stabilized to 20°C (68°F) minimum.
- Clean the outside of the window with the alcohol prep pad included in the kit. Clean a minimum area of 60 x 60 mm (2 3/8 x 2 3/8 in) around the target location.
- Dry the glass thoroughly using a lint-free clean disposable cloth. Moisture on the glass will weaken the adhesive bond.
- Mask off or protect the glass areas where you will be working.
- Apply Glass Adhesion Promoter P/N 12378555 (Canadian P/N 88901239) to the window in the area where you will install the antenna coupling. Follow the instructions on the product label.
- Dry the glass as instructed above.
- Remove the protective film from the protective backing on the outer antenna coupling. Be careful not to touch the adhesive.
- Align the outer antenna coupling using the template provided and with the correct orientation. If the inner coupling is still attached to the window, align the outer coupling to the inner coupling.
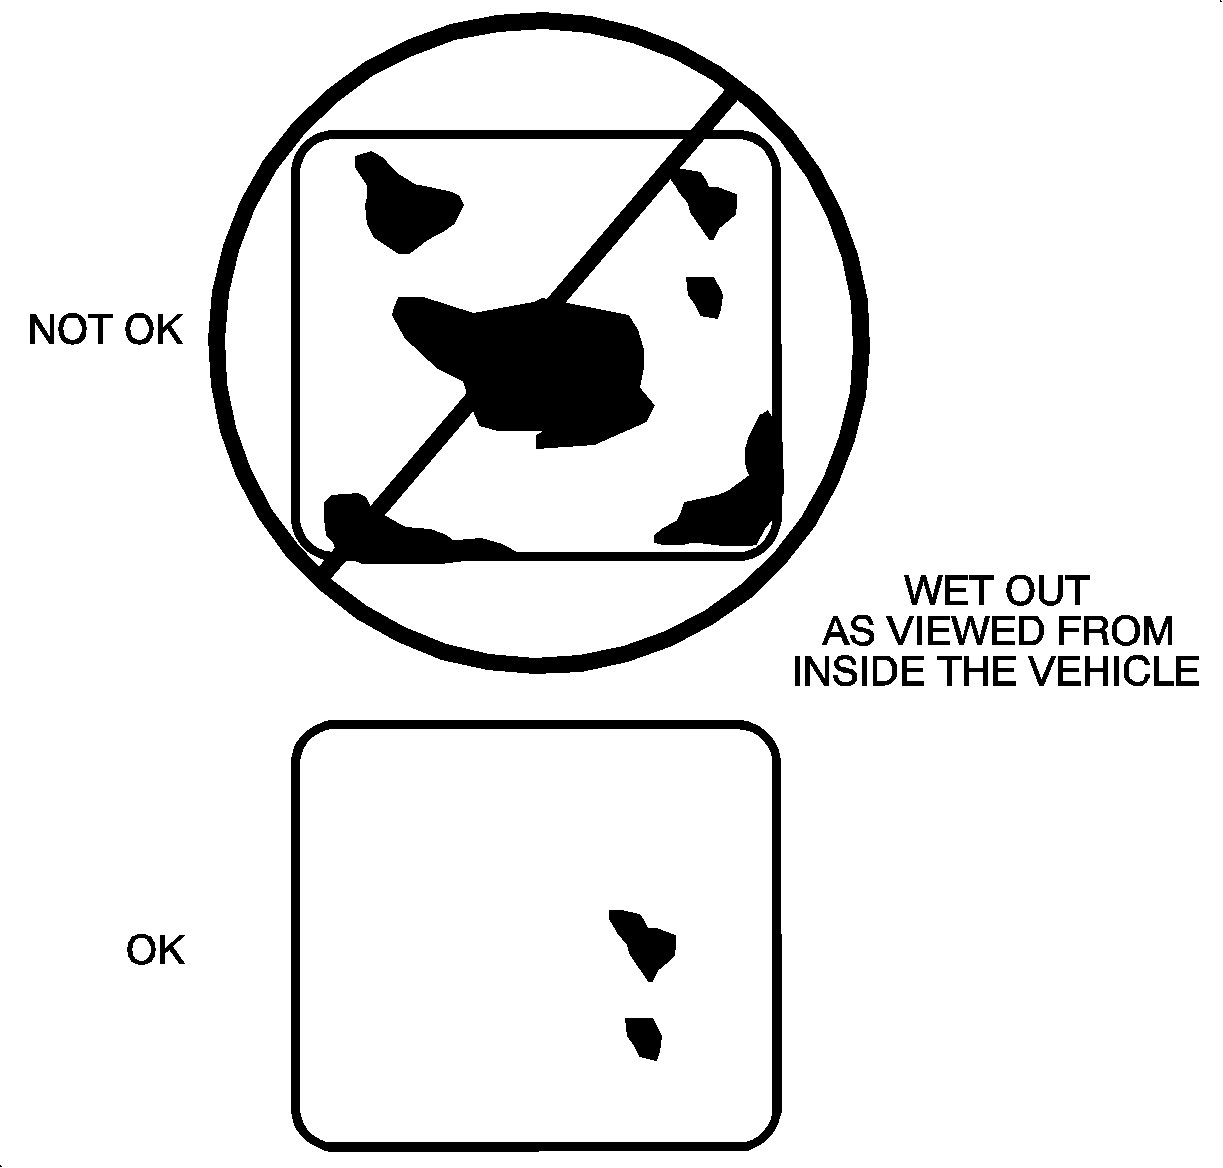
- Inspect for bubbles by viewing the exterior coupling from the interior of the vehicle. It may be necessary to continue applying pressure to the coupling in order to remove all of the bubbles.
- Keep the vehicle dry. Allow 4 hours at 20°C (60°F) for the adhesive to cure after installation.
Important: A new cellular communication antenna design was introduced during the 2003 model year. These new antenna parts are NOT interchangeable with the parts used in the previous design. If the parts from the two designs are interchanged, the performance of the cellular communications system will be adversely affected.
Important: If both couplings are to be replaced, install the outer coupling first.
Important: If you use a razor blade or other sharp tool to remove the adhesive, use the blade carefully. Damage to the grid lines may result.
Important: Do NOT use any other cleaning tools which may contain products that will adversely affect the adhesion of the antenna.

Apply firm, consistent pressure to the center and the perimeter of the coupling for approximately 30 seconds.

