For 1990-2009 cars only
Tools Required
| • | J 41239-1A Cooler Line Seal Installer |
| • | J 45201 Cooler Line Seal Remover |
Removal Procedure
- Place a drain pan or suitable container under the vehicle.
- Position the vehicle on a hoist. Refer to Lifting and Jacking the Vehicle in General Information.
- Raise Vehicle.
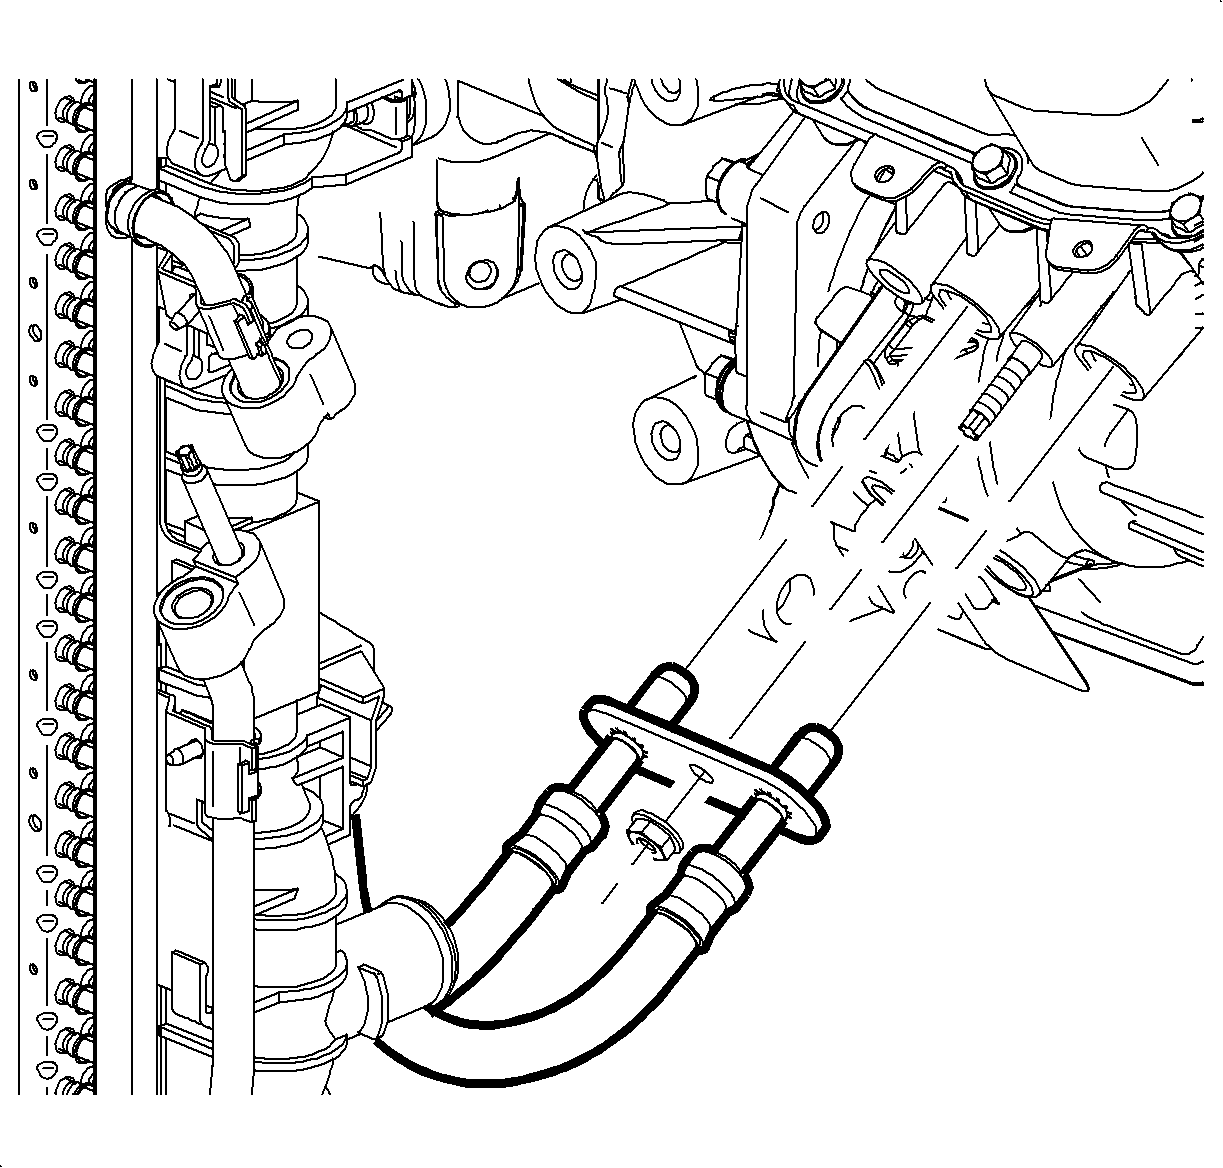
- Remove the transaxle oil cooler line assembly nut from the transaxle.
- Disconnect the transaxle oil cooler lines from the vehicle.
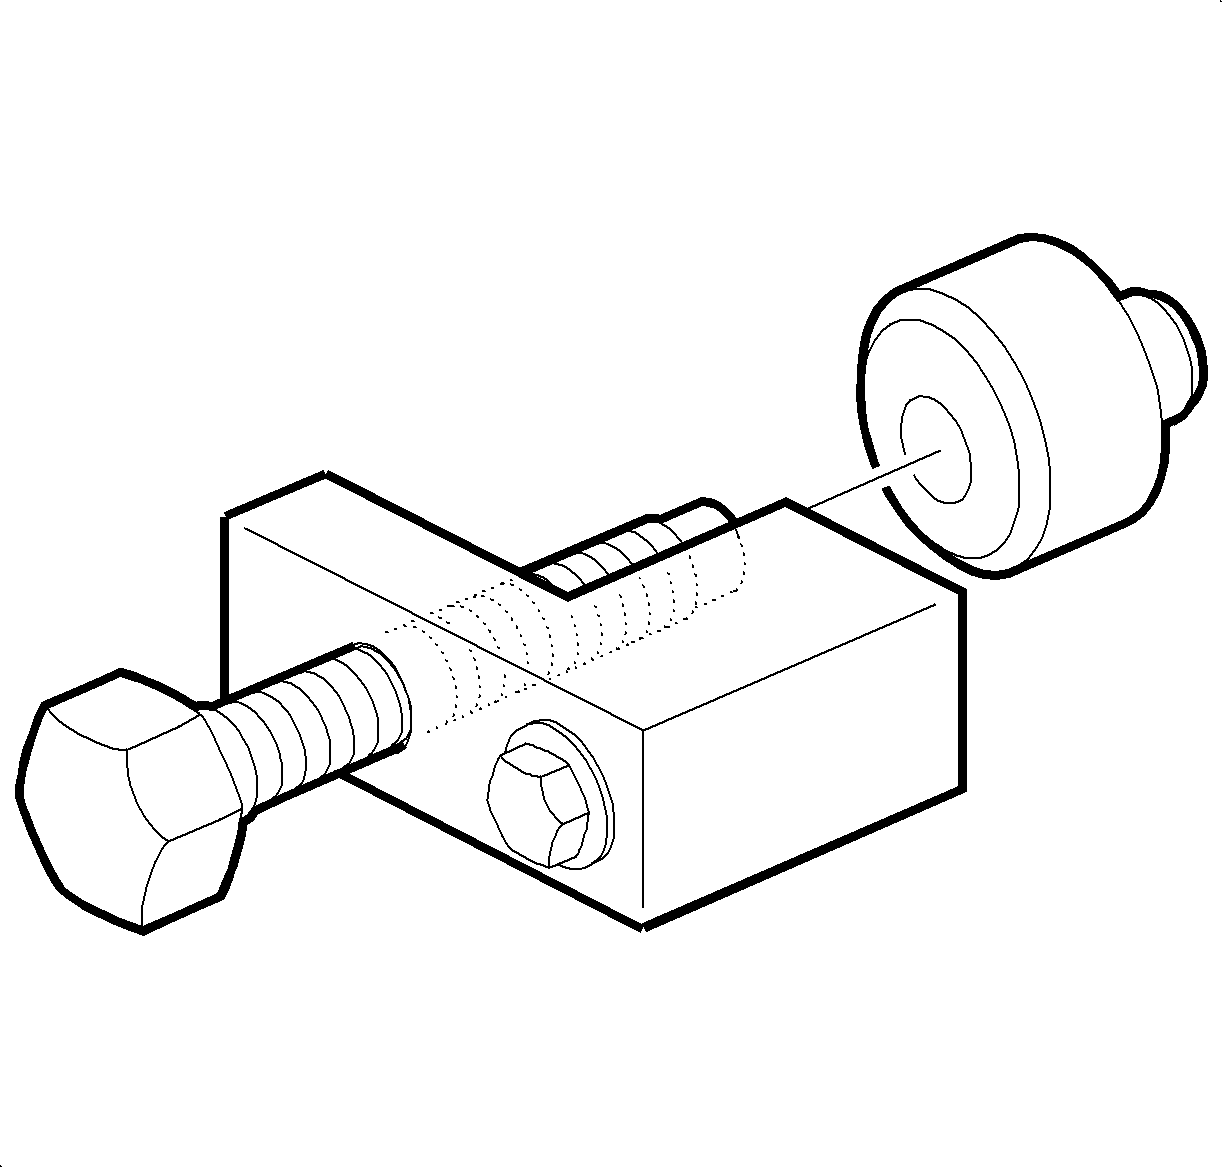
- Insert the collet piece (2) of the J 45201 into the cooler line seal.
- Insert the forcing screw piece (1) of the J 45201 into the collet (2).
- Tighten the forcing screw (1) until snug.
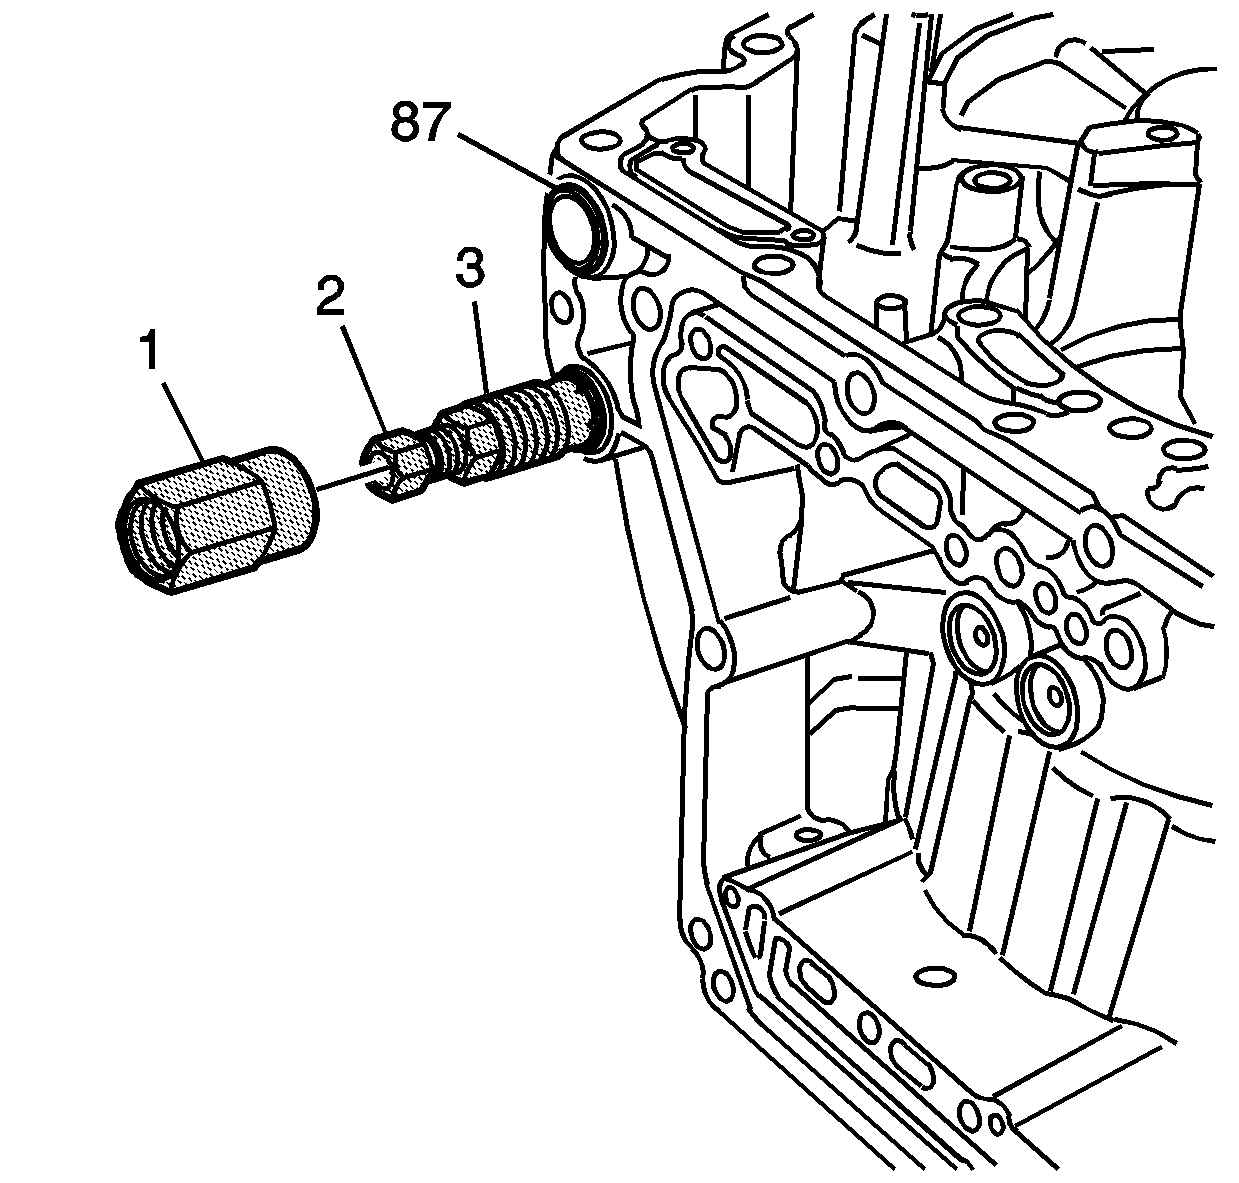
- Thread the collar piece (1) of the J 45201 onto the collet (3) until snug.
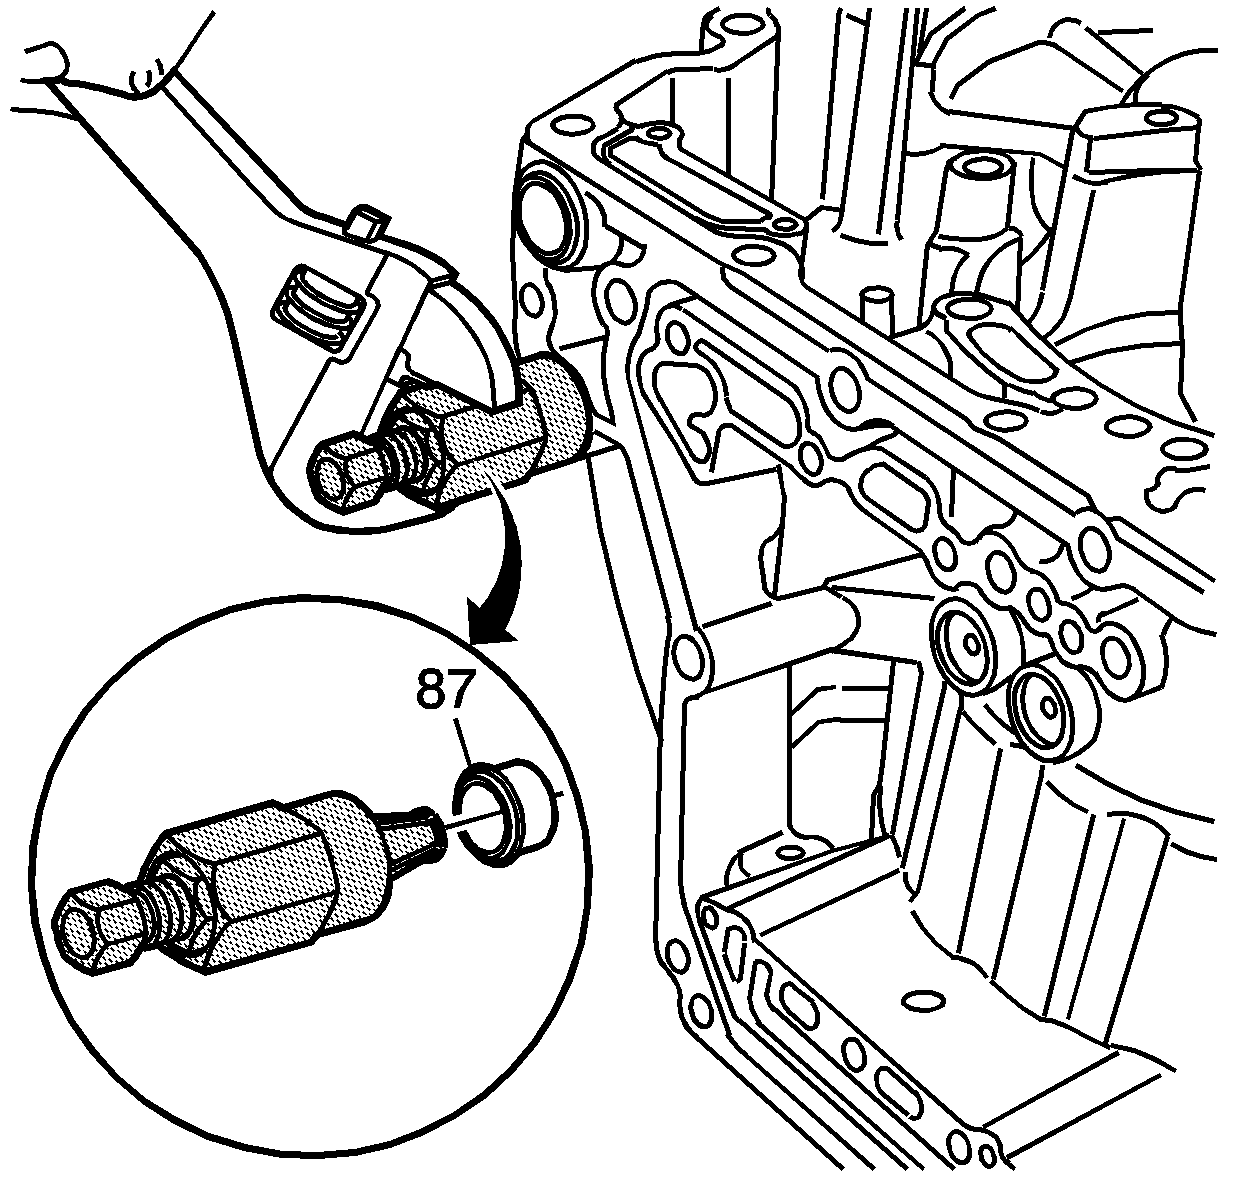
- Turn the collar clockwise in order to remove the cooler line seal.
- Discard the seal.
- Clean the case bores for the cooler line seals.
Caution: Ensure that the vehicle is properly supported and squarely positioned. To help avoid personal injury when a vehicle is on a hoist, provide additional support for the vehicle on the opposite end from which the components are being removed.
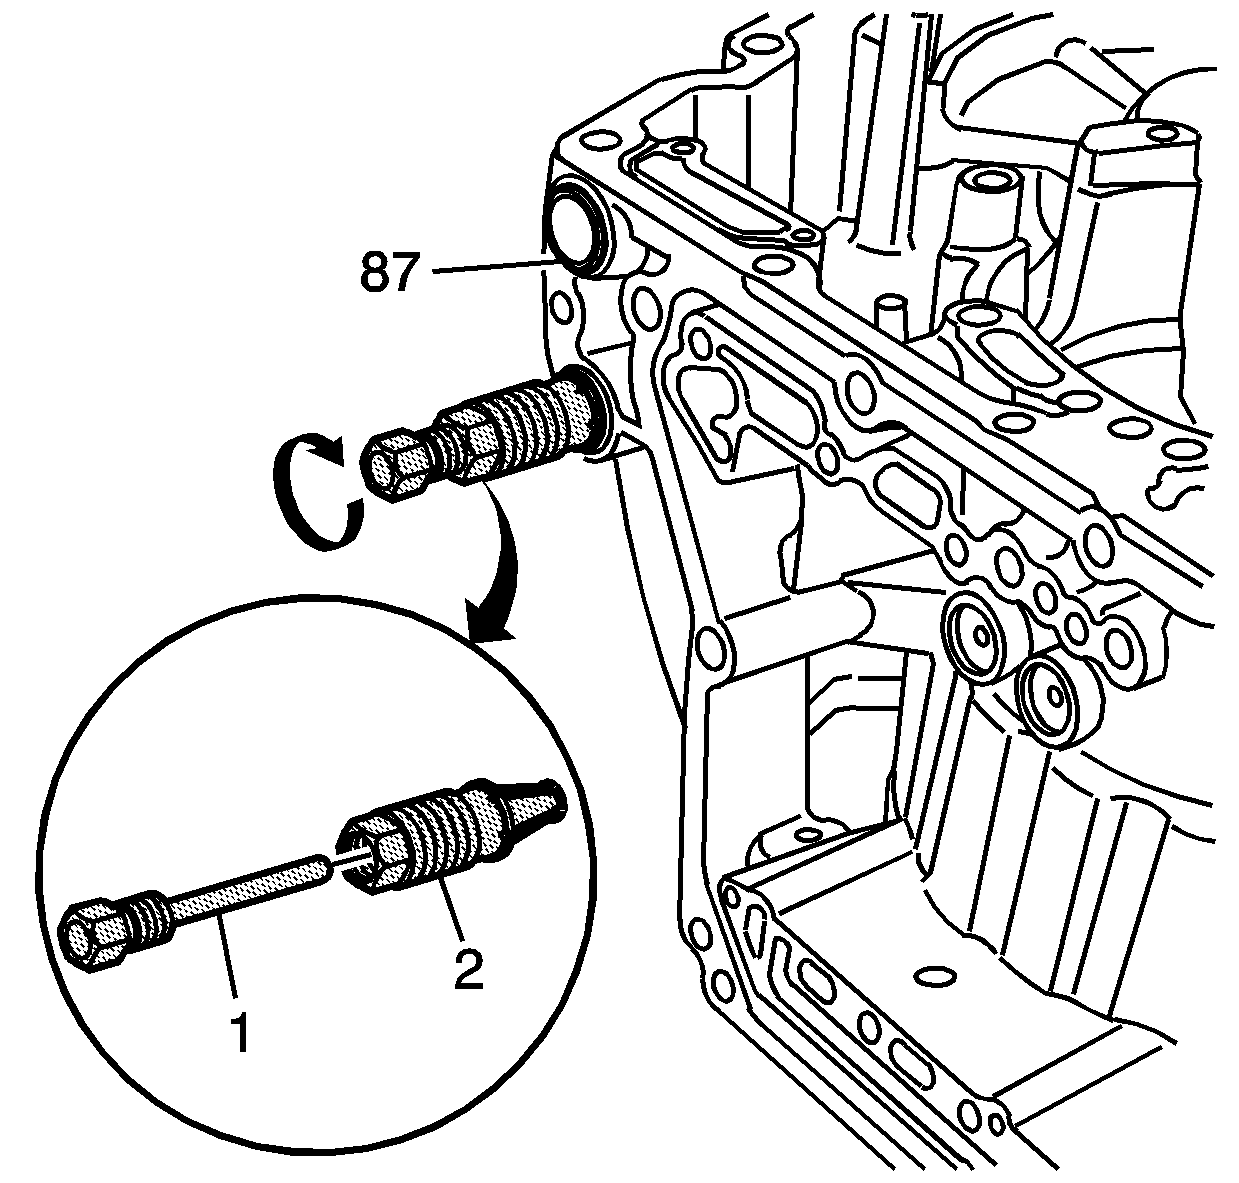
Important: Ensure that the J45201 is fully seated into the transaxle seal bore.
Installation Procedure
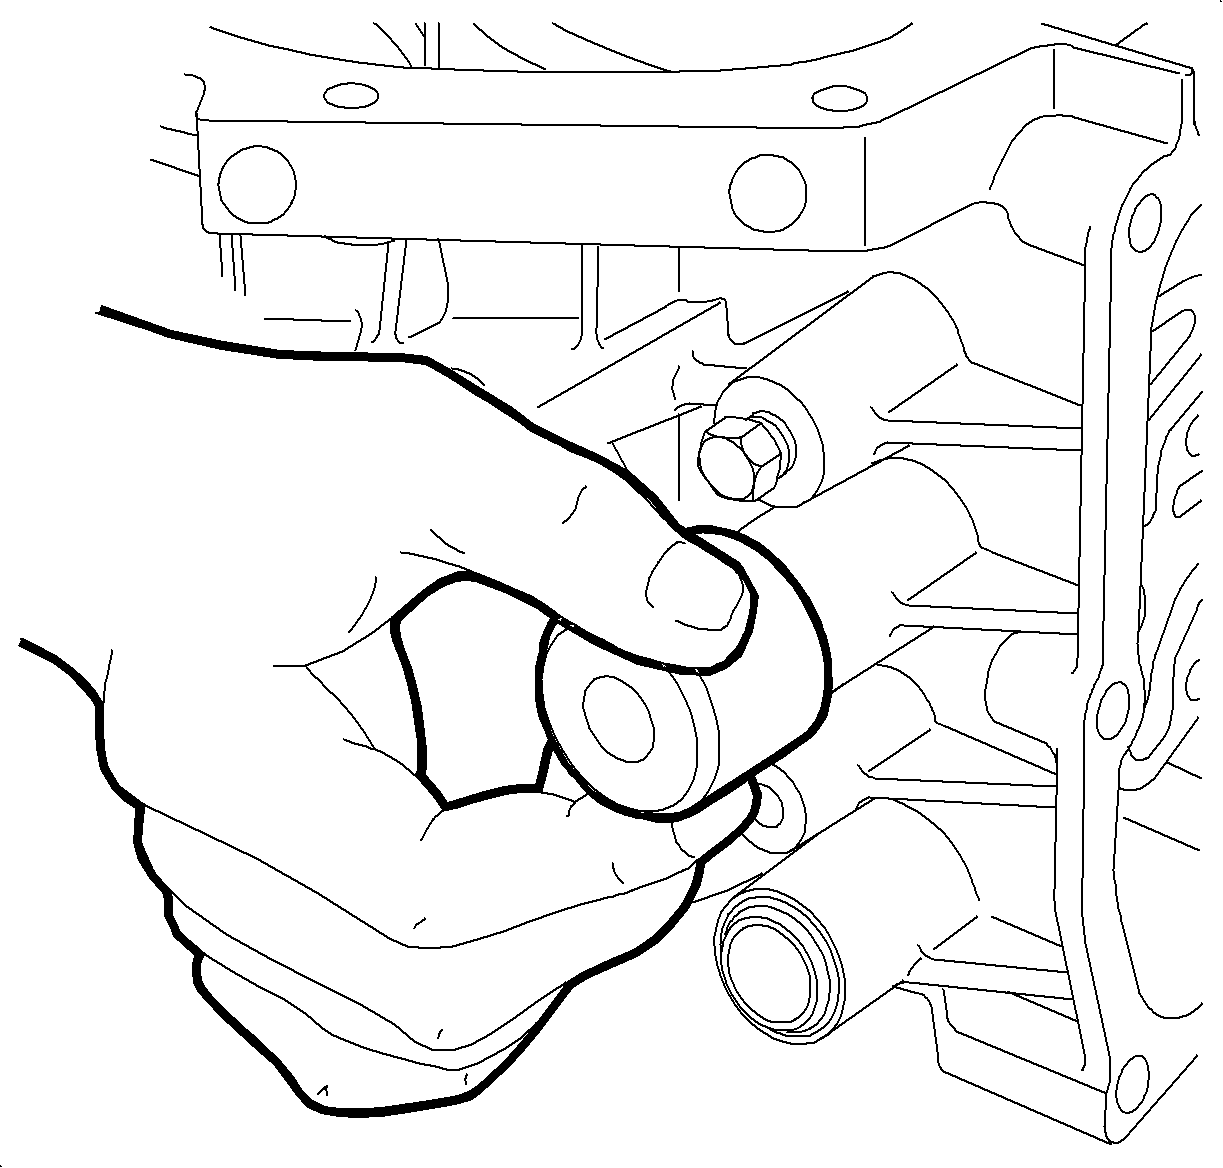
- Insert a new transaxle cooler line seal into the case bore.
- Remove the nub from the J 41239-1A .
- Install the nub of the J 41239-1A on the transaxle cooler line seal.
- Tap the new transaxle cooler line seal into the case bore.
- Install the transaxle oil cooler line assembly to the transaxle.
- Install the transaxle oil cooler line assembly nut.
- Lower the vehicle.
- Add fluid to the transaxle. Refer to Transmission Fluid Replacement procedure located in this service manual.
- Start the engine and check for leaks.

Notice: Refer to Fastener Notice in the Preface section.
Tighten
Tighten the transaxle cooler line retaining nut to 7 N·m(62 lb-in).
Notice: Saturn automatic transaxle fluid (ATF), P/N 21005966 and P/N 21019223, is not compatible with this transaxle. If Saturn ATF is used, transaxle damage will result. This transaxle uses Saturn T-IV fluid P/N 22689186.
