- Use solvent to clean the
crankshaft.
- Use compressed air to dry the crankshaft.
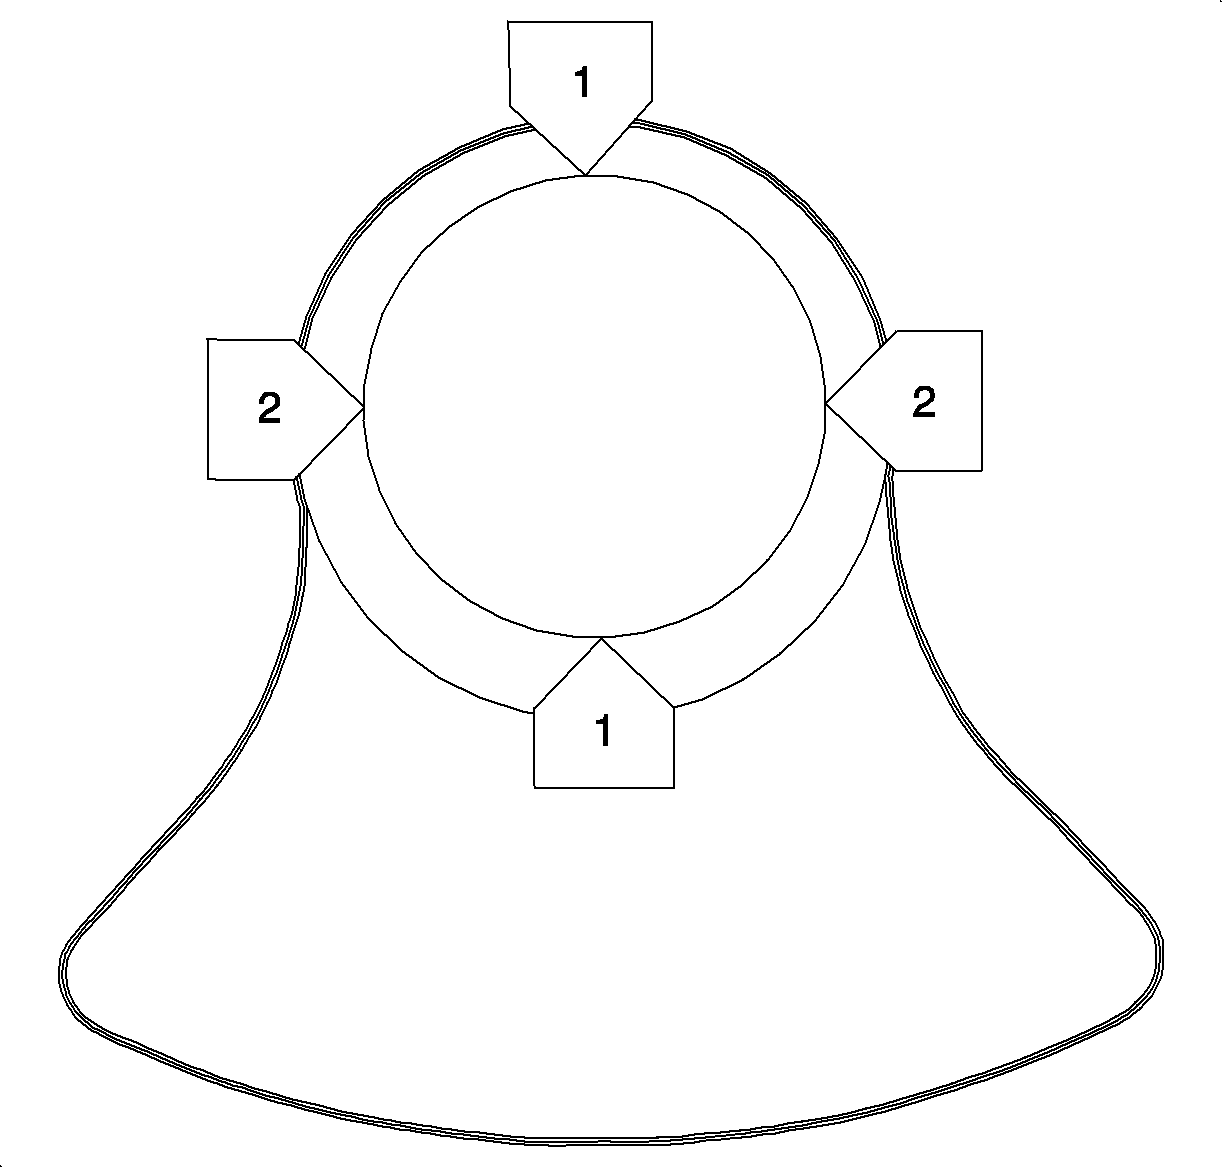
- Use a micrometer to measure the crankshaft rod journals in 2 locations
on the front edge for the following conditions:
| • | Measure for out-of-round. |
| • | The rod journal diameter (STD). |
Specifications
The rod journal diameter is 48.971-48.987 mm (1.927-1.928 in).
- Use a micrometer to measure the crankshaft rod journals in the
middle for the following conditions:
| • | Measure for out-of-round. |
| • | Rod journal diameter (STD). |
Specifications
The rod journal diameter is 48.971-48.987 mm (1.927-1.928 in).
- Use a micrometer to measure the crankshaft rod journals in 2 locations
on the rear edge for the following conditions:
| • | Measure for out-of-round. |
| • | Rod journal diameter (STD). |
Specifications
The rod journal diameter is 48.971-48.987 mm (1.927-1.928 in).
- Use a micrometer to measure the crankshaft main journals in 2 locations
on the front edge for the following conditions:
| • | Measure for out-of-round. |
| • | Main journal maximum out-of-round. |
Specifications
The main journal maximum out-of-round is 0.03 mm (0.0012 in).
| • | Refer to Engine General Information. |
- Use a micrometer to measure the crankshaft main journals in the
middle for the following conditions:
| • | Measure for out-of-round. |
| • | Main journal maximum out-of-round. |
Specifications
The main journal maximum out-of-round is 0.03 mm (0.0012 in).
| • | Refer to Engine General Information. |
- Use a micrometer to measure the crankshaft main journals in 2 locations
on the rear edge for the following conditions:
| • | Measure for out-of-round. |
| • | Main journal maximum out-of-round. |
Specifications
The main journal maximum out-of-round is 0.03 mm (0.0012 in).
| • | Refer to Engine General Information. |

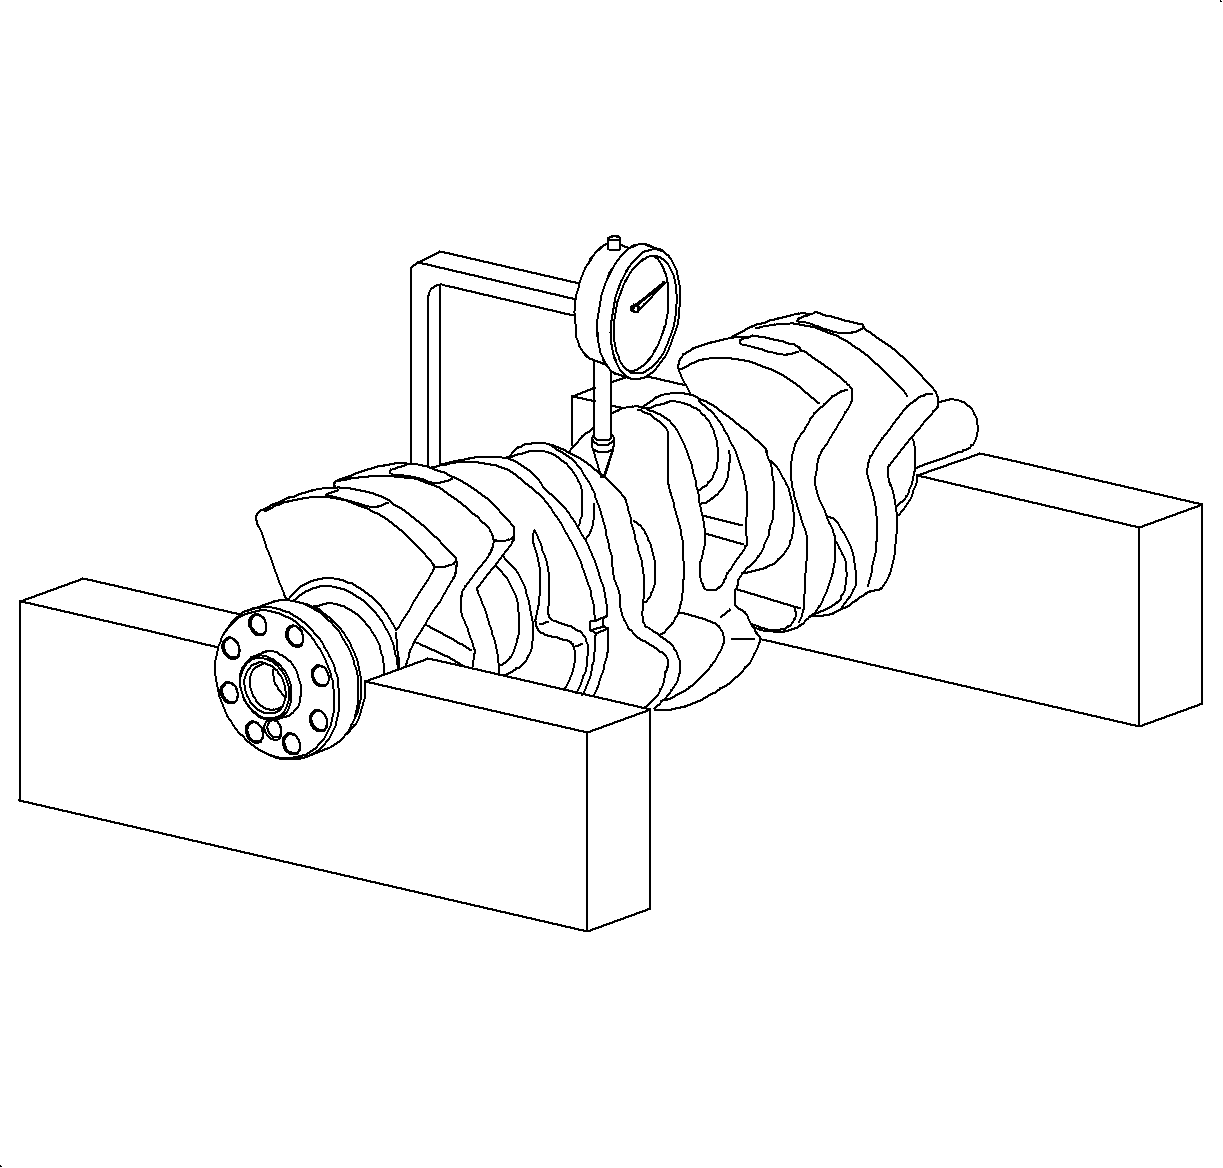
- Use a micrometer to measure
the crankshaft run-out at the front intermediate journals and use a micrometer
to measure the crankshaft run-out at the rear intermediate journals. Perform
the measurement with the crankshaft in the engine block or perform the measurement
by supporting the crankshaft front and rear journals on V-blocks.
- Replace or recondition the crankshaft if the measurements are
not within specifications.
- Inspect the crankshaft fit.
- Inspect the upper half of the crankshaft bearing.
- Replace the upper half and the lower half if the upper half is
worn and/or damaged.
- Inspect the lower half of the crankshaft bearing.
- Replace the upper half and the lower half if the lower half is
worn and/or damaged.

Important: Measure the clearance of each crankshaft bearing to determine the proper
sizes. Factory installed crankshaft bearings may not be the same size for
each journal and/or the block bearing may be of a different size than the
cap bearings. Also, check the appropriate color coding of the bearings. Return
the bearings to their EXACT location if the bearings are to be reused. The
cap bearings for the numbers 2 and 3 do not have oil journals.
Important: DO NOT rotate the crankshaft while gaging plastic is between the journal
and the crankshaft bearing.
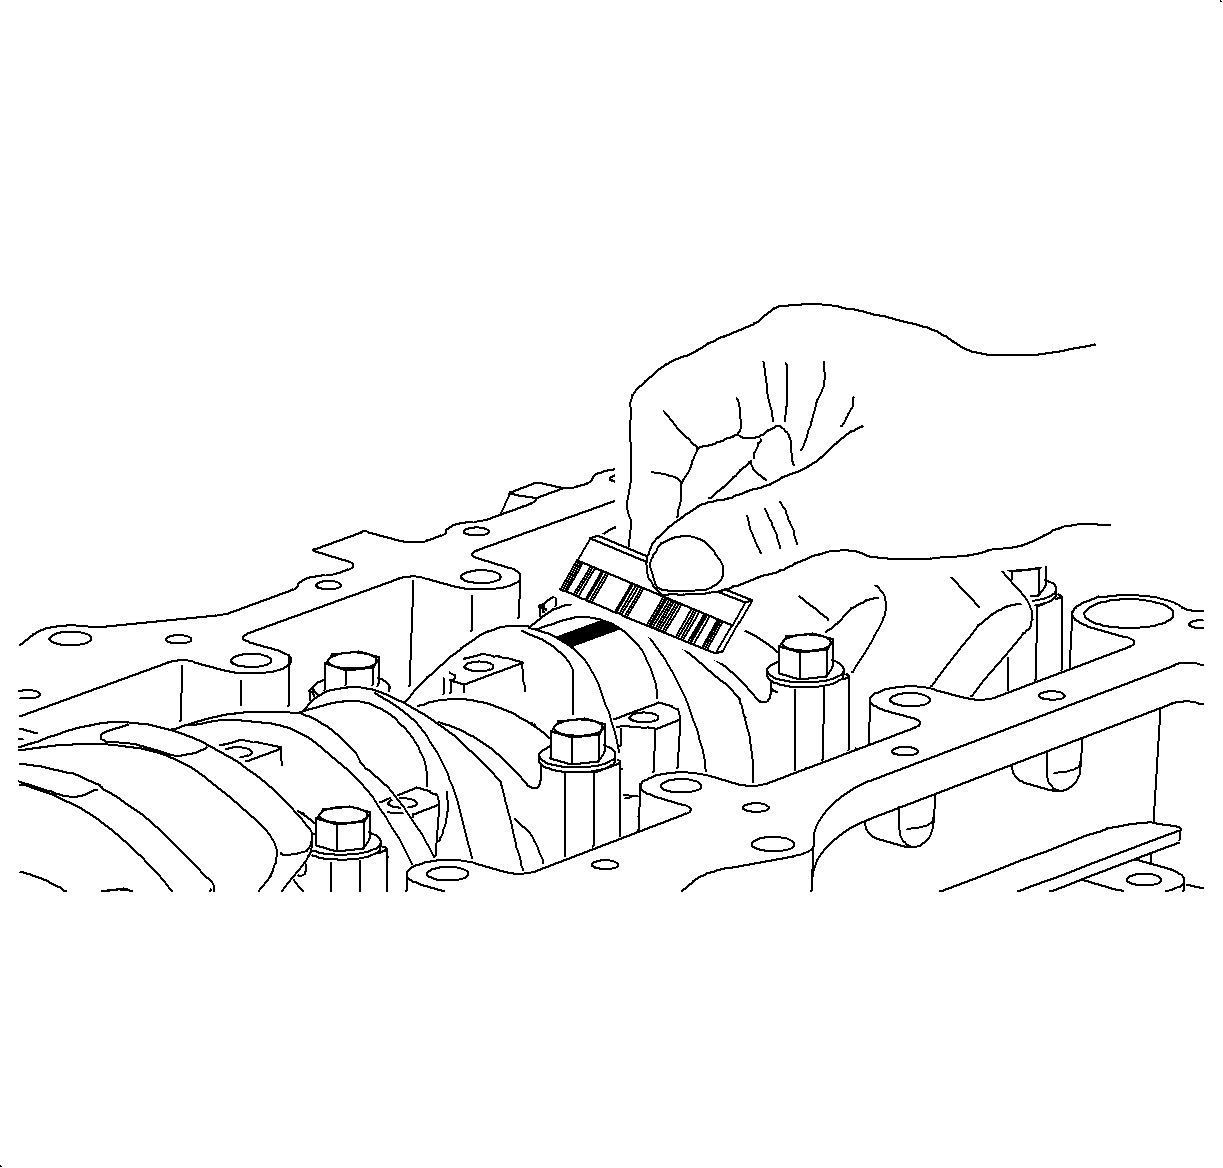
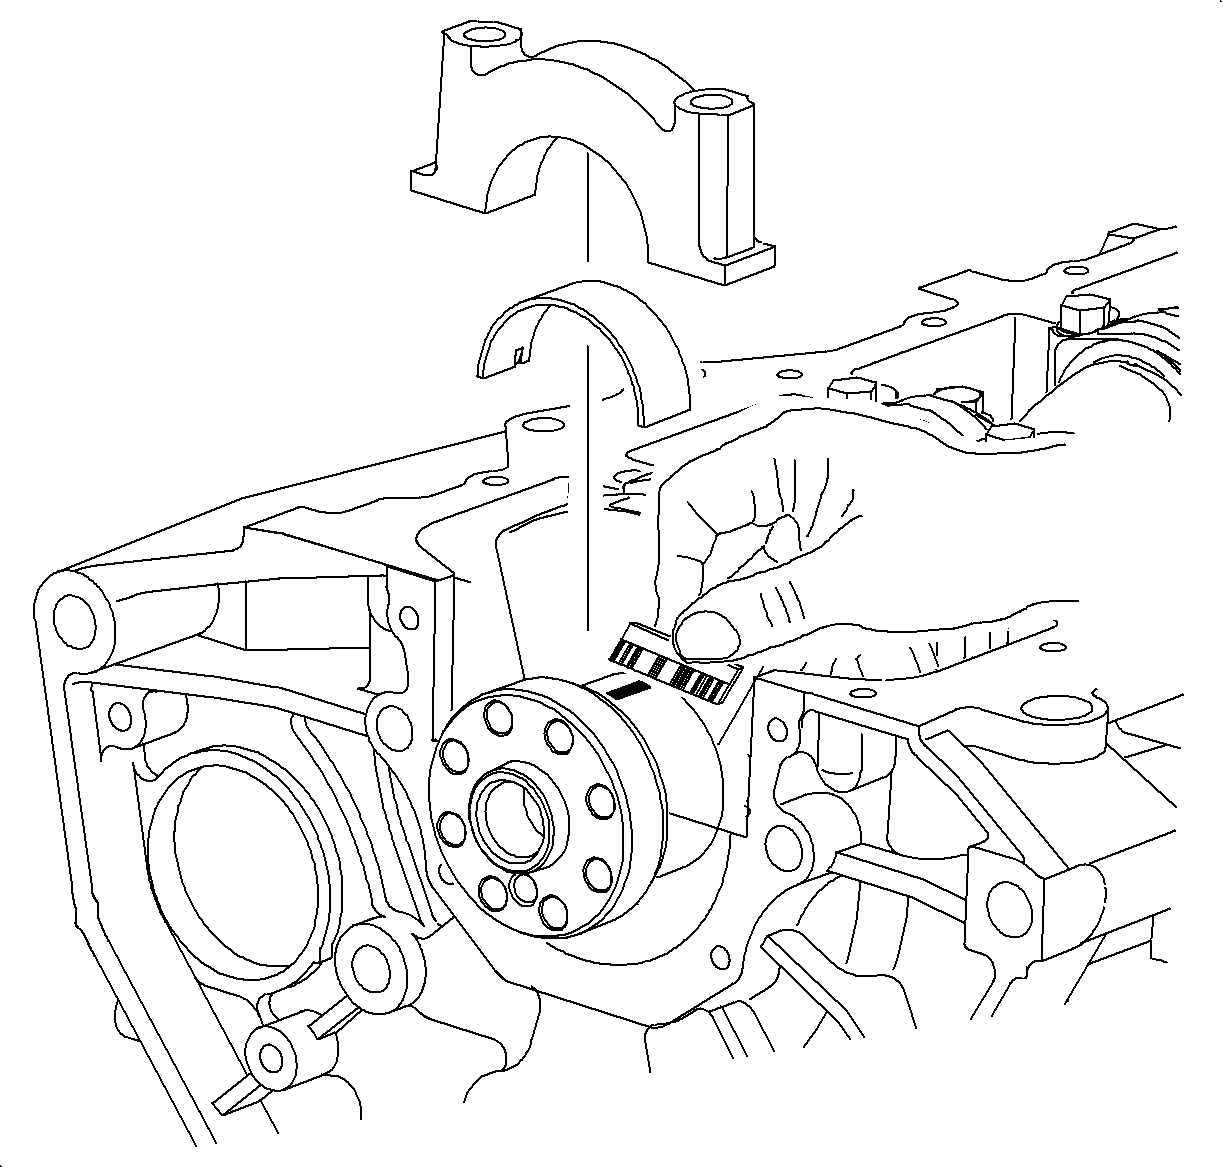
- Perform the following steps to measure the crankshaft bearing:
| • | Place a piece of gaging plastic full width of the crankshaft bearing
onto the journal. |
| • | Measure all 5 bearing clearances at the same time. |
Notice: Refer to Fastener Notice in the Preface section.

- Install the crankshaft bearing caps exactly as removed.
Tighten
Tighten the crankshaft bearing cap to 50 N·m (37 lb ft) plus 60
degrees plus 15 degrees.
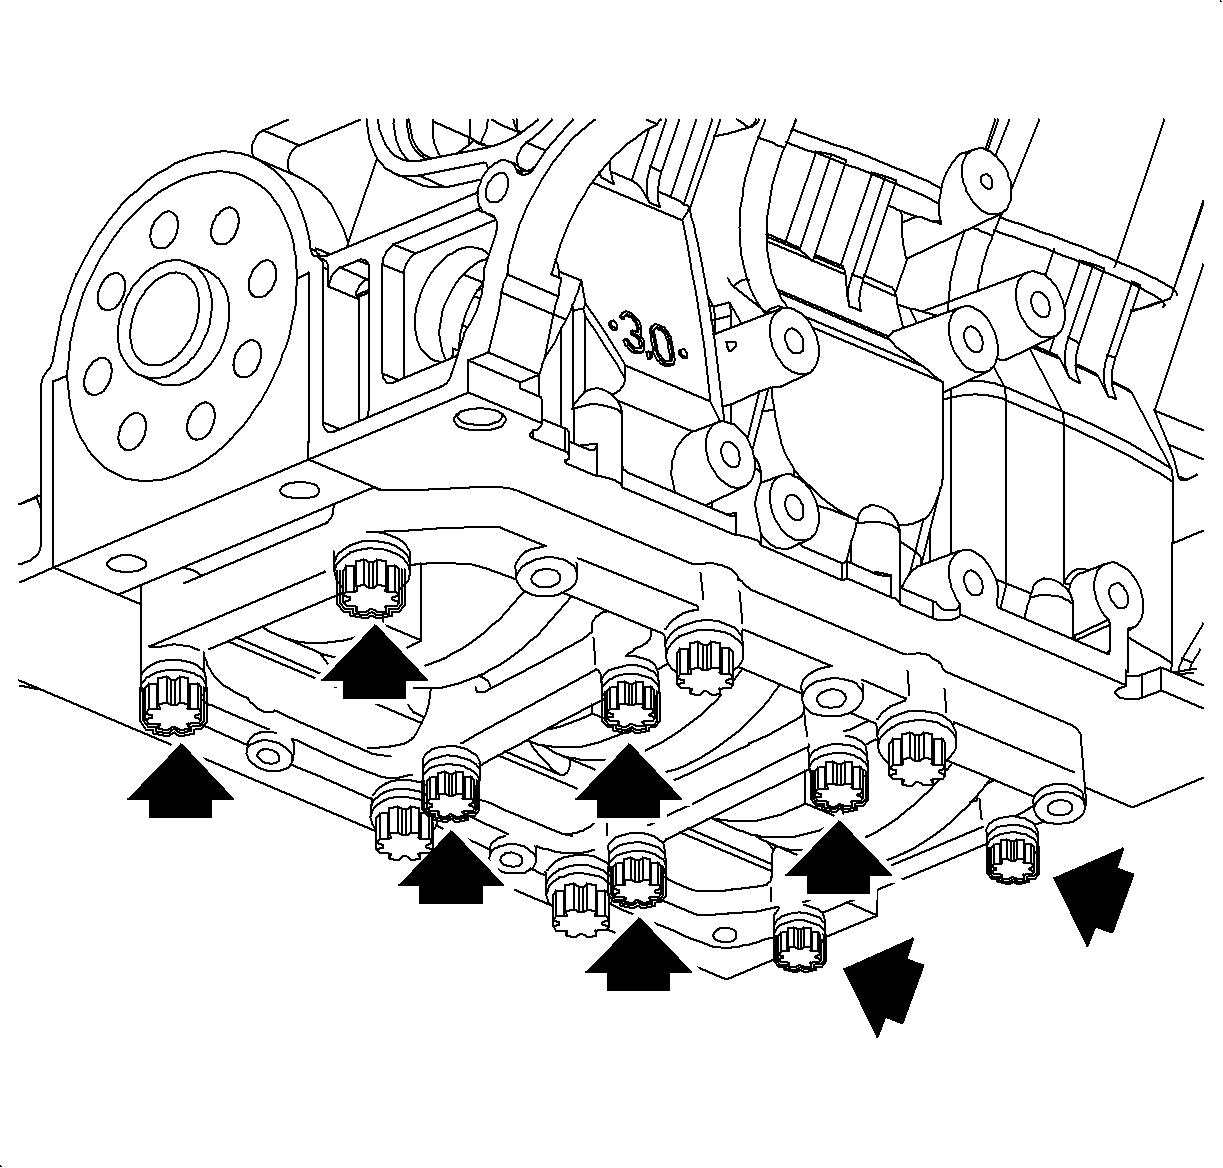
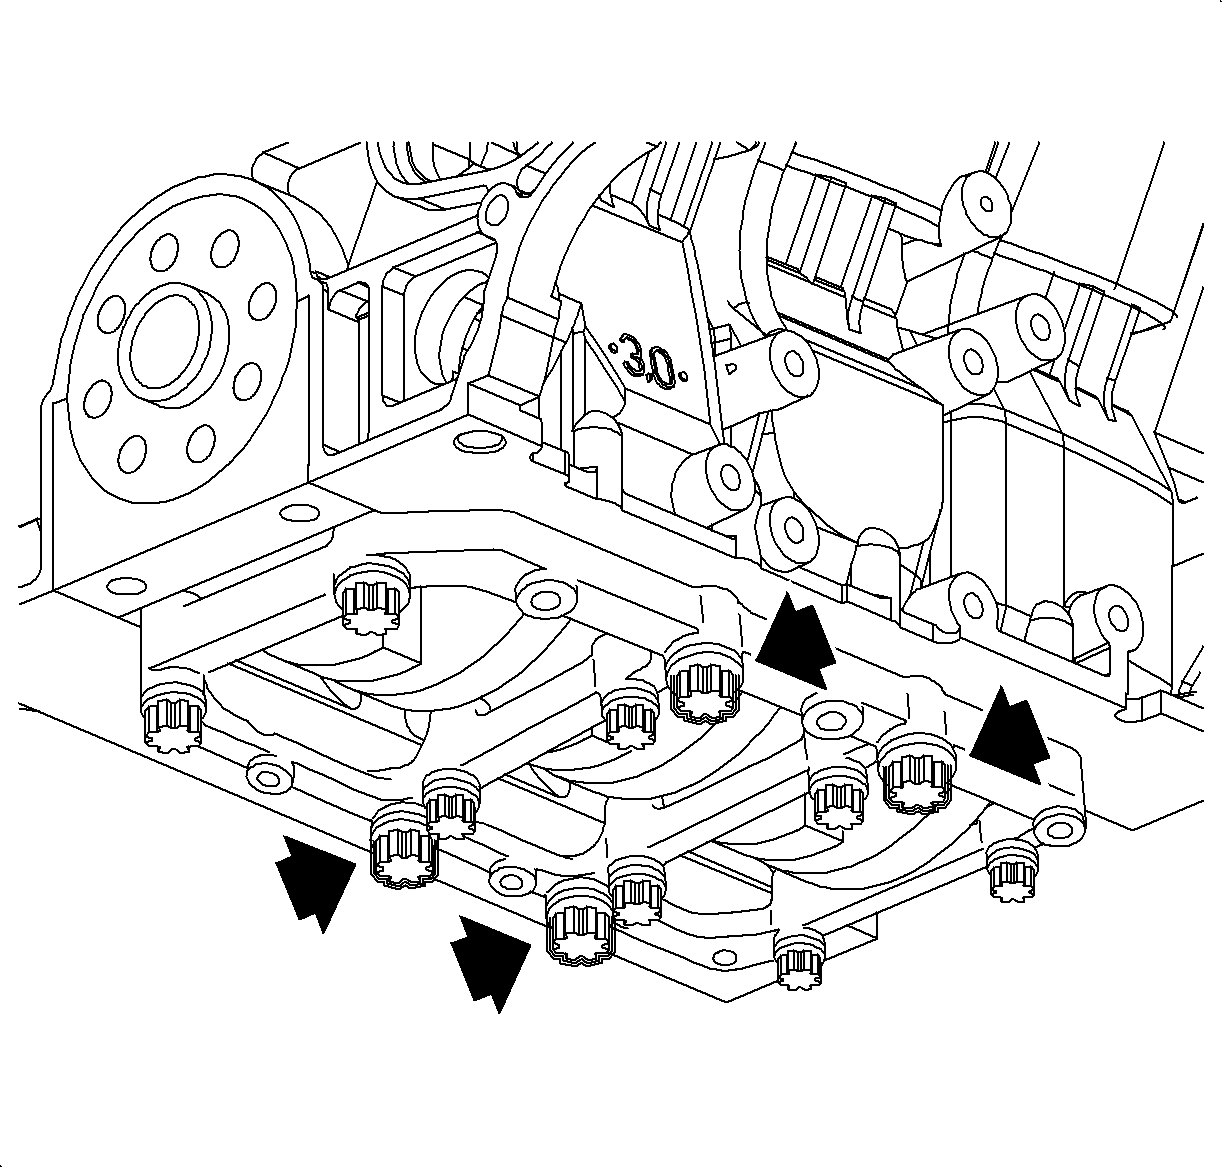
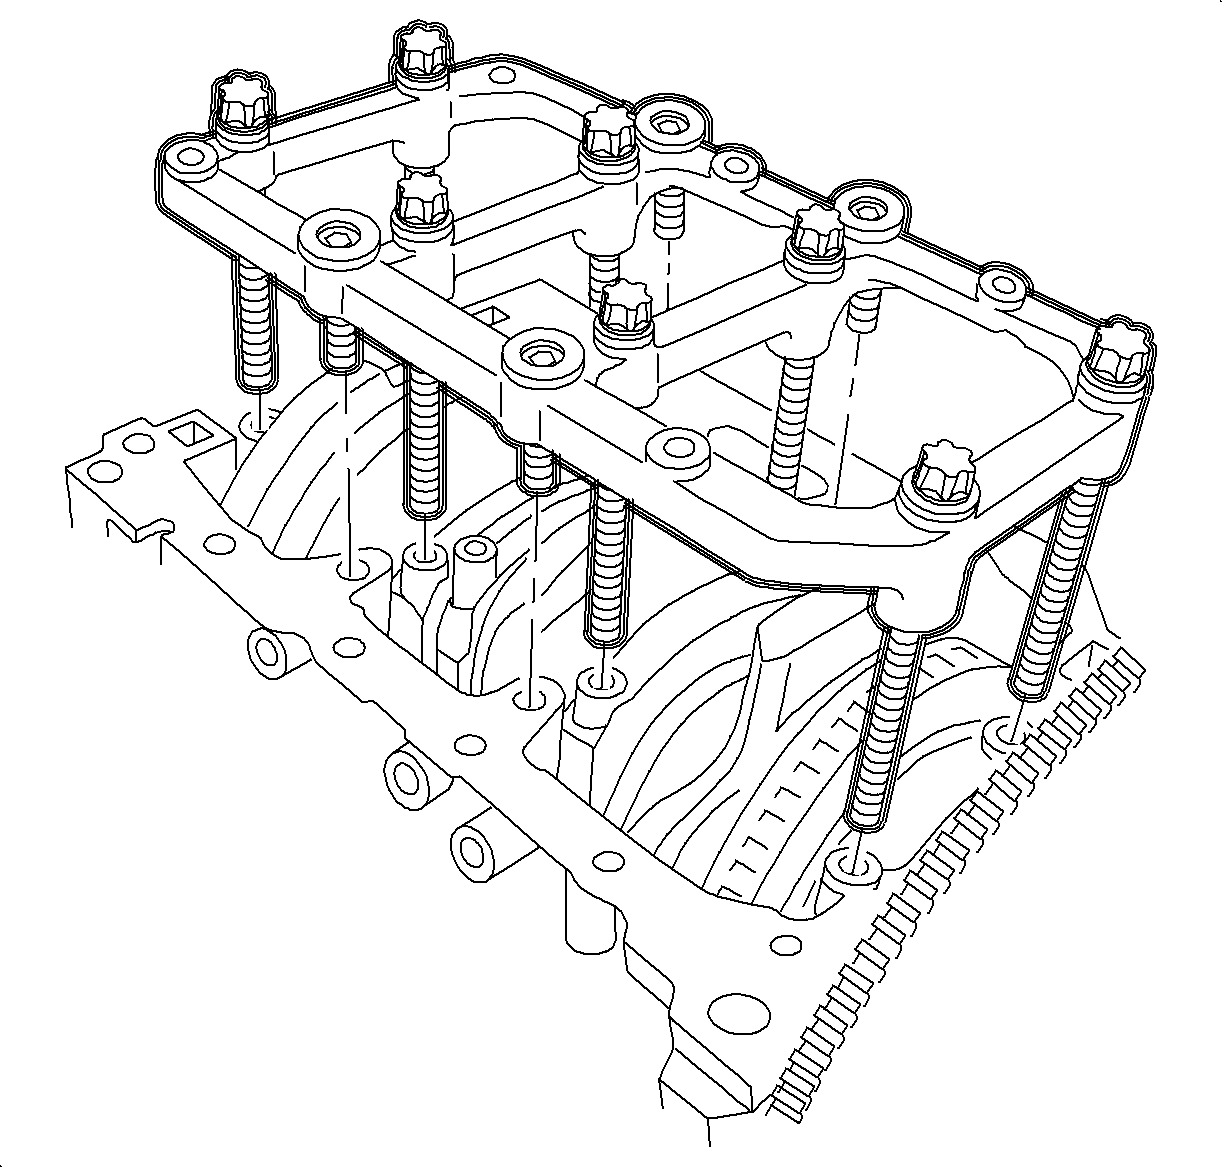
- Install the crankshaft torsional bearing bridge exactly as removed
with the arrow pointing toward the front of the engine.
Tighten
Tighten the crankshaft bearing bridge bolts to 20 N·m (15 lb ft).

- Remove the crankshaft torsional bearing bridge.

- Remove the crankshaft
torsional bearing caps.

- Use the scale provided
with gaging plastic to measure the gaging plastic at its widest point.
- Replace with a standard bearing if gaging plastic shows an irregularity
in the crankshaft's main bearing clearance exceeding the bearing clearance
specification or if an excessive clearance is evident and the crankshaft's
main journal is within specification.
- Always replace both the upper and the lower crankshaft bearings
as a set.
- Regrind the crankshaft for use with an undersize bearing if the
clearance can not be brought to specifications.
- Crankshaft bearings are available for service in the standard
size and 2 under sizes.

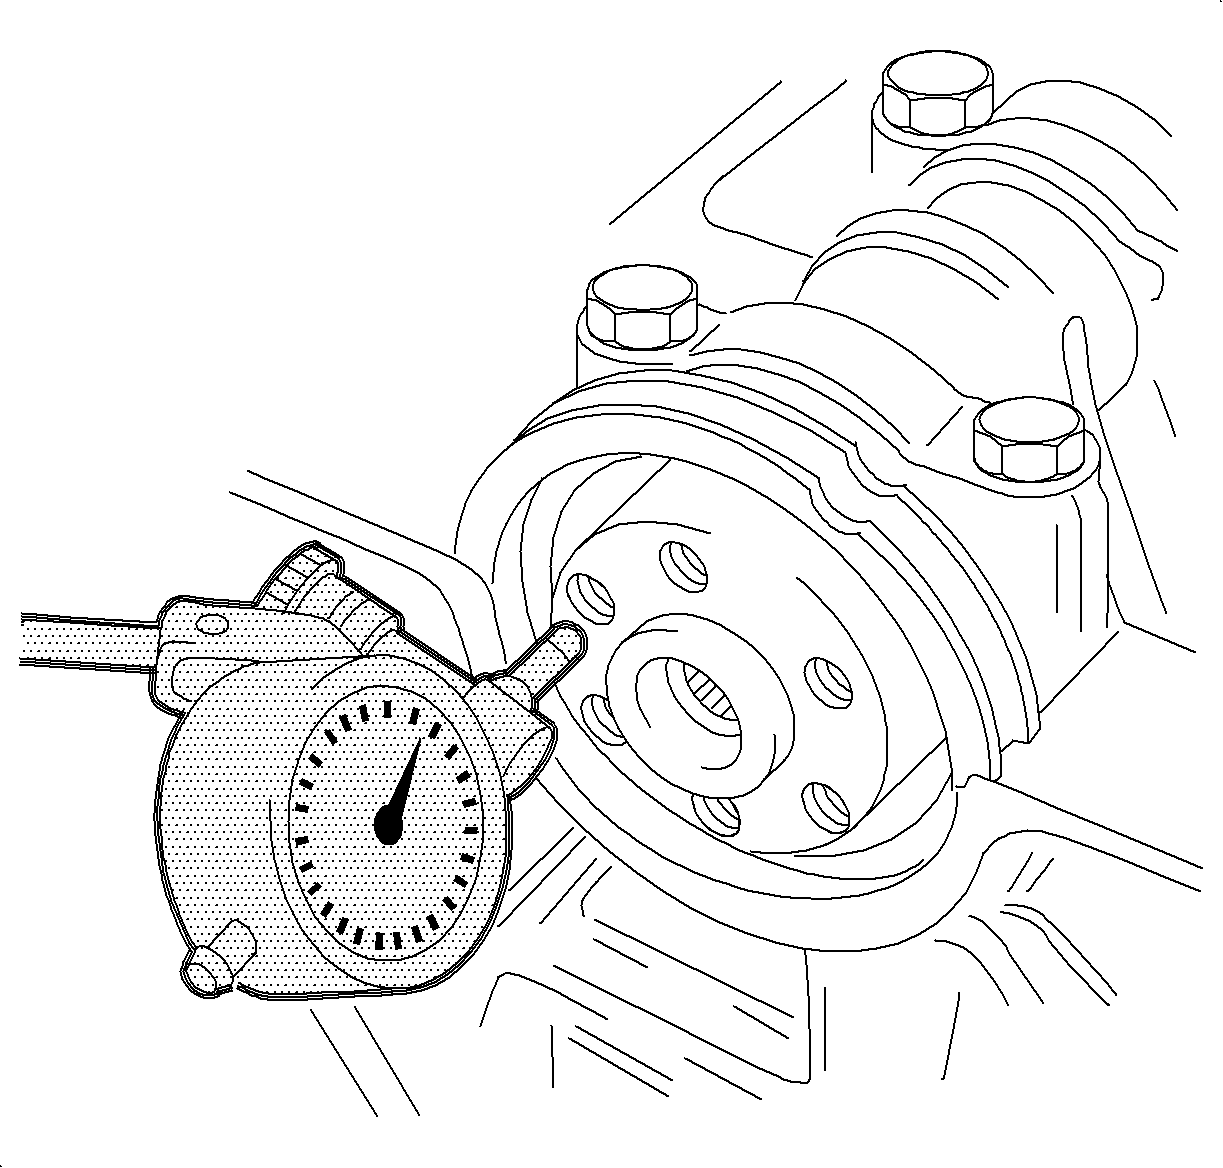
- Perform the following
steps to measure the crankshaft's end play:
| 26.1. | Install the crankshaft bearing caps. |
| 26.2. | Install the crankshaft torsional bearing bridge. |
| 26.3. | Mount a dial indicator onto the back of the engine block. |
| 26.4. | Move the crankshaft forward and move the crankshaft rearward. |
| 26.5. | Note the total movement. |
| 26.6. | The crankshafts end play clearance specification is 0.01-0.76 mm
(0.0004-0.0300 in). |
| 26.7. | Replace the thrust bearing if the clearance is not within specification. |
