For 1990-2009 cars only
Removal Procedure
- Move the window into the full up position.
- Remove the rear door trim panel. Refer to Rear Side Door Trim Panel Replacement .
- Remove the rear door water deflector. Refer to Rear Side Door Water Deflector Replacement .
- Disconnect the outside handle rod from the clamshell-style clip.
- Disconnect the latch wiring harness clips from the door structure, if equipped.
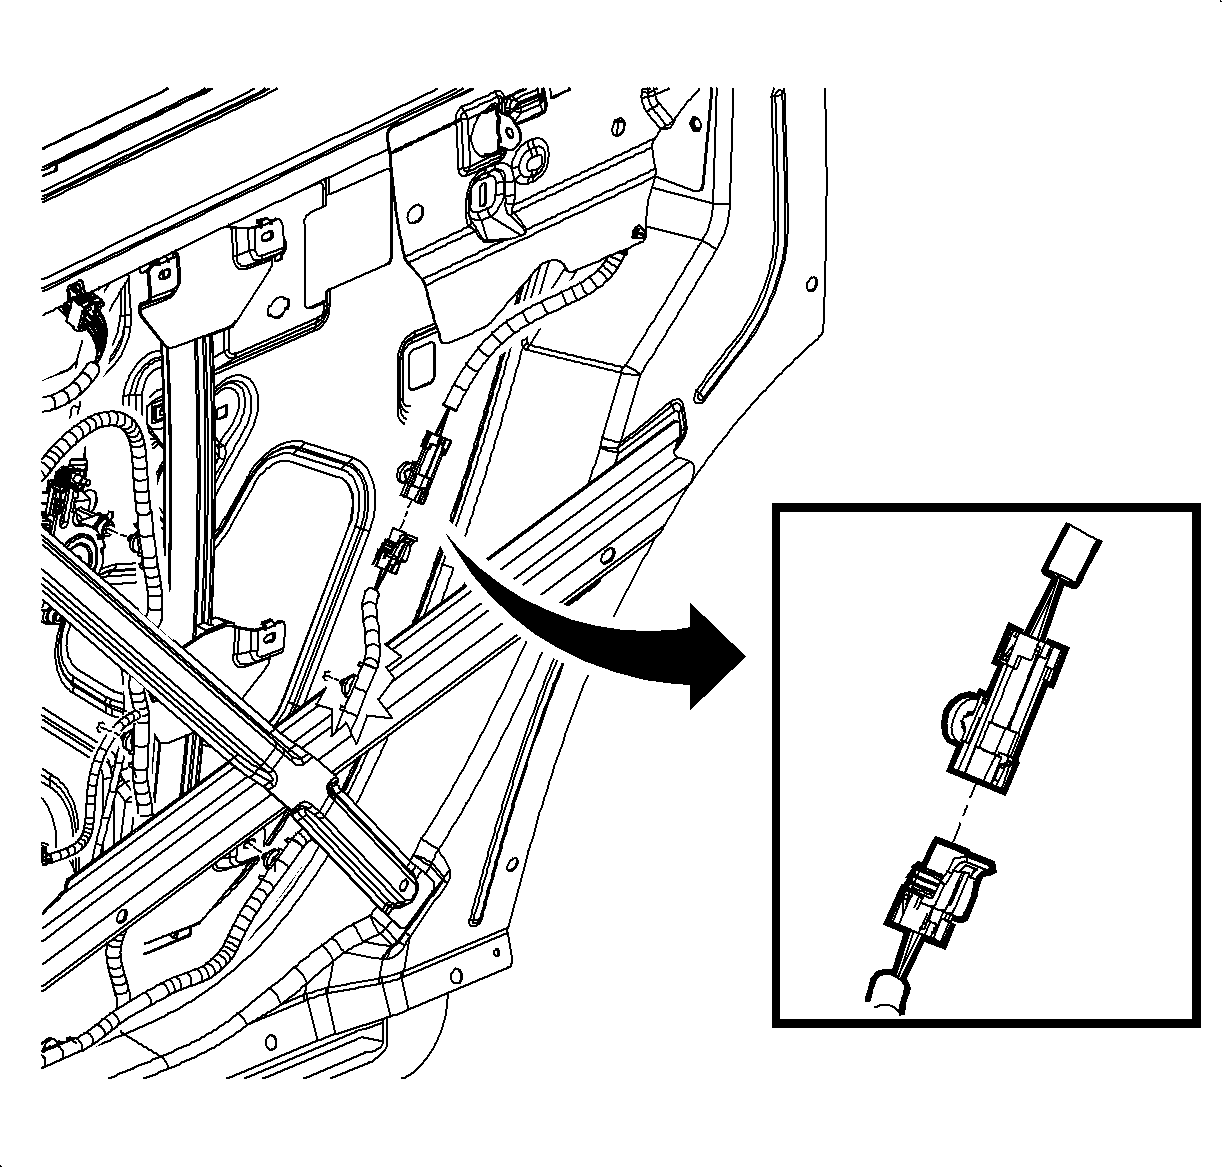
- Disconnect the latch wiring pig tail connector from the door wiring harness, if equipped.
- Disconnect the inside handle rod and lock rod from the guide clips in the door structure.
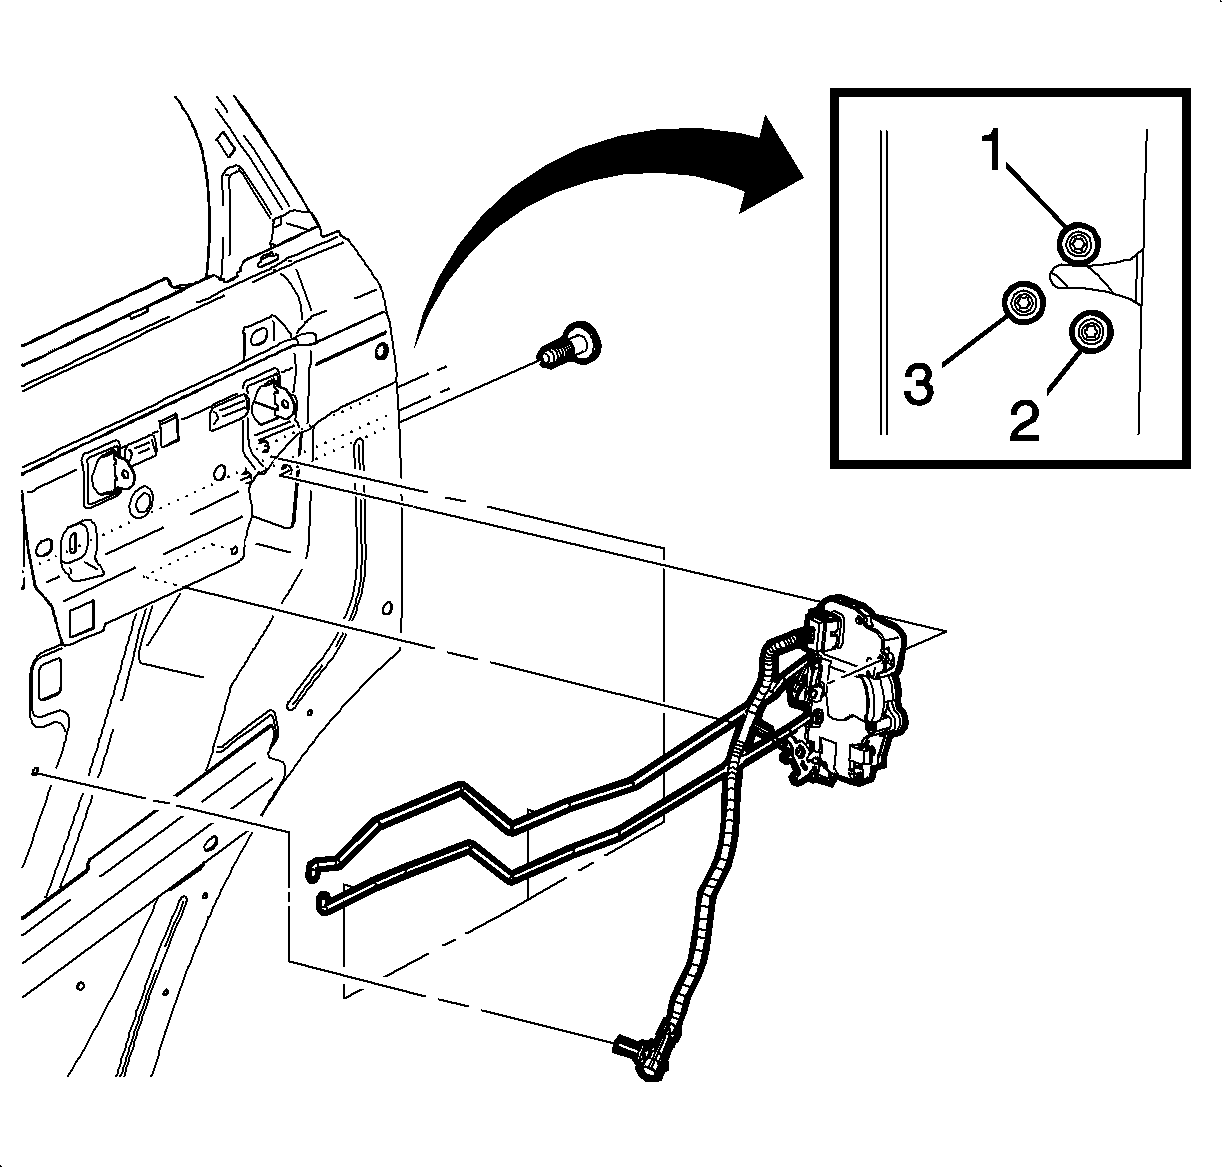
- Remove the door latch bolts.
- Disconnect the latch wiring pig tail at the latch, if equipped.
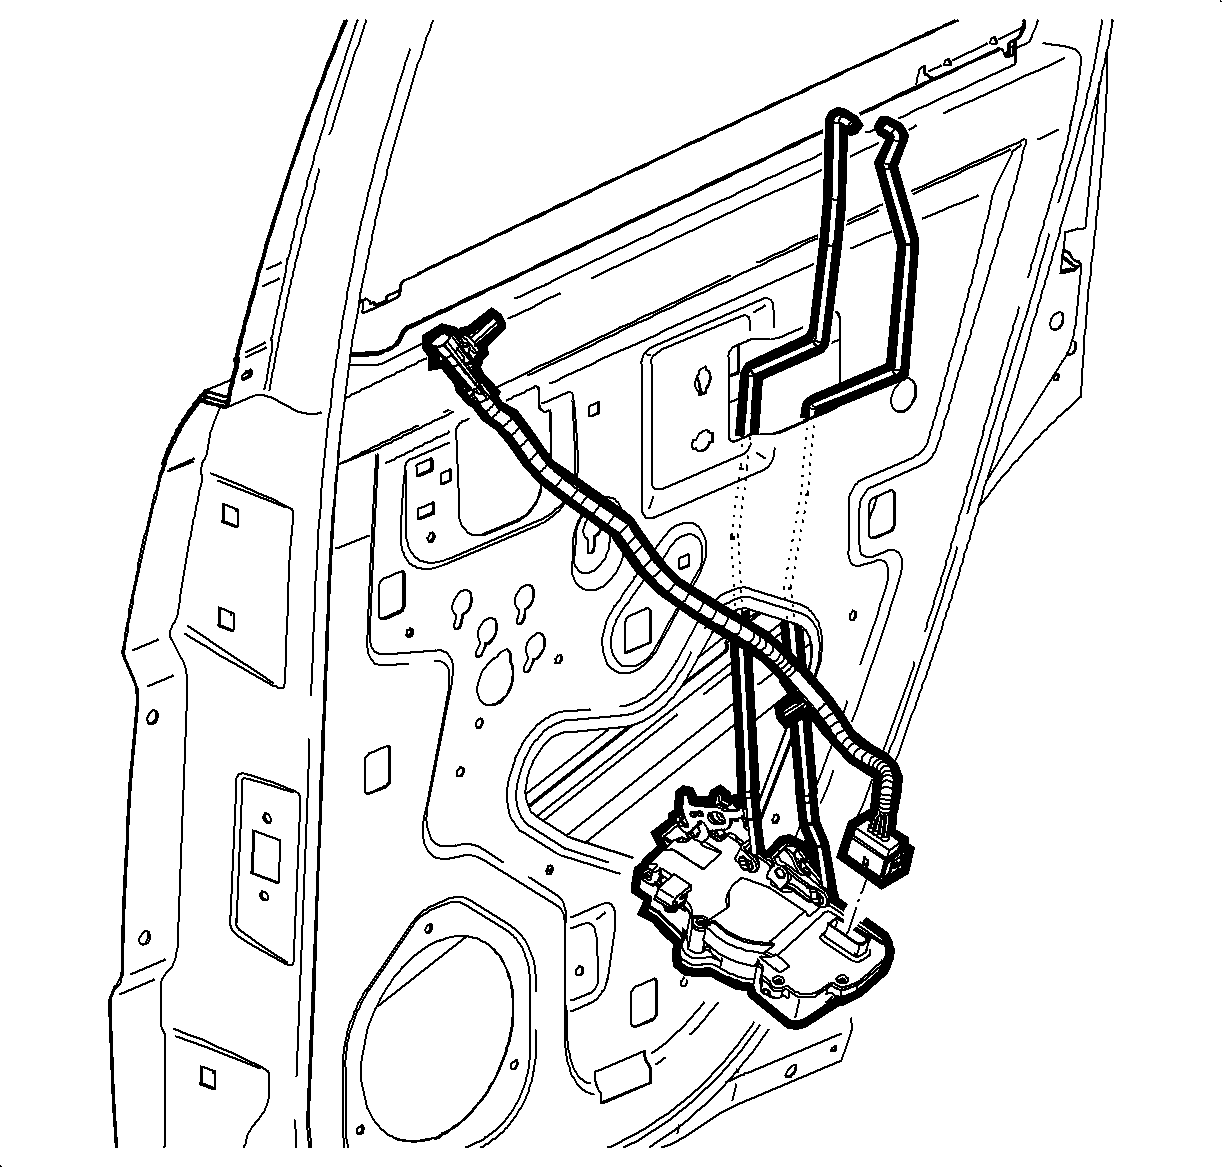
- Remove the door latch with the inside handle rod and lock rod still attached through the lower opening in the door structure.
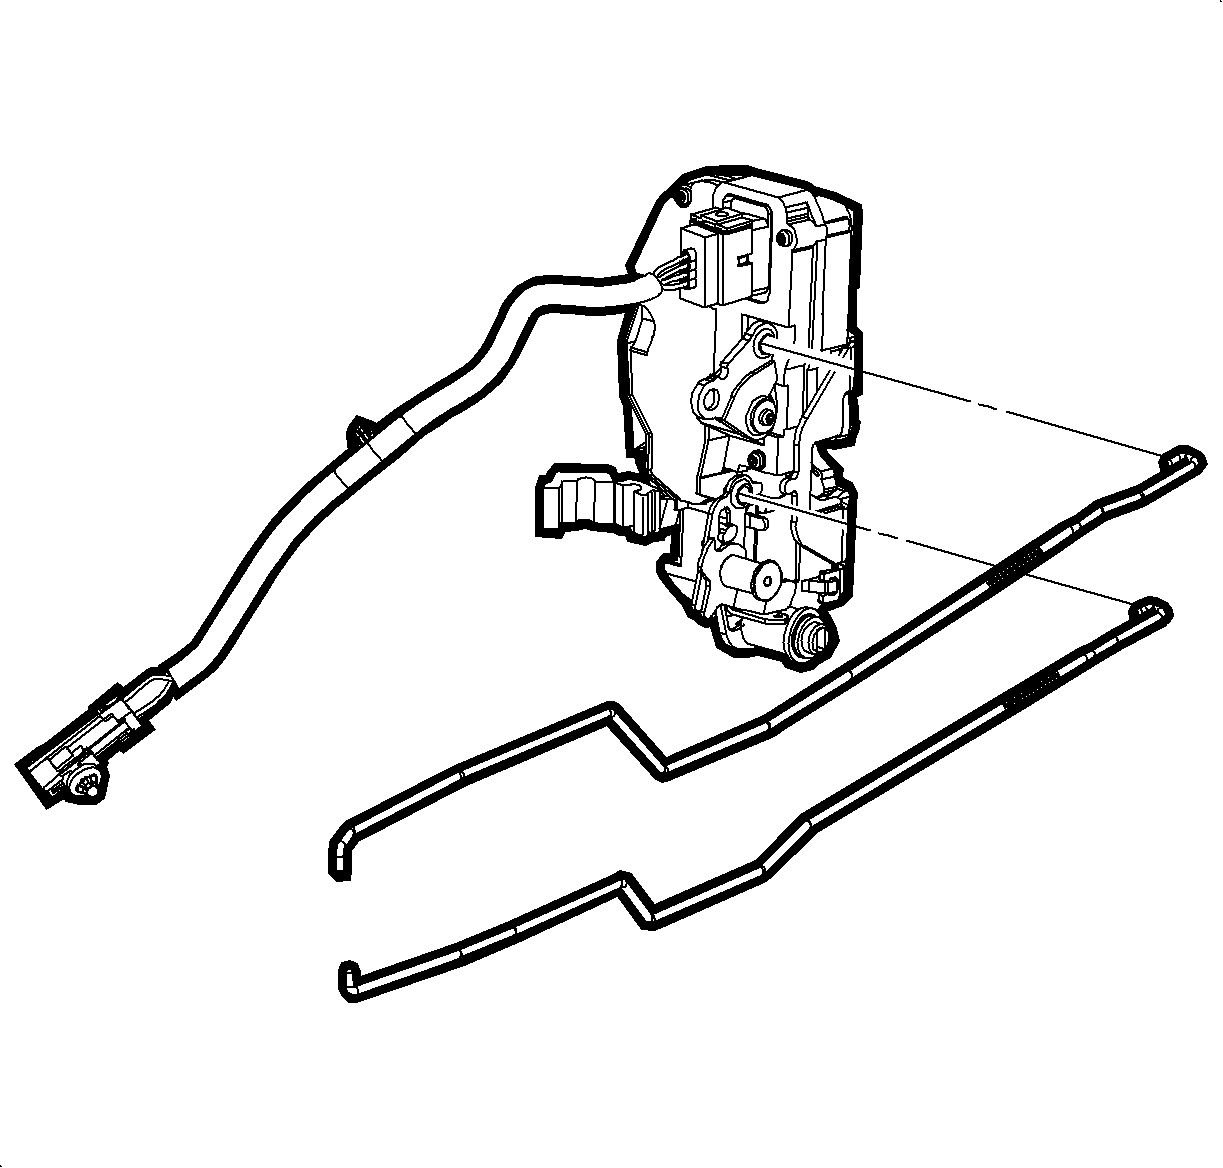
- Disconnect the inside handle rod and lock rod from the latch assembly.


Installation Procedure
- Connect the inside handle rod and lock rod to the latch assembly.
- Connect the latch wiring pig tail at the latch, if equipped.
- Install the rear door latch assembly with the inside handle and lock rod attached by doing the following:
- Install the screws to the latch mechanism.
- Tighten the top screw first, the bottom screw second, and the middle screw last.
- Adjust the outside handle rod to freely enter the clamshell-style retainer clip door latch and secure into position.
- Connect the latch wiring harness clips to the door structure, if equipped.
- Connect the latch wiring connector to the door wiring harness, if equipped.
- Install the rear door water deflector. Refer to Rear Side Door Water Deflector Replacement .
- Install the rear door trim panel. Refer to Rear Side Door Trim Panel Replacement .


| • | Position the lock rods into the lower opening in the door structure and out at the lock rod pass through hole. |
| • | Position the latch into the door structure through the lower opening. |
| • | Rotate the latch into position. |
Notice: Refer to Fastener Notice in the Preface section.

Tighten
Tighten screws to 12 N·m (9 lb ft).
Important: Check for proper adjustment of outside handle rod. There should be no tension on pivot or door latch.

