Removal Procedure
- With the tires in the straight forward position, remove the key from the ignition.
- Disconnect the negative battery cable. Refer to
Battery Negative Cable Disconnection and Connection.
- Remove the air cleaner assembly. Refer to
Air Cleaner Assembly Replacement.
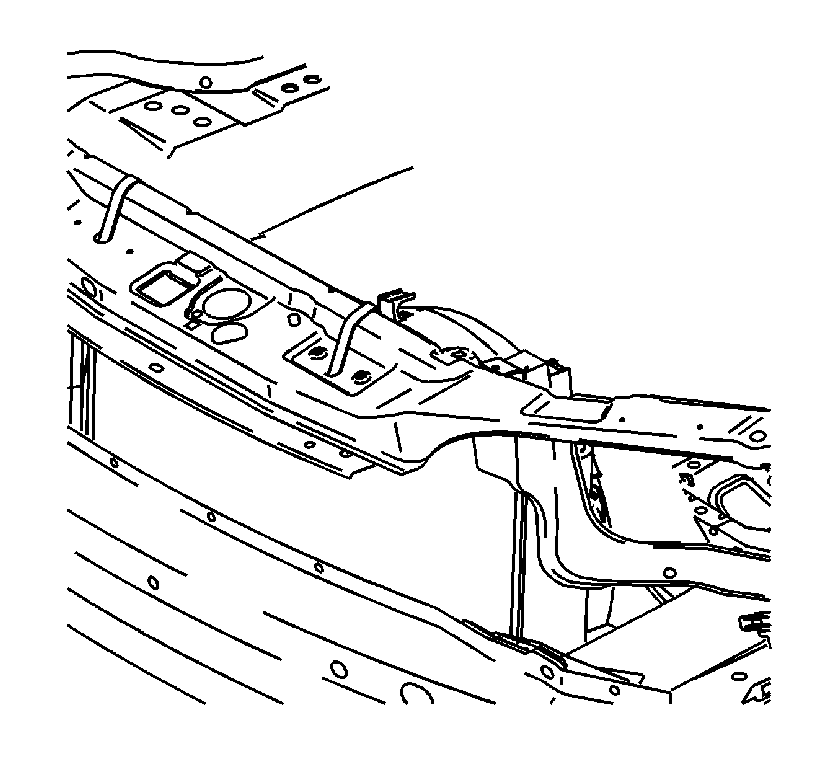
- Secure the cooling module to the upper body structure.
- Remove the battery and battery tray. Refer to
Battery Tray Replacement.
- Disconnect the transmission shifter cable.
- Disconnect the wiring harness from the underhood junction block. Refer to
Underhood Electrical Center or Junction Block Replacement.
- Evacuate the A/C system. Refer to
Refrigerant Recovery and Recharging.
- Drain the cooling system. Refer to
Cooling System Draining and Filling.
- Remove the powertrain control module (PCM). Refer to
Powertrain Control Module Replacement.
- Remove the A/C low pressure tube at the front lift bracket.
- Disconnect the generator positive cable. Refer to
Generator Replacement.
- Disconnect the A/C high pressure switch harness.
- Remove the A/C tube from the A/C compressor. Refer to
Compressor Hose Assembly Replacement.
- Disconnect the A/C line from the condenser to compressor.
- Disconnect the coolant reservoir hose from the engine to reservoir.
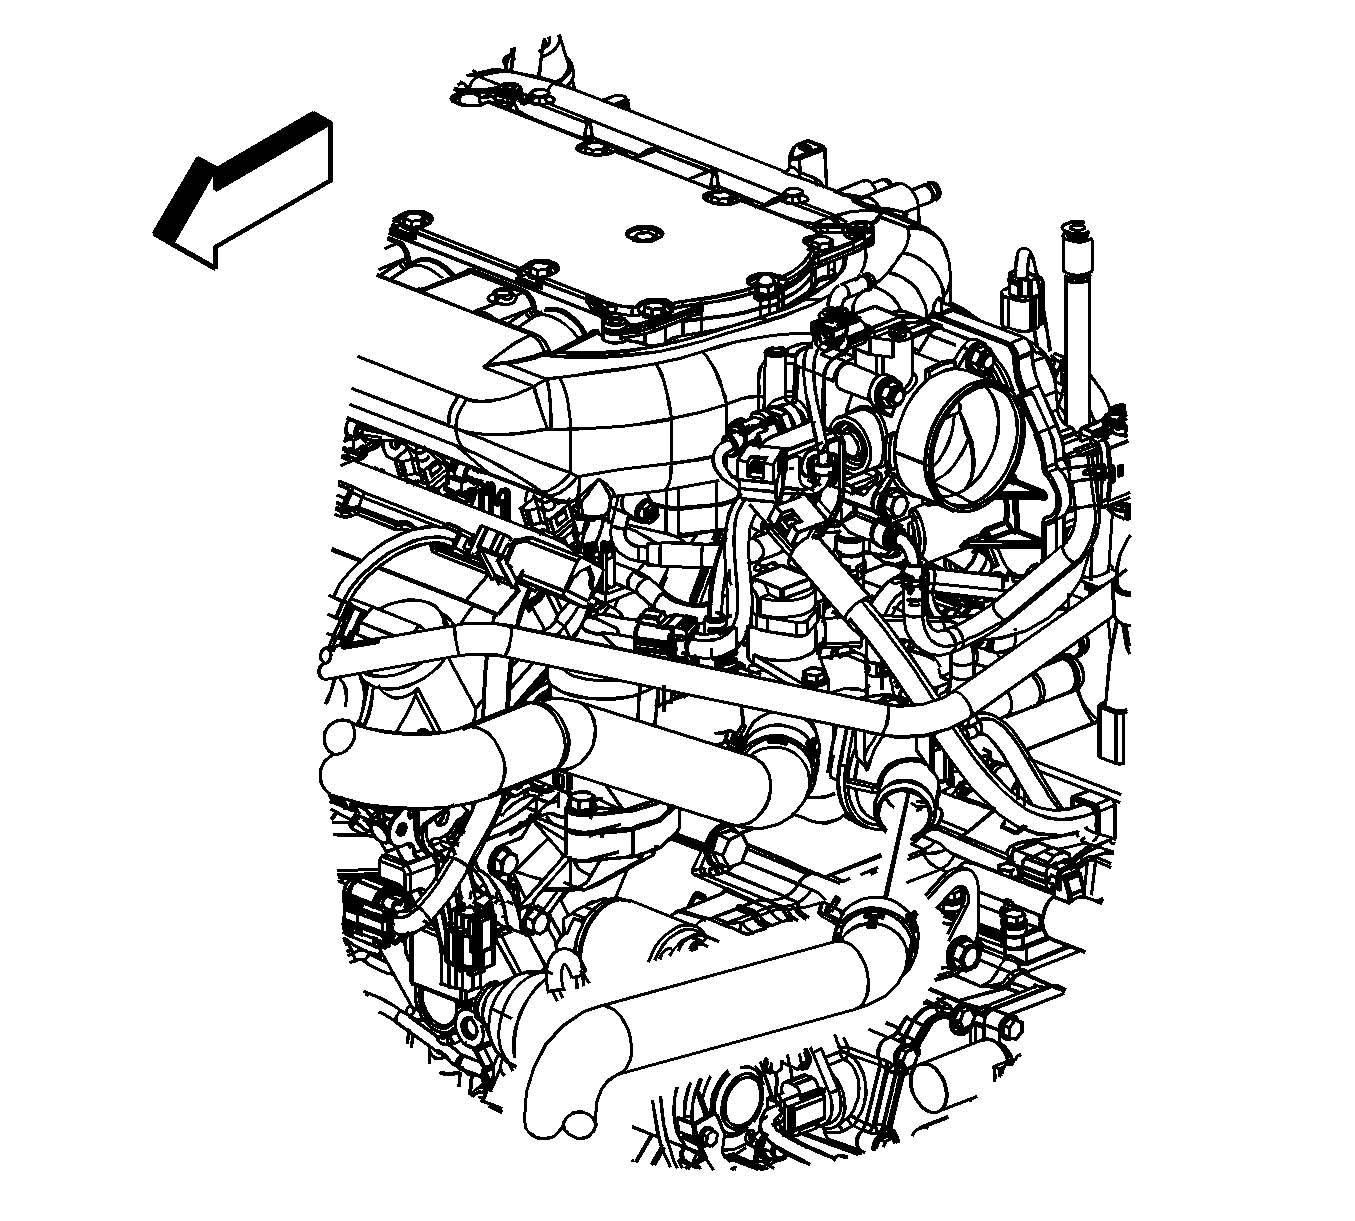
- Disconnect the radiator inlet and outlet hoses from the engine.
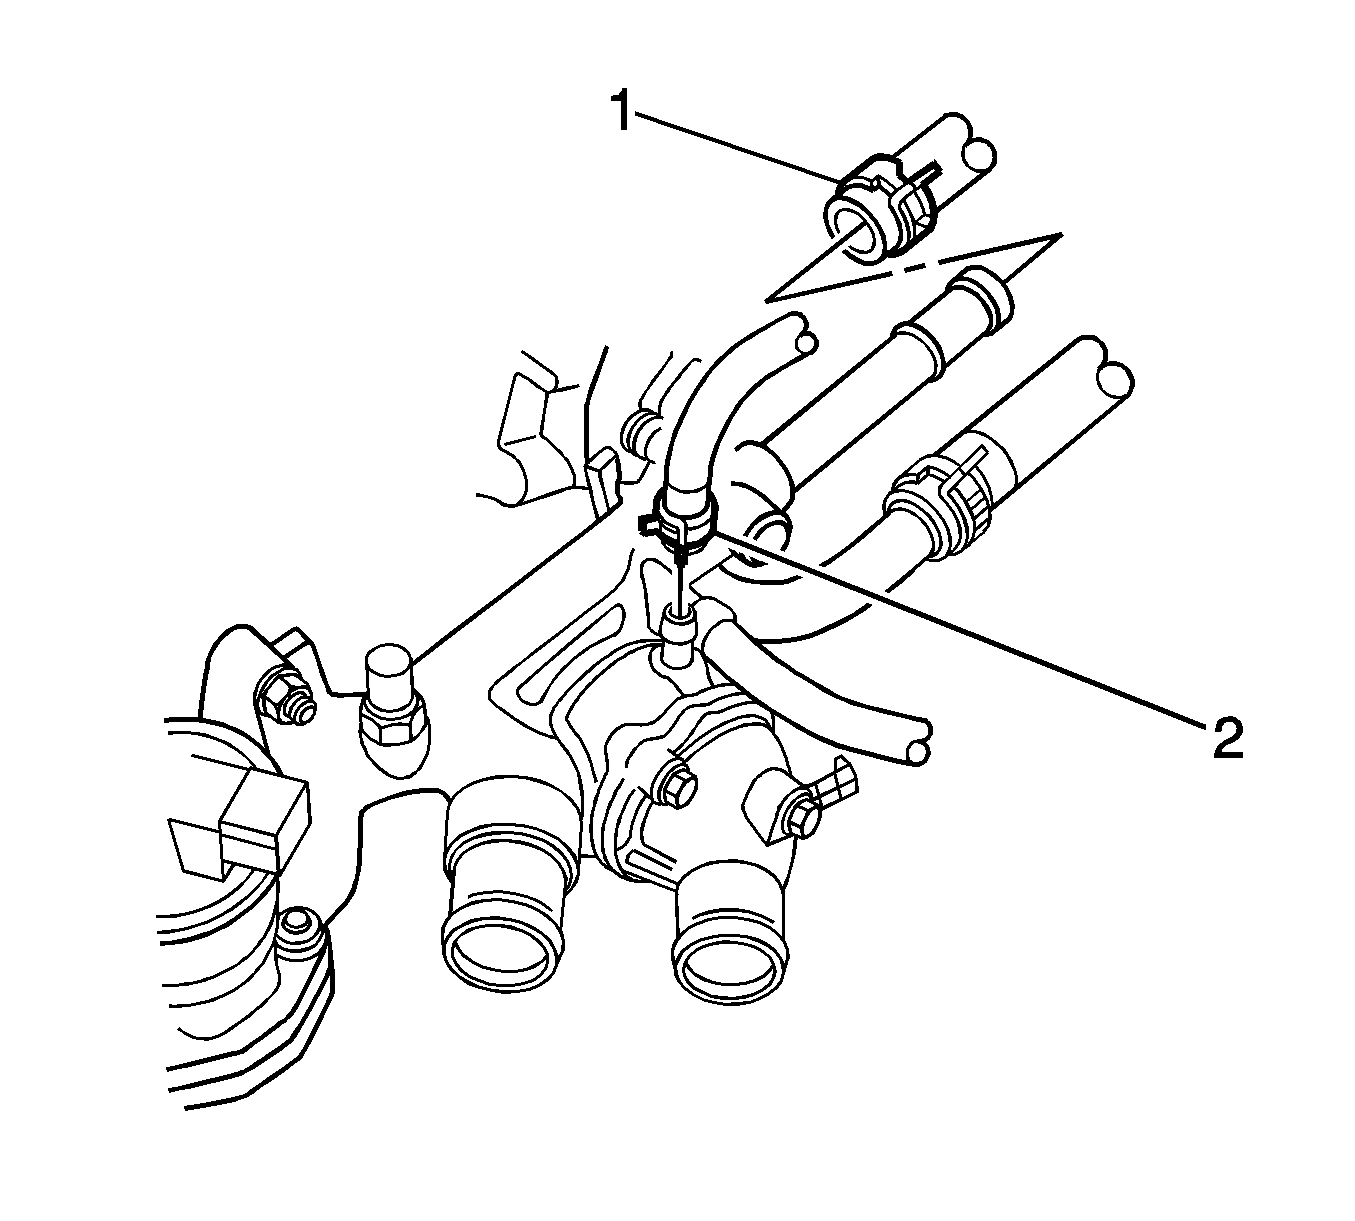
- Remove the inlet and outlet heater hoses (1, 2).
- Remove the starter positive cable.
- Relieve the fuel pressure. Refer to
Fuel Pressure Relief.
- Disconnect the fuel feed line.
- Disconnect the fuel EVAP line.
- Raise and support the vehicle. Refer to
Lifting and Jacking the Vehicle.
- Remove the lower transaxle-to-engine bolts.
- Remove the PTU. Refer to
Transfer Case Replacement for the MJ8 transfer case
- Remove the torque convertor inspection cover.
- Remove the torque convertor to flywheel bolts.
- Remove the front wheels. Refer to
Tire and Wheel Removal and Installation.
- Remove the left wheelhouse liner. Refer to
Front Wheelhouse Liner Replacement.
- Disconnect the transmission cooler lines from the transmission and bracket. Refer to
Transmission Rear Mount Bracket Replacement for the Getrag 5 speed manual transmission.
- Remove the left and right tie rod ends from the steering knuckles. Refer to
Steering Linkage Outer Tie Rod Replacement.
- Remove the left and right stabilizer bar links. Refer to
Stabilizer Shaft Link Replacement.
- Disconnect the left and right lower ball joints. Refer to
Lower Control Arm Ball Joint Replacement.
- Remove the left and right axle shaft nuts. Refer to
Front Wheel Drive Shaft Replacement.
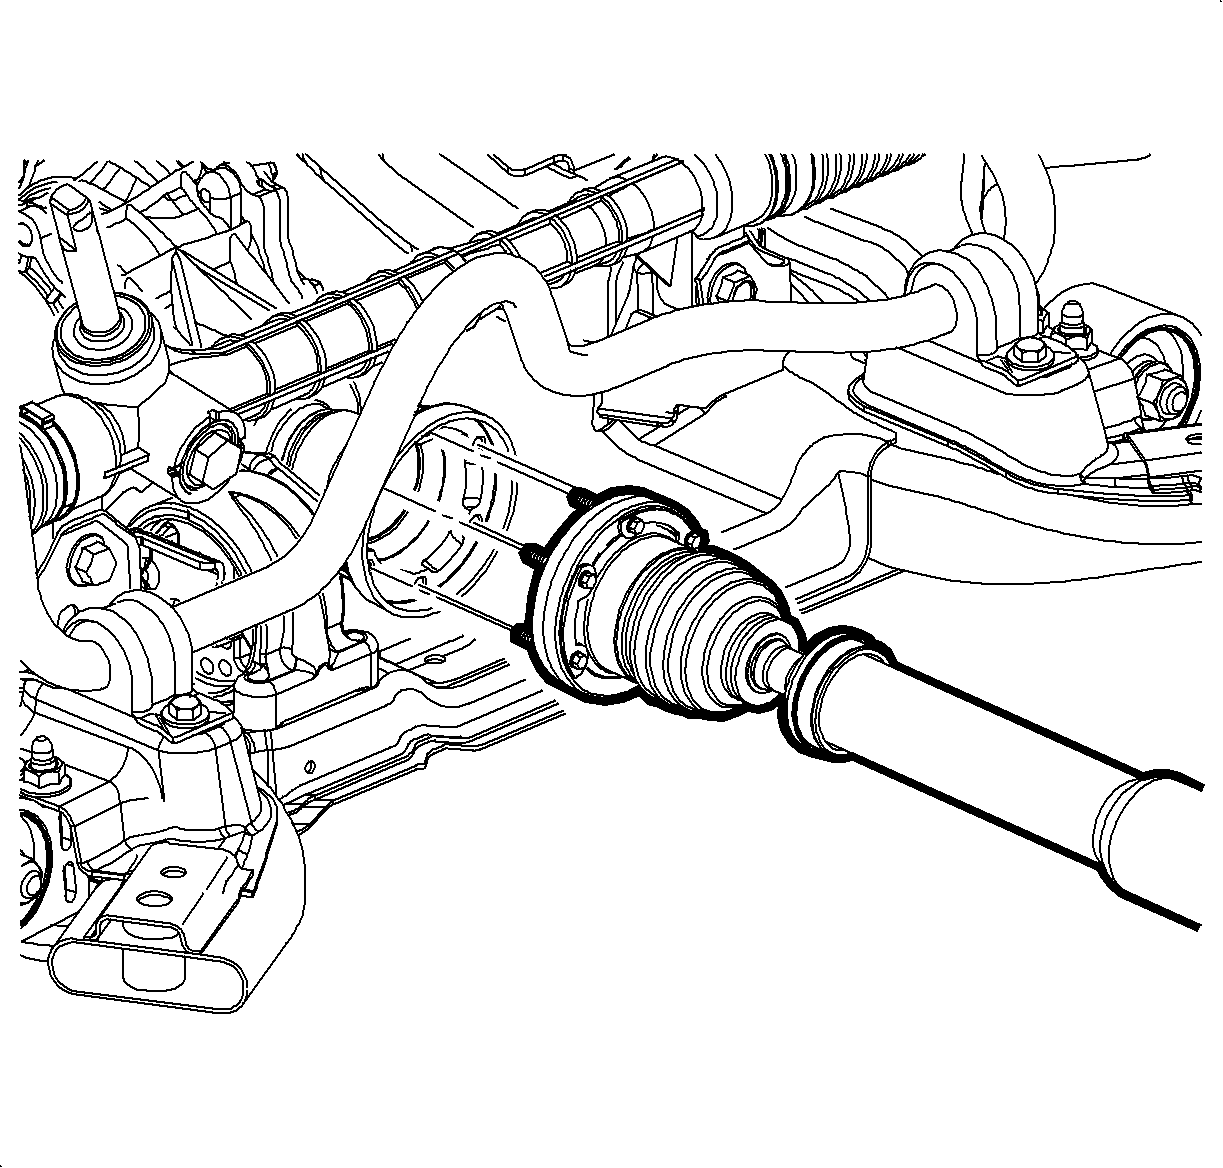
- For AWD, remove the propeller shaft completely from the vehicle. Refer to
Propeller Shaft Replacement.
Important: In order to prevent possible SIR system deployment, do not attempt to rotate the steering shaft.
- Disconnect the intermediate shaft from the steering gear. Refer to
Intermediate Steering Shaft Replacement.
- Remove the front exhaust pipe. Refer to
Exhaust Manifold Pipe Replacement.
- Remove the 3 front fender pushpins to allow the front fender to flex.
- Use a paint pen or magic marker to mark the frame to the body position.
- Support the engine in the cradle with wood blocks.
- Disconnect the front engine mount from the body. Refer to
Transmission Rear Mount Replacement for the 5AT automatic transmission.
Important: During the powertrain removal, support the vehicle body by placing a jack at the rear of the vehicle.
- Position the engine support table under the powertrain assembly.
- With the table positioned, fully raise the table to contact with the powertrain assembly.
- Remove the cradle bolts.
- Slowly lower the table to the floor.
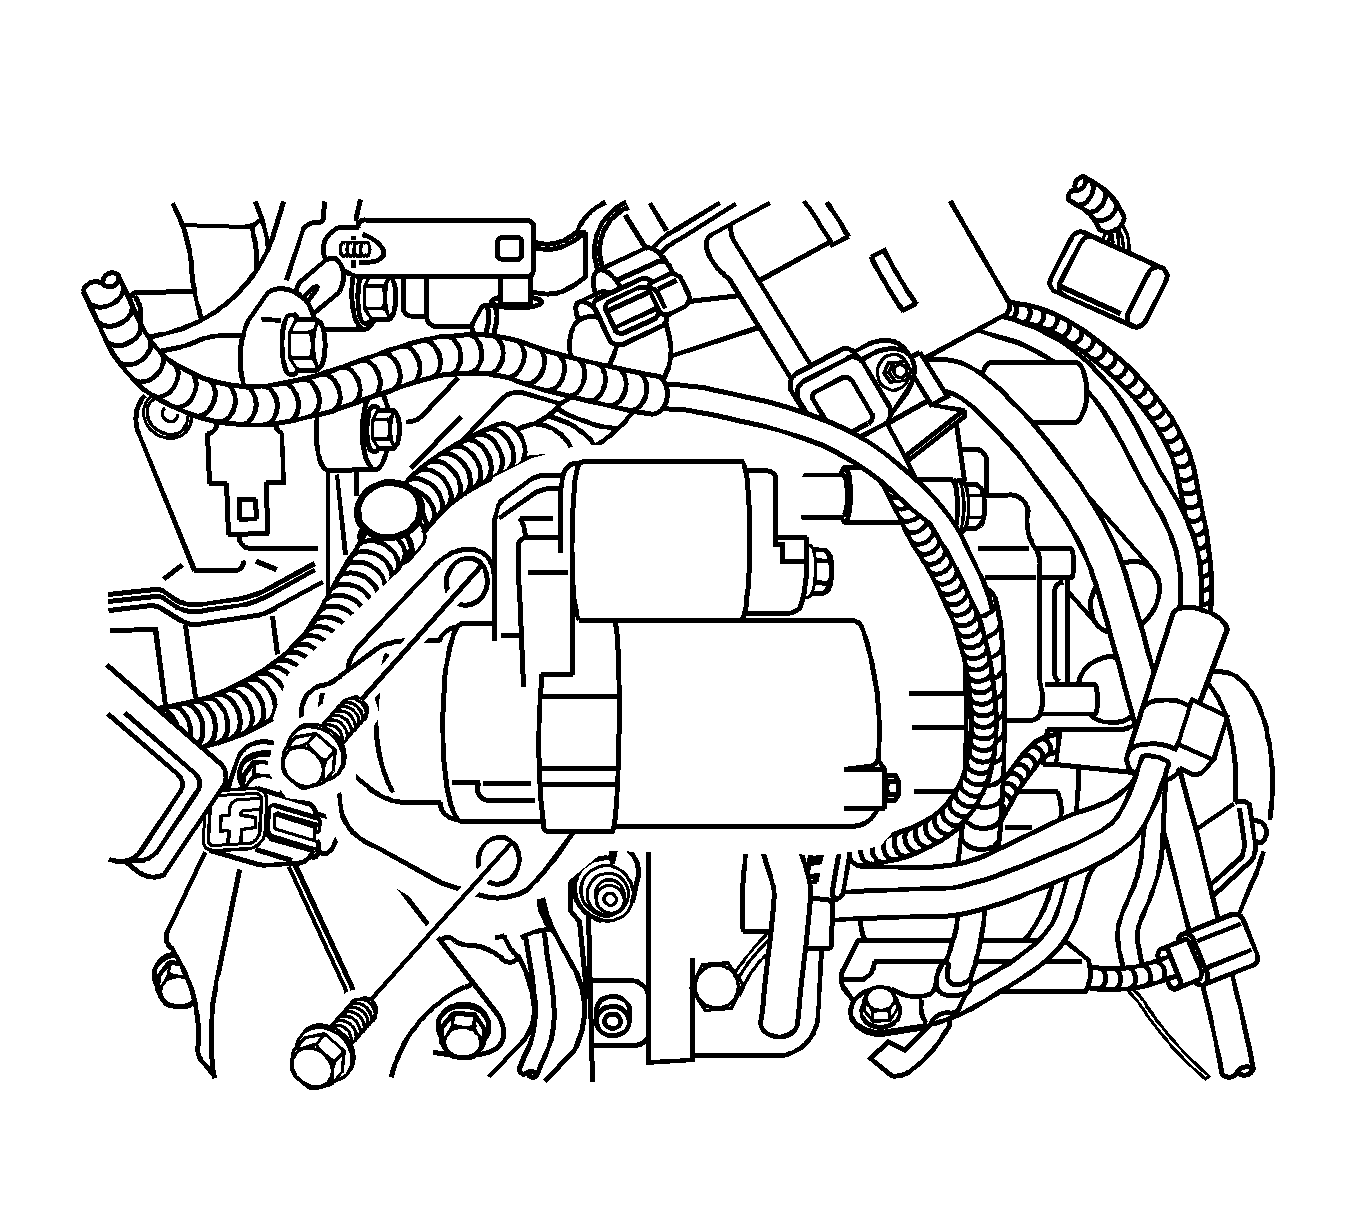
- Remove the starter.
- Remove the following components:
- Remove the front engine mount from the engine. Refer to
Transmission Rear Mount Replacement for the 5AT automatic transmission.
- Remove the right engine mount. Refer to
Engine Mount Replacement - Right Side.
- Separate the engine from the transmission.
Installation Procedure
- Align the engine to the transmission.
Notice: Refer to Fastener Notice in the Preface section.
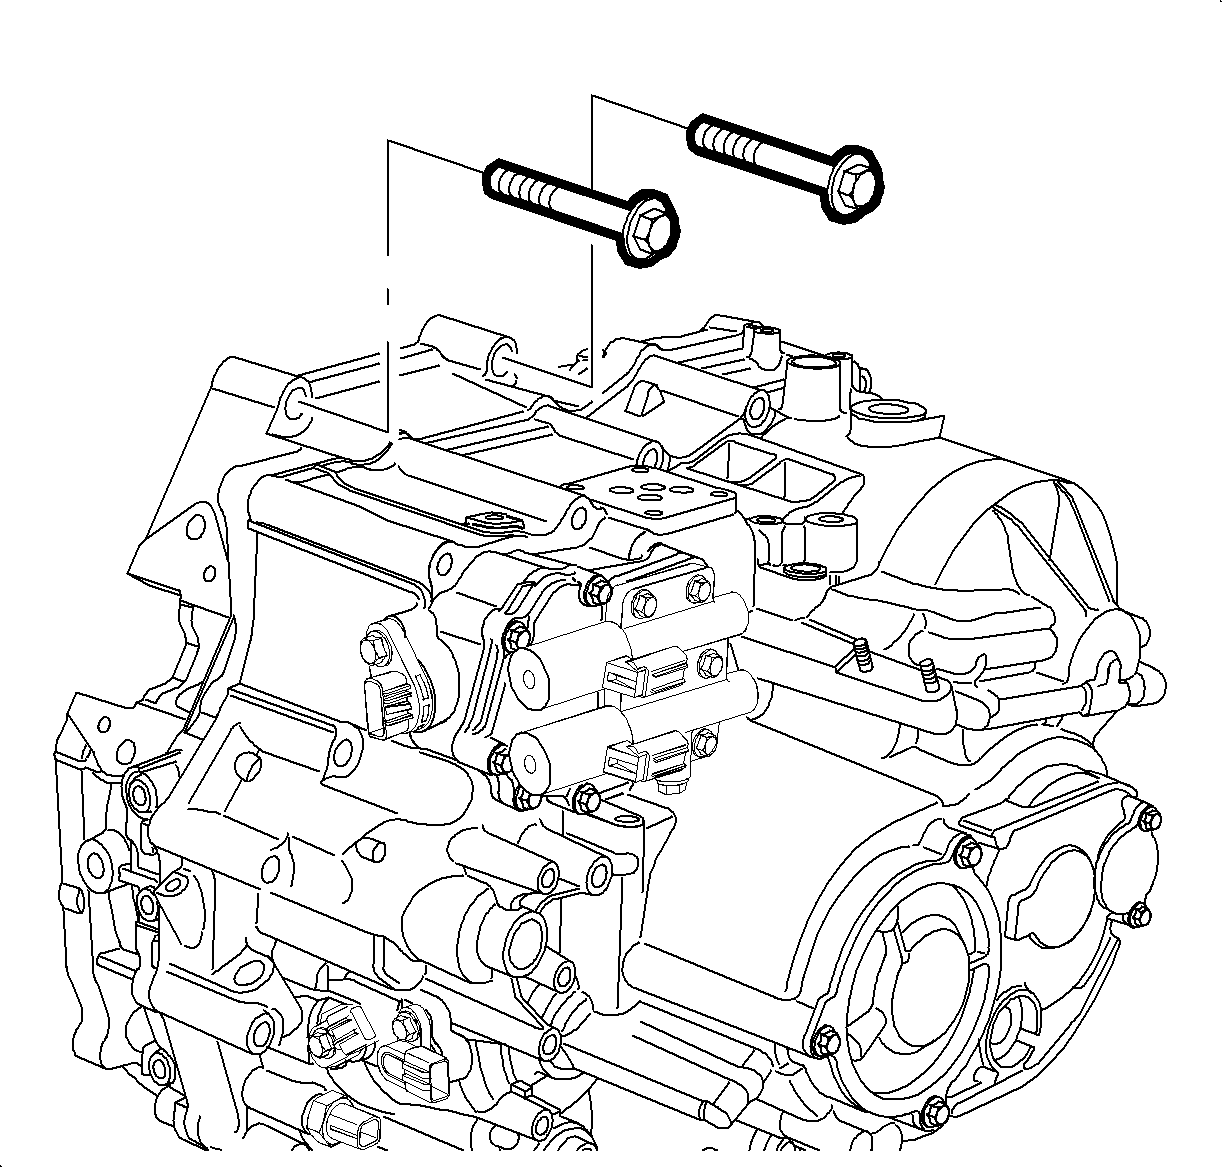
- Apply sealant to the two upper transmission-to-engine bolts only, and install the transmission-to-engine mounting bolts. Refer to
Adhesives, Fluids, Lubricants, and Sealers for the correct part number.
Tighten
Tighten the bolts to 64 N·m (47 lb ft).
- Install the right engine mount. Refer to
Engine Mount Replacement - Right Side.
- Install the front engine mount to the engine. Refer to
Transmission Rear Mount Replacement for the 5AT automatic transmission.
- Install the following components:

- Install the starter. Refer to
Starter Motor Replacement.
- Install the powertrain assembly to the vehicle.
- Install the cradle bolts. Refer to
Frame Replacement.
- Remove the engine support table.
- Install the front engine mount bolts to the body. Refer to
Transmission Rear Mount Replacement for the 5AT automatic transmission.
- Remove the wood blocks from the cradle.
- Install the lower transaxle-to-engine bolts.
Tighten
Tighten the bolts to 64 N·m (47 lb ft).
- Install the PTU. Refer to
Transfer Case Replacement for the MJ8 automatic transmission.
- Install the torque convertor- to- flywheel bolts.
Tighten
Tighten the bolts to 12 N·m (9 lb ft).
- Install the torque convertor inspection cover.
Tighten
Tighten the bolts to 12 N·m (9 lb ft).
- Install the 3 front fender pushpins
- Install the front exhaust pipe. Refer to
Exhaust Manifold Pipe Replacement.
- Connect the intermediate shaft from the steering gear. Refer to
Intermediate Steering Shaft Replacement.
- Install the propeller shaft. Refer to
Propeller Shaft Replacement.
- Install the left and right axle shaft nuts. Refer to
Front Wheel Drive Shaft Replacement.
- Connect the left and right lower ball joints. Refer to
Lower Control Arm Ball Joint Replacement.
- Install the left and right stabilizer bar links. Refer to
Stabilizer Shaft Link Replacement.
- Install the left and right tie rod ends to the steering knuckles. Refer to
Steering Linkage Outer Tie Rod Replacement.
- Connect the transmission cooler lines to the transmission and bracket. Refer to
Transmission Rear Mount Bracket Replacement for the Getrag 5 Speed manual transmission.
- Install the left wheelhouse liner. Refer to
Front Wheelhouse Liner Replacement.
- Install the front tires. Refer to
Tire and Wheel Removal and Installation.
- Lower the vehicle.
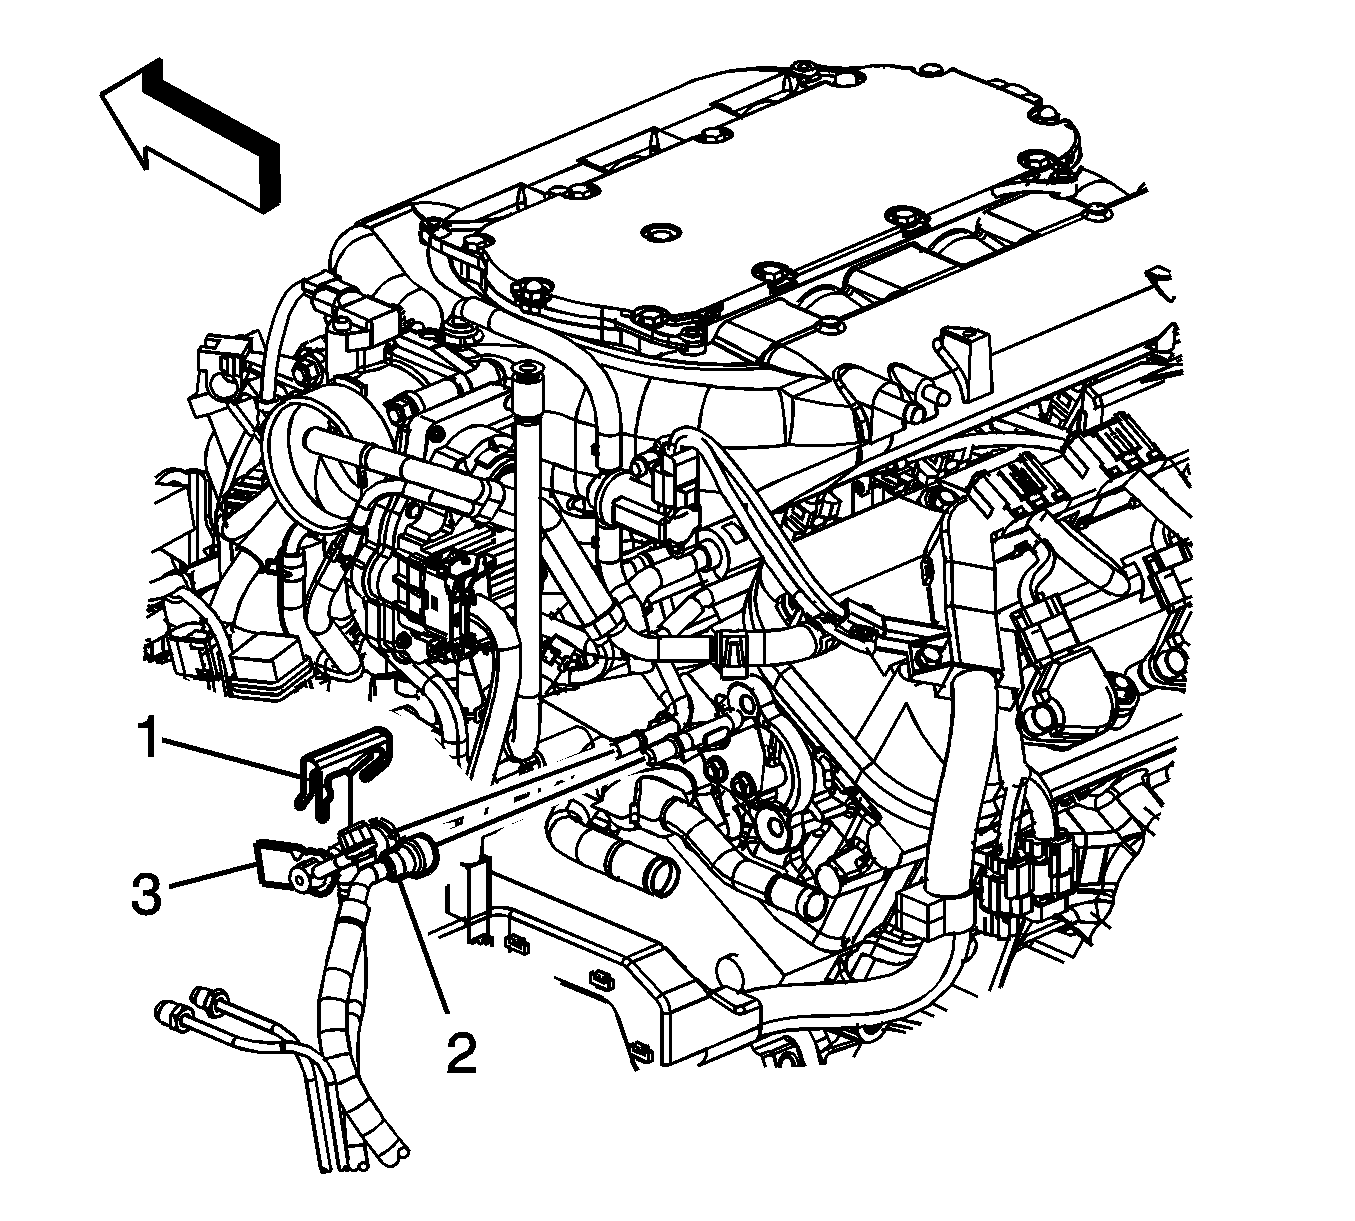
- Install the fuel EVAP line.
- Connect the fuel feed line. Refer to
Fuel Hose/Pipes Replacement - Chassis.
- Install the starter positive cable.
Tighten
Tighten the starter cable to 10 N·m (89 lb in).
- Install the inlet and outlet heater hoses.
- Connect the inlet and outlet radiator hoses to the engine.
- Install the A/C tube to the A/C compressor. Refer to
Compressor Hose Assembly Replacement.
- Connect the coolant reservoir hose from the engine to reservoir.
- Connect the A/C line from the condenser to compressor.
- Connect the A/C high pressure switch harness.
- Connect the generator positive cable and nut.
Tighten
Tighten the nut to 12 N·m (106 lb in).
- Install the A/C lower pressure tube at the front lift bracket. Refer to
Liquid Line Replacement.
- Install the PCM. Refer to
Powertrain Control Module Replacement.

- Connect the radiator inlet and outlet hoses to the engine.
- Fill the vehicle with coolant. Refer to
Cooling System Draining and Filling.
- Connect the wiring harness to the underhood junction block. Refer to
Underhood Electrical Center or Junction Block Replacement.
- Connect the transmission shifter cable.

- Remove the cooling module support.
- Install the battery tray and battery. Refer to
Battery Tray Replacement.
- Install the air cleaner assembly. Refer to
Air Cleaner Assembly Replacement.
- Install the air outlet duct assembly. Refer to
Air Cleaner Resonator Outlet Duct Replacement.
- Connect the negative battery cable. Refer to
Battery Negative Cable Disconnection and Connection.
- Perform the idle learn procedure. Refer to
Idle Learn.


