- Inspect the cylinder head for the following conditions:
| • | Damaged sealing surfaces |
| • | Damaged bolt hole threads |
| • | Worn or loose valve seats |
| • | Carbon build-up in the combustion chambers |

Important: If the camshaft-to-journal clearances are not within
specifications, the cylinder head cannot be used again. Refer to
Camshafts Cleaning and Inspection
.
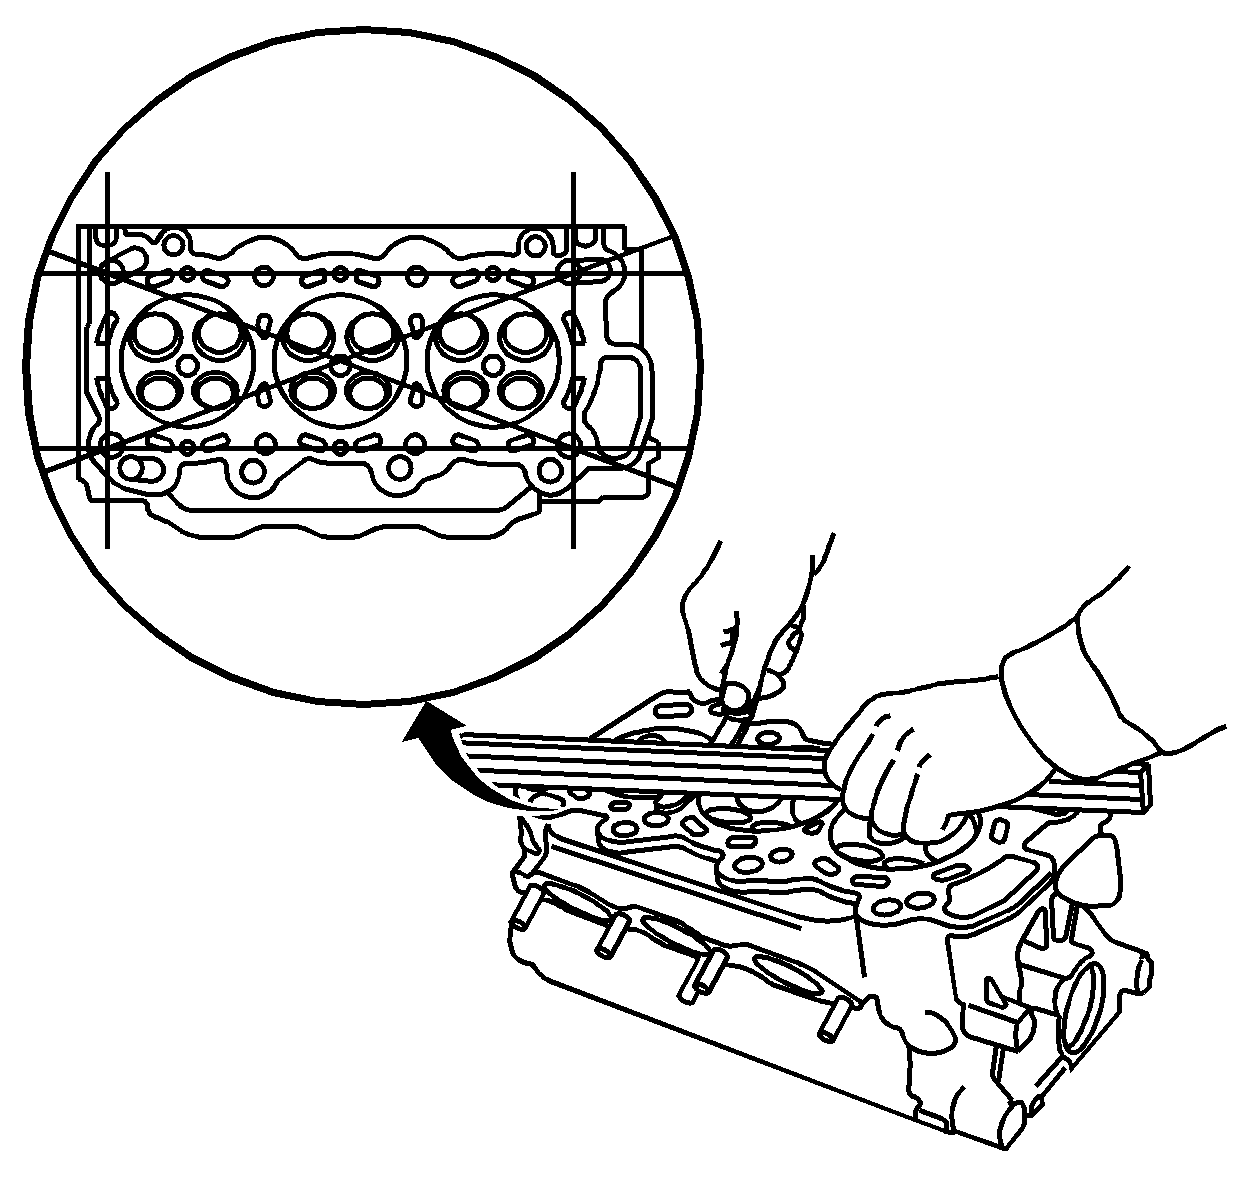
- Using a straight edge and feeler gage, measure the cylinder head for
warpage. Measure along the edges and across the center of the cylinder head.
| • | If the measurement is less than 0.05 mm (0.002 in),
cylinder head resurfacing is not required. |
| • | If the measurement is between 0.05-0.2 mm (0.002-0.008 in),
resurface the cylinder head. |
| • | Maximum resurface limit is 0.2 mm (0.008 in) based
on a cylinder head height of 121 mm (4.762 in). |
- Measure the cylinder head height. Measure from the block surface
to the valve cover sealing surface.
Specification
| • | Cylinder head height - new: 120.95-121.05 mm
(4.762-4.766 in) |
| • | Cylinder head height - service limit: 120.95 mm
(4.762 in) |

