For 1990-2009 cars only
Driver or Passenger Seat Back Cushion Cover and Pad Replacement Non-Fold Flat
Removal Procedure
- Remove the seat from the vehicle. Refer to Front Seat Replacement - Bucket .
- Remove the outer trim panel from the seat cushion. Refer to Front Seat Cushion Outer Trim Panel Replacement .
- Remove the armrest from the seat. Refer to Front Seat Armrest Replacement .
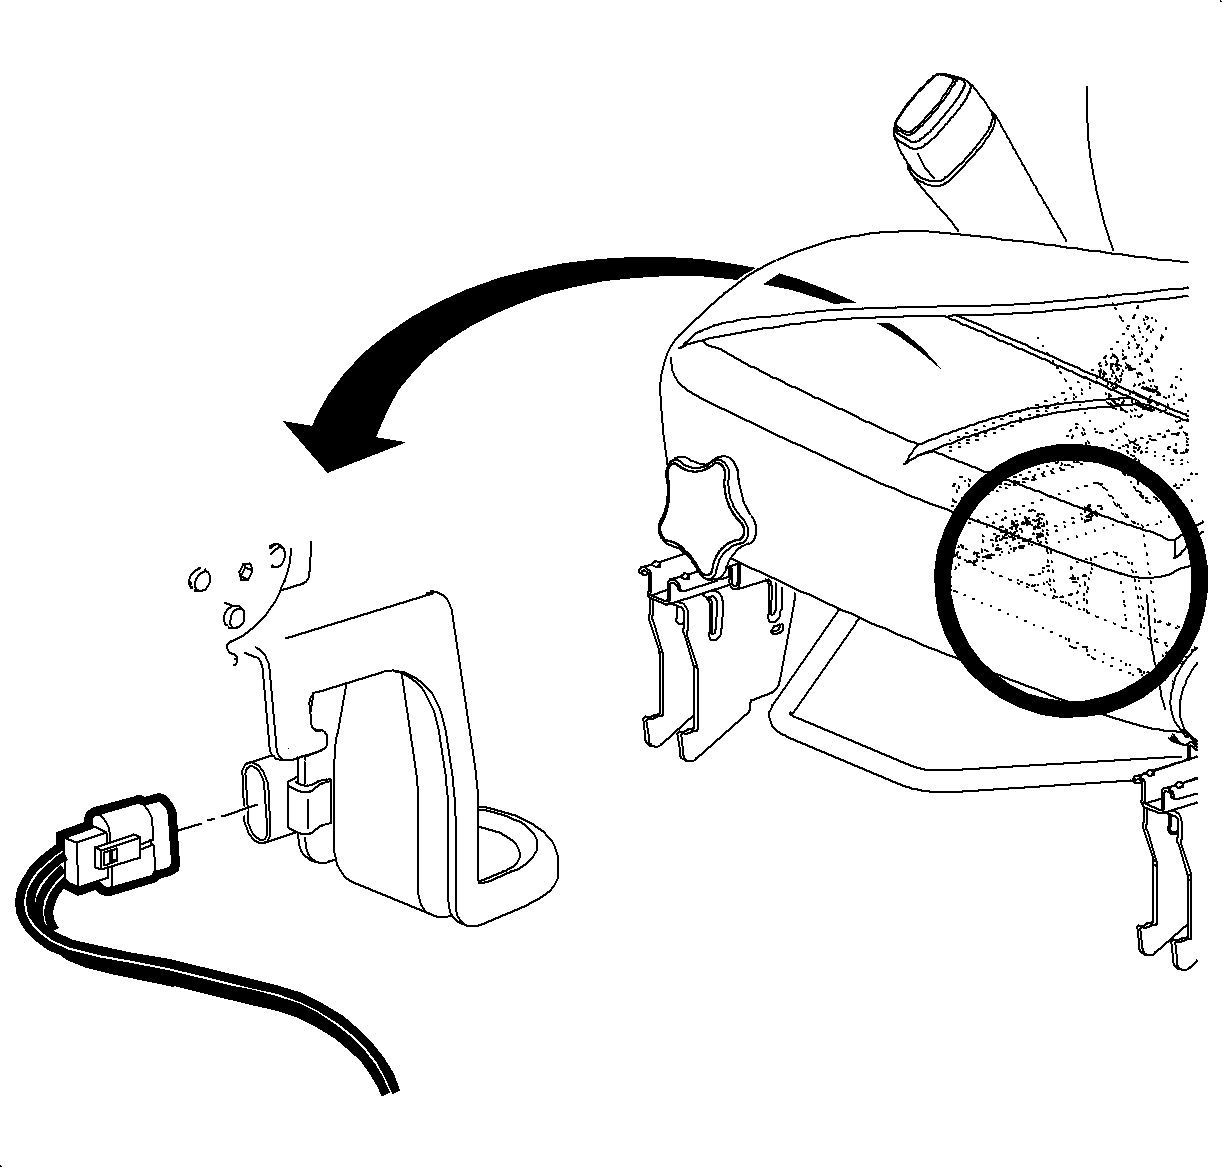
- On vehicles with heated seats, disconnect the electrical connector from the seat heat module.
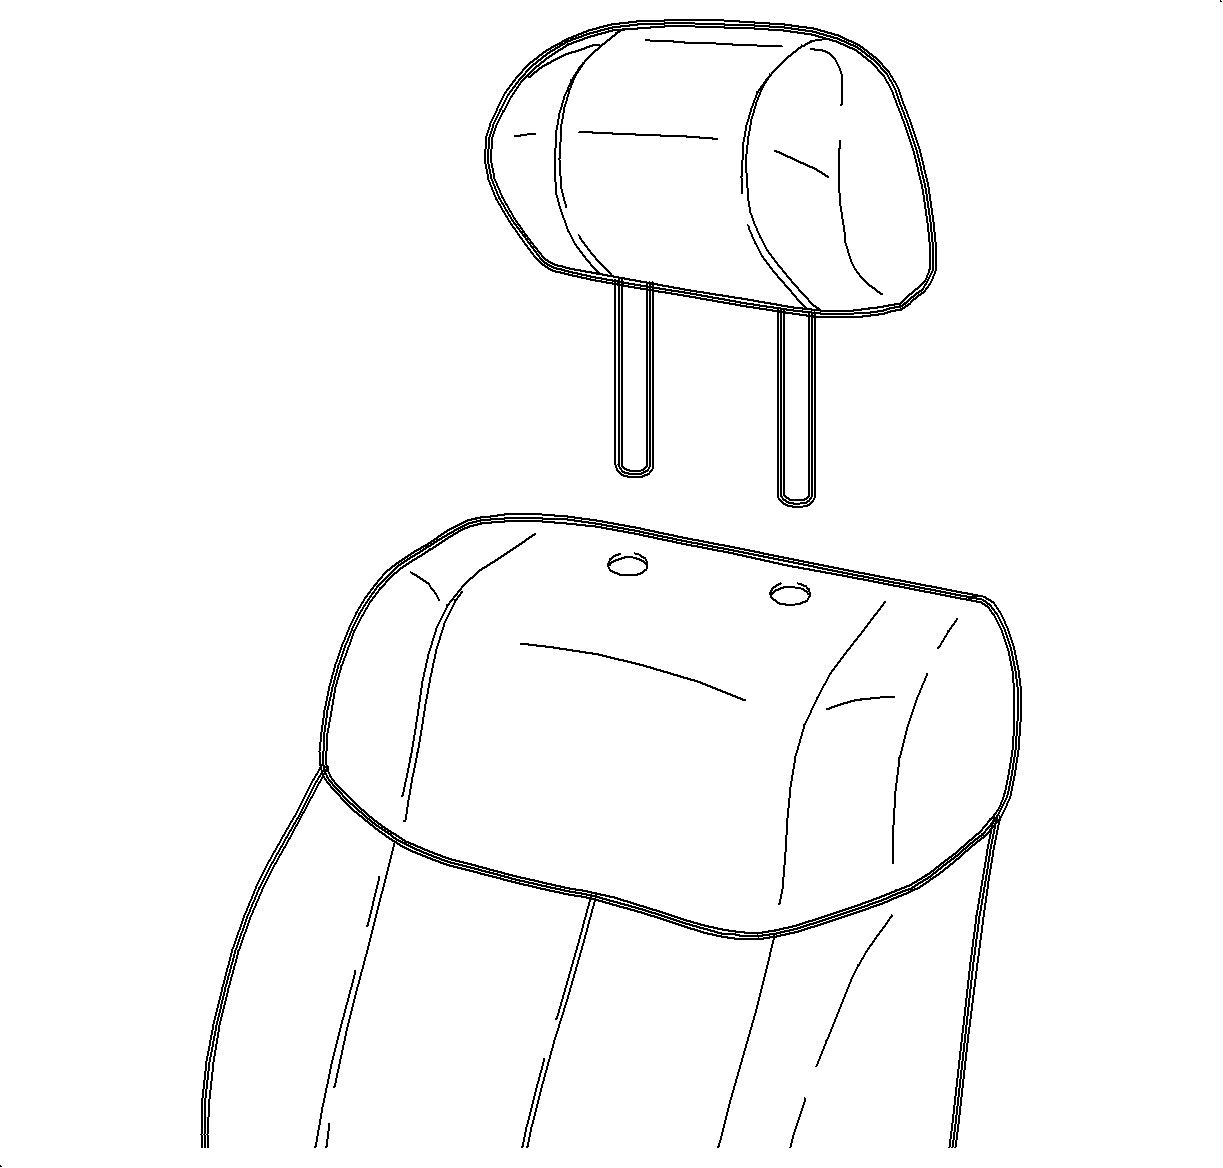
- Remove the head restraint. Refer to Front Seat Head Restraint Replacement .
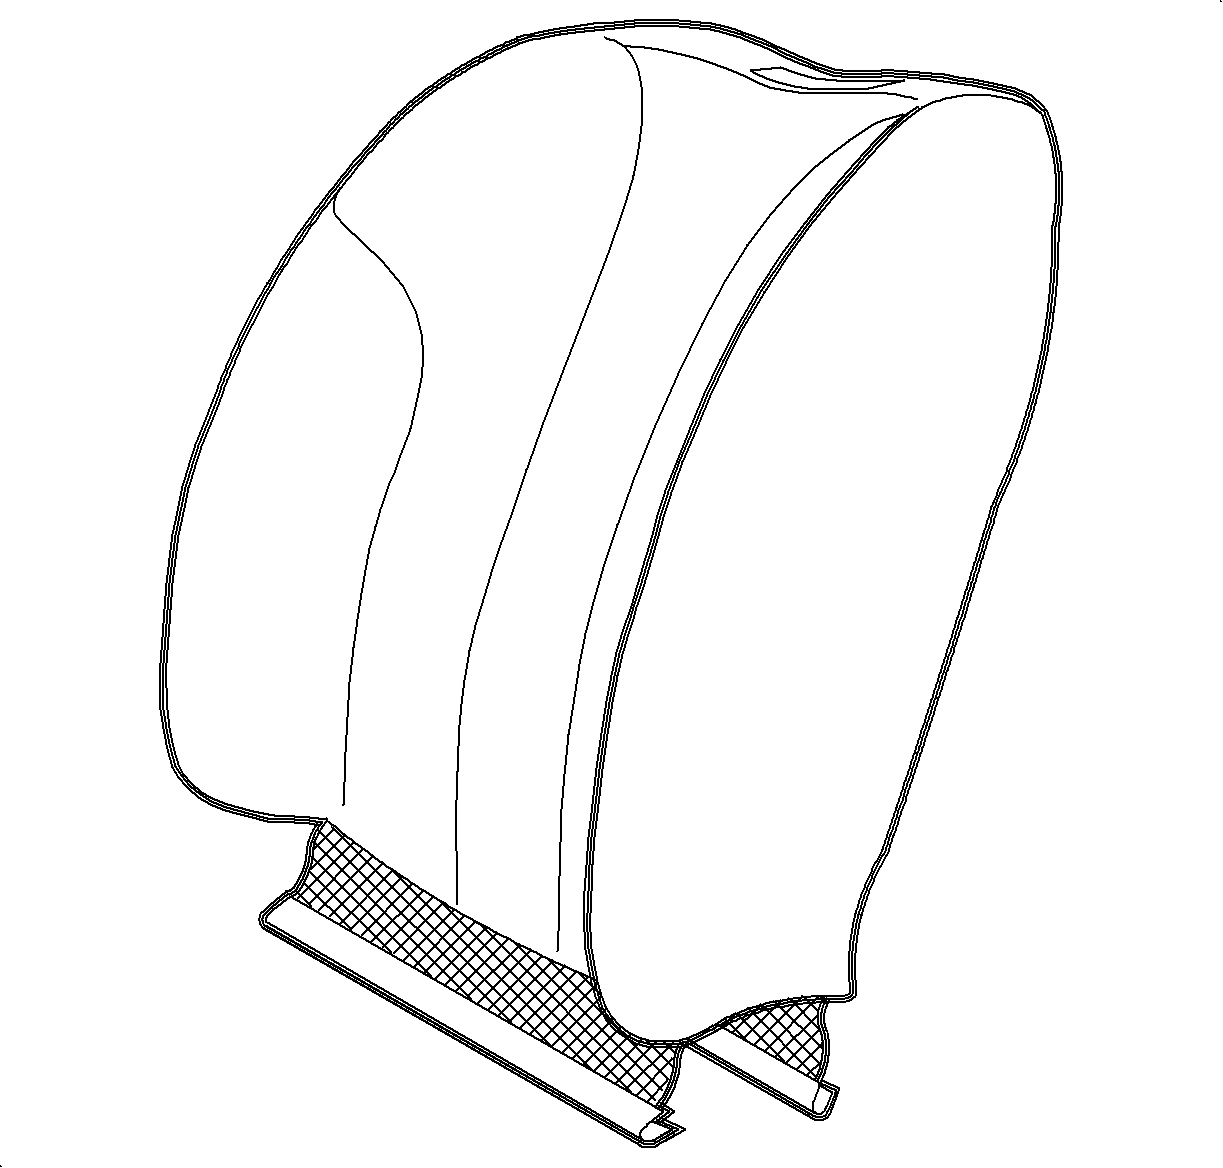
- Disconnect the lower J-hook retainer from the seat back trim cover.
- Carefully pull up on the trim cover, disengaging the hook and loop retainers, until the head restraint guides are exposed.
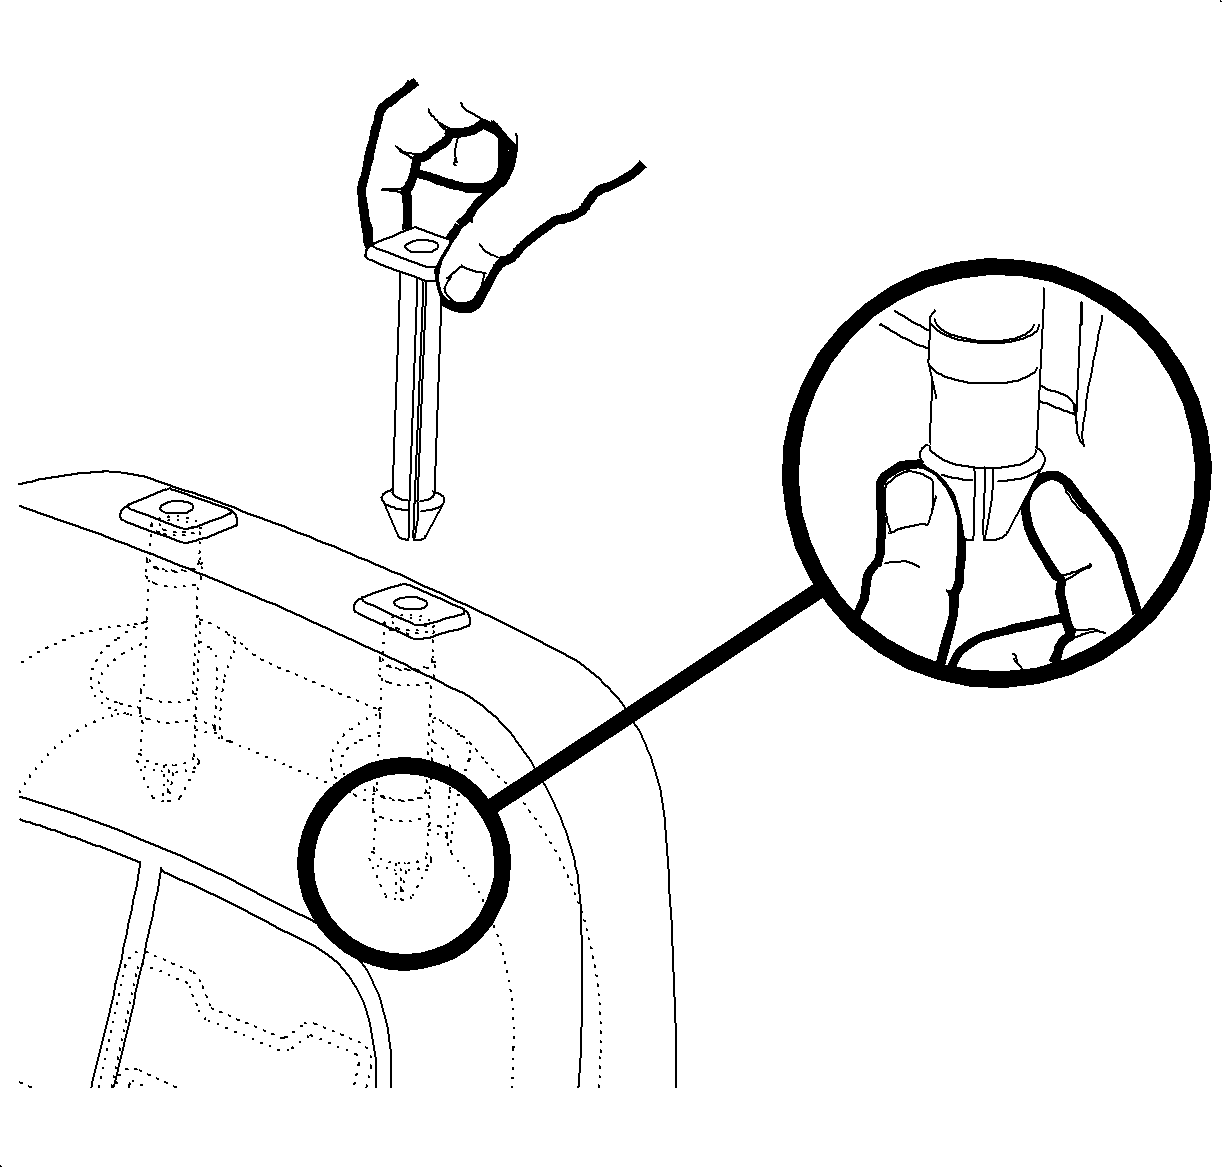
- Squeeze the locking tabs on the head restraint guide. Push the guides up and out of the seat back pad, cover, and frame.
- Remove the seat back trim cover from the seat.
- Remove the seat back pad from the frame.
Installation Procedure
- Position the seat back pad on the frame.
- Install the seat back trim cover over the top of the seat back.
- Install the head restraint guides by pressing the guides into position until the locking tabs engage.
- Continue installing the seat back trim cover, pressing over the hook and loop locations to ensure that the hooks engage.
- Connect the J-hook retainer to the seat back trim cover.
- Install the head restraint. Refer to Front Seat Head Restraint Replacement .
- On vehicles with heated seats, connect the electrical connector to the seat heat module.
- Install the armrest to the seat. Refer to Front Seat Armrest Replacement .
- Install the side trim panel to the seat cushion. Refer to Front Seat Cushion Outer Trim Panel Replacement .
- Install the seat into the vehicle. Refer to Front Seat Replacement - Bucket .


Driver or Passenger Seat Back Cushion Cover and Pad Replacement Fold Flat
Removal Procedure
- Remove the front seat. Refer to Front Seat Replacement - Bucket .
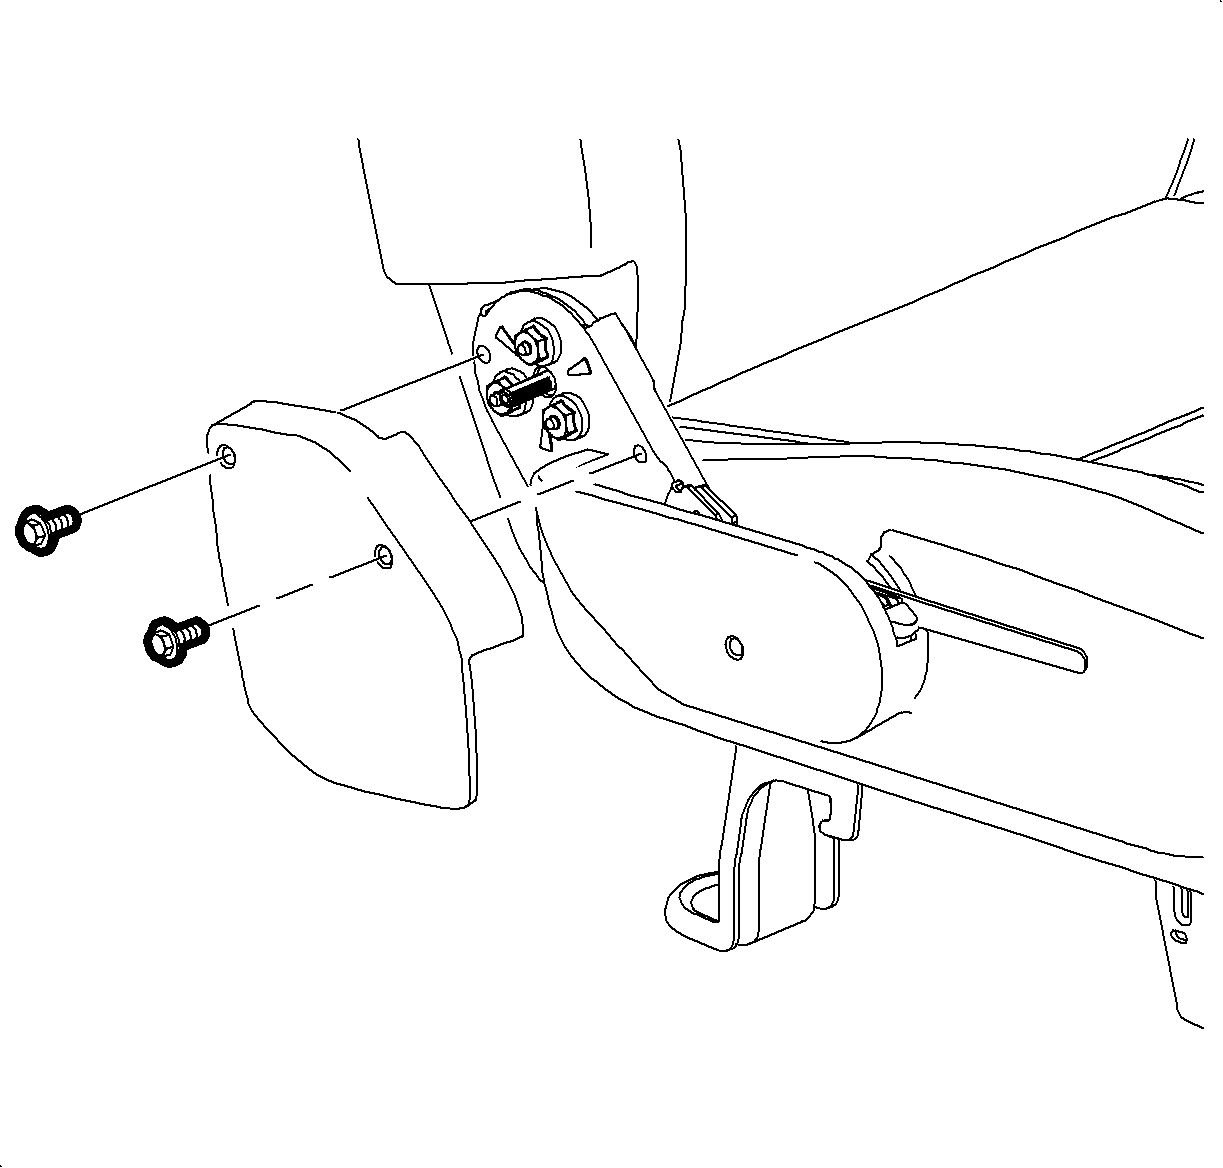
- Remove the screws from the outboard recliner trim panel. Remove the trim panel.
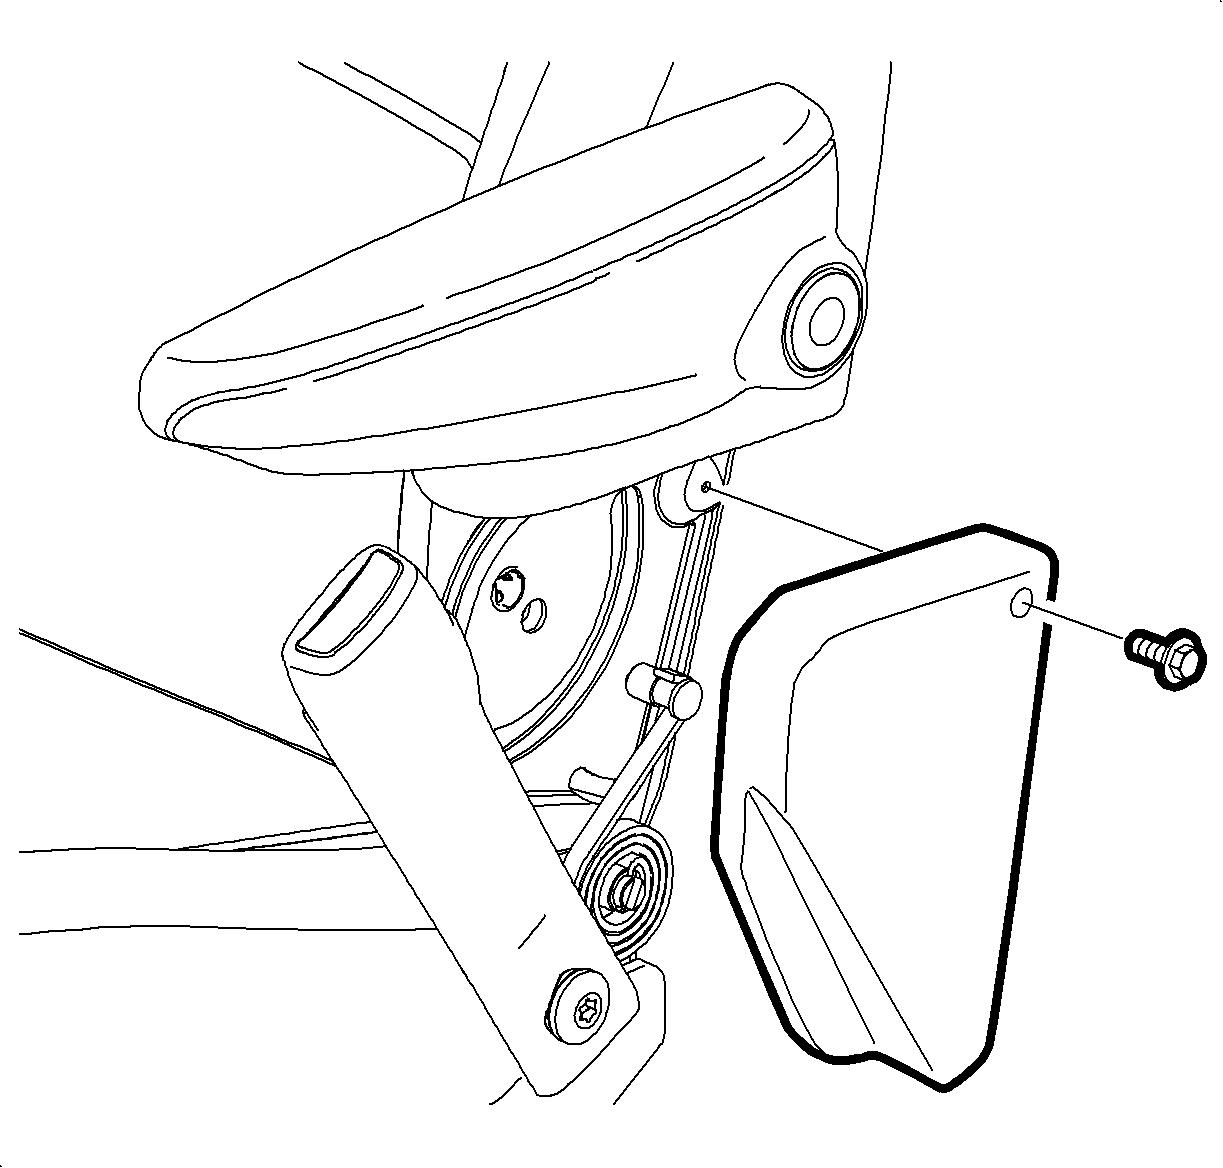
- Remove the screws from the inboard recliner trim panel. Remove the trim panel.
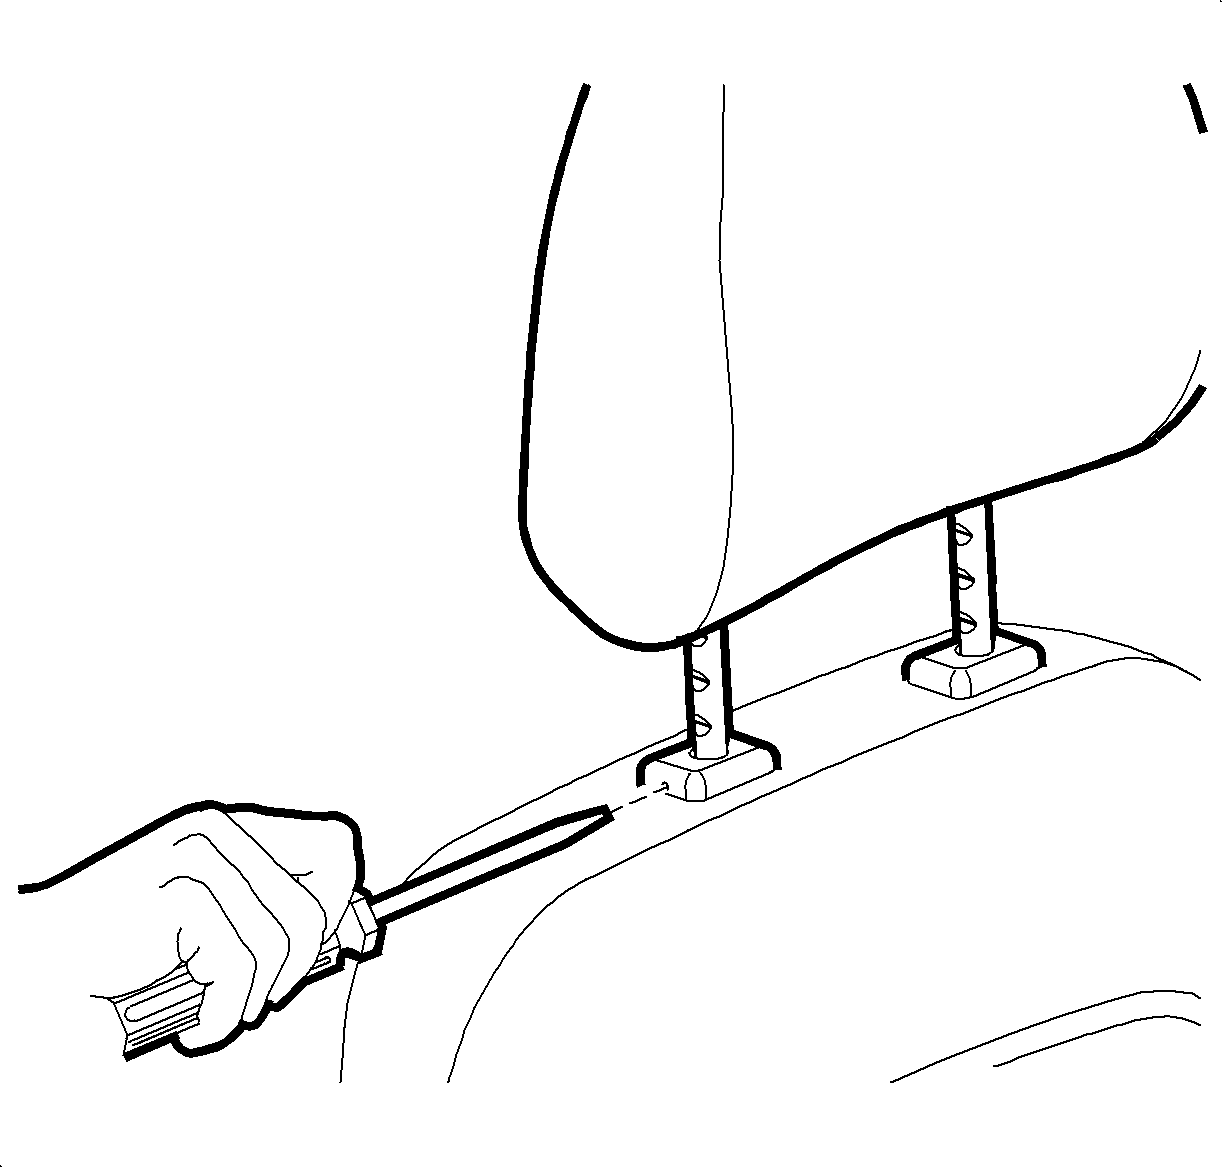
- Position the head restraint to the full up position.
- Insert an awl into the head restraint guide hole and push in on the awl while pulling up on the restraint. Remove the head restraint.
- On vehicles with heated seats disconnect the heated seat wire harness from the seat heat module.
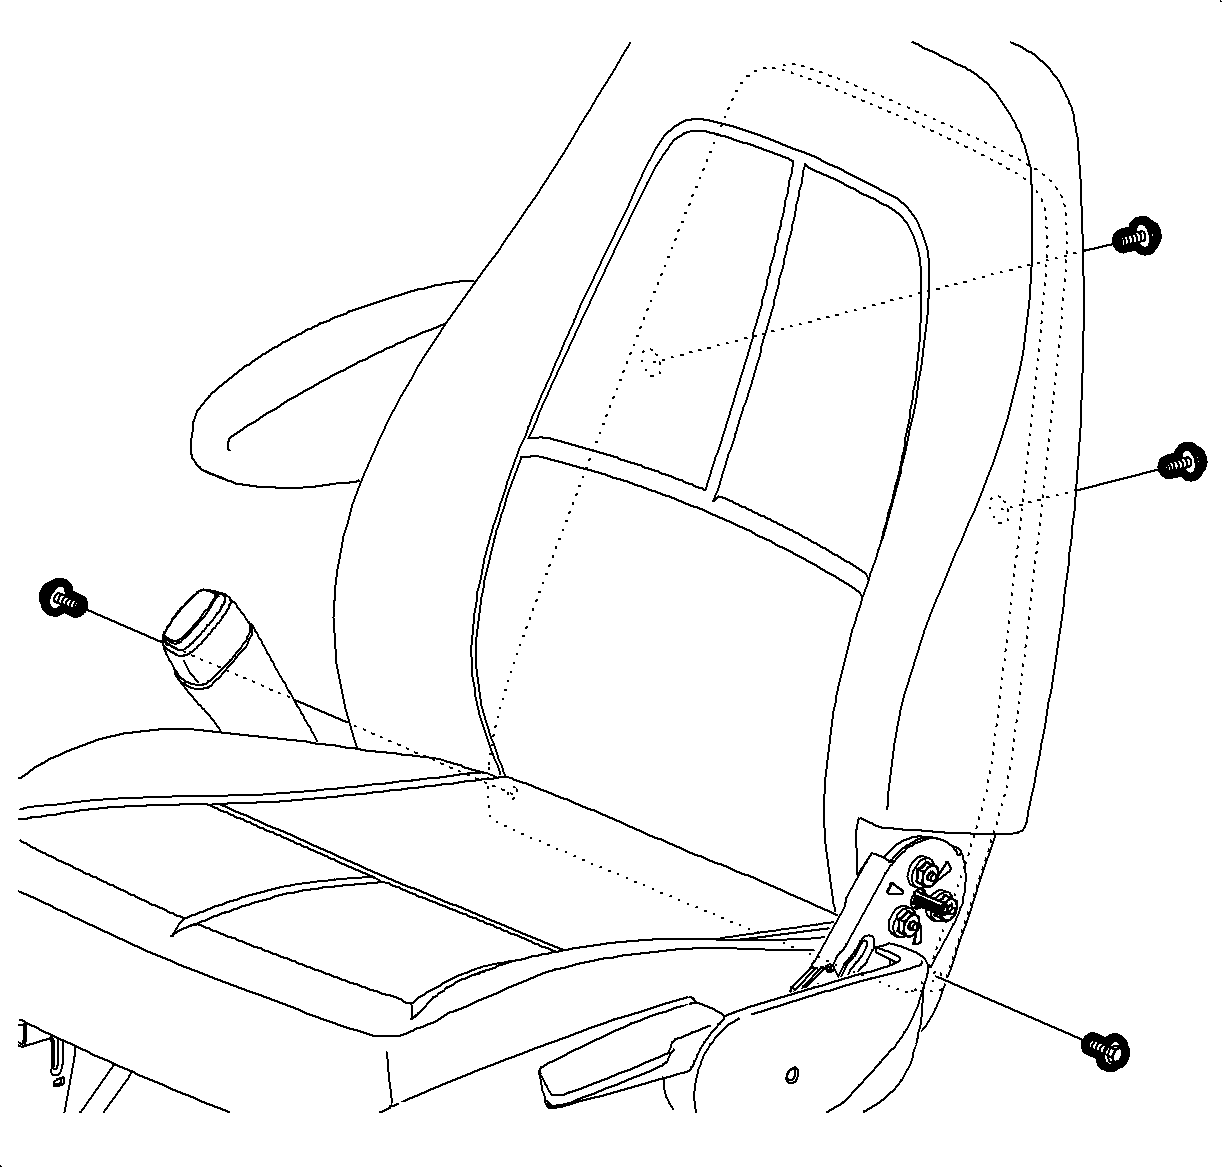
- Remove the bolts from the front seat back frame.
- Remove the seat back assembly.
- Remove the screws from the seat back panel.
- Remove the seat back panel.
- Remove the armrest from the seat back. Refer to Front Seat Armrest Replacement .
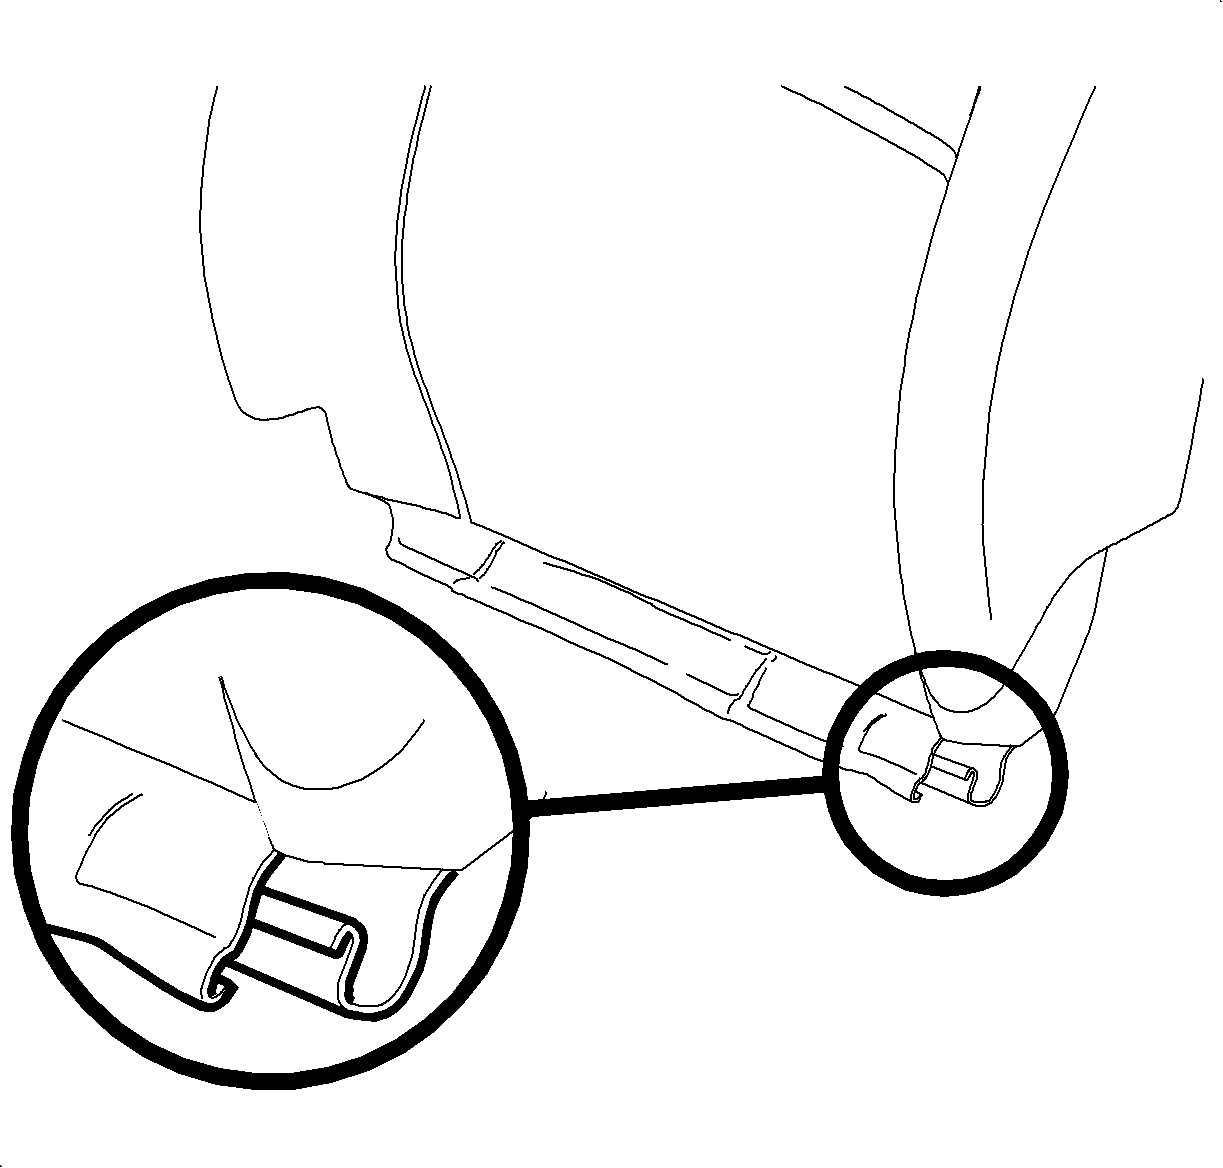
- Disconnect the lower J-hook retainer from the seat back trim cover.
- Pull the seat back cover upward. Carefully disengage the hook and loop fasteners until the head restraint guides are exposed.
- Squeeze the locking tabs on the head restraint guides and push the guides up and out of the seat back frame.
- Remove the seat back trim cover from the seat.
- Remove the seat back pad from the frame.


Installation Procedure
- Position the seat back pad on the frame.
- Pull the seat back trim cover over the top of the seat back.
- Starting at the top, position the seat cover over the seat frame and pad, pressing over the hook and loop locations to engage the fasteners.
- Connect the lower J-hook retainer on the seat back trim.
- Position the head restraint guides in the holes in the seat cover.
- Push down on the guides to lock the guides securely in place.
- Position the seat back panel. Install the screws into the seat back panel.
- Install the armrest to the seat. Refer to Front Seat Armrest Replacement .
- On vehicles with heated seats, route the heated seat wire harness under the seat cushion and connect the harness to the seat heat module.
- Position the seat back frame assembly between the recliners.
- Install the seat back frame bolts.
- Position the inboard recliner trim panel and install the trim panel screw.
- Position the outboard recliner trim panel and install the trim panel screws.
- Position the head restraint over the seat back. Push down to install.
- Pull up on the restraint to ensure that the restraint is locked in place.
- Install the front seat to the vehicle. Refer to Front Seat Replacement - Bucket .


Notice: Refer to Fastener Notice in the Preface section.

Tighten
Tighten the screws to 2 N·m (18 lb in).
Tighten
Tighten the screw to 70 N·m (52 lb ft).

Tighten
Tighten the screw to 2.5 N·m (22 lb in).

Tighten
Tighten the screws to 2.5 N·m (22 lb in).
