For 1990-2009 cars only
Tools Required
| • | J 23738-A Vacuum Pump |
| • | J45727 Rubber Stopper |
Manual Bleeding
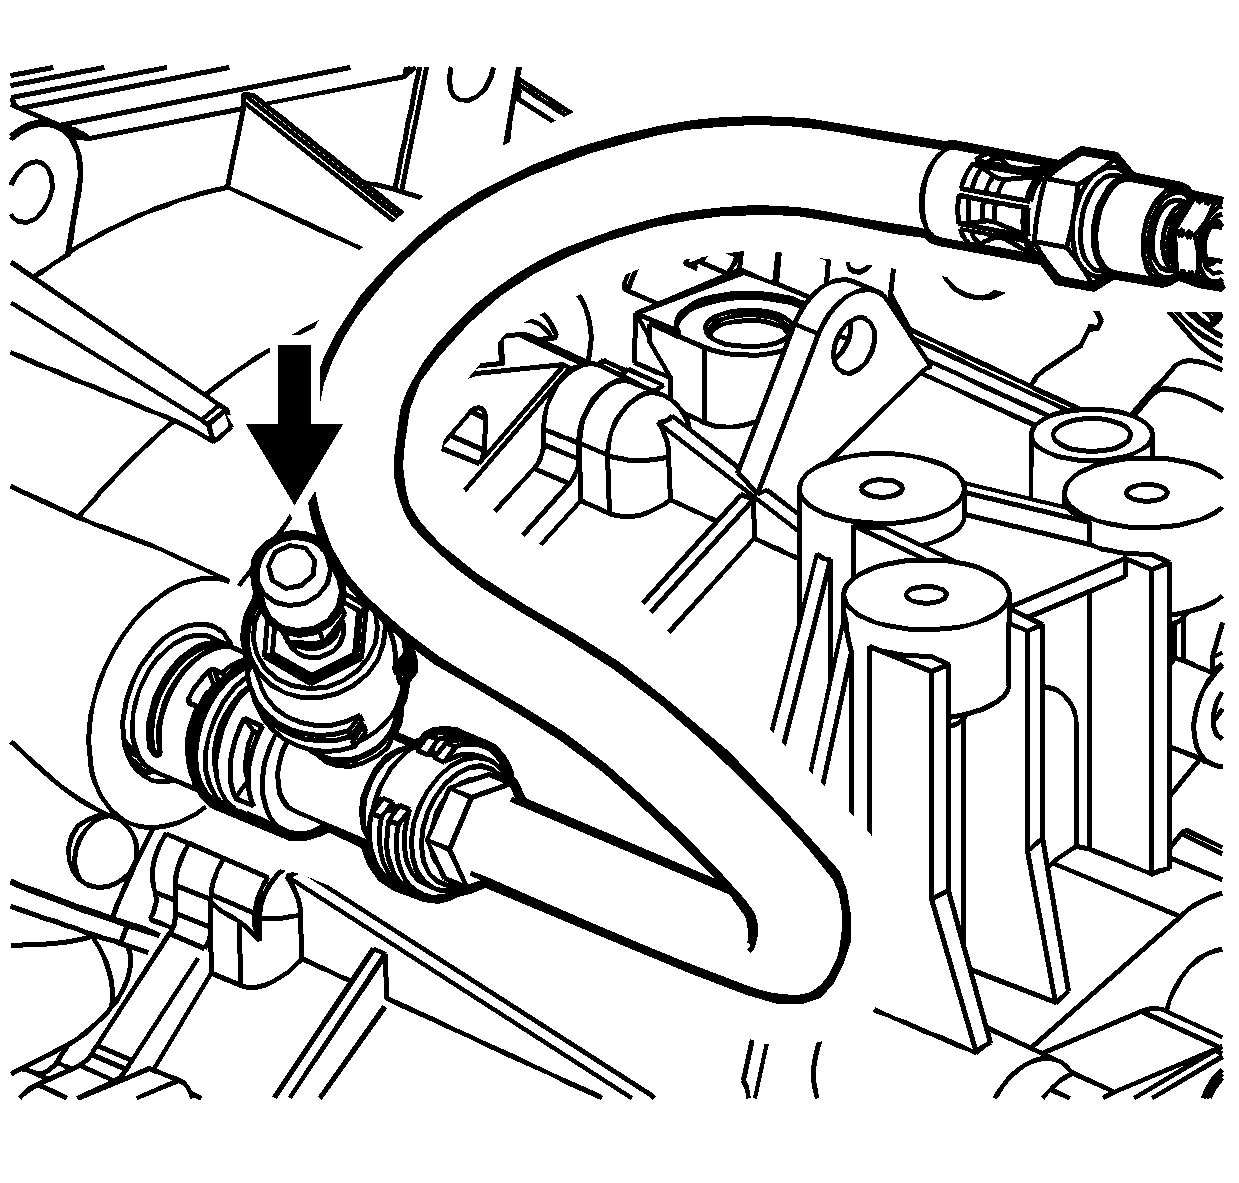
- Attach a clear line to the bleed screw with the loose end submerged in a small container of clutch fluid.
- Actuate the clutch pedal 5 times at a normal speed by stroking it all the way to the pedal stop in both directions.
- Actuate the clutch pedal quickly 10-15 times without bringing the pedal all the way up, 30-40 mm (1.18-1.51 in) short of stop at pedal.
- Repeat steps 2-3 five times.
- Hold the pedal at up stop and open the bleed screw.
- Stroke the pedal to the floor normally and close the bleed screw.
- Lift the pedal to up stop position.
- Repeat steps 5-7 three times.
- Tighten the bleed screw.
- Remove the bleed line from the bleed screw.

Notice: Refer to Fastener Notice in the Preface section.
Tighten
Tighten the screw to 7 N·m (62 lb in).
Vacuum Bleeding
- Tighten the bleed screw.
- Ensure the pedal is in the released position by pulling the pedal up against the stop.
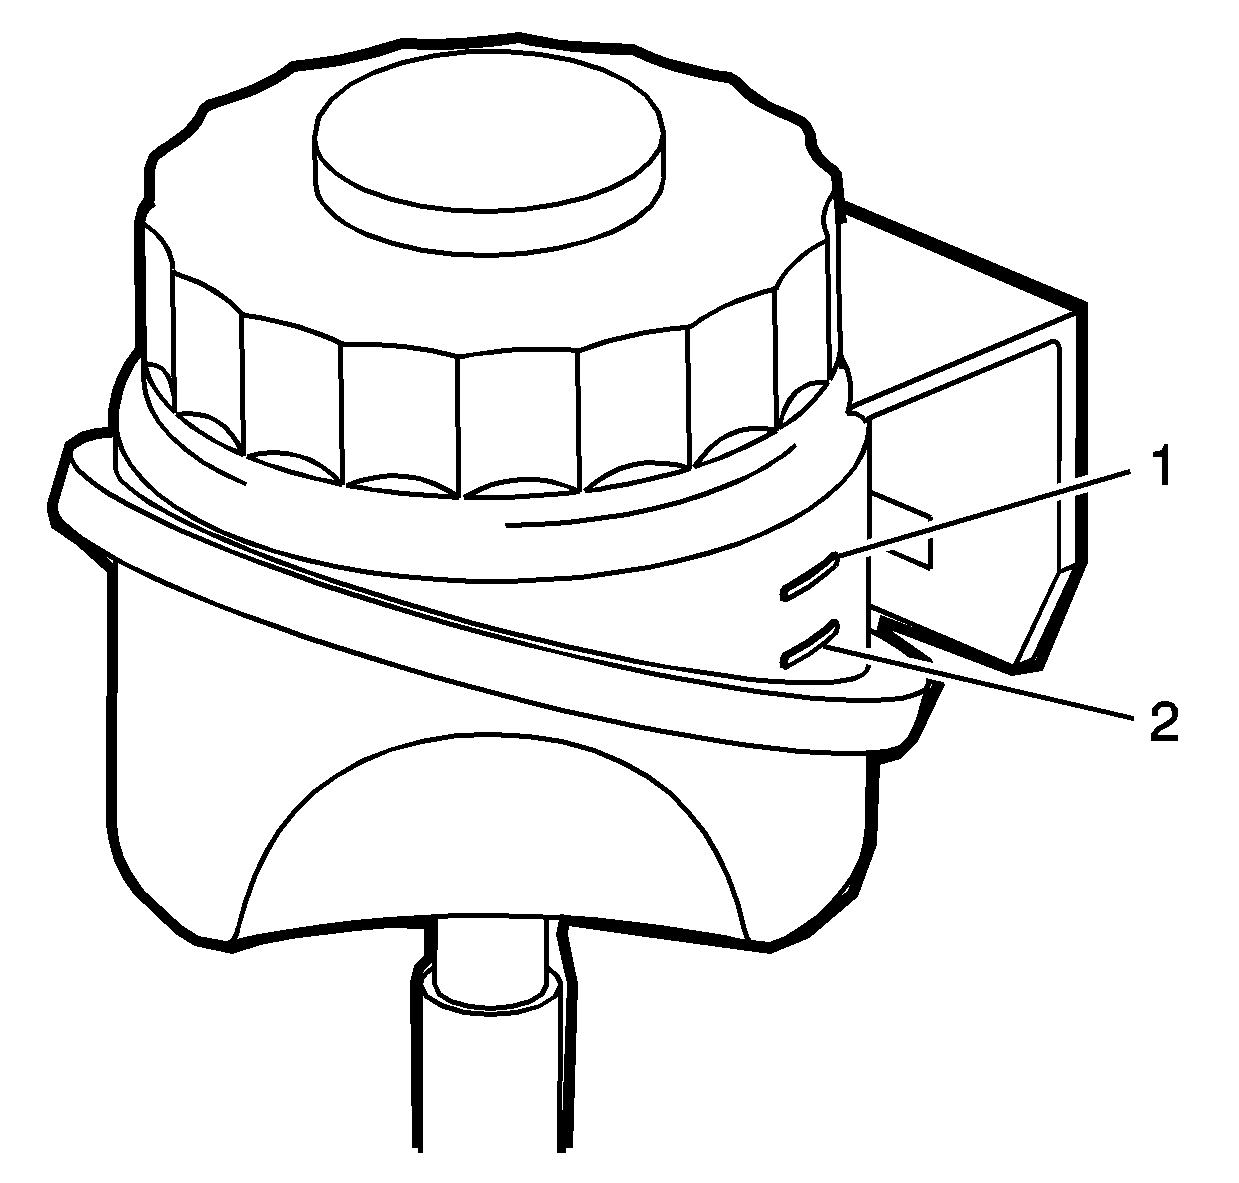
- Fill the reservoir with DOT 3 hydraulic fluid to the MAX level (1).
- Install the J45727 and attach to the J 23738-A or equivalent with a length of hose.
- Place the J45727 over the top of the reservoir opening and hold it to ensure a seal when vacuum is applied.
- Operate the J 23738-A to achieve 51-68 kPa (15-20 hg) on the gage.
- Hold vacuum for approximately 1 minute.
- Slowly relieve vacuum and remove the J45727 from the reservoir.
- Replenish fluid to the proper level.
- Repeat steps 5-9 until all air is removed from the clutch system.
- Replace the reservoir cap.
- Actuate the clutch pedal 10-12 times to ensure proper operation.
- Road test the vehicle to ensure proper clutch operation and shifting.
Notice: Refer to Fastener Notice in the Preface section.

Tighten
Tighten the screw to 7 N·m (62 lb in).
Important: Brake fluid will deteriorate the rubber on the J45727 . Use a clean shop towel to wipe away all fluid after each use.
Important: The clutch pedal will go to the floor on the first actuation, but should improve on the following actuations.
