For 1990-2009 cars only
Tools Required
| • | J 8037 Ring Compressor |
| • | J 41742 Connecting Rod Guide Pin |
- Select the proper size bearings. Refer to Connecting Rod Bearing Selection in Crankshaft and Bearing Cleaning and Inspection .
- Install the upper bearing half to the connecting rod.
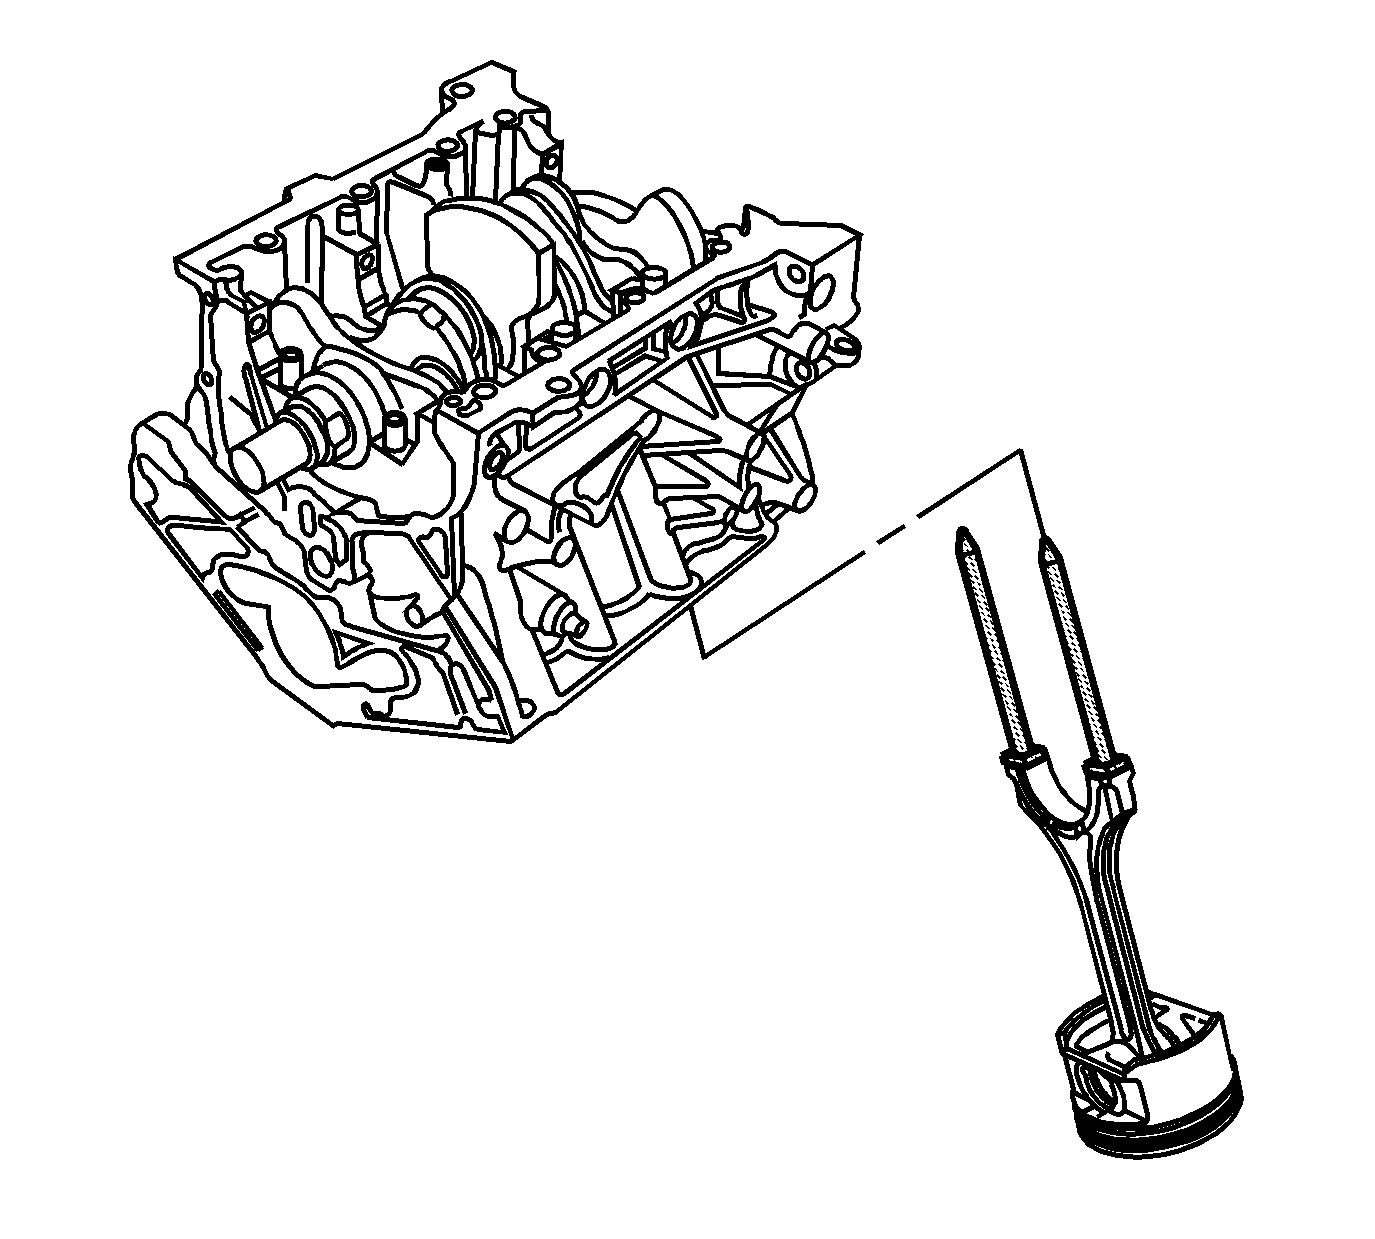
- Install the J 41742 to the connecting rod in order to guide the connecting rod onto the crankshaft journal.
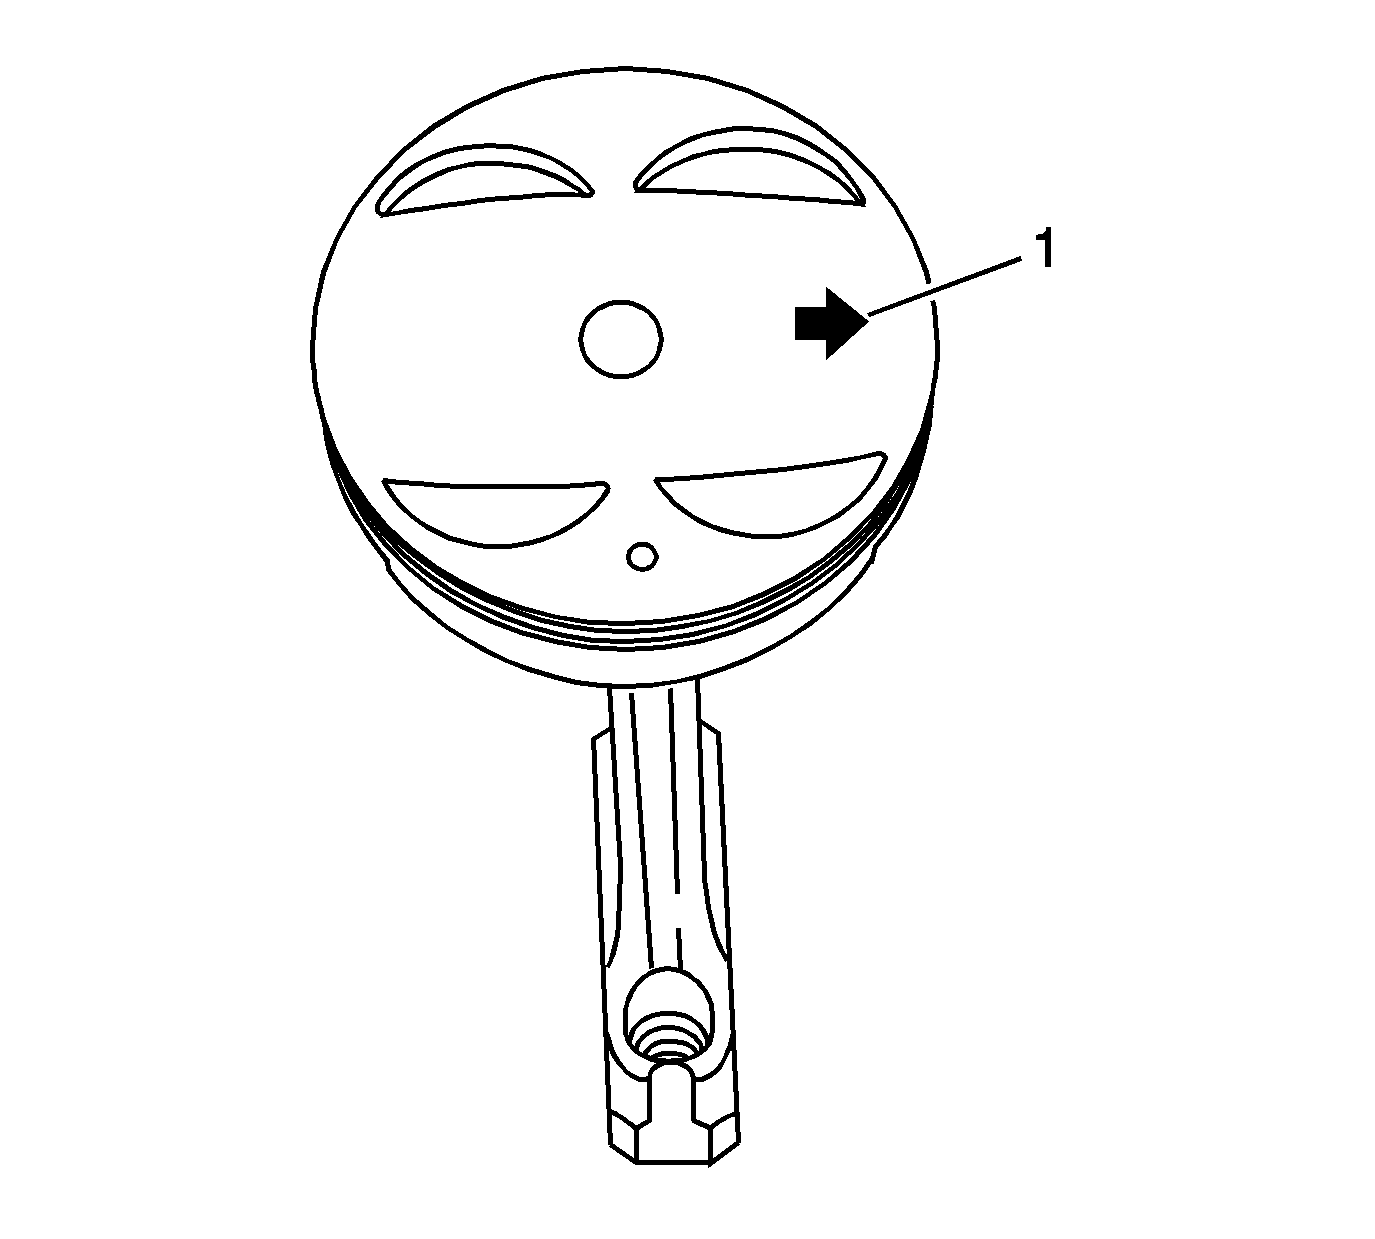
- Install the piston into the cylinder bore with the arrow or mark (1) on the top of the piston facing the front of the engine.
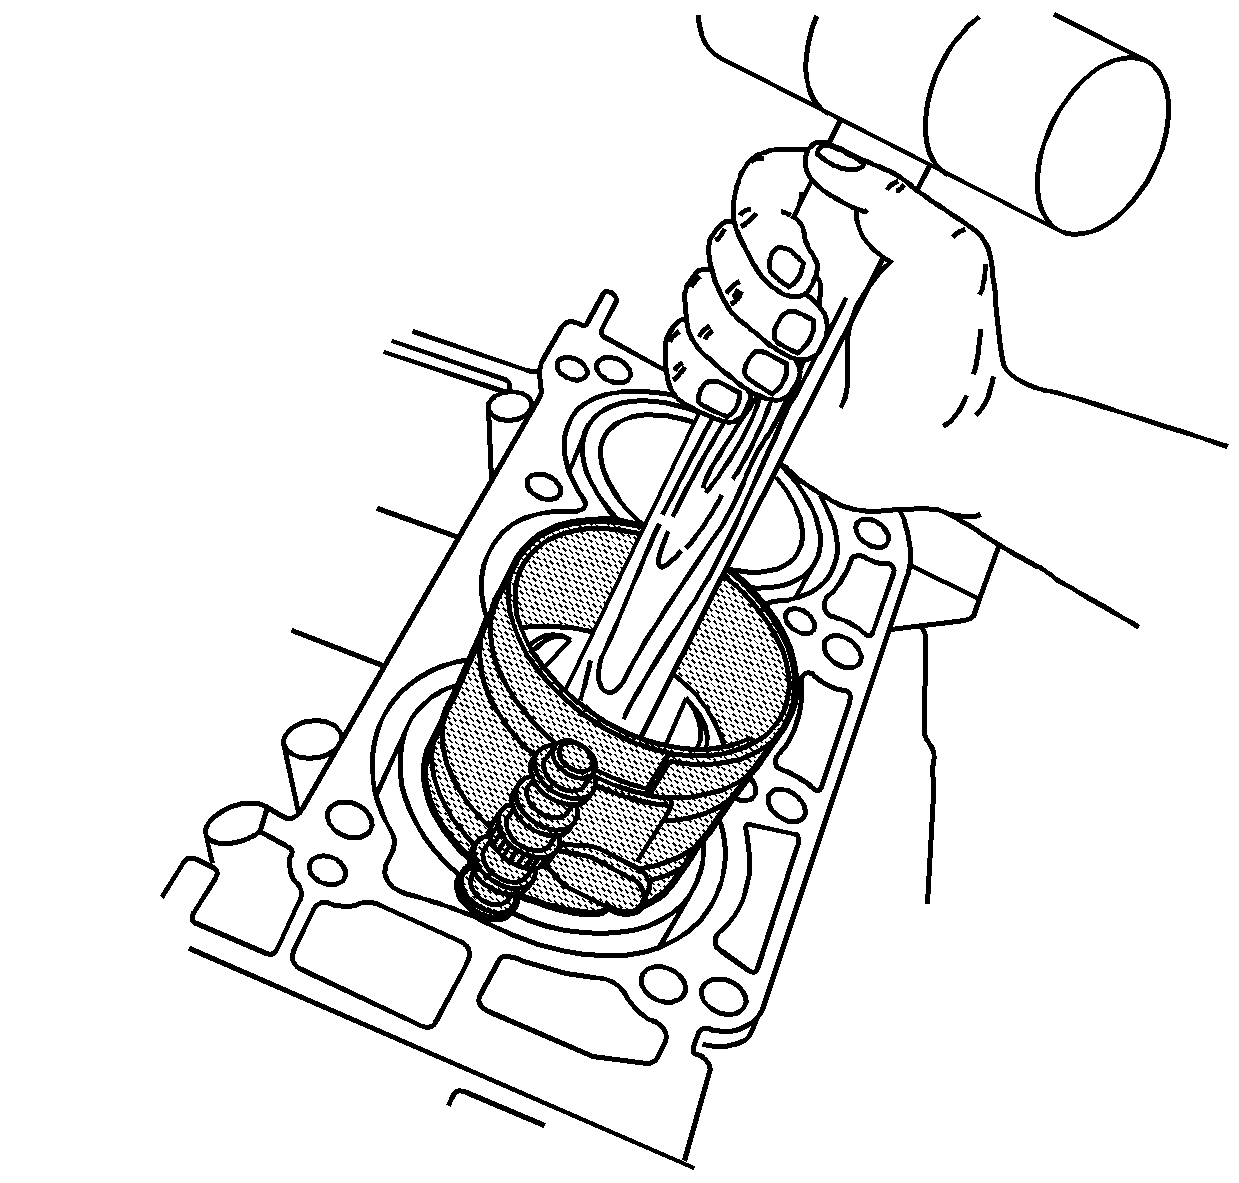
- Hold the J 8037 firmly against the engine block. Using a wooden hammer handle, lightly tap the top of the piston until all of the piston rings enter the cylinder bore.
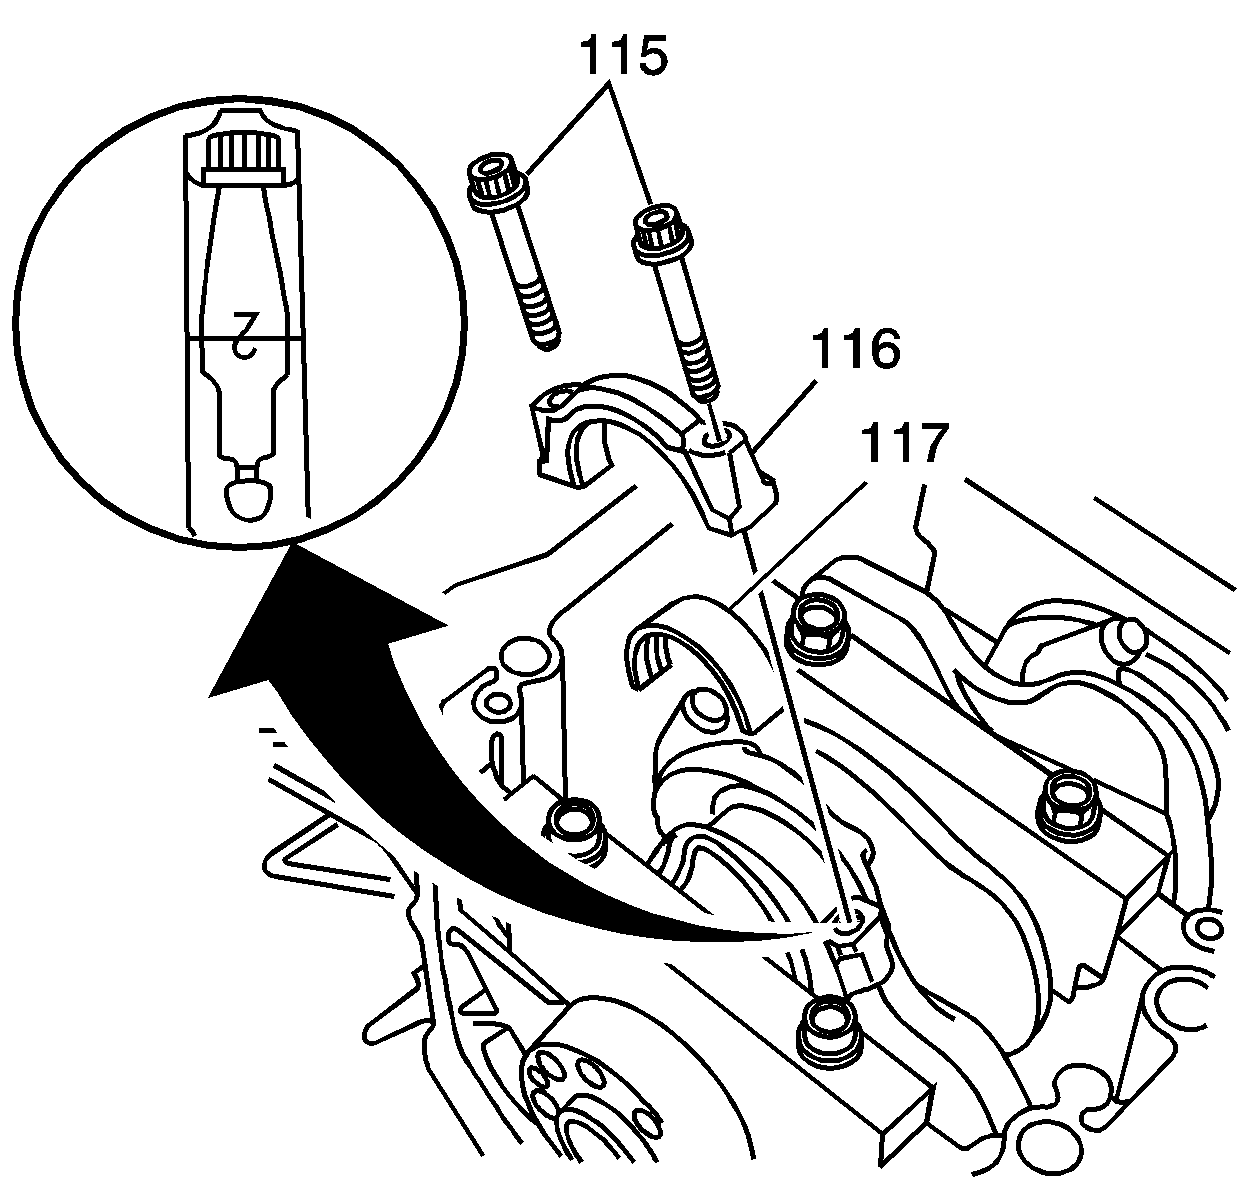
- Install the lower bearing half (117), cap (116) and bolts (115).
- Tighten the bolts a first pass to 20 N·m (14 lb ft).
- Tighten the bolts a final pass an additional 90 degrees using the J 45059 or the SA9140E .
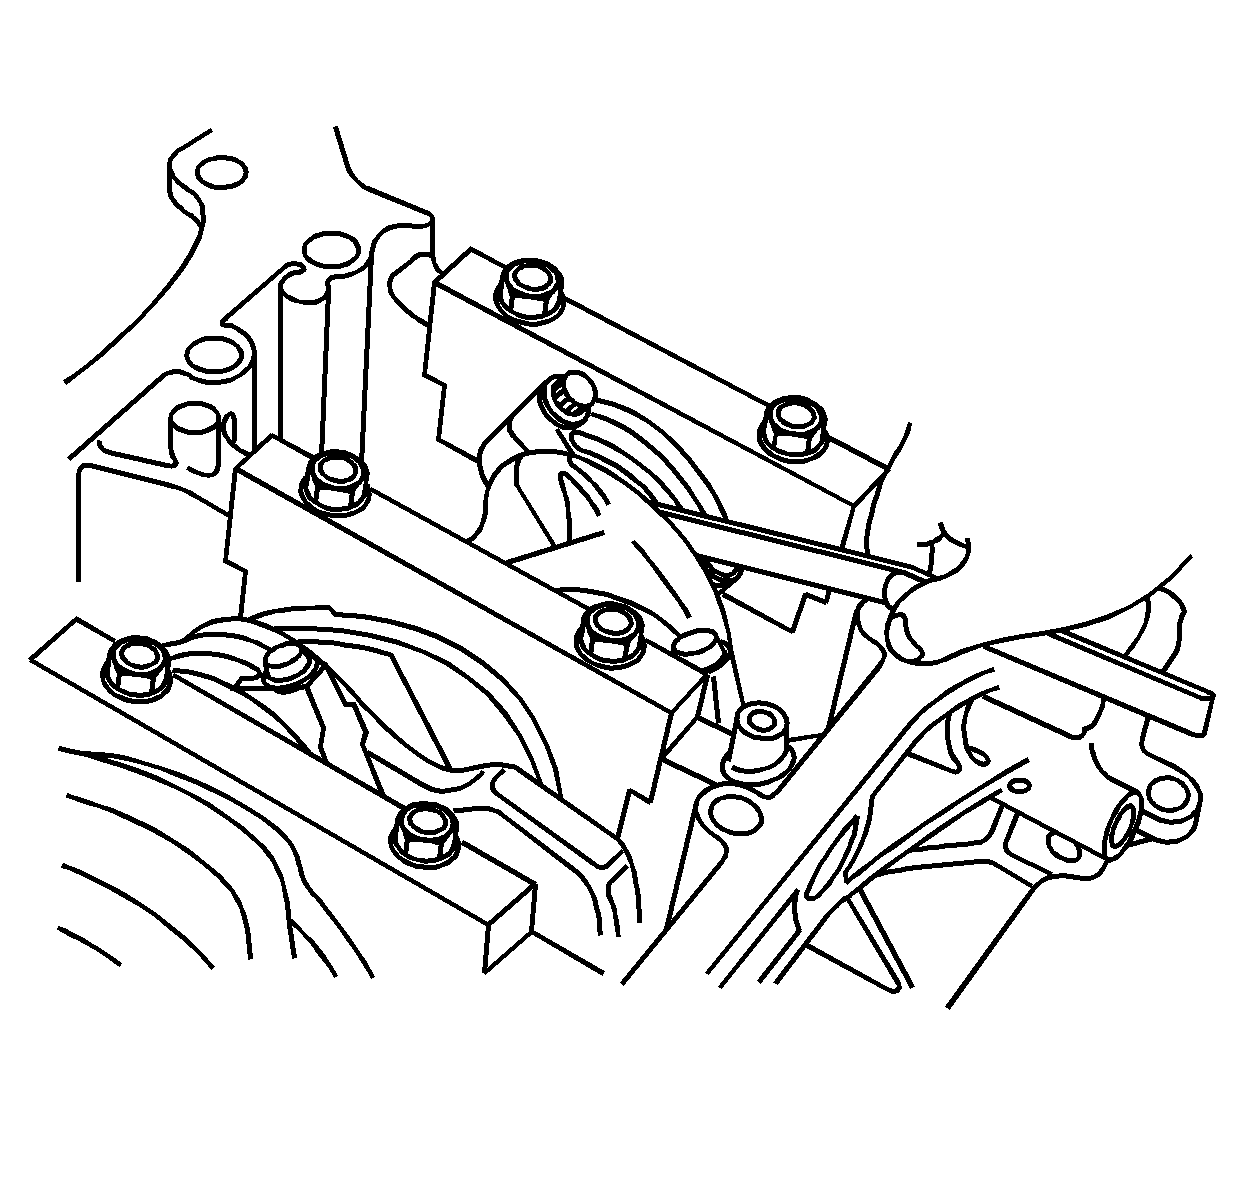
- Measure the connecting rod end-play. Insert a feeler gage between the connecting rod and crankshaft.
- If the connecting rod end-play is not within the service limit, install a new connecting rod and measure again. If it is still not within the service limit, replace the crankshaft.
Notice: Refer to Fastener Notice in the Preface section.
Tighten
Specification
| • | Connecting rod end play - new: 0.15-0.35 mm (0.006-0.014 in) |
| • | Connecting rod end play - service limit: 0.45 mm (0.018 in) |
